My First Time with Peach Preserves
I was twelve when I first helped my grandma make peach jam. I dropped a whole peach into the ice water. It splashed us both! We laughed so hard. I still laugh at that.
That day, she told me this is how we hold onto summer. We capture the sweet taste of sunny days. We save it for a cold morning in January. Doesn’t that sound like magic? What is your favorite summer memory?
Why We Make Jam This Way
You might wonder why we boil and cool the peaches. That quick dip makes the skins slip right off. It’s like magic! It saves so much time and fuss.
This little step matters. It makes the peach flesh smooth and ready for jam. It keeps all the good flavor inside the pot. Fun fact: This method is called “blanching.” It works for tomatoes, too!
The Heart of the Jam
Now for the best part. You get to smash the peaches! Use a spoon or a masher. I like mine with a few little chunks for texture.
Then you add the sugar and lemon. The lemon is not just for taste. It helps the jam set properly. It’s a small thing that makes a big difference. Do you like your jam smooth or a bit chunky?
A Little Secret for Your Jar
My grandma always added a pinch of cinnamon. It’s completely your choice. I always add it. It makes the kitchen smell like a hug.
This is where you make the recipe your own. You can leave it out if you like. Or you can add a tiny bit. Doesn’t that smell amazing? Cooking is about adding your own love.
The Canning Dance
Canning looks tricky, but it’s like a slow dance. You have to be patient. You gently place the jars in the hot water. Then you wait. The “pop” of the lid sealing is the best sound.
That pop means you did it right. It means your jam is safe to store. This process matters because it lets you share your work. You can give a jar to a friend and share the sunshine. Have you ever heard that satisfying “pop” before?
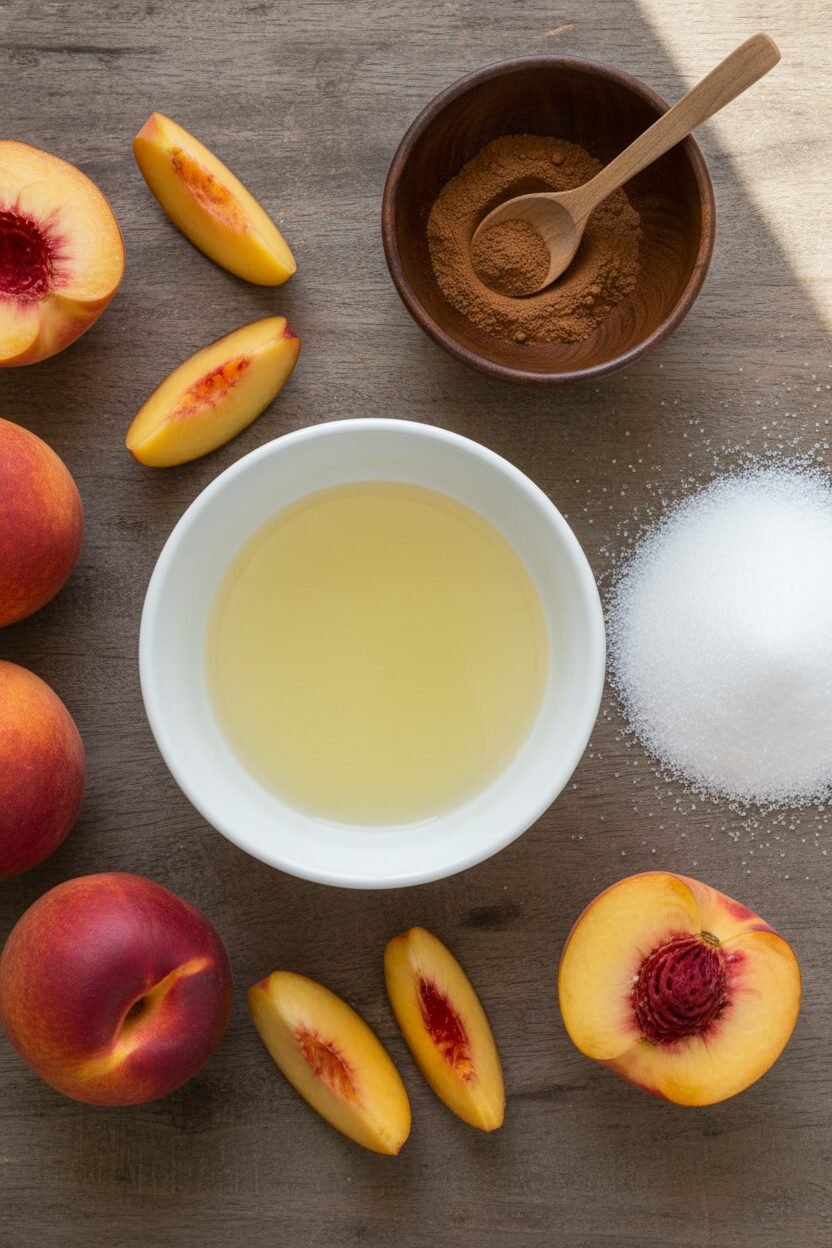
Ingredients:
| Ingredient | Amount | Notes |
|---|---|---|
| Peaches | 8 lbs | |
| Sugar | 3 cups | |
| Lemon Juice | Juice of 1 lemon | |
| Cinnamon | To taste | Optional |
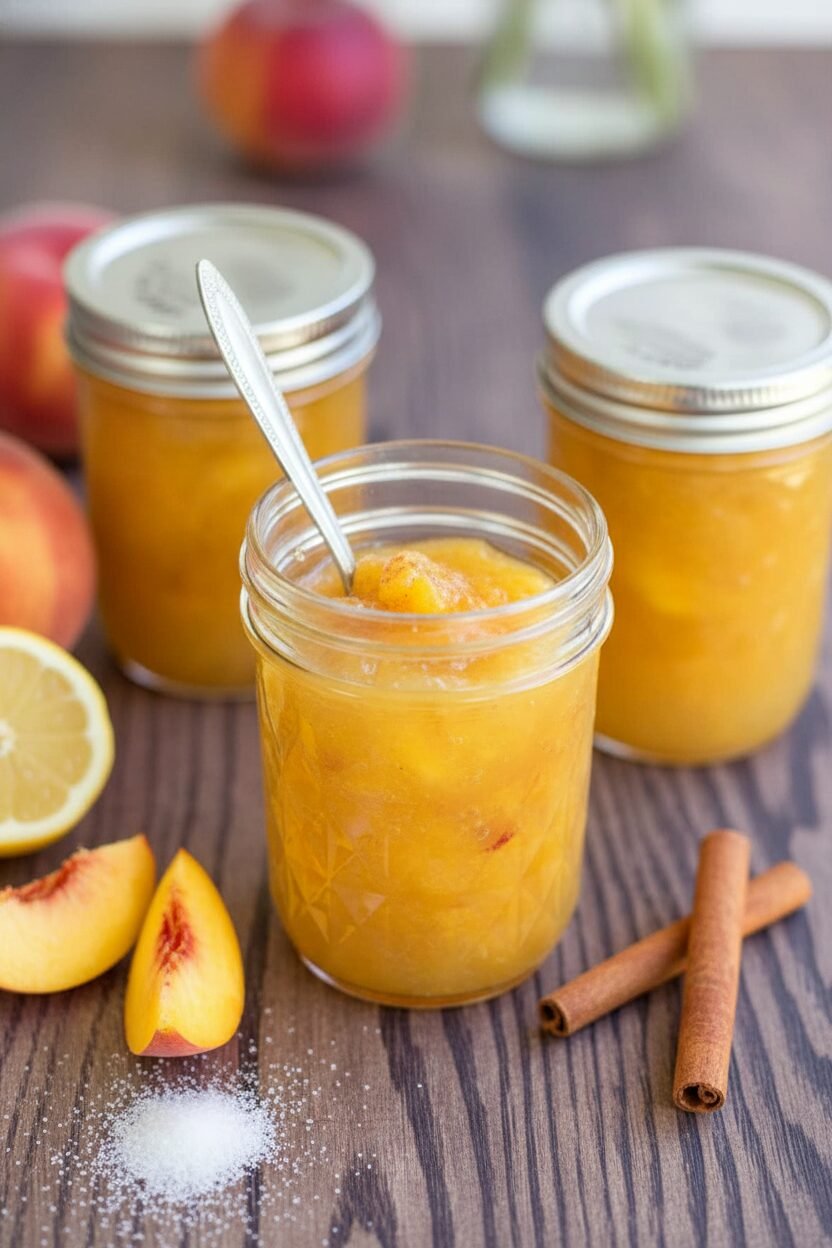
Sunshine in a Jar: My Peach Preserves
Hello, my dear. Come sit with me. The peaches are ripe and sweet. That means it’s time for my favorite kitchen magic. We are going to capture summer sunshine in a jar. I can still smell my own grandma’s kitchen on days like this. Doesn’t that smell amazing?
This recipe is like a warm hug from the past. We will turn simple peaches into golden preserves. You can spread it on toast all winter long. It will remind you of sunny days. Are you ready? Let’s begin our cozy project together.
Step 1: Prepare the Peaches
First, we need to get the peach skins off. Fill a big pot with water and get it boiling. While it heats, wash your peaches well. Then, make a little “X” with a knife on the bottom of each one. This is our secret trick.
Step 2: Blanch and Shock
Carefully drop the peaches into the boiling water. Let them swim for just 30 seconds. Then, use a spoon to move them into a bowl of ice water. This shocks them! The skin will now peel right off. It feels so satisfying.
Step 3: Pit and Simmer
Now, slice your peeled peaches in half. Take out the pits. Then, put all the peach pieces back into your big pot. Turn the heat to low-medium. We want them to get soft and juicy. I love hearing the gentle simmer.
Step 4: Mash and Sweeten
Time to smash! You can use a spoon or a potato masher. I like mine a little chunky. But you can make it smooth if you prefer. Then, stir in the sugar and lemon juice. (A hard-learned tip: the lemon keeps the color bright!)
Step 5: Cook and Flavor
Let the mixture bubble gently. Stir it now and then so it doesn’t stick. It will slowly get thicker. This is when your kitchen will smell like heaven. When it looks just right, you can add a sprinkle of cinnamon. I always do.
Step 6: Prepare the Jars
While the jam cooks, wash your jars with hot, soapy water. Keep them in warm water until you need them. This keeps them from cracking later. My grandson once forgot this step. We had a sticky mess! What’s your favorite thing to put jam on? Share below!
Step 7: Fill the Jars
Use a funnel to fill the warm jars. Leave a little space at the top. Wipe the rims clean with a damp cloth. This is very important for a good seal. Then, put on the lids and screw the rings on. Don’t make them super tight.
Step 8: Process in Water Bath
Gently place the jars into your canning pot. Bring the water to a rolling boil. Once it’s boiling, set a timer for 10 minutes. After, turn off the heat and wait five minutes. Then, lift the jars out and let them rest. Do not touch them for a whole day!
Step 9: Test the Seal and Store
The next day, press the center of each lid. If it doesn’t pop, it’s sealed! You did it. Wipe the jars, add a label, and store them. I still laugh at the “pop” sound they make. It’s the sound of a job well done.
Cook Time: 1–2 hours
Total Time: 24 hours (includes cooling)
Yield: About 6 pints
Category: Condiment, Preserves
Your Peach Preserves Adventure
Once you know the basic recipe, you can play! Here are some fun twists I love. They make each batch a little different. My neighbor gave me the idea for the spicy one. It’s surprisingly good.
- Vanilla Bean Peach: Add the seeds from one vanilla bean. It makes the jam taste like a fancy dessert. So warm and comforting.
- Rosemary & Honey Peach: Use half honey and half sugar. Toss in a small spring of fresh rosemary. It gives a lovely, herby flavor.
- Spicy Ginger Peach: Add a tablespoon of freshly grated ginger. It gives the sweet jam a little zing. Perfect for cheese and crackers.
Which one would you try first? Comment below!
Serving Your Homemade Jam
Of course, it’s wonderful on warm, buttered toast. But don’t stop there! Try it stirred into plain yogurt for breakfast. Or spoon it over a block of cream cheese. Serve that with crackers for your friends. It’s always a hit.
For a drink, I think sweet iced tea is just perfect. It balances the peach flavor so nicely. For a special grown-up treat, a glass of chilled Riesling wine is lovely. The sweetness of the wine and the jam are best friends. Which would you choose tonight?
Keeping Your Peach Preserves Perfect
You made lovely peach jam. Now let’s keep it that way. Canned jars last a year in a cool, dark cupboard. Once opened, keep the jar in the fridge. It will be good for a few weeks.
You can also freeze this jam. Just put it in a freezer-safe container. Leave some space at the top for it to expand. I remember my first batch. I forgot to label the jars. We had a mystery jam for months.
Batch cooking saves you time later. Making a big batch means summer flavor all winter. This matters because it makes your mornings easier. A quick toast with homemade jam is a happy start to the day. Have you ever tried storing it this way? Share below!
Easy Fixes for Common Jam Troubles
Is your jam too runny? Cook it a bit longer next time. The fruit needs time to release its natural pectin. Pectin is what helps jam get thick. I once made a very thin batch. We called it peach syrup for pancakes.
Is the jam too sweet? Try a little more lemon juice next time. The acid balances the sugar’s sweetness. This matters because good flavor makes you proud of your work. Are your jars not sealing? Make sure the rims are perfectly clean.
A tiny bit of jam can stop the lid from sealing. This matters because a good seal keeps your food safe. Fixing small problems builds your cooking confidence. Which of these problems have you run into before?
Your Peach Preserves Questions Answered
Q: Is this recipe gluten-free?
A: Yes, it is naturally gluten-free. All the ingredients are safe.
Q: Can I make it ahead?
A: Yes! Canning lets you make it months ahead.
Q: What can I swap?
A: You can use nectarines instead of peaches.
Q: Can I make a smaller batch?
A: Absolutely. Just cut all the ingredients in half.
Q: Is the cinnamon needed?
A: No, it is optional. It just adds a cozy flavor.
Fun fact: A bushel of peaches can make about 20 jars of jam. Which tip will you try first?
Share a Jar of Sunshine With Me
I hope you love making this peach preserves recipe. It is a little bit of summer in a jar. I would love to see your beautiful creations. Your kitchen stories make my day.
Please share a picture of your finished jars. Show me how you enjoyed your homemade jam. Have you tried this recipe? Tag us on Pinterest! I always look for your photos. Thank you for cooking with me today.
Happy cooking!
—Elowen Thorn.
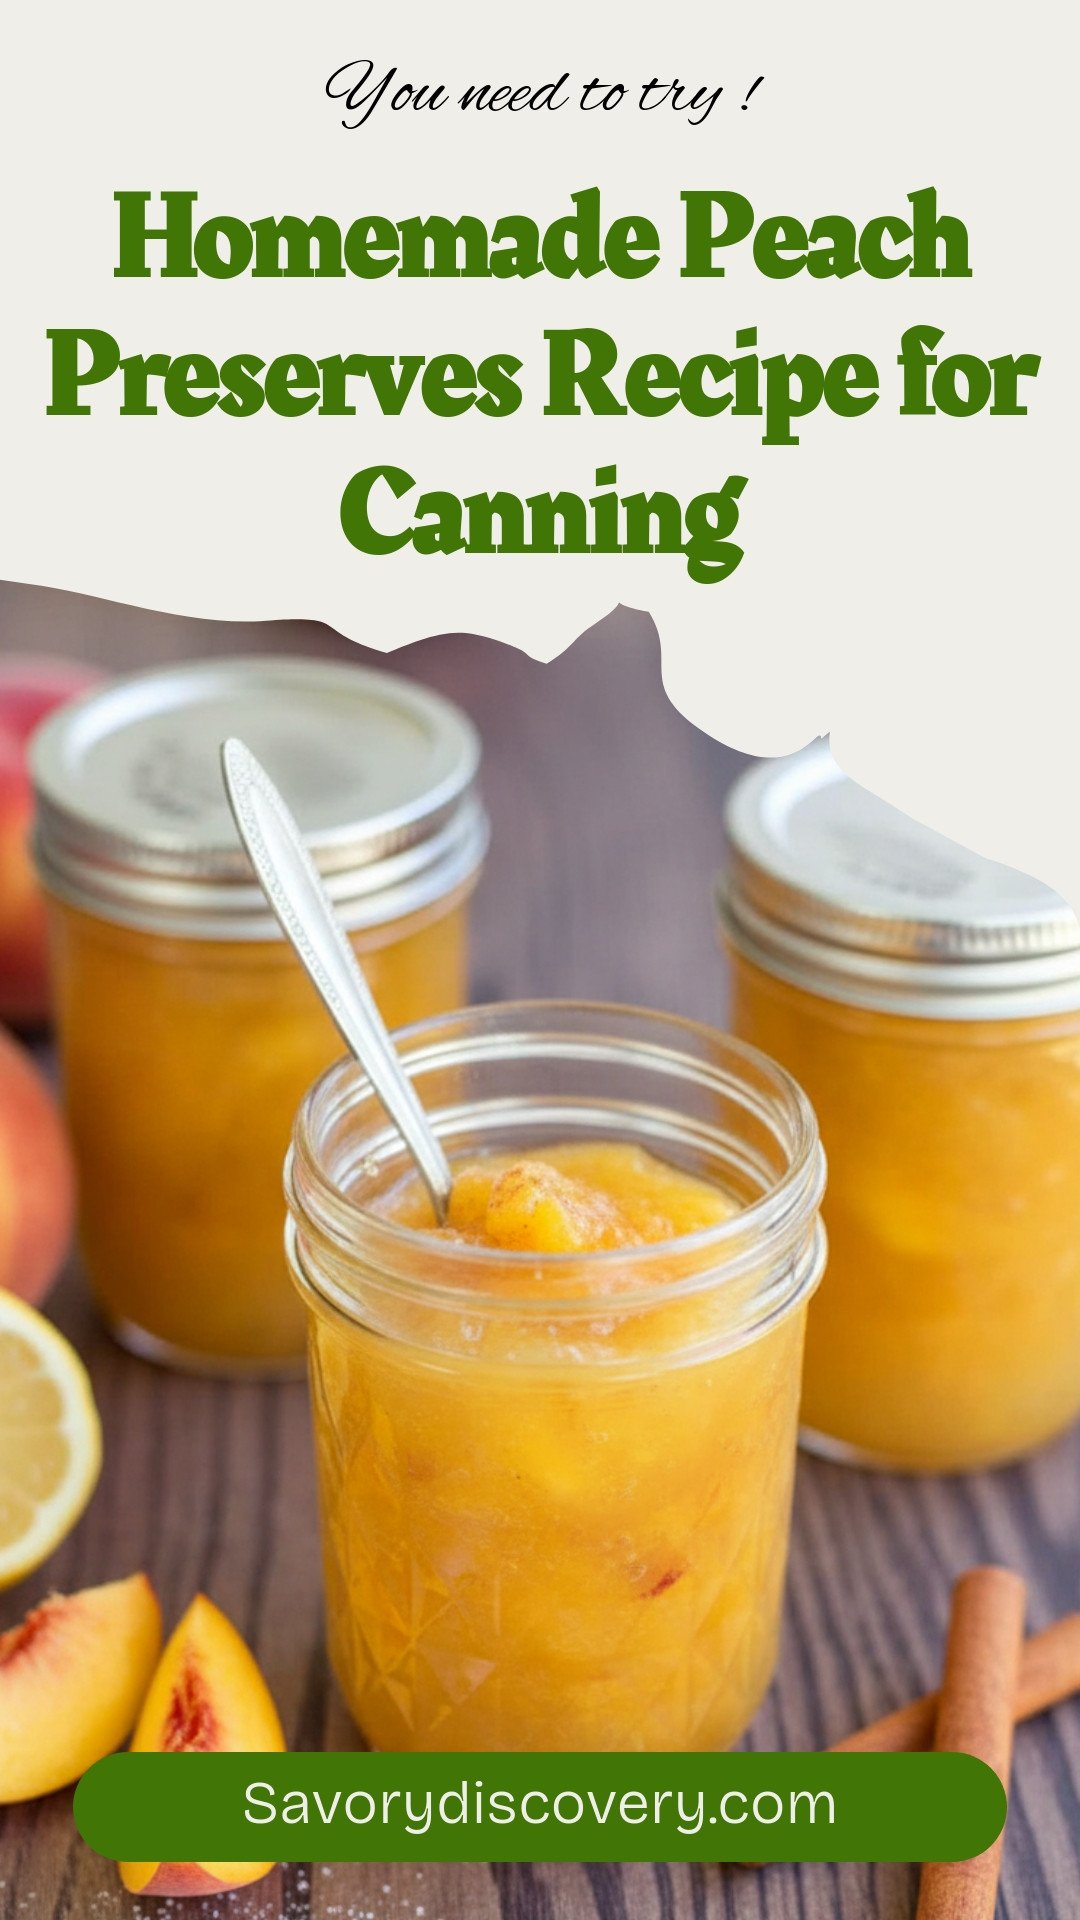

Homemade Peach Preserves Recipe for Canning
Description
A classic and delicious homemade peach preserves recipe, perfect for canning and enjoying all year round.
Ingredients
Instructions
- In a large pot, fill with water and place over high heat.
- Wash peaches.
- Using a knife, add a cross to the bottom of them.
- Once it has come to a boil, add in peaches and boil for about 30 seconds.
- Move peaches to an ice water bath, then peel.
- Slice peaches at least in half to remove the pits, then place back into a pot over low-medium heat.
- Smash with a spoon, potato masher, or use an immersion blender.
- Add sugar and lemon juice and stir well.
- Simmer until the desired thickness is achieved.
- Stir in cinnamon to taste, if desired.
- Wash and clean jars, lids, and rings with hot soapy water. Set aside. Place jars in warm water until ready to fill.
- Fill jars using a funnel, leaving 1/4 inch head space.
- Wipe the rims clean using a damp, clean rag.
- Center lid onto the jar and secure the ring to finger tip tightness.
- Gently place the jars into the water bath canner and turn heat on high, covered.
- Once the canner has come to a full, rolling boil, start the timer to 10 minutes, cover with lid, and allow the canner to work its magic.
- When the timer is up, turn off the heat and remove the lid. Allow to cool for 5 minutes.
- Using the jar lifter, lift jars out carefully and place on a towel on the counter. Leave for 12-24 hours without touching.
- Once the 12-24 hours are up, check the seals. If they are sealed, clean the outside of the jars and label.
Notes
- Ensure all canning equipment is properly sterilized before use for food safety.