My First Time With Key Limes
I first saw key limes at a market in Florida. They were tiny and yellow. I thought they were unripe lemons. The farmer laughed and gave me one to smell. It was so sharp and sweet. I was hooked.
That smell takes me right back. It is pure sunshine. It makes any kitchen feel happy. That’s why this recipe matters. It captures a bright, joyful flavor. It turns a simple bar into a little vacation.
Why We Make a Foil Sling
This step seems fussy. But it is a kitchen lifesaver. You just crisscross foil in the pan. It gives you two “handles” to lift the bars out later. No more struggling with a knife.
I learned this after a disaster. I once flipped a whole pan to get the bars out. They landed on the counter in crumbs. I still laugh at that. Now I always use the sling. What’s your best kitchen helper trick? A certain tool or tip? I love hearing new ideas.
The Heart of the Crust
The crust is simple. You mix flour, sugar, and butter. Press it firmly into the pan. This part is fun for your hands. The baking smell is wonderful. It turns golden and toasty.
Let it cool completely. This patience matters. A hot crust will melt the filling. It makes everything soggy. We want a crisp base for our creamy lime top. Fun fact: The xanthan gum in the gluten-free flour helps hold it together, just like gluten would.
The Magic of the Filling
Now for the sunny part. Zest your limes first. That green part of the skin holds so much flavor. Then juice them. Doesn’t that smell amazing? Mix it with cream cheese and condensed milk.
The mix will be smooth and pale green. Pour it over your cool crust. It bakes quickly. The edges will puff a little. This means it’s set. Do you prefer your desserts very tart or more sweet? I like a good tang myself.
The Waiting Game
This is the hardest step. You must let the bars cool. Then chill them for hours. I know, I know. You want to eat them now. But trust this old grandma.
Chilling makes them firm. It lets the flavors get cozy together. You get a clean slice. The crust stays crisp. If you skip it, you’ll have a delicious mess. Worth the wait, I promise.
The Final Touch
Lift out your bars with the foil. Look at that beautiful layers. I like to sprinkle toasted coconut on top. It looks like snow. It adds a nice crunch.
Cut them into squares. Share them with someone you love. Food tastes better shared. What’s your favorite dessert to make for friends? Is it a family recipe like this one?
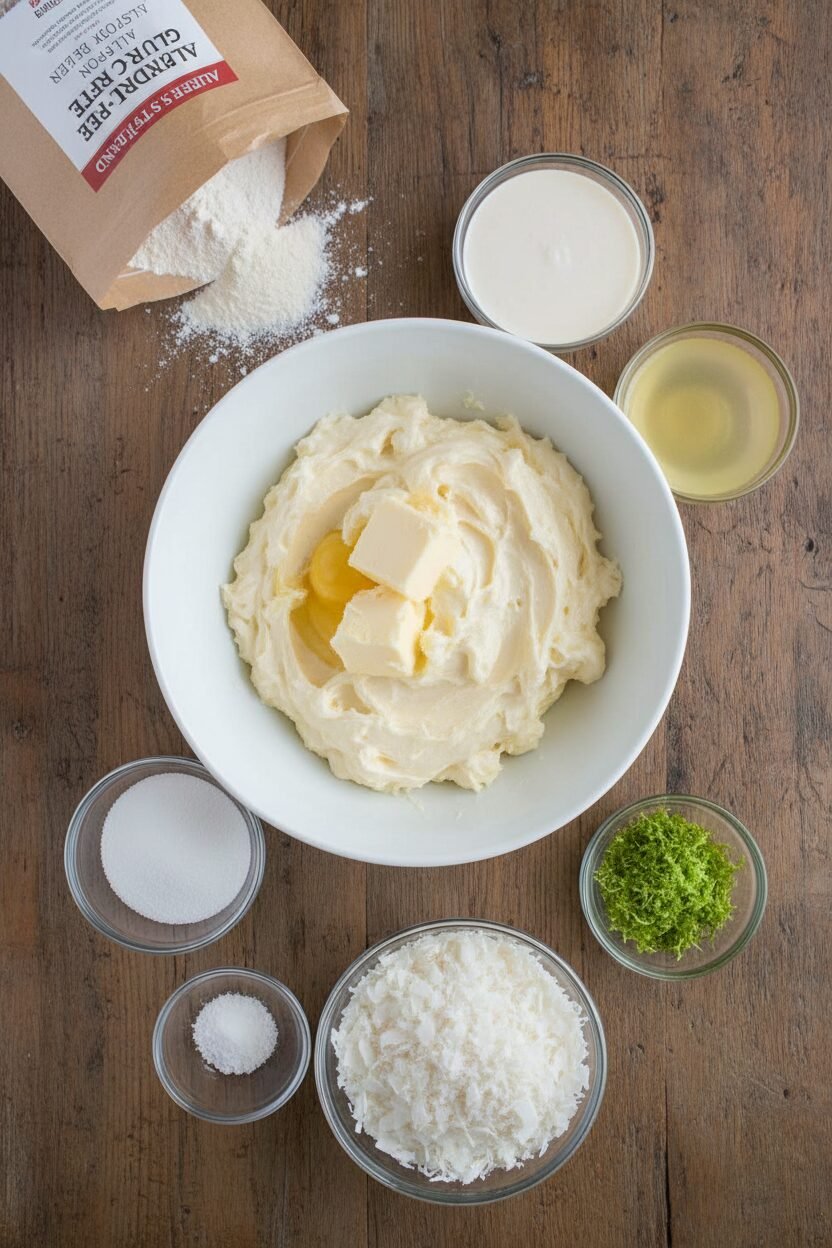
Ingredients:
| Ingredient | Amount | Notes |
|---|---|---|
| America’s Test Kitchen All-Purpose Gluten-Free Flour Blend | 6 oz (1 ⅓ cups / 170g) | For the crust |
| Sugar | 2 ⅓ oz (⅓ cup / 66g) | For the crust |
| Salt | ¼ teaspoon + 1 pinch | ¼ tsp for crust, pinch for filling |
| Xanthan gum | ¼ teaspoon | For the crust |
| Unsalted butter | 8 tablespoons (½ cup) | Cut into ½-inch pieces, softened; for crust |
| Cream cheese | 2 oz (57g) | Softened; for filling |
| Limes | 4 limes | For 1 tbsp zest and ½ cup juice; for filling |
| Sweetened condensed milk | 14 oz (1 can / 397g) | For filling |
| Large egg yolk | 1 | For filling |
| Sweetened shredded coconut | ¾ cup | Toasted; optional for topping |
Instructions
Step 1: First, get your oven ready. Move a rack to the middle. Heat it to 350 degrees. Take two long pieces of foil. Fold each to be eight inches wide. Lay them in your pan so they cross. Let the extra foil hang over the edges. This makes a handy sling. Spray it lightly with oil. (This sling is a lifesaver for lifting out the bars later!)
Step 2: Now, make the crust. Use your mixer with the paddle. Mix the flour, sugar, salt, and xanthan gum. Add the butter pieces slowly. Keep mixing until it looks like dough. It should pull from the bowl sides. This takes a few minutes. If it seems too dry, add a tiny splash of water.
Step 3: Press that dough into your foil-lined pan. Use a measuring cup to make it flat. Bake the crust for about 25 minutes. Turn the pan halfway through. You’ll know it’s done when it smells toasty. Let it cool for 30 minutes. I always use this time to grate my limes.
Step 4: Time for the sunny filling! Stir the cream cheese, lime zest, and salt. Get all the lumps out. Whisk in the sweetened condensed milk. Then add the lime juice and egg yolk. Whisk until it’s perfectly smooth. Pour it over your cooled crust. Bake for 15-20 minutes. The edges will pull away a little. What’s your favorite citrus fruit? Share below!
Step 5: Patience is key now. Let the pan cool for two hours. Then cover it and chill in the fridge. Another two hours, please! Use the foil sling to lift out the whole bar. Sprinkle with toasted coconut if you like. Cut into squares. (Chilling makes them slice so neatly!) The crust gets softer after a day, but they’re still delicious.
Creative Twists
My grandson loves to play with this recipe. You can too! Try using lemon instead of lime for a classic taste. For a tropical party, add a tiny drop of coconut extract to the filling. Or, mix some crushed pistachios right into the crust for a lovely green speckle. It adds a nice little crunch. Which one would you try first? Comment below!
Serving & Pairing Ideas
These bars are a dream on a plate. Serve them on a pretty platter. A dollop of whipped cream on top never hurts. For a fancy touch, add a thin slice of lime. They’re perfect with a cup of herbal tea. I love mint or ginger tea with mine. For a grown-up treat, a little glass of chilled limoncello is lovely. Doesn’t that sound refreshing? Which would you choose tonight?

Keeping Your Snow Bars Fresh
These bars love the cold. Once cut, store them in the fridge. Use a tight container so they stay fresh. They will keep for two days this way.
You can also freeze them for a sweet treat later. Wrap each bar tightly in plastic wrap. Then place them all in a freezer bag. They freeze well for up to a month.
Thaw frozen bars in the fridge overnight. I once left a whole batch on the counter. The filling got too soft. The fridge is your friend here.
Making a double batch is a smart idea. You get a treat now and one for later. This matters because a ready-made dessert saves a busy day. Have you ever tried storing it this way? Share below!
Simple Fixes for Common Hiccups
Is your crust too crumbly? The dough might have been too dry. Remember to add that tablespoon of water. Press the crust into the pan very firmly.
Is the filling not setting? The oven might be off. Use an oven thermometer to check. I remember when my bars were too jiggly. My oven was running cool.
Are the bars too tart or too sweet? Always taste your lime juice first. Juices can vary in sourness. This matters for getting that perfect sunny flavor.
Fixing small problems builds your kitchen confidence. You learn how ingredients work together. Which of these problems have you run into before?
Your Quick Questions, Answered
Q: Can I use regular flour? A: Yes, swap the gluten-free blend for the same amount of all-purpose flour. Skip the xanthan gum.
Q: Can I make these ahead? A: Absolutely! They need to chill for hours. Make them the day before you need them.
Q: No cream cheese? A: You can use an extra egg yolk instead. The bars will be less creamy but still tasty.
Q: Can I double the recipe? A: Yes, use a 9×13 inch pan. Just watch the baking time. It may need a few more minutes.
Q: Is the coconut needed? A: It’s optional! It adds a nice snowy look and crunch. Toasting it makes it extra special. Which tip will you try first?
*Fun fact: The key lime is smaller and yellower than a regular lime. It also has more seeds!*
A Sweet Note From My Kitchen
I hope you love making these sunny bars. They always remind me of summer breezes. Baking is about sharing joy and creating smiles.
I would love to hear about your baking adventure. Tell me how it went in your kitchen. Have you tried this recipe? Your stories are my favorite thing to read.
Happy cooking!
—Elowen Thorn.
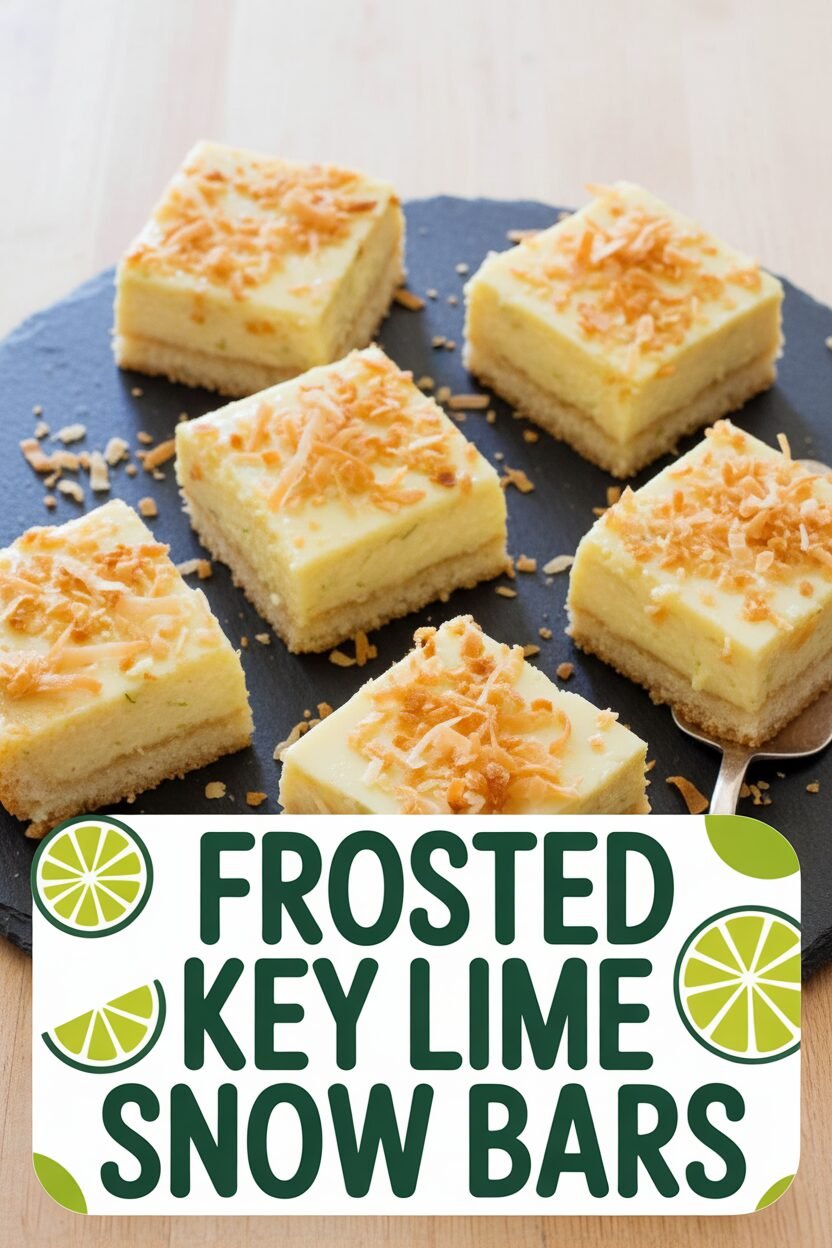

Frosted Key Lime Snow Bars
Description
Gluten-Free Key Lime Bars with a buttery crust, a tangy lime filling, and a toasted coconut topping.
Ingredients
For the Crust:
For the Filling:
Instructions
- Adjust oven rack to middle position and heat oven to 350 degrees. Make foil sling for 8-inch square baking pan by folding 2 long sheets of aluminum foil so each is 8 inches wide. Lay sheets of foil in pan perpendicular to each other, with extra foil hanging over edges. Push foil into corners and up sides of pan, smoothing foil flush to pan; spray with vegetable oil spray.
- For the crust: Using stand mixer fitted with paddle, mix flour blend, sugar, salt, and xanthan gum on low speed until combined. Add butter, 1 piece at a time, and continue to mix until dough forms and pulls away from sides of bowl, 2 to 3 minutes. (Add 1 to 2 tablespoons of water as needed if dough appears dry.)
- Transfer mixture to prepared pan and press firmly into even layer using bottom of measuring cup. Bake crust until fragrant and beginning to brown, 25 to 30 minutes, rotating pan halfway through baking. Let crust cool for about 30 minutes.
- For the filling: Stir cream cheese, lime zest, and salt together in bowl until well combined and no lumps remain. Whisk in condensed milk until well combined. Whisk in lime juice and egg yolk until very smooth. Pour filling evenly over cooled crust.
- Bake until bars are set and edges begin to pull away slightly from sides of pan, 15 to 20 minutes, rotating pan halfway through baking.
- Let bars cool completely in pan, about 2 hours. Cover with foil and refrigerate bars until thoroughly chilled, about 2 hours. Using foil sling, remove bars from pan. Sprinkle with toasted coconut, if using. Cut into squares and serve. (Bars can be refrigerated for up to 2 days; crust will soften.)
Notes
- For a clean cut, use a sharp knife dipped in hot water and wiped dry between slices.