

A Little Batch of Joy
Hello, my dear. Come sit. Let’s make something sweet. Today we are making just six cookies. A small batch is perfect. It is for sharing with a friend or keeping all to yourself. I won’t tell.
Why does this matter? Well, life is busy. A big recipe can feel like a chore. But six cookies? That is a little hug for your afternoon. It feels manageable. That is a good feeling. Tell me, do you prefer big batches or small, special ones?
The Heart of the Cookie
The dough is simple. You stir it all in one bowl. My favorite part is the chopped peanuts. They add a lovely little crunch. *Fun fact: Toasting the nuts first makes their flavor sing. It’s a tiny step that does big work.
You roll the dough into twelve little balls. Then you flatten them with a damp hand. I still laugh at that. My granddaughter once used a wet, drippy hand. We had funny, flat pancakes! A damp hand is the secret. Doesn’t that smell amazing already?
Patience is a Warm Filling
While the cookies cool, we make the filling. Melt the peanut butter and butter together. Stir in the snowy sugar. It becomes so smooth and sweet. This is the “snowdrift” in the middle.
Why does waiting matter here? A warm filling on a cool cookie is magic. It sets just right. If you rush, it will squish out the sides. Good things need a little time. What is your hardest recipe to wait for?
Putting Them Together
Now, the best part. Place six cookies upside down. Add a spoonful of warm filling. Gently press another cookie on top. You will see the snowdrift spread to the edges.
Let them sit for an hour. I know, more waiting! But it makes them neat to eat. The filling firms up. Then you get that perfect bite. A crisp cookie, a creamy center. It is worth every minute.
A Story in Every Bite
My Arthur loved these. He called them his “snowy peanut pillows.” He would have one with his tea after shoveling the walk. I think of him every time I make them.
Food holds our stories. That is why we cook. We make new memories to pass on. What food reminds you of someone you love? I would love to hear your story.
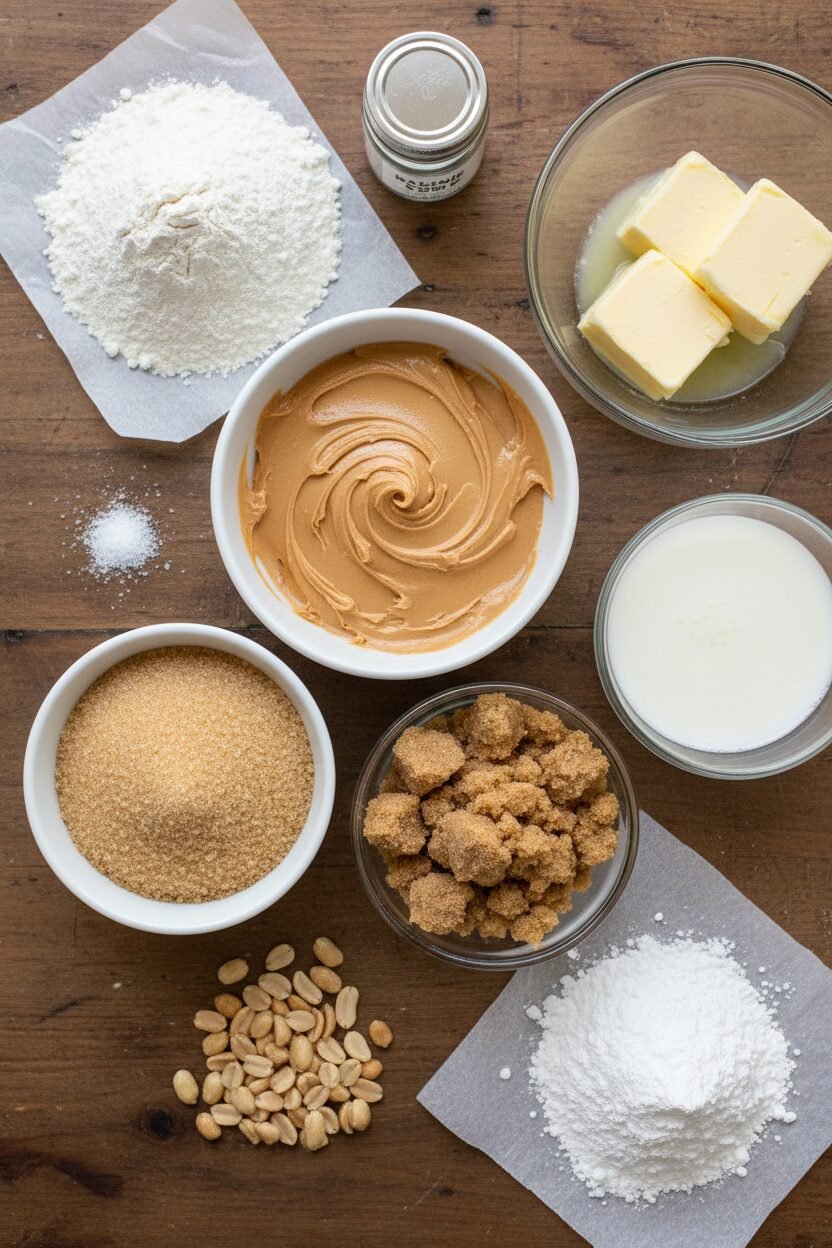
Ingredients:
| Ingredient | Amount | Notes |
|---|---|---|
| All-purpose flour | ¼ cup (1¼ ounces/35 grams) | For the cookies |
| Baking soda | ¼ teaspoon | For the cookies |
| Table salt | ⅛ teaspoon | For the cookies |
| Creamy peanut butter | 2 tablespoons | For the cookies |
| Granulated sugar | 2 tablespoons | For the cookies |
| Brown sugar | 2 tablespoons | For the cookies |
| Unsalted butter, melted | 1 tablespoon | For the cookies |
| Milk | 1 tablespoon | For the cookies |
| Unsalted dry-roasted peanuts | ⅓ cup | Toasted and chopped fine; for the cookies |
| Creamy peanut butter | 3 tablespoons | For the filling |
| Unsalted butter | 1 tablespoon | For the filling |
| Confectioners’ sugar | ¼ cup (1 ounce/28 grams) | For the filling |
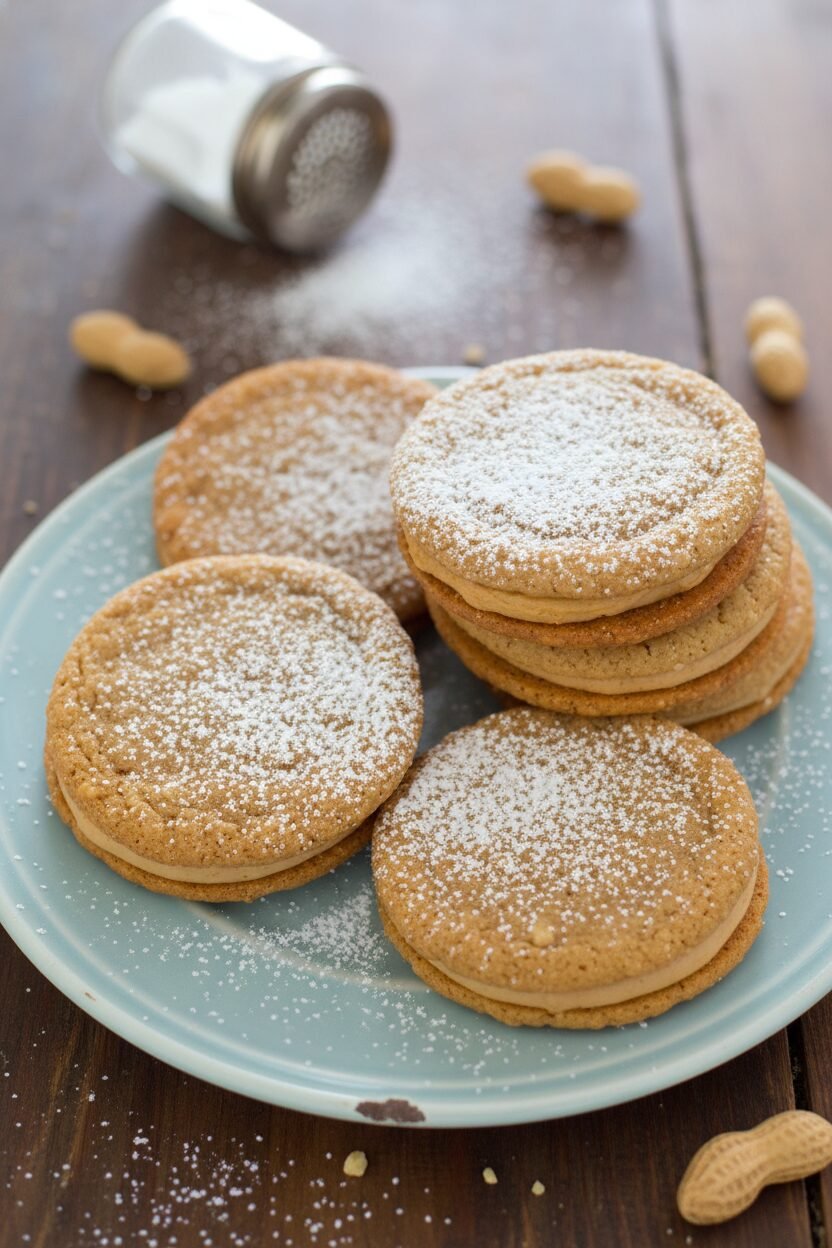
Peanut Butter Snowdrift Sandwich Cookies
Hello, my dear. Come sit at the counter. I want to tell you about these cookies. They remind me of snowy afternoons with my grandson. We’d bake until the kitchen windows fogged up. These cookies are small-batch, just for you. They are crunchy, nutty, and filled with sweet peanut butter fluff. Doesn’t that sound cozy? Let’s make some memories together.
Step 1: First, get your oven ready. Set it to 350 degrees. Line your baking sheet with parchment paper. Now, whisk the flour, baking soda, and salt in a bowl. This is the quiet start. In go the peanut butter, both sugars, melted butter, and milk. Stir it all until it becomes one happy, sticky dough. Finally, mix in those toasted peanuts. Their smell is so warm and comforting. (A hard-learned tip: measure your flour by weight if you can. It makes all the difference for tender cookies.)
Step 2: This part is fun. Divide the dough into three equal lumps. Cut each lump into four little pieces. Roll each piece into a ball. Place them on your baking sheet. Now, dampen your hand with water. Gently press each ball flat. Make them about two inches wide. I still laugh at my first try. My cookies were all different shapes! Do you like crunchy or chewy cookies best? Share below!
Step 3: Time to bake. Slide the sheet into the oven. Bake for 15 to 18 minutes. They should turn a deep, golden brown. Don’t forget to rotate the sheet halfway. This gives every cookie a fair turn in the heat. Let them cool on the sheet for five minutes. Then move them to a rack. Patience, now. They need to cool completely. It takes about half an hour. The waiting is the hardest part.
Step 4: While they cool, make the fluffy filling. Put the peanut butter and butter in a bowl. Microwave it just until the butter melts. It will smell amazing. Stir in the confectioners’ sugar. Keep stirring until it’s perfectly smooth and cloud-like. This is the sweet “snowdrift” for our cookies.
Step 5: The grand finale! Turn six cookies upside down. Place a spoonful of warm filling on each. Gently press a second cookie on top. The filling will squish to the edges. Let them sit for an hour so the filling sets. Then, the magic is ready. Share them with someone special.
Cook Time: 15–18 minutes
Total Time: 50 minutes, plus cooling
Yield: 6 sandwich cookies
Category: Dessert, Cookies
Three Fun Twists to Try
Once you master the classic, try a little twist. It’s like giving the recipe a new hat. Here are three of my favorites.
The Chocolate Drizzle: Melt a little chocolate. Drizzle it over the assembled cookies. Let it harden. So pretty.
The Jam Surprise: Add a tiny dollop of raspberry jam in the center of the filling. A sweet, fruity secret.
The Salty Crunch: Roll the edges of the filling in crushed pretzel bits. Sweet and salty is the best combination.
Which one would you try first? Comment below!
Serving Them Up Right
These cookies are stars all on their own. But I love making a moment of it. Place one on a small, pretty plate. Maybe with a doily underneath. It feels fancy. For a real treat, serve them with a cold glass of milk. The classic choice is always right. For the grown-ups, a small glass of creamy bourbon is a lovely match. It echoes the toasted, nutty flavors. For a cozy night in, a mug of hot chocolate is perfect. Dunking is encouraged here. Which would you choose tonight?
Keeping Your Snowdrift Cookies Perfect
These cookies are best enjoyed fresh. But you can store them well. Keep assembled cookies in an airtight container. They will stay good for up to three days at room temperature.
You can also freeze the baked, unfilled cookies. I wrap them tightly in plastic wrap. Then I place them in a freezer bag. They keep for a month. Thaw them on the counter before filling.
I once mailed a batch to my grandson. I packed them with parchment paper between layers. He said they arrived perfect. This small act of care matters. It turns food into a hug you can send.
You can double the recipe for a bigger batch. Just mix everything in a larger bowl. This is great for school events or parties. Have you ever tried storing cookies this way? Share below!
Little Fixes for Big Cookie Success
Sometimes cookies spread too much. Your dough might be too warm. Chill it for 15 minutes before shaping. This helps them keep their nice round shape.
The filling might seem too runny. Let it cool for a minute after mixing. It will thicken up as it sits. I remember my first batch was a bit messy. It still tasted wonderful.
Your cookies might be too crumbly. Be sure to measure your flour correctly. Fluff it up before you scoop it. Level it off with a knife. Getting this right builds your confidence. It also makes the texture just perfect.
Fun fact: The salt in the recipe makes the peanut flavor pop. It’s a tiny ingredient with a big job. Which of these problems have you run into before?
Your Quick Cookie Questions, Answered
Q: Can I make these gluten-free? A: Yes. Use a good gluten-free flour blend. Make sure it has xanthan gum in it.
Q: Can I make them ahead? A: You can make the dough balls ahead. Keep them covered in the fridge for a day.
Q: What if I don’t have brown sugar? A: Use all granulated sugar. The cookies will be a little less chewy but still good.
Q: Can I make a bigger batch? A: Absolutely. Just double or triple all the ingredients. Use a bigger baking sheet.
Q: Any fun extra tips? A: Try a tiny pinch of cinnamon in the dough. It adds a cozy, warm note. Which tip will you try first?
From My Kitchen to Yours
I hope you love making these little sandwiches. They are full of cozy, peanut buttery joy. Baking is about sharing stories and smiles.
I would love to see your creations. Did your cookies turn out golden and lovely? Have you tried this recipe? Tag us on Pinterest! You can find me at @ElowensKitchenNook.
Thank you for baking with me today. I am so glad you stopped by my virtual kitchen. Now, go enjoy your delicious cookies with a glass of cold milk.
Happy cooking!
—Elowen Thorn.
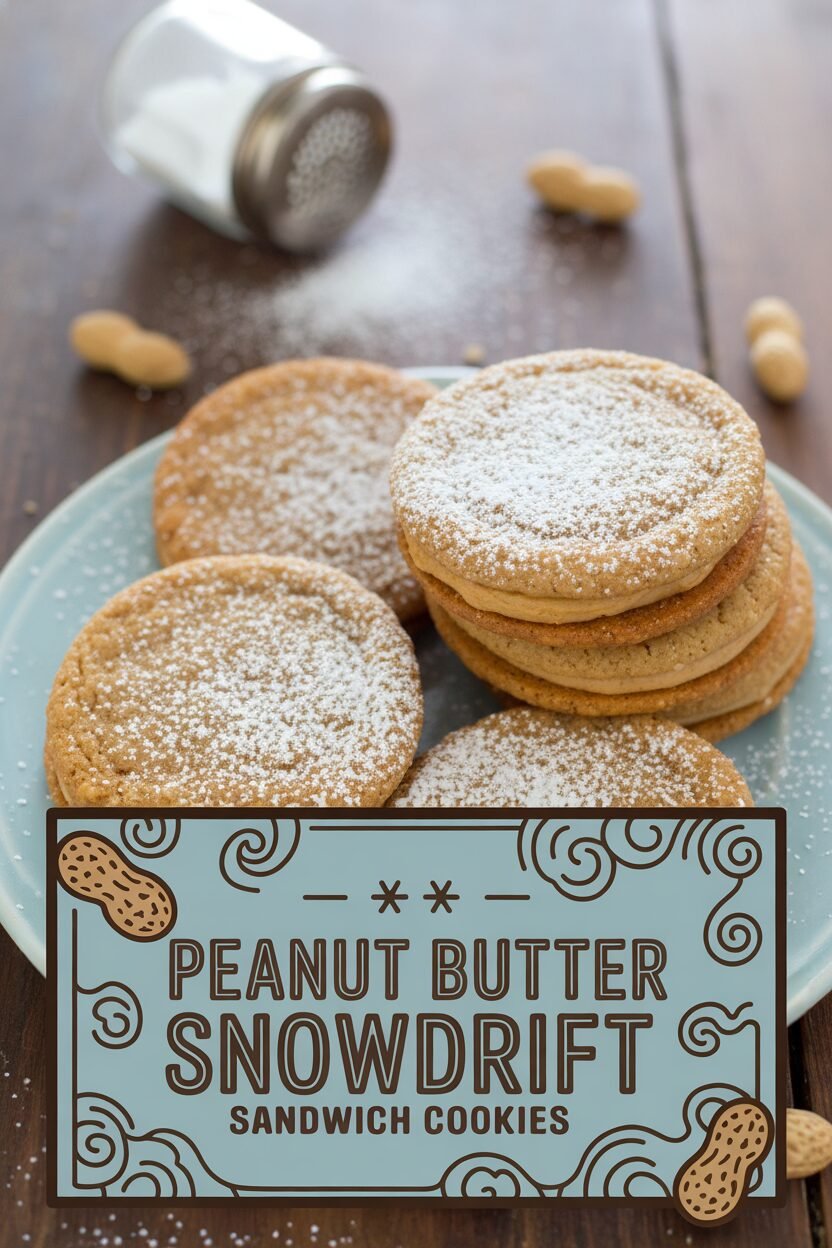

Peanut Butter Snowdrift Sandwich Cookies
Description
Small-Batch Peanut Butter Sandwich Cookies. Enjoy a rich, nutty treat with these homemade cookies featuring a creamy peanut butter filling.
Ingredients
Cookies:
Filling:
Instructions
- Adjust oven rack to middle position and heat oven to 350 degrees. Line baking sheet with parchment paper. Whisk flour, baking soda, and salt together in bowl. Add peanut butter, granulated sugar, brown sugar, melted butter, and milk and stir with rubber spatula until combined. Stir in peanuts until evenly distributed.
- Use ⅓-cup dry measuring cup to divide dough into 3 equal portions and place portions on cutting board. Using knife, cut each portion into 4 quadrants. Roll each quadrant into ball and space evenly on prepared baking sheet. Dampen your hand and flatten balls until 2 inches in diameter.
- Bake until deep golden brown and firm to touch, 15 to 18 minutes, rotating sheet halfway through baking. Let cookies cool on sheet for 5 minutes. Transfer cookies to wire rack and let cool completely, about 30 minutes.
- Microwave peanut butter and butter in bowl until butter is melted and warm, 30 to 50 seconds. Using rubber spatula, stir in confectioners’ sugar until mixture is smooth.
- To assemble, place 6 cookies upside down on work surface. Place scant tablespoon warm filling in center of each cookie. Place second cookie on top of filling, right side up, pressing gently until filling spreads to edges. Allow filling to set for 1 hour before serving. Assembled cookies can be stored in airtight container for up to 3 days.
Notes
- We strongly recommend weighing your ingredients where weights are indicated. If using natural peanut butter, be sure to stir it well before measuring. Do not use unsalted peanut butter for these cookies.