

The Cookie That Hugs You Back
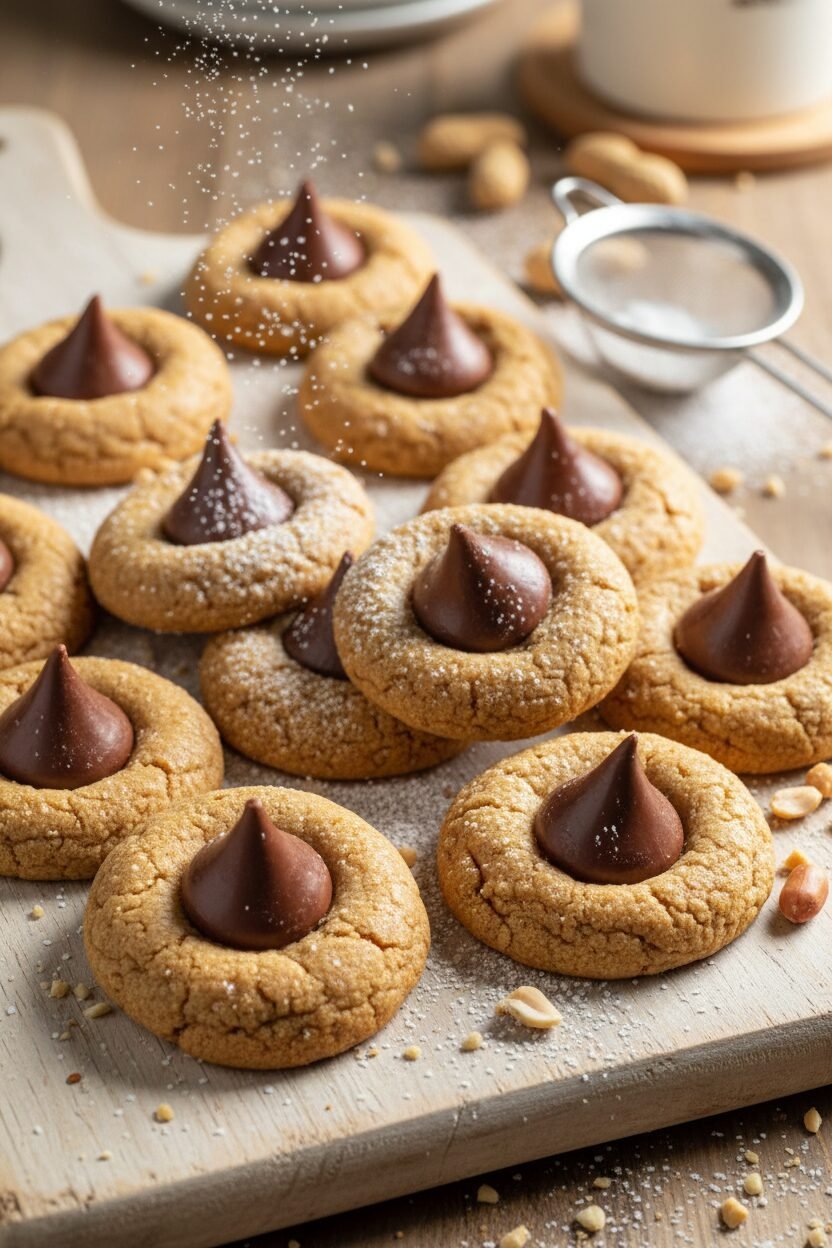
Hello, my dear. Come sit. The kettle is on. Today we are making my favorite winter cookie. I call them Snowdrift Blossoms. They are a peanut butter cookie with a chocolate kiss tucked right in the middle. It is like a sweet little hug.
When you bite one, the cookie is soft. The chocolate is smooth. It just makes you smile. I baked these for my grandchildren every December. They would race to see who got the one with the most chocolate. Silly, happy memories. What is your favorite cookie memory? I would love to hear it.
A Little Story From My Kitchen
I first made these decades ago. I was a young mother. I wanted to make something special for a party. I found a recipe in a worn magazine. But I did not have the right chocolate.
So I used what I had. I pressed a chocolate kiss into a warm peanut butter cookie. It worked perfectly. The chocolate softened just right. I still laugh at that. Sometimes the best ideas come from using what you already have.
Why The Little Details Matter
This recipe has a secret. We grind peanuts right into the flour. This is important. It gives the cookie a deep, nutty taste. It is not just sweet. It has a soul.
Also, you must chill the dough. I know, waiting is hard. But it makes the dough firm. This helps the cookies keep their pretty shape. Good things take a little patience. That is a good lesson for baking and for life.
The Fun Part: Making The Blossoms
Roll the dough into small balls. Just like you are making little snowballs. Space them out on your tray. They will spread. When they bake, your kitchen will smell amazing. Like roasted peanuts and warm sugar.
Here is the magic step. Take them out halfway. Quickly press a kiss into each warm center. The cookie will crackle around it. It looks like a flower blooming. Fun fact: The Hershey’s Kiss was first made in 1907. They were wrapped by hand! Do you like milk chocolate or dark chocolate kisses better?
Sharing The Warmth
Let the cookies cool completely. The chocolate needs time to set. I always pack them in a tin. I add a paper doily. It makes a nice gift.
Food is more than eating. It is a way to say, “I thought of you.” A simple cookie can lift a spirit. It can remind someone they are loved. That is why we bake. Who will you share your first batch with?
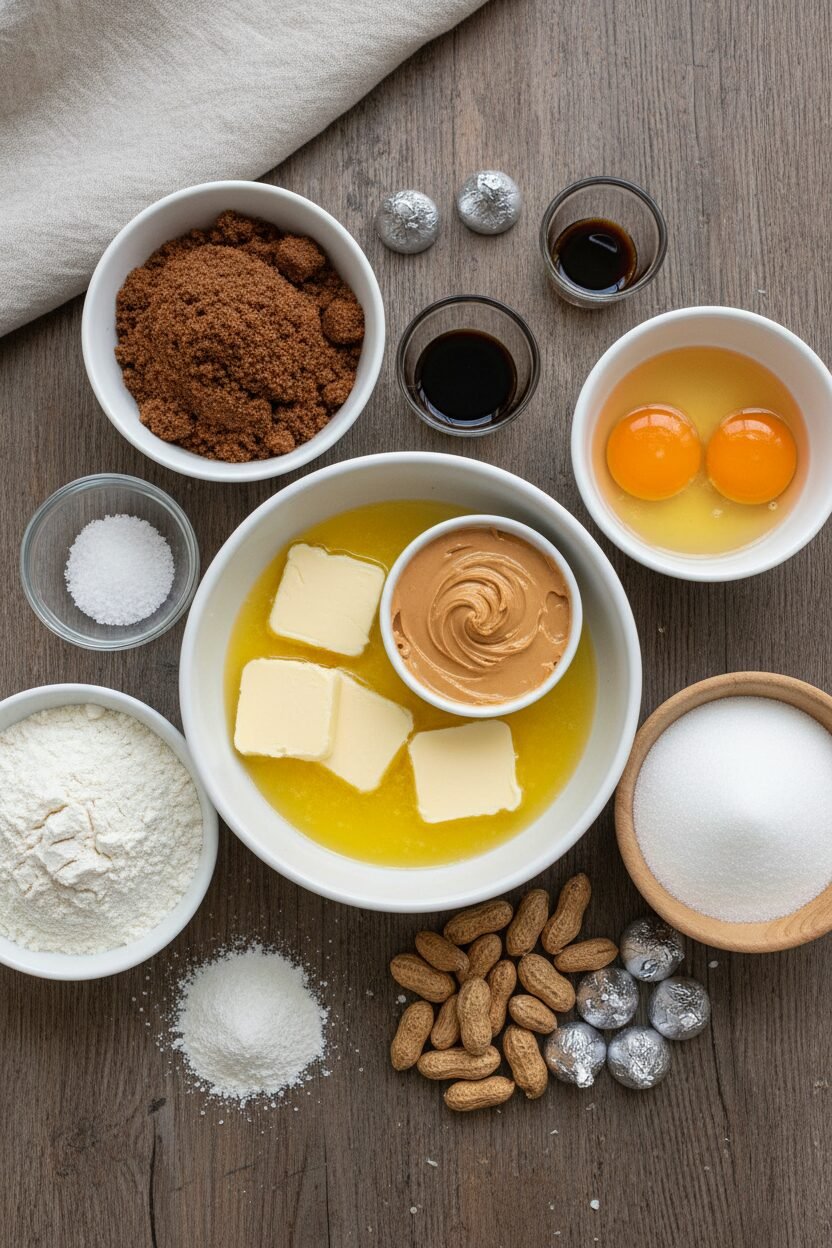
Ingredients:
| Ingredient | Amount | Notes |
|---|---|---|
| All-purpose flour | 2 ¾ cups (13¾ ounces/390 grams) | |
| Table salt | ½ teaspoon | |
| Baking soda | ½ teaspoon | |
| Baking powder | ½ teaspoon | |
| Roasted salted peanuts | 1 cup | |
| Unsalted butter, softened | 16 tablespoons | |
| Dark brown sugar | ¾ cup packed (5¼ ounces/149 grams) | |
| Granulated sugar | ¾ cup (5¼ ounces/149 grams) | |
| Creamy peanut butter | 1 cup | |
| Large eggs, at room temperature | 2 | |
| Vanilla extract | 2 teaspoons | |
| Hershey’s Chocolate Kisses | 96 pieces | From two 1-pound bags, wrappers removed |
Instructions
Step 1: First, get your oven ready. Move a rack to the middle. Heat it to 350 degrees. Line two baking sheets with parchment paper. This keeps the cookies from sticking. I always keep a roll of parchment in my drawer.
Step 2: Now, let’s mix the dry things. Whisk 1 3/4 cups flour with the salt, baking soda, and powder. Grind the peanuts with the last cup of flour in your food processor. Stir it all together in a bowl. It will smell wonderfully nutty. (A quick tip: measure your flour by spooning it into the cup.)
Step 3: Time for the sweet stuff. Beat the soft butter and both sugars until fluffy. Add the peanut butter and mix it in. Crack in the eggs, one at a time. Then mix in the vanilla. It will look like a lovely, creamy dream.
Step 4: Bring it all together. Slowly mix your flour mixture into the butter bowl. Mix just until you see no more dry spots. Cover the bowl and chill the dough for 30 minutes. This makes it easier to roll. Why do we chill cookie dough? Share below!
Step 5: Let’s make the blossoms. Roll the dough into small, 1-inch balls. Place them 2 inches apart on your sheets. Bake for about 10 minutes until they just start to crack. Work fast now! Press a chocolate kiss into each warm cookie. Bake for 2 more minutes. Let them cool completely. The chocolate will set in a couple of hours.
Creative Twists
These cookies love to play dress-up. You can give them a whole new look. Try one of these fun twists for your next batch. My grandkids argue over which version is best.
Use a chocolate star instead of a kiss. It looks like a proper little flower then.
Roll the dough balls in sugar before baking. They will sparkle like real snowdrifts.
Swap the peanut butter for almond butter. Use an almond on top, too. Doesn’t that sound fancy?
Which one would you try first? Comment below!
Serving & Pairing Ideas
These cookies are perfect for a cozy plate. I like to stack them high on my old china stand. You could also crumble one over a scoop of vanilla ice cream. That is a treat fit for a king. For drinks, I have two favorites. A cold glass of milk is the classic choice. It just belongs with peanut butter. For the grown-ups, a nice cup of coffee with cream is wonderful. It balances the sweetness so well. Which would you choose tonight?
Keeping Your Blossoms Fresh
These cookies keep well for a week. Just store them in a tin at room temperature. I layer them with parchment paper so they don’t stick.
You can freeze the baked cookies for up to three months. Let them thaw in the tin. The dough balls freeze beautifully too for a month.
Roll the dough balls before freezing. Then bake straight from the freezer, adding a minute or two. My first batch ever went stale because I left the tin open!
Batch cooking lets you have fresh treats anytime. It saves you a big mess later. Have you ever tried storing it this way? Share below!
Cookie Troubles and Easy Fixes
First, if your cookies spread too much, your butter was too warm. Chill your dough well. I remember when my first batch turned into one giant cookie!
Second, if the Kisses crack, your cookies were too hot. Let them cool for one minute first. This gives you a perfect, smooth chocolate top.
Third, if the dough feels too sticky, chill it longer. You can also dust your hands with a little flour. This makes rolling the balls much easier.
Fixing small problems builds your cooking confidence. It also makes your treats look and taste wonderful. Which of these problems have you run into before?
Your Quick Questions, Answered
Q: Can I make these gluten-free? A: Yes! Use a good gluten-free flour blend. The results will be just as tasty.
Q: Can I make the dough ahead? A: Absolutely. Keep it covered in the fridge for up to two days.
Q: What can I use instead of peanuts? A: Try other nuts, like almonds. Or leave them out for a smoother cookie.
Q: Can I halve this big recipe? A: You can. Just divide all the ingredients in half. Your kitchen will still smell amazing.
Q: Any optional tips? A: A tiny sprinkle of sea salt on top is lovely. *Fun fact: The peanut blossom cookie was invented in 1957!* Which tip will you try first?
From My Kitchen to Yours
I hope you love making these snowy, chocolate-topped treats. They always make my kitchen feel cozy and happy.
I would love to hear about your baking adventure. Please tell me all about it in the comments below.
Sharing recipes is how we share joy. Have you tried this recipe? I am so excited to hear your story.
Happy cooking!
—Elowen Thorn.
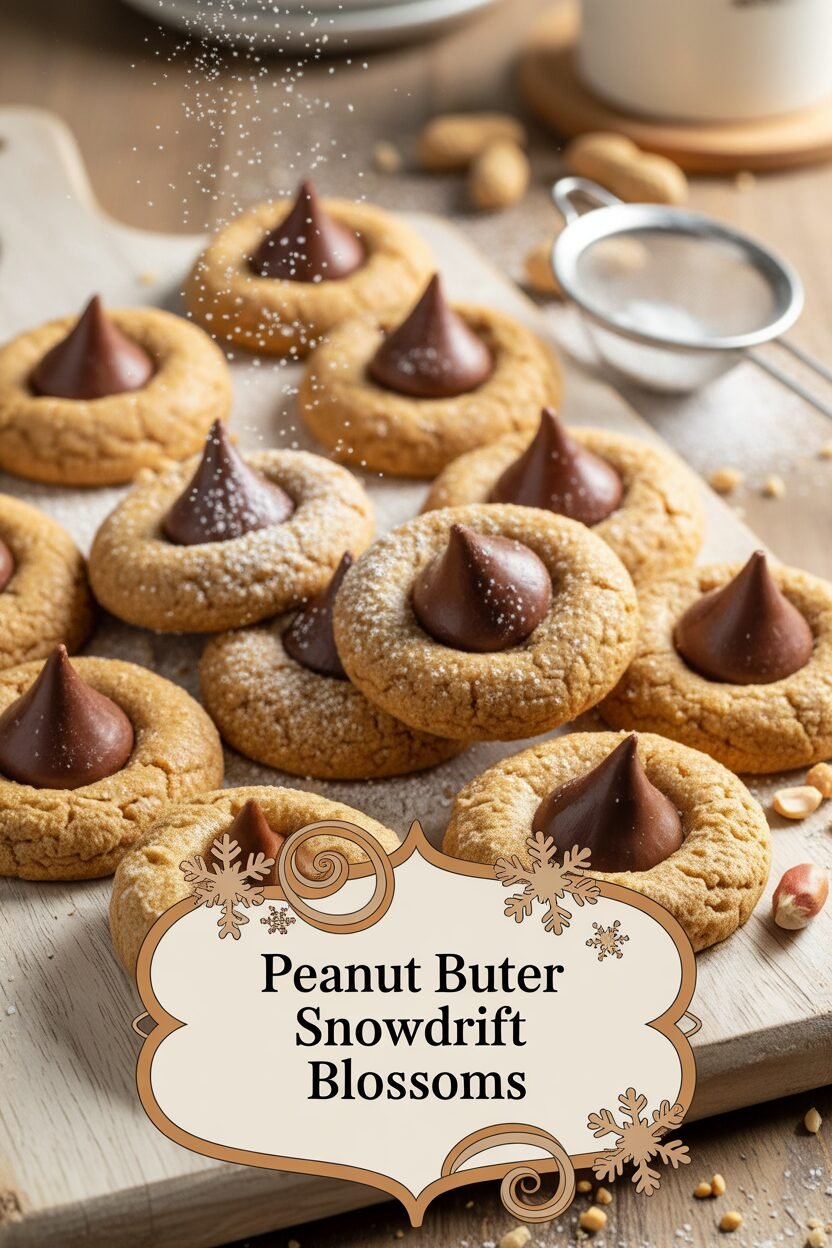

Peanut Butter Snowdrift Blossoms
Description
Classic peanut butter blossoms with a twist of ground peanuts in the dough, topped with a Hershey’s Kiss.
Ingredients
Instructions
- Adjust oven rack to middle position and heat oven to 350 degrees. Line two baking sheets with parchment paper.
- Whisk 1 3/4 cups flour, salt, baking soda, and baking powder together in medium bowl. Process remaining 1 cup flour and peanuts in food processor until ground, about fifteen 1-second pulses, then stir into flour mixture.
- Beat butter and sugars together in large bowl with electric mixer at medium-high speed until fluffy, about 3 minutes. Add peanut butter and continue to beat until combined. Add eggs, one at a time, beating after each addition, until incorporated, about 30 seconds, then beat in vanilla, stopping to scrape down sides of bowl, if necessary. Reduce speed to low, add flour mixture in two batches, and mix until incorporated. Cover bowl and refrigerate dough until stiff, about 30 minutes.
- Roll 1-inch balls of dough and space 2 inches apart on baking sheet. Bake until just set and beginning to crack, 9 to 11 minutes, rotating baking sheet from front to back halfway through baking (while cookies are baking, place additional balls of dough on second baking sheet).
- Working quickly, remove baking sheet from oven and firmly press one Kiss in center of each cookie. Return baking sheet to oven and bake until lightly golden, about 2 minutes.
- Transfer baking sheet to wire rack to cool for 5 minutes, then transfer cookies directly to wire rack to finish cooling. Repeat rolling and baking remaining cookies. Cool completely. (Cookies will be cool enough to eat after about 30 minutes, but Kisses will take 2 hours to set completely.)
Notes
- For best results, ensure dough is properly chilled before baking to prevent excessive spreading. Store cookies in an airtight container at room temperature.