

My First Chocolate Thumbprint
I made my first thumbprint cookie when I was ten. My grandma showed me how. I pressed my thumb right into the soft dough. It felt a bit silly. I still laugh at that.
We filled the little holes with her blackberry jam. That is why this matters. It is not just a cookie. It is a tiny cup, ready to hold something sweet. It teaches us to make space for good things.
Why We Toast the Pecans
Always toast your nuts. It is a simple step. It wakes up their flavor. Just spread them on a pan. Bake them for a few minutes until they smell warm.
Doesn’t that smell amazing? That warm, nutty smell is the start of the holiday. Rolling the dough balls in these pecans gives every bite a little crunch. It makes the cookie special. What is your favorite nut to bake with?
The Magic of the Dimple
Making the thumbprint is the best part. Use a teaspoon. Press it gently into the center. Do not go all the way through. You are making a home for the jam.
Fun fact: These cookies have many names. Some folks call them “bird’s nest” cookies. I like that. They do look like little nests holding a jewel. Be generous with your raspberry jam. A full half-teaspoon in each one.
Switching the Trays
Your oven has hot spots. The back is hotter than the front. The top rack cooks faster. So we switch the trays halfway through baking.
Move the top tray to the bottom rack. Move the bottom tray to the top rack. Also, turn each tray around. This is the second “why this matters.” It gives every cookie the same chance to become perfect. No burnt bottoms!
The Final Drizzle of Joy
Let the cookies cool completely. Then, melt your white chocolate. You can use a microwave. Go slow, stirring a lot. Then just drizzle it over the cookies with a fork.
Watching the chocolate harden is pure magic. It turns shiny and white. It makes them look like they are dressed for a party. Do you like drizzling chocolate, or do you prefer to dip?
Stories in a Tin
These cookies keep for three days in a tin. But they tell a longer story. They speak of your hands making the dimples. They remember the smell of toasting pecans.
Food is memory. That is the heart of it. When you share these, you share a moment. What is your favorite food memory from a holiday? I would love to hear it.
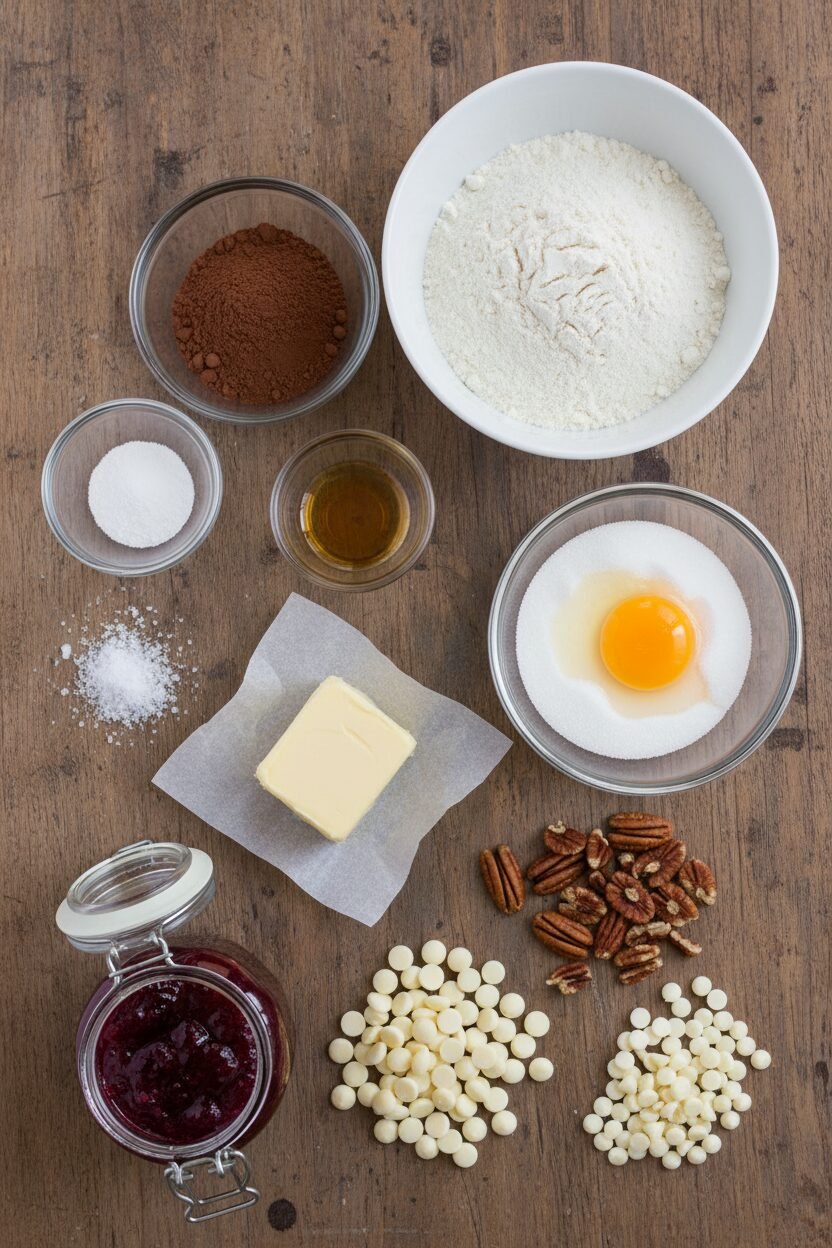
Ingredients:
| Ingredient | Amount | Notes |
|---|---|---|
| All-purpose flour | 1 ½ cups (7½ ounces/213 grams) | |
| Dutch-processed cocoa powder | ½ cup (1½ ounces/43 grams) | |
| Baking powder | ¼ teaspoon | |
| Baking soda | ¼ teaspoon | |
| Salt | ¼ teaspoon | |
| Unsalted butter, softened | 8 tablespoons (1 stick) | |
| Sugar | 1 cup (7 ounces/198 grams) | |
| Large egg | 1 | |
| Vanilla extract | 1 ½ teaspoons | |
| Pecans, toasted and chopped fine | 1 cup | For rolling the dough balls |
| Seedless raspberry jam | 6 tablespoons | For filling the thumbprints |
| White chocolate chips, melted | ½ cup (3 ounces/85 grams) | For drizzling |
Instructions
Step 1: First, get your oven ready. Move your racks and heat it to 350 degrees. Line your baking sheets with parchment paper. Now, mix your dry ingredients in a bowl. In another bowl, beat the soft butter and sugar together. It should look fluffy and light. Add the egg and vanilla and mix them in. (Make sure your butter is truly soft for this!)
Step 2: Time to mix the wet and dry. Turn your mixer speed to low. Gently add the flour and cocoa mixture. Mix just until you see no more dry flour. Overmixing makes tough cookies. I learned that the hard way. What do you think happens if you mix too much? Share below!
Step 3: Let’s shape our cookies. Put your chopped pecans in a shallow dish. Roll a tablespoon of dough into a ball. Then, roll it in the pecans, pressing gently. Place all the balls on your baking sheets, giving them space. Now, make a little thumbprint in each one. Doesn’t that feel fun?
Step 4: Fill each little dimple with raspberry jam. Just half a teaspoon each. Bake them for about 10 minutes. Remember to swap the tray positions halfway. This helps them bake evenly. Let them cool for a bit on the sheets. Then move them to a rack. The smell is just amazing.
Step 5: Finally, the chocolate drizzle. Melt your white chocolate chips carefully. I still laugh at the time I burned mine. Use a spoon to drizzle it over the cooled cookies. Let them sit until the chocolate hardens. Then, you can finally taste one. (A little patience makes the chocolate set nicely.)
Creative Twists
These cookies love to play dress-up. You can try so many fun changes. Use different jam flavors for the heart of the cookie. Apricot or blackberry are lovely. Try a different nut for the outside. Toasted almonds work beautifully. Or, swap the drizzled chocolate. Use dark or milk chocolate instead of white. Which one would you try first? Comment below!
Serving & Pairing Ideas
These cookies shine on a pretty plate. I like to stack them on a vintage cake stand. You could also serve them with a bowl of fresh berries. It makes a lovely little spread. For a drink, a glass of cold milk is always perfect. For the grown-ups, a sweet sherry pairs wonderfully. It’s a cozy holiday sip. Which would you choose tonight?
Keeping Your Thumbprints Happy
These cookies keep well for days. Just tuck them in an airtight container. A tin or a plastic tub works perfectly. Layer them with parchment paper so they don’t stick.
You can freeze the dough balls before baking. Place them on a tray until solid. Then pop them into a freezer bag. Bake straight from the freezer, adding a few extra minutes.
I once baked a huge batch for a party. The snowstorm canceled it! Freezing the dough saved the day. I baked fresh cookies the next week. Batch cooking like this saves time and stress.
It means you always have a sweet treat ready. That matters when friends drop by unexpectedly. Have you ever tried storing cookie dough this way? Share below!
Little Fixes for Big Smiles
First, your dough might seem too crumbly. This happens if the butter was too cold. Just use your hands to squeeze it together. The warmth from your hands will help it bind.
Second, the jam can bubble over in the oven. I remember when my first batch looked like little volcanoes! Use just half a teaspoon per cookie. Make a good, deep thumbprint to hold it.
Third, the white chocolate drizzle might not harden. Your kitchen might be too warm. Let the cookies cool completely first. You can even pop them in the fridge for a bit.
Fixing small issues builds your cooking confidence. It also makes your food taste and look its best. Which of these problems have you run into before?
Your Quick Questions, Answered
Q: Can I make these gluten-free? A: Yes! Use a good gluten-free flour blend. Make sure it has xanthan gum in it.
Q: Can I make them ahead? A: Absolutely. The baked cookies keep for three days. Or freeze the dough balls for a month.
Q: What if I don’t have raspberry jam? A: Any seedless jam works well. Apricot or blackberry are lovely swaps. Fun fact: My grandson loves these with orange marmalade!
Q: Can I double the recipe? A: You can, but mix it in two batches. It’s easier for your mixer to handle.
Q: Are the pecans optional? A: They add a nice crunch. But you can roll the balls in sugar instead. Which tip will you try first?
From My Kitchen to Yours
I hope you love making these little jewels. They always make my kitchen smell like joy. Baking is about sharing warmth and sweet moments.
I would love to hear about your baking adventure. Tell me all about it in the comments below. Have you tried this recipe? I am cheering for you from my cozy kitchen.
Happy cooking!
—Elowen Thorn.
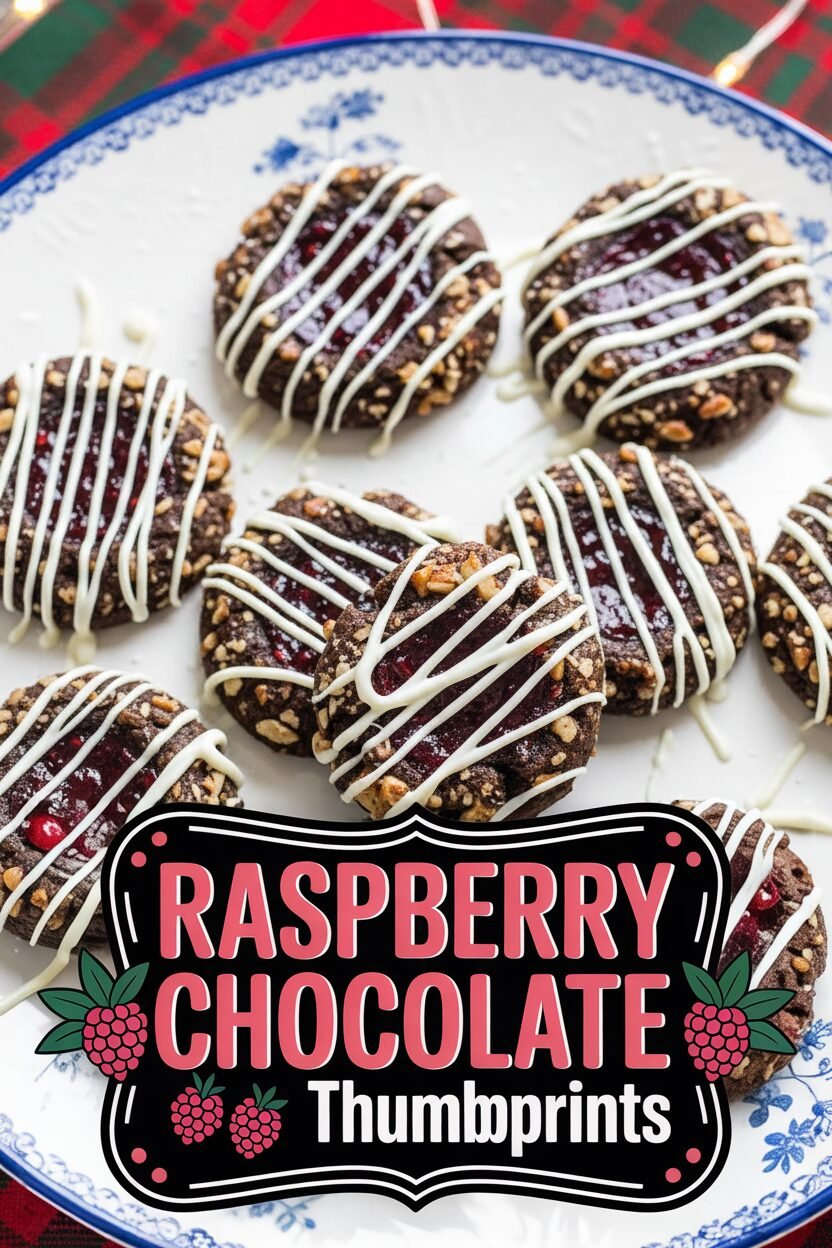

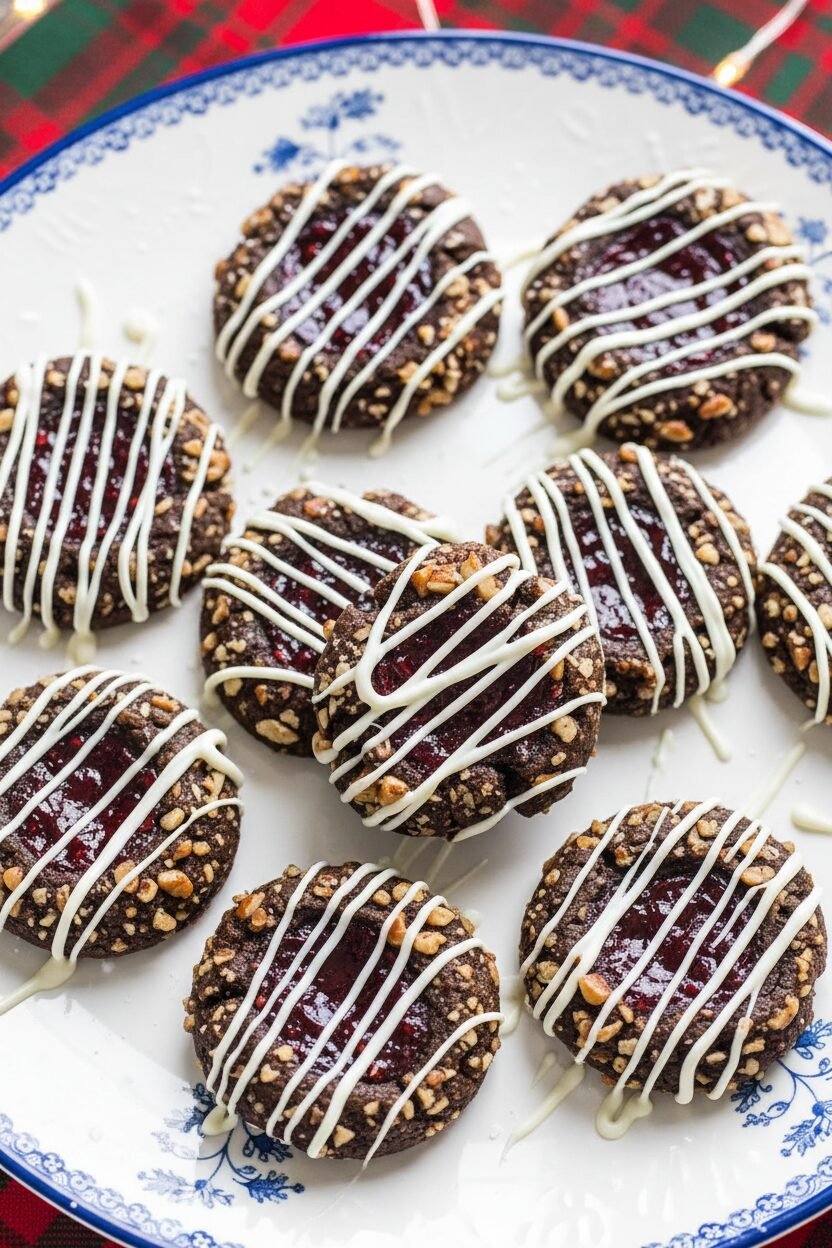
Raspberry Chocolate Holiday Thumbprints
Description
Festive chocolate thumbprint cookies filled with raspberry jam and drizzled with white chocolate.
Ingredients
Instructions
- MAKE DOUGH: Adjust oven racks to upper-middle and lower-middle positions and heat oven to 350 degrees. Line two baking sheets with parchment paper. Combine flour, cocoa powder, baking powder, baking soda, and salt in medium bowl. With electric mixer on medium-high speed, beat butter and sugar until light and fluffy, about 2 minutes. Add egg and vanilla and mix until incorporated. Reduce speed to low, add flour mixture, and mix until just combined.
- SHAPE AND BAKE: Place pecans in shallow dish. Roll 1 tablespoon dough into 1-inch ball, then roll in pecans, pressing to adhere. Repeat with remaining dough. Place balls 2 inches apart on prepared baking sheets. Using teaspoon measure, make indentation in center of each ball. Fill each dimple with 1/2 teaspoon jam. Bake until set, about 10 minutes, switching and rotating sheets halfway through baking. Cool 5 minutes on sheets, then transfer to wire rack to cool completely.
- DRIZZLE CHOCOLATE: Drizzle cookies with melted chocolate and let sit until chocolate hardens, about 15 minutes. (Cookies can be stored in airtight container at room temperature for 3 days.)
Notes
- For perfectly round cookies, use a measuring teaspoon to make the indentations. Ensure the jam is seedless for a smooth texture. Toast the pecans for deeper flavor.