

The Heart of the Kitchen
My cast iron skillet is my favorite pan. It has seen decades of family meals. I think it holds memories in its seasoned surface.
For these rolls, we start right in that warm skillet. We cook the garlic in butter first. Doesn’t that smell amazing? It fills the whole house with a cozy promise. This step matters because it tames the garlic’s sharp bite. It gives us a gentle, nutty flavor instead.
A Little Dough Story
Making dough is like a little magic show. You mix simple things and get a living, breathing ball. I love watching it rise. It feels hopeful.
My grandson once called it “dough puffy time.” I still laugh at that. Be patient with your rising dough. This matters because that wait builds the soft, airy inside. What’s your favorite thing to watch bake? Tell me, I’d love to know.
Shaping Your Wreath
Now we make the little balls. You roll each piece into a smooth, taut ball. Your hands will learn the perfect gentle pressure. Place them in a circle in your skillet.
They will snuggle up as they rise. They bake into one beautiful, pull-apart wreath. Fun fact: This shape is older than you think. People have made round breads for celebrations for thousands of years. It feels special to be part of that long story.
The Big Bake
The oven must be very hot for this. A hot oven gives us a gorgeous, golden crust. Brush the tops with that golden garlic butter first. Oh, the sizzle is a wonderful sound!
Watch them turn a perfect brown. Do you prefer your rolls very golden or just lightly tanned? I’m always curious. Remember the hot skillet handle. I always leave a potholder on it as a reminder. Safety is part of the love.
Why This All Works
These rolls are more than a recipe. They are a feeling. The cast iron gives a crisp bottom. The garlic butter soaks into every nook.
Sharing a warm, pull-apart bread connects people. You can’t eat it without helping yourself and your neighbor. That sharing matters most of all. Will you make these for a special day or a simple Tuesday? Both are perfect reasons.
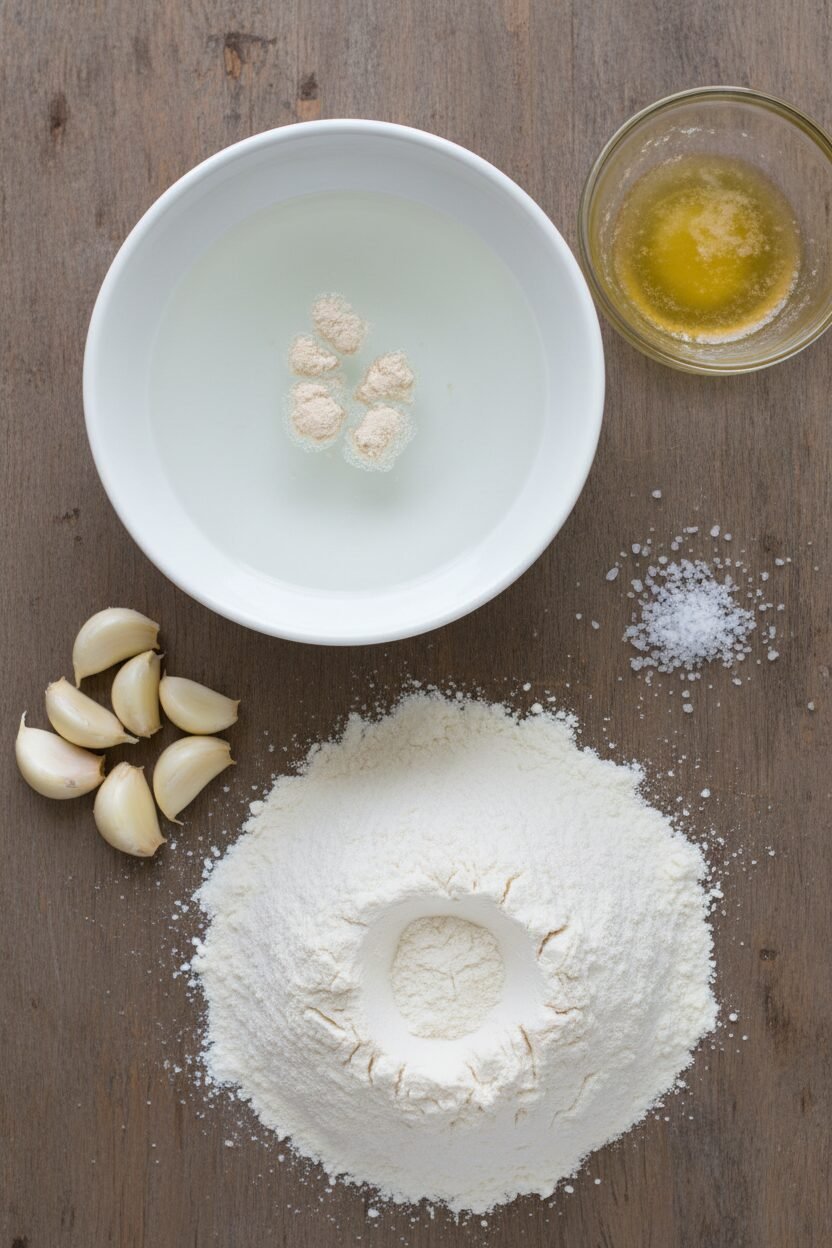
Ingredients:
| Ingredient | Amount | Notes |
|---|---|---|
| Garlic cloves, minced | 10 cloves | |
| Unsalted butter | 6 tablespoons | Cut into 6 pieces |
| Warm water (110°F) | 1 teaspoon + ¾ cup | Divided use |
| Instant or rapid-rise yeast | 1 ⅛ teaspoons | |
| All-purpose flour | 2 cups (10 ounces/283 grams) | Plus extra as needed |
| Salt | 1 teaspoon |
Instructions
Step 1: First, let’s make the garlic butter. Cook the garlic with a bit of butter and water in your skillet. Stir it until the garlic turns a light, golden color. It will smell amazing. Take the pan off the heat and add the rest of the butter. Let it sit for ten minutes, then strain it. Save the garlic bits! (Don’t wash that skillet, we’ll use it again.)
Step 2: Now, wake up the yeast. Mix the warm water, yeast, a spoon of garlic butter, and the saved garlic bits. In your mixer bowl, whisk the flour and salt. With the dough hook, slowly add the wet mix. Let the mixer knead the dough until it’s smooth. This takes about eight minutes. What do you think makes dough rise? Share below!
Step 3: Time for the dough’s first nap. Shape the dough into a smooth ball on a floured counter. Put it in a greased bowl and cover it tightly. Let it rest until it doubles in size. This takes about an hour. I always use this time to tidy up. A warm spot helps it rise faster.
Step 4: Let’s shape our wreath. Punch the dough down and roll it into a log. Cut it into twelve equal pieces. Roll each piece into a tight little ball. Arrange all the balls in your skillet. Cover them and let them rise again. They will get nice and puffy, ready for the oven.
Step 5: Bake them hot and fast. Heat your oven very hot. Brush the rolls with half of your garlic butter. Bake them until they are golden brown. Remember to turn the pan halfway. (Always use potholders, the handle gets as hot as the oven!)
Step 6: The final, best step. Take the skillet out carefully. Brush the hot rolls with the rest of the garlic butter. Oh, that smell is pure happiness. Let them cool for just five minutes. Then, pull them apart and enjoy the warm, buttery goodness.
Creative Twists
These rolls are wonderful as they are. But sometimes, a little change is fun. You can make them your own. Here are three simple ideas I love.
Herb Garden Wreath: Add a tablespoon of chopped fresh rosemary or thyme to the flour.
Cheesy Pull-Apart: Sprinkle a cup of grated parmesan cheese over the rolls right after the final butter brush.
Everything Bagel Flavor: Before baking, brush with egg wash and sprinkle with everything bagel seasoning.
Which one would you try first? Comment below!
Serving & Pairing Ideas
These rolls are the star of any table. Serve them right in the warm skillet for a cozy feel. They are perfect with a big bowl of tomato soup. I also love them next to a holiday roast. The buttery garlic flavor goes with so many things.
For drinks, a crisp apple cider is lovely. It’s sweet and tangy. For the grown-ups, a glass of chilled Chardonnay pairs beautifully. It tastes like apples and feels festive. Which would you choose tonight?
Keeping Your Wreath Rolls Wonderful
Let’s talk about keeping these rolls fresh. They are best eaten warm, right from the skillet. If you have leftovers, let them cool completely first. Then, pop them in a sealed bag on the counter for one day.
For longer storage, freeze them. Wrap each cooled roll tightly in plastic wrap. Then, place them all in a freezer bag. They will keep for a month. I once froze a whole batch for my grandson’s surprise visit. He was so happy!
To reheat, thaw if frozen. Warm them in a 350-degree oven for 10 minutes. You can also use a toaster oven for one or two. This brings back that soft, buttery magic. Batch cooking matters because it saves you time later. A warm, homemade roll is a little gift to your future self.
Have you ever tried storing it this way? Share below!
Simple Fixes for Common Roll Troubles
Sometimes, our baking needs a little help. Here are three common issues. First, the dough won’t rise. Your water may be too hot or cold. It should feel like warm bath water, not hot. This matters because yeast is a living thing. It needs the right warmth to grow.
Second, the rolls are too dense. This often means you added too much flour. I remember when I did this. My rolls were like little stones! Measure your flour by spooning it into the cup. Then level it off with a knife.
Third, the garlic burns. Always cook it on medium heat, not high. Watch it closely for that light golden color. Burnt garlic tastes bitter. Getting this right makes your whole kitchen smell amazing. It builds your cooking confidence, one perfect batch at a time.
Which of these problems have you run into before?
Your Quick Questions, Answered
Q: Can I make these gluten-free?
A: Yes, use a good gluten-free flour blend. Look for one meant for bread. The texture will be a bit different but still tasty.
Q: Can I make the dough ahead?
A: Absolutely. After the first rise, put the dough ball in the fridge. Keep it covered. Let it warm up a bit before shaping the next day.
Q: I don’t have fresh garlic.
A: You can use 1 teaspoon of garlic powder. Mix it right into the strained butter. The flavor will be milder, but still good.
Q: Can I double the recipe?
A: For a bigger crowd, yes! Use two skillets. Or shape them on a baking sheet. Just give them space to rise.
Q: Any optional tips?
A: A fun fact: adding a teaspoon of dried herbs to the butter is lovely. Try rosemary or parsley. It adds a lovely color and flavor.
Which tip will you try first?
From My Kitchen to Yours
I hope you love making these garlic butter wreaths. There is nothing better than sharing warm bread. It brings everyone to the table. I would love to hear about your baking adventure.
Tell me about your family’s smiles. Or about the wonderful smell in your kitchen. Your stories are my favorite thing to read.
Have you tried this recipe? Please leave a comment below and tell me all about it. Happy cooking!
—Elowen Thorn.
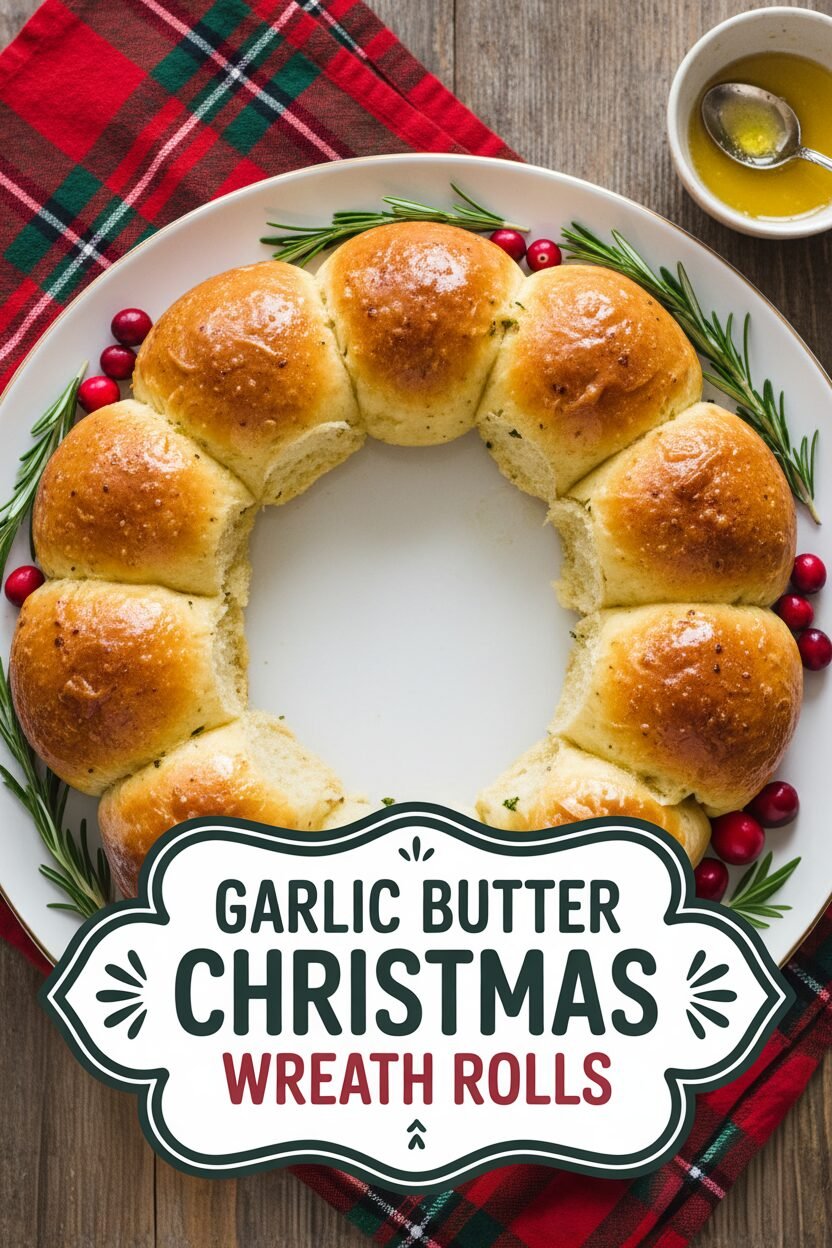

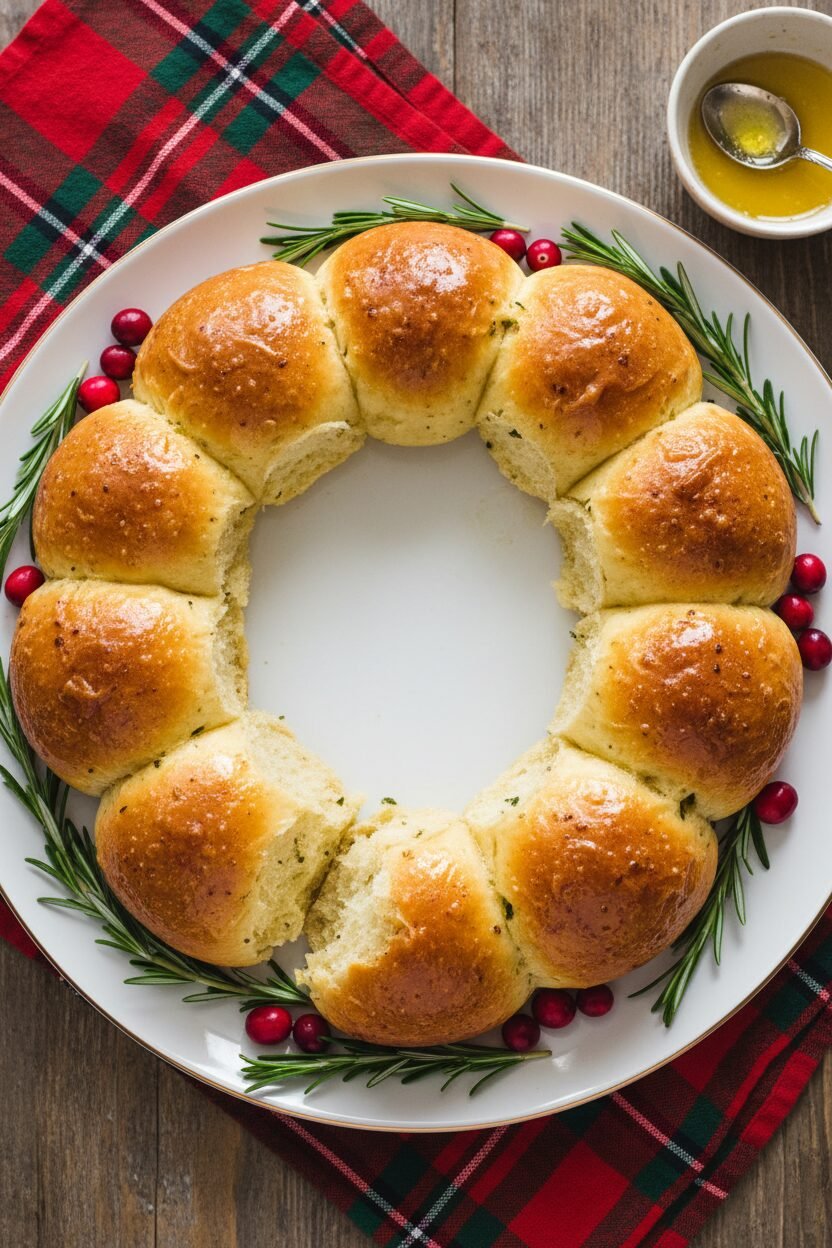
Garlic Butter Christmas Wreath Rolls
Description
These soft, fluffy, and aromatic Cast Iron Pull-Apart Garlic Rolls are baked into a festive wreath shape. Infused with a rich garlic butter, they’re the perfect savory side for any holiday meal.
Ingredients
Instructions
- Cook garlic, 1 tablespoon butter, and 1 teaspoon water in 12-inch cast-iron skillet over medium heat, stirring occasionally, until garlic is straw colored, about 2 minutes. Add remaining 5 tablespoons butter, swirling to incorporate. Remove from heat and let mixture sit for 10 minutes. Strain garlic butter through fine-mesh strainer into small bowl, reserving solids; do not clean skillet.
- Whisk remaining 3/4 cup water, yeast, 1 tablespoon garlic butter, and reserved garlic solids together in liquid measuring cup until yeast dissolves. Whisk flour and salt together in bowl of stand mixer. Using dough hook with mixer on low speed, slowly add water mixture and mix until dough comes together, about 2 minutes. Increase speed to medium and continue to mix until dough is smooth and elastic, about 8 minutes. (If after 4 minutes dough is still very sticky, add 1 to 2 tablespoons extra flour; dough should clear sides of bowl but stick to bottom.)
- Transfer dough to lightly floured counter and knead by hand to form smooth, round ball, about 1 minute. Place dough in large, lightly greased bowl, cover tightly with greased plastic wrap, and let rise until doubled in size, about 1 hour.
- Transfer dough to lightly floured counter and shape into 12-inch log. Divide log into 12 equal pieces and cover with greased plastic. Working with 1 piece of dough at a time (keep other pieces covered), round dough into smooth, taut balls and arrange in now-empty skillet. Cover rolls loosely with greased plastic and let rise until nearly doubled in size, about 1 hour.
- Adjust oven rack to middle position and heat oven to 500 degrees. Brush tops of rolls with half of garlic butter, transfer skillet to oven, and bake until rolls are golden brown, about 12 minutes, rotating skillet halfway through baking.
- Using potholders, transfer skillet to wire rack. Being careful of hot skillet handle, brush rolls with remaining garlic butter and let cool for at least 5 minutes before serving.
Notes
- For a festive presentation, sprinkle with chopped fresh parsley or grated parmesan cheese after the final butter brushing. Ensure your water is warm (110°F) but not hot to avoid killing the yeast.