

A Cookie Like Falling Snow
Hello, my dear. Come sit. The kettle is on. Today, we are making Frosted Walnut Snowfall Cookies. They are little bites of winter joy. Crunchy nuts, sweet frosting, a soft middle. I think of my granddaughter when I make them. She calls them “snowy hats.” I still laugh at that.
These cookies matter because they are about sharing. You make a batch to give away. A plate for a neighbor. A tin for a friend. It is a small, sweet way to say, “I am thinking of you.” What is your favorite cookie to share with others?
The Walnut Secret
Let’s talk walnuts. We use them three ways here. Ground up in the dough. Chopped up in the dough too. Then, more chopped on top. This is the secret. It gives you wonderful crunch in every single bite.
You must toast them first. Just spread them on a pan. Bake for a few minutes until they smell warm and nutty. Doesn’t that smell amazing? It wakes up their flavor. Fun fact: Walnuts are one of the oldest tree foods. People have eaten them for over 10,000 years!
Mixing with Love (and a Light Hand)
Now, the dough. Cream the butter and sugar until it’s pale and fluffy. This puts little air pockets in. It makes the cookie tender. Then, add your dry mix. Go slow. Mix just until it comes together. Too much mixing makes a tough cookie.
I learned this the hard way. My first batch was like little stones! My husband tried one. He smiled and said, “Good for dunking, dear.” We both laughed. Have you ever had a kitchen mistake turn into a funny memory?
Baking Day Magic
Roll the dough into small balls. Give them space on the sheet. They need room to breathe. Watch them in the oven. They are done when the edges get a tiny bit golden. Let them cool completely. This is important.
If you frost a warm cookie, the frosting will melt right off. Patience is part of the recipe. While you wait, you can clean up. Or just enjoy the quiet kitchen. Do you like a quiet kitchen, or do you play music while you bake?
The Frosted Finish
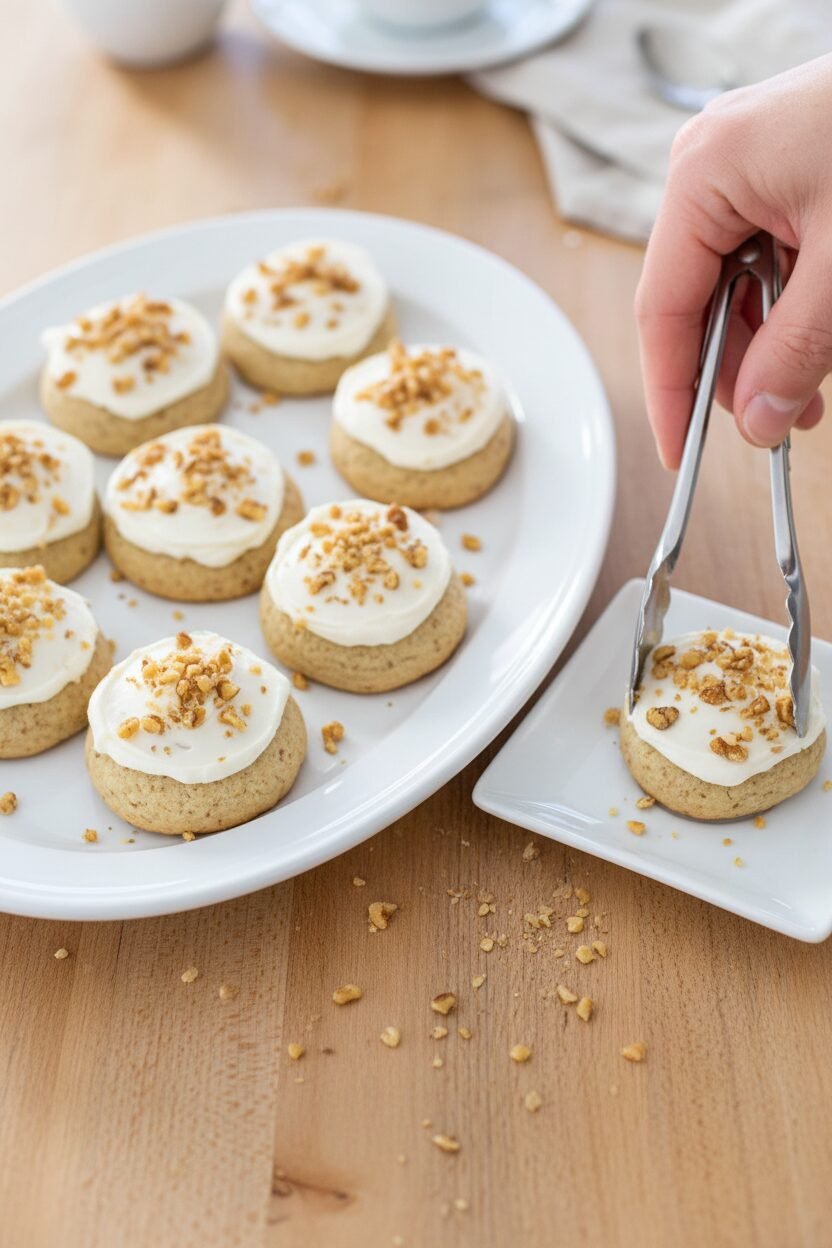
The frosting is simple. Cream cheese, butter, a little sugar. Whip it until it’s fluffy like a cloud. Spread it on your cool cookies. Then, sprinkle the last of the chopped walnuts on top. It looks like fresh snow on a forest path.
This last step matters. It turns a simple cookie into something special. It shows you took the extra time. That is what makes food made at home so good. It is made with care, from start to finish.
Ingredients:
| Ingredient | Amount | Notes |
|---|---|---|
| walnuts, toasted | 1 ¾ cups | Divided: 1 cup for grinding, ½ cup for chopping, ¼ cup for garnish |
| all-purpose flour | 1 cup (5 ounces/142 grams) | |
| salt | ½ teaspoon | |
| unsalted butter, softened | 10 tablespoons | Divided: 8 tablespoons for dough, 2 tablespoons for frosting |
| granulated sugar | ⅓ cup (2 ⅓ ounces/66 grams) | |
| large egg yolk | 1 | |
| vanilla extract | ¾ teaspoon | Divided: ½ teaspoon for dough, ¼ teaspoon for frosting |
| cream cheese, softened | 2 ounces (57 grams) | |
| confectioners’ sugar | ½ cup (2 ounces/57 grams) |

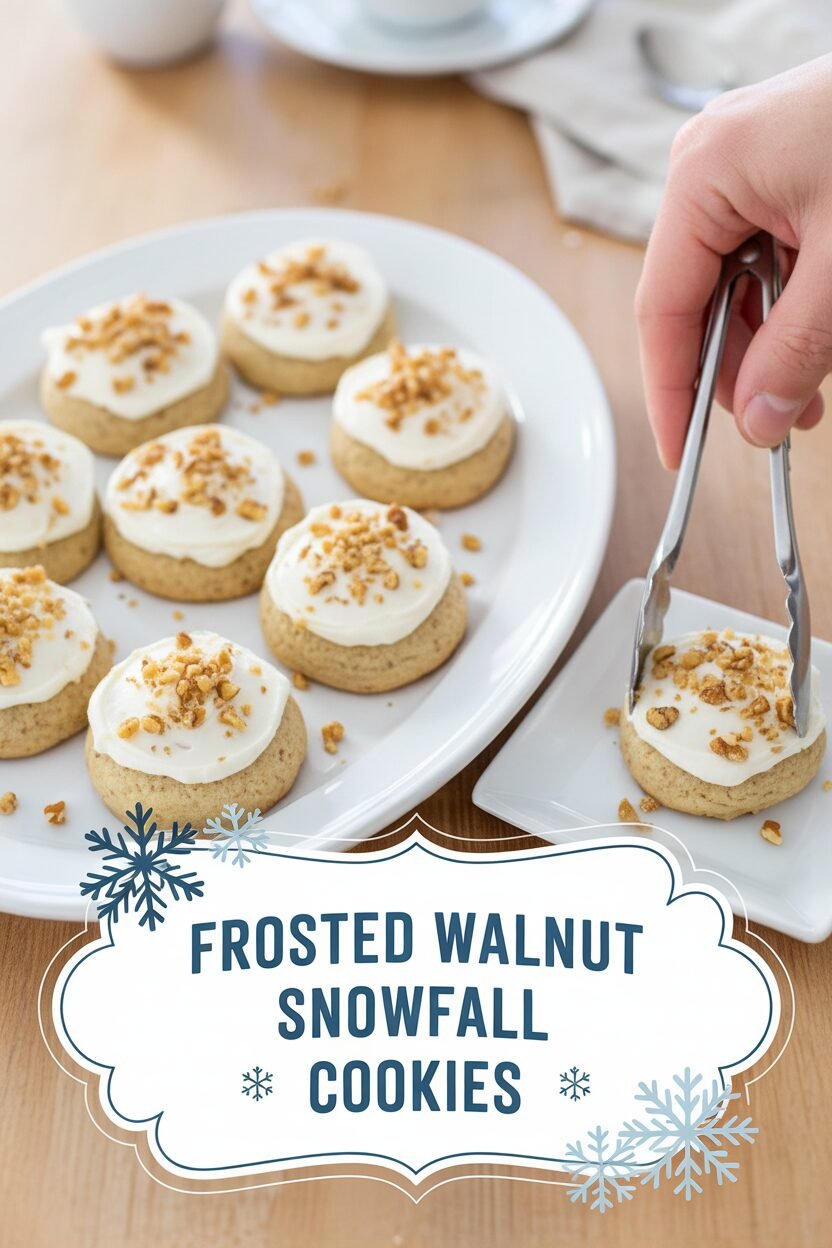
Frosted Walnut Snowfall Cookies
Hello, my dear. Come sit at the table. I just pulled a batch of these walnut cookies from the oven. Doesn’t that smell amazing? They remind me of my own grandmother’s kitchen. She called them her “snowfall cookies.” The toasted nuts make them so cozy. The little cream cheese frosting is like a soft winter blanket. I still laugh at that. Making them always makes me smile. I hope they bring you joy, too. Let’s bake some memories together.
Instructions
Step 1: First, get your oven ready. Move your racks to the middle spots. Heat the oven to 350 degrees. Line two baking sheets with parchment paper. This keeps the cookies from sticking. I learned that the hard way once. (Always toast your walnuts first for the best flavor).
Step 2: Now, let’s make the dough. Put most of the walnuts, flour, and salt in the food processor. Grind them up finely. Then add more walnuts and pulse. In your mixer, beat the soft butter and sugar. It should look pale and fluffy. Add the egg yolk and vanilla. Then mix in your nutty flour. What do you think makes the cookies so tender? Share below!
Step 3: Time to shape them. Roll the dough into tablespoon-sized balls. Place them on your sheets with space to grow. Bake them for about 17 minutes. Switch the sheets halfway through. Let them cool completely on a rack. This takes patience, I know.
Step 4: Finally, the fun part. Make the frosting. Beat the soft cream cheese, butter, and vanilla together. Then mix in the powdered sugar. Chop the last walnuts very fine. Frost each cool cookie. Sprinkle with your walnut “snow.” Now, take a bite. You did so well.
Creative Twists
Orange Zest Frosting: Add a teaspoon of orange zest to the frosting. It’s so bright and cheerful.
Chocolate Drizzle: Skip the frosting. Drizzle melted chocolate over the cookies instead.
Cinnamon Sugar: Roll your dough balls in cinnamon sugar before baking. It’s like a warm hug.
Which one would you try first? Comment below!
Serving & Pairing Ideas
These cookies are perfect with a glass of cold milk. That’s my favorite way. For a fancy touch, serve them on a blue plate. It looks like a snowy sky. They also go nicely with a bowl of vanilla ice cream. For a grown-up drink, a sweet sherry is lovely. For everyone, try hot spiced apple cider. The spices dance with the walnuts. Which would you choose tonight?
Keeping Your Snowfall Cookies Fresh
These cookies keep well in a sealed container. They will stay fresh for up to four days. You can also freeze the unfrosted cookies for later.
Just place them in a single layer on a tray. Once frozen, pack them into a freezer bag. They will keep for a month. Thaw them before you add the frosting.
I once frosted cookies before freezing them. The frosting got sticky and soft. Now I always frost them the day I serve them. This keeps the texture just right.
Batch cooking saves so much time. Making a double batch for the freezer is smart. You will always have a sweet treat ready for guests. This matters because it makes life simpler and sweeter.
Have you ever tried storing cookies this way? Share below!
Cookie Troubles? Easy Fixes Right Here
First, your cookies might spread too much. This happens if the butter is too soft. Make sure your butter is just softened, not melted. Chilling the dough balls for 15 minutes can help.
Second, the ground walnuts can be tricky. Do not over-process them into a paste. You want a fine, sandy texture. I remember when I first made nut cookies. They were oily because I blended the nuts too long.
Third, the frosting might be too runny. Your cream cheese and butter must be properly softened. But they should not be warm. This ensures a fluffy, spreadable frosting that holds its shape.
Getting these details right builds your confidence. It also makes the flavor and texture perfect. A cookie that holds its shape is much more enjoyable to eat.
Which of these problems have you run into before?
Your Quick Questions, Answered
Q: Can I make these gluten-free? A: Yes. Use a good gluten-free flour blend. The results will be very similar.
Q: Can I make them ahead? A: Absolutely. Make and freeze the unfrosted cookies. Frost them the day you need them.
Q: What can I use instead of walnuts? A: Pecans work beautifully. Toasted almonds would be lovely too. Fun fact: Toasting nuts makes their flavor richer and warmer.
Q: Can I double the recipe? A: You can. Just mix in two batches if your mixer is small. This prevents overworking the dough.
Q: Is the egg yolk necessary? A: It helps bind the dough. I do not recommend leaving it out.
Which tip will you try first?
From My Kitchen to Yours
I hope you love making these snowy cookies. They always remind me of cozy winter afternoons. Baking is about sharing joy and creating memories.
I would love to hear about your baking adventures. Tell me all about it in the comments. Your stories are my favorite thing to read with my morning tea.
Have you tried this recipe? I can’t wait to hear how it went in your kitchen.
Happy cooking!
—Elowen Thorn.

Frosted Walnut Snowfall Cookies
Description
These buttery, nutty cookies are topped with a creamy frosting and a final sprinkle of toasted walnuts for a delightful snowy effect.
Ingredients
Instructions
- Adjust oven racks to upper-middle and lower-middle positions and heat oven to 350 degrees. Line 2 baking sheets with parchment paper.
- Process 1 cup walnuts, flour, and salt in food processor until walnuts are finely ground, about 30 seconds. Add ½ cup walnuts and pulse until finely chopped, about 8 pulses. Using stand mixer fitted with paddle, beat 8 tablespoons butter and granulated sugar on medium-high speed until pale and fluffy, about 3 minutes. Add egg yolk and ½ teaspoon vanilla and beat until combined. Reduce speed to low, slowly add flour mixture, and mix until just combined.
- Working with 1 tablespoon dough at a time, roll into balls and space them 1½ inches apart on prepared sheets. Bake until edges are just beginning to brown, 16 to 18 minutes, switching and rotating sheets halfway through baking. Let cookies cool on sheets for 5 minutes, then transfer to wire rack. Let cookies cool completely.
- Using clean, dry mixer bowl and paddle, mix cream cheese, remaining 2 tablespoons butter, and remaining ¼ teaspoon vanilla on medium-low speed until smooth. Add confectioners’ sugar and beat until fluffy, about 2 minutes. Process remaining ¼ cup walnuts in food processor until very finely chopped, 10 to 15 seconds. Spread frosting evenly over cookies, sprinkle with walnuts, and serve.
Notes
- For best results, ensure all ingredients (butter, cream cheese, egg yolk) are at room temperature before beginning.