

The Magic of Brown Butter
Let me tell you about brown butter. It is simple magic. You melt butter in a pan. You watch it foam and sizzle. Then it turns a deep gold. It smells like toasted nuts and heaven. Doesn’t that smell amazing?
I learned this trick from my friend Margot. She burned a pan of butter once. She almost cried. Then she tasted it. It was wonderful! We still laugh at that. Now, it is my secret for special cookies. This matters because it changes everything. It adds a deep, cozy flavor you just can’t get from a regular stick of butter.
Your Cookie Dough Friend
The dough for these cookies is a soft friend. It feels different in your hands. Do not be worried. It is supposed to be tender. Handle it gently, like a sleepy kitten.
Roll the balls quickly. Coat them in sugar. Then flatten them with a glass. See the little cracks? That is good. They will become chewy edges. Fun fact: The cream cheese keeps them soft for days! Why does this matter? Gentle handling makes a thick, chewy cookie. If you work the dough too much, your cookies will spread thin.
A Little Story About Hazelnuts
Hazelnuts remind me of autumn walks. We would find them in the woods. Their shells were like little brown hats. Toasting them wakes up their flavor. It makes your whole kitchen smell warm and sweet.
I chop them fine for these cookies. You get a little crunch in every bite. It is a happy surprise. Do you have a favorite nut you like to bake with? I would love to hear about it.
Watching Them Bake
This is the best part. You must watch them. Do not walk away! They bake fast. In about seven minutes, give the tray a turn. This helps them bake evenly.
They are done when the edges look set. The centers will still seem soft. That is perfect. They firm up as they cool. This waiting is the hardest part, I know. What is your favorite smell from the oven? Is it bread, or cake, or cookies like these?
Sharing the Warmth
Food is about sharing warmth. These cookies are full of it. The brown butter, the toasted nuts, the soft middle. They are a hug on a plate.
Make a batch for someone you love. Wrap a few in a napkin. See their smile. That is why we cook. It connects us. Tell me, who would you share these cookies with first?
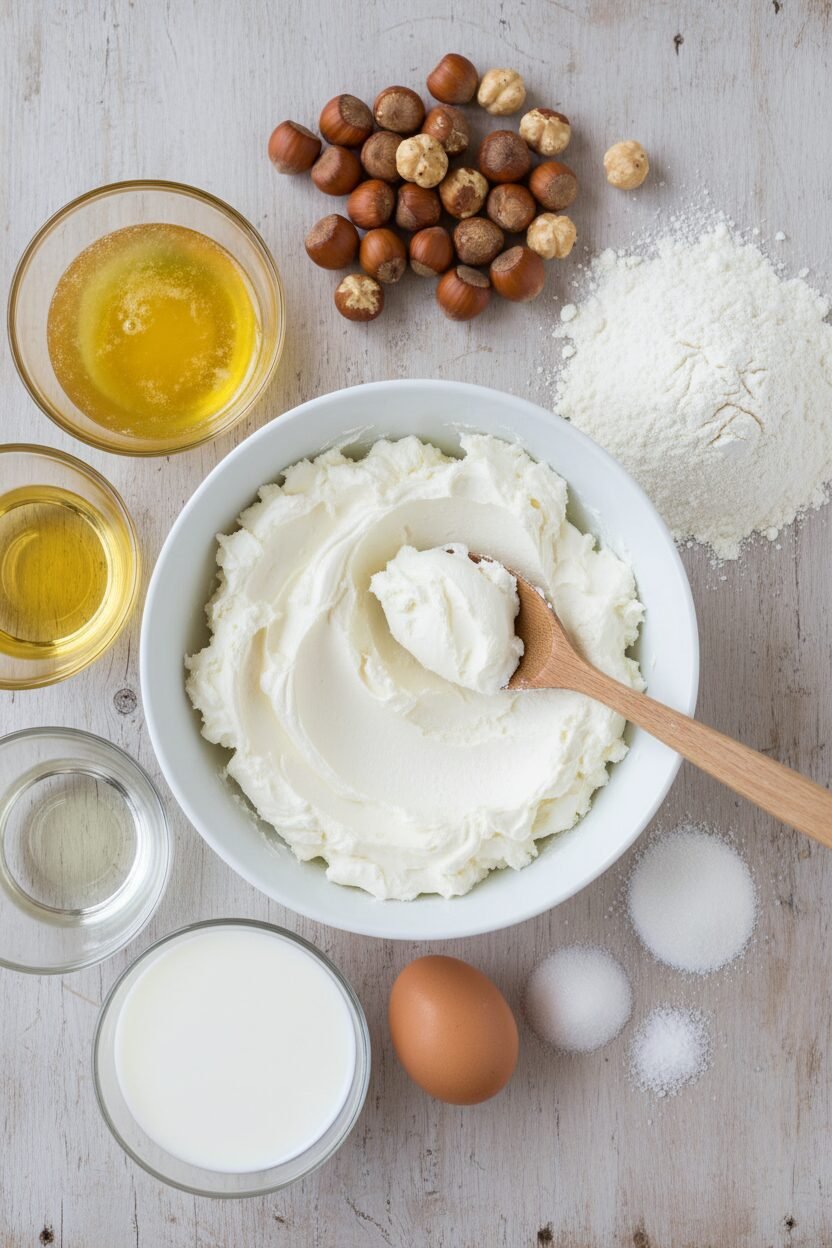
Ingredients:
| Ingredient | Amount | Notes |
|---|---|---|
| unbleached all-purpose flour | 2 ¼ cups (11 ¼ ounces/319 grams) | |
| baking soda | ½ teaspoon | |
| baking powder | 1 teaspoon | |
| table salt | ½ teaspoon | |
| sugar | 1 ½ cups (10 ½ ounces/298 grams) | plus ⅓ cup for rolling |
| finely chopped toasted hazelnuts | ¼ cup | |
| cream cheese | 2 ounces (57 grams) | cut into 8 pieces, unsalted |
| unsalted butter | 6 tablespoons (¾ stick) | browned |
| vegetable oil | ⅓ cup | |
| milk | 2 tablespoons | |
| large egg | 1 |
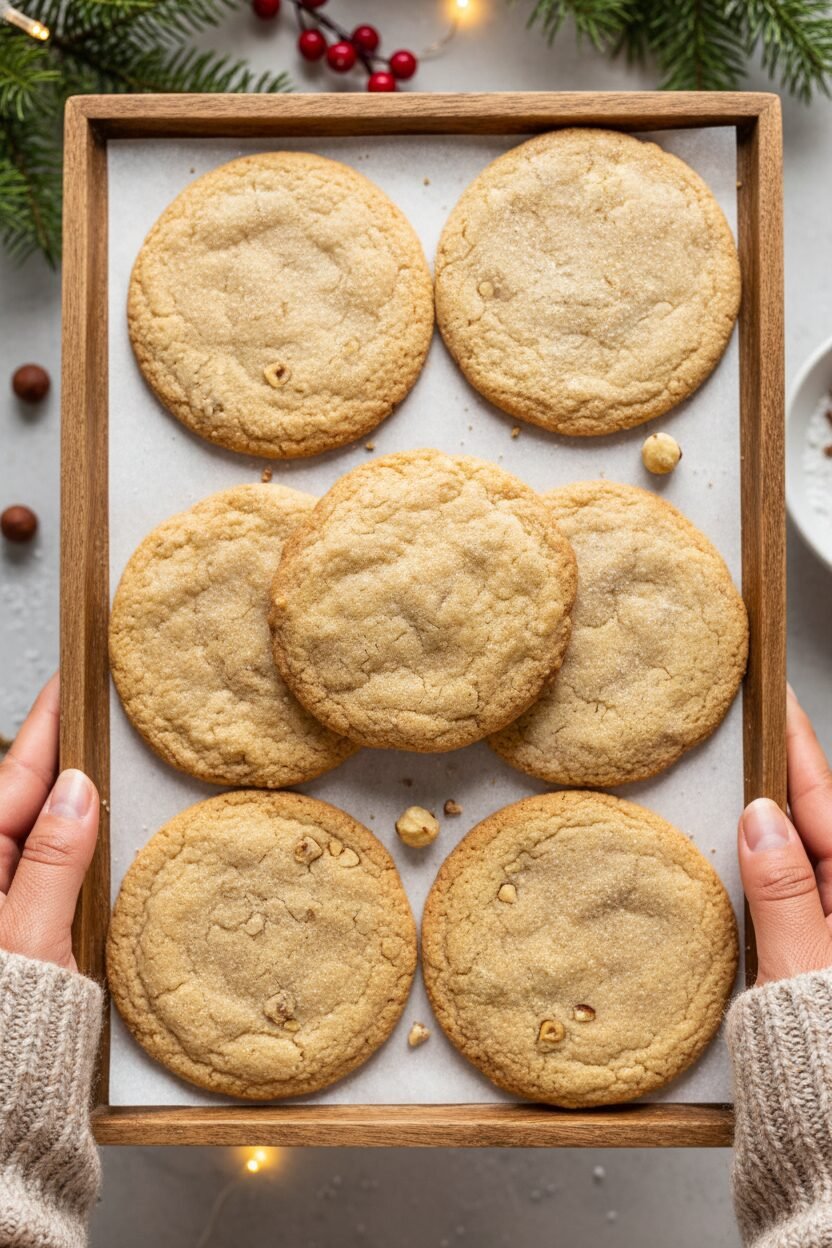
Brown Butter Hazelnut Holiday Cookies
Hello, my dear. Come sit a while. The oven is warm. Today we make my special holiday cookies. They are chewy and full of cozy flavor. The secret is the brown butter. It smells like toasted nuts and happiness. I learned this from my own grandmother, you know. She would hum carols while she stirred. I still laugh at that. Our kitchen smelled like a winter dream. Let’s make some new memories, you and I. Doesn’t that sound lovely?
Instructions
Step 1: First, get your oven ready. Move a rack to the middle. Heat it to 350 degrees. Line two big baking sheets with parchment paper. Now, mix your dry things. Whisk the flour, baking soda, baking powder, and salt together. Set that bowl aside. This is our foundation. It must be just right.
Step 2: Now, the fun part! Put sugar, chopped hazelnuts, and cream cheese in a big bowl. Melt butter in a skillet. Watch it closely. Cook until it turns a lovely golden brown. It will smell amazing! Pour it over your bowl. Whisk it all together. (Tip: move the butter fast so it doesn’t burn!) Add the oil, egg, and milk. Whisk until smooth. Can you guess what makes the cookies so chewy? The cream cheese! Share below!
Step 3: Time to bring it together. Add your flour mixture to the big bowl. Stir gently with a spatula. A soft dough will form. Be kind to it. Handle it gently for the best cookies. Divide the dough into 24 little pieces. Roll each into a ball with your hands. This part is messy and fun.
Step 4: Roll each ball in a dish of sugar. Place them on your baking sheets. Now, flatten them. Use the bottom of a glass. Make them about two inches wide. Sprinkle a little more sugar on top. This gives them a sweet, sparkly crust. Your trays are ready for the oven.
Step 5: Bake one tray at a time. This helps them cook evenly. They need about 12 minutes. Rotate the tray halfway. You’ll know they’re done when the edges look set. Let them cool on the sheet for five minutes. Then move them to a rack. The waiting is the hardest part, isn’t it?
Creative Twists
Chocolate Dip: Melt some dark chocolate. Dip half of each cooled cookie in it. Let it set on parchment. So pretty!
Orange Zest: Add a teaspoon of fresh orange zest to the dough. It sings with the hazelnuts.
Sea Salt Sparkle: After sugaring, add one tiny flake of sea salt on top of each cookie. A perfect salty-sweet bite.
Which one would you try first? Comment below!
Serving & Pairing Ideas
These cookies are wonderful all on their own. But I love to serve them on a big platter. Add some clementines and walnuts in their shells. It looks so festive. For a drink, a glass of cold milk is always perfect. For the grown-ups, a sweet sherry pairs beautifully. It’s like a warm hug. Sit by the fire with your plate. Share stories with someone you love. Which would you choose tonight?
Keeping Your Cookies Cozy
These cookies stay chewy for days. Just tuck them in an airtight container. They like it at room temperature.
You can freeze the dough balls for later joy. Roll them in sugar first. Then freeze on a tray before bagging them up.
Bake frozen balls straight from the freezer. Just add a minute or two. I once forgot a batch in my freezer for a month. They baked up perfectly for a surprise guest!
Batch cooking matters. It means fresh cookies are always close. A little work now makes future you very happy. Have you ever tried storing cookie dough this way? Share below!
Cookie Troubles? Let’s Fix Them
First, your cookies spread too flat. Your dough was probably too warm. Chill it for 20 minutes before baking.
Second, the butter burns. Swirl that pan constantly. Take it off the heat the moment it smells nutty. I remember when I burned my first batch. It taught me to watch closely!
Third, cookies are tough. You might have over-mixed the dough. Mix just until the flour disappears. Gentle hands make tender cookies.
Fixing small issues builds cooking confidence. It also makes your food taste its very best. Which of these problems have you run into before?
Your Quick Questions, Answered
Q: Can I make these gluten-free? A: Try a 1-to-1 gluten-free flour blend. The texture may be a bit more crumbly.
Q: Can I make the dough ahead? A: Yes! Keep it covered in the fridge for up to two days. Let it soften a bit before rolling.
Q: No hazelnuts? A: Toasted almonds or pecans work nicely. Or leave them out for a plain brown butter cookie.
Q: Can I double the recipe? A: You can. Just mix in a very large bowl. *Fun fact: browning the butter in two batches is easier.*
Q: Any extra tips? A: Use a light-colored pan to brown butter. You can see the color change better. Which tip will you try first?
From My Kitchen to Yours
I hope you love making these cookies. The smell of brown butter is pure happiness. It fills your whole kitchen with warmth.
I would love to hear about your baking adventure. Tell me all about it. Have you tried this recipe? Please share your story in the comments below.
Happy cooking!
—Elowen Thorn.
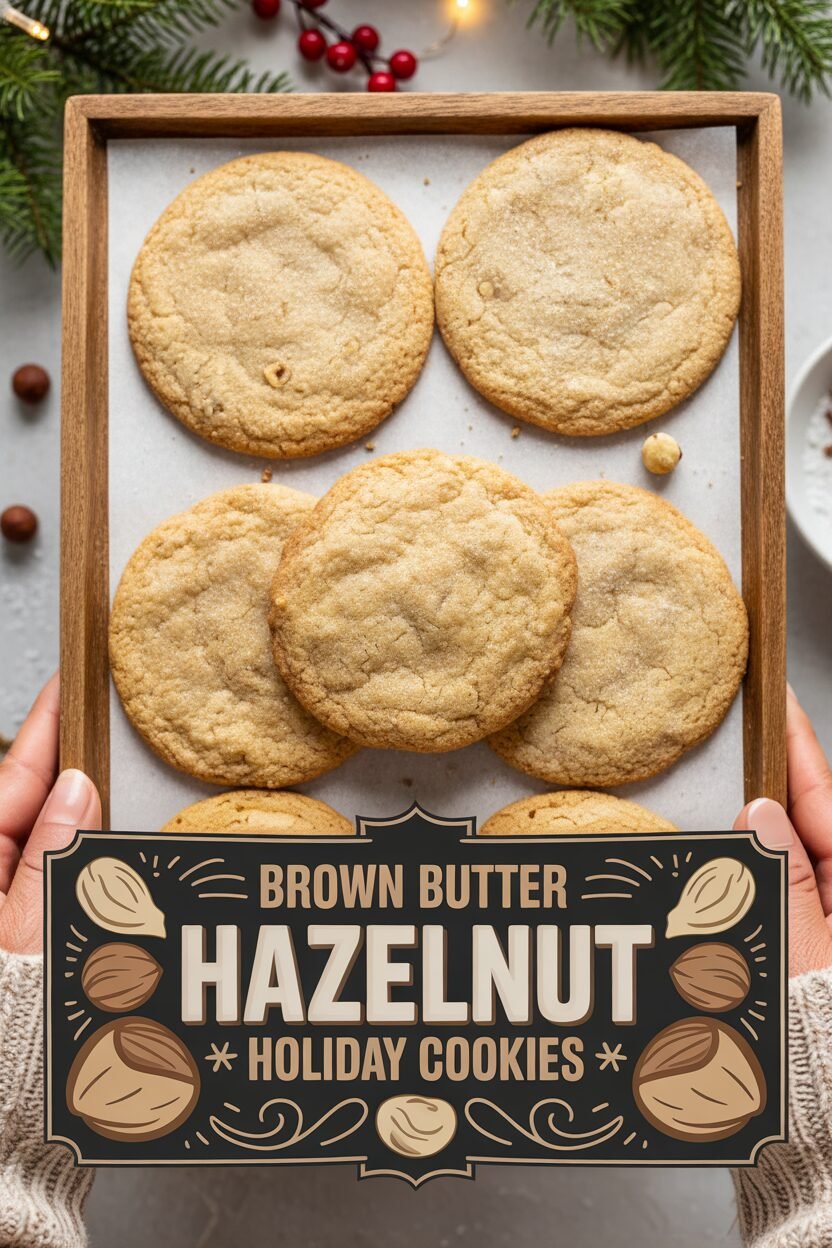

Brown Butter Hazelnut Holiday Cookies
Description
Chewy Hazelnut Brown Butter Sugar Cookies. These rich, nutty cookies feature the deep flavor of browned butter and toasted hazelnuts, rolled in sugar for a delightful crunch.
Ingredients
Instructions
- Adjust oven rack to middle position and heat oven to 350 degrees. Line 2 large rimmed baking sheets with parchment paper. Whisk flour, baking soda, baking powder, and salt together in medium bowl. Set aside.
- Place 1½ cups sugar, hazelnuts, and cream cheese in large bowl. Place remaining 1/3 cup sugar in shallow baking dish or pie plate and set aside. Heat butter in 10-inch skillet over medium-high heat until melted, about 2 minutes. Continue to cook, swirling pan frequently, until butter is dark golden brown and has nutty aroma, 1 to 3 minutes. Pour butter over sugar and cream cheese mixture; whisk to combine (some small lumps of cream cheese will remain but will smooth out later). Whisk in oil until incorporated. Add egg and milk; continue to whisk until smooth. Add flour mixture and mix with rubber spatula until soft homogeneous dough forms.
- Divide dough into 24 equal pieces, about 2 tablespoons each. Using hands, roll dough into balls. Working in batches, roll balls in reserved sugar to coat and set on prepared baking sheet, 12 dough balls per sheet. Using bottom of drinking glass, flatten dough balls until 2 inches in diameter. Sprinkle tops evenly with 4 teaspoons reserved sugar (2 teaspoons per tray), discarding any remaining sugar.
- Bake, 1 tray at a time, until edges are set and just beginning to brown, 11 to 13 minutes, rotating tray after 7 minutes. Cool cookies on baking sheets 5 minutes. Using wide metal spatula, transfer cookies to wire rack and cool to room temperature.
Notes
- Be sure to transfer the butter from the hot skillet to the bowl with the cream cheese as soon as it has browned to prevent scorching. The final dough will be slightly softer than most cookie doughs. For the best results, handle it as briefly and as gently as possible; overworking the dough will result in flatter cookies.