

The Magic of a Hot Pan
Let me tell you a secret. The puff comes from a hot pan. I learned this the hard way. My first Yorkshires were sad little pancakes. My husband called them “doorstops.” I still laugh at that.
You must get that fat smoking hot. Pour your batter in fast. The sizzle is the sound of success. It shocks the batter into rising high. That matters because it creates the big, hollow center. That’s the perfect spot for gravy later.
Why We Let the Batter Nap
Resting the batter is not lazy. It is smart. The flour drinks up the milk and eggs. This makes everything friendly. A rested batter bakes up lighter and taller.
Think of it like letting dough rise for bread. It’s a quiet time for magic to happen. I use this hour to tidy up. Or I sit with a cup of tea. What’s your favorite thing to do while you wait?
A Little History for You
These puddings are very old. They come from England. Cooks there were clever. They used dripping fat from roasting meat. They made a simple batter to cook under it.
Fun fact: They called it “dripping pudding” first. The name changed to Yorkshire pudding in 1747! It was a way to fill hungry bellies cheaply. That matters. Good food doesn’t need fancy things. Just a few simple, honest ingredients.
The Grand Finale in the Oven
Do not open that oven door early. I know it’s tempting. You want to peek. But trust me. The hot air is holding them up. If you let it out, they might fall.
Watch through the window. See them rise like golden clouds. Doesn’t that smell amazing? That rich, toasty smell is pure happiness. When they are deep brown, they are ready.
Serving Your Puddings
Poke a hole in each one right away. This lets the steam out. It helps them stay crisp. Then, get them to the table quickly. They are best hot from the oven.
We always had them with roast beef and gravy. But they are wonderful with stew too. Or just some jam for a treat. How does your family like to eat them? Tell me your favorite way.
Your Turn to Try
Now you know my stories. The hot pan. The resting batter. Give it a try yourself. It feels like a kitchen miracle every time.
Remember, even a flat one still tastes good. We all have a “doorstop” story. Have you ever had a baking surprise that made you laugh? I would love to hear about it.
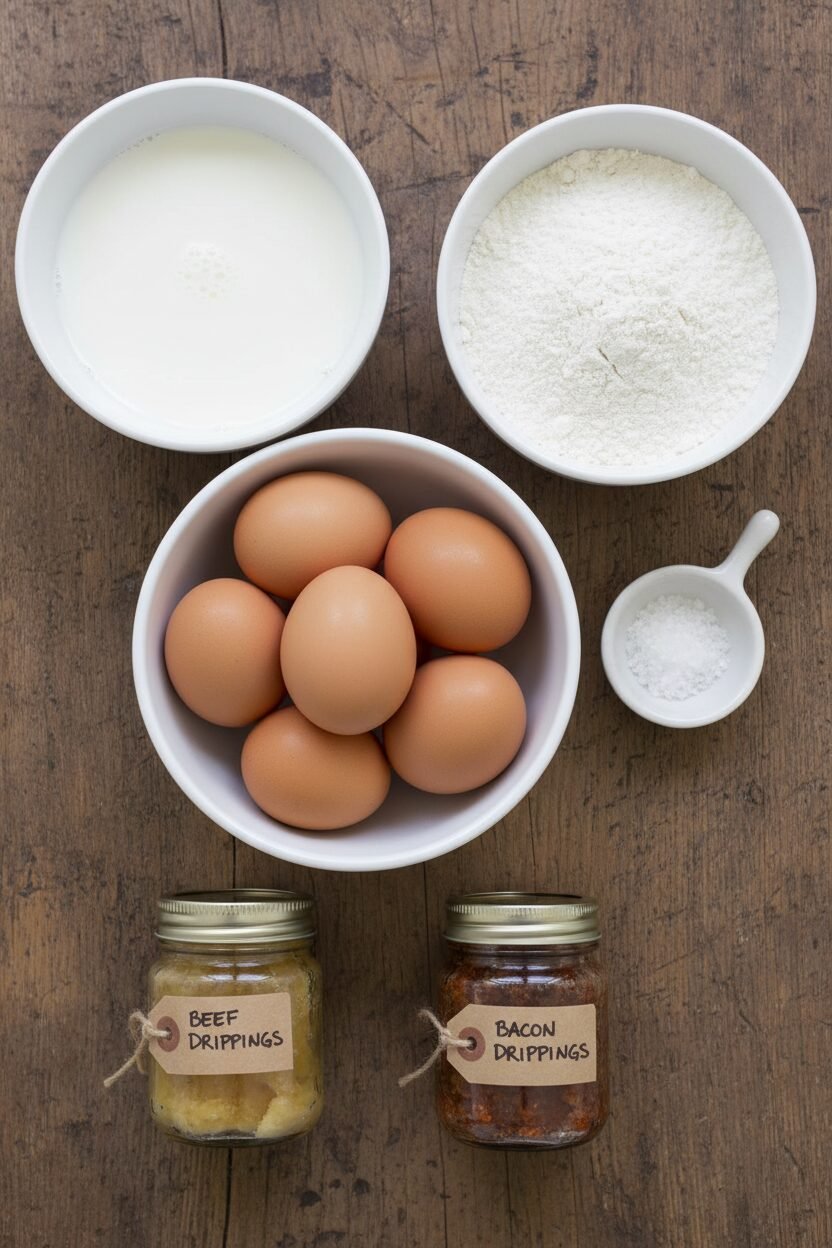
Ingredients:
| Ingredient | Amount | Notes |
|---|---|---|
| Large eggs | 3 | at room temperature |
| Whole milk | 1 1/2 cups | at room temperature |
| Unbleached all-purpose flour | 1 1/2 cups (7 1/2 oz) | |
| Table salt | 3/4 teaspoon | |
| Hot beef or bacon drippings | 3 tablespoons | divided for batter and pan |
Instructions
Step 1: Let’s make the batter first. Whisk your eggs and milk in a big bowl. In another bowl, mix your flour and salt. Pour the flour mix into the egg mix slowly. Whisk it just until it’s smooth. Now, let it rest on the counter. Cover the bowl with plastic. This wait is the secret to a good rise. (A room-temperature batter is key for a hot pan!)
Step 2: Time to heat things up. Turn your oven to 450°F. Give your rested batter a quick whisk. Now, stir in one tablespoon of your hot drippings. It will get a bit bubbly. Pour all the batter into a big measuring cup. This makes the next part so much easier.
Step 3: Get your muffin pan ready. Put just half a teaspoon of drippings in each cup. Pop the pan into the hot oven for 3 minutes. You want that fat to be sizzling hot. My old pan smokes a little, and that’s okay. Why do we heat the fat first? Share below!
Step 4: Now, work quickly and carefully. Pull the hot pan from the oven. Close the door right away. Pour your batter into each cup, about two-thirds full. Get that pan back into the oven fast. Don’t worry if the fat sizzles. That’s the magic starting.
Step 5: Bake them for 20 minutes. Do not peek. Then, turn the heat down to 350°F. Bake for 10 more minutes. They will be tall and golden. I still clap when I see them. (Never open the oven early, or they might fall!)
Step 6: They’re done. Doesn’t that smell amazing? Take the pan out. Poke each pudding’s side with a skewer. This lets the steam out so they stay crisp. Lift them out with a knife or your hands. Serve them right away while they’re hot and perfect.
Creative Twists
Herby & Cheesy: Add a pinch of rosemary and grated cheddar to the batter.
Sweet Popover: Use melted butter instead of drippings. Dust with powdered sugar.
Mini Steak Bowls: Fill cooked puddings with creamy mashed peas and tiny beef pieces.
Which one would you try first? Comment below!
Serving & Pairing Ideas
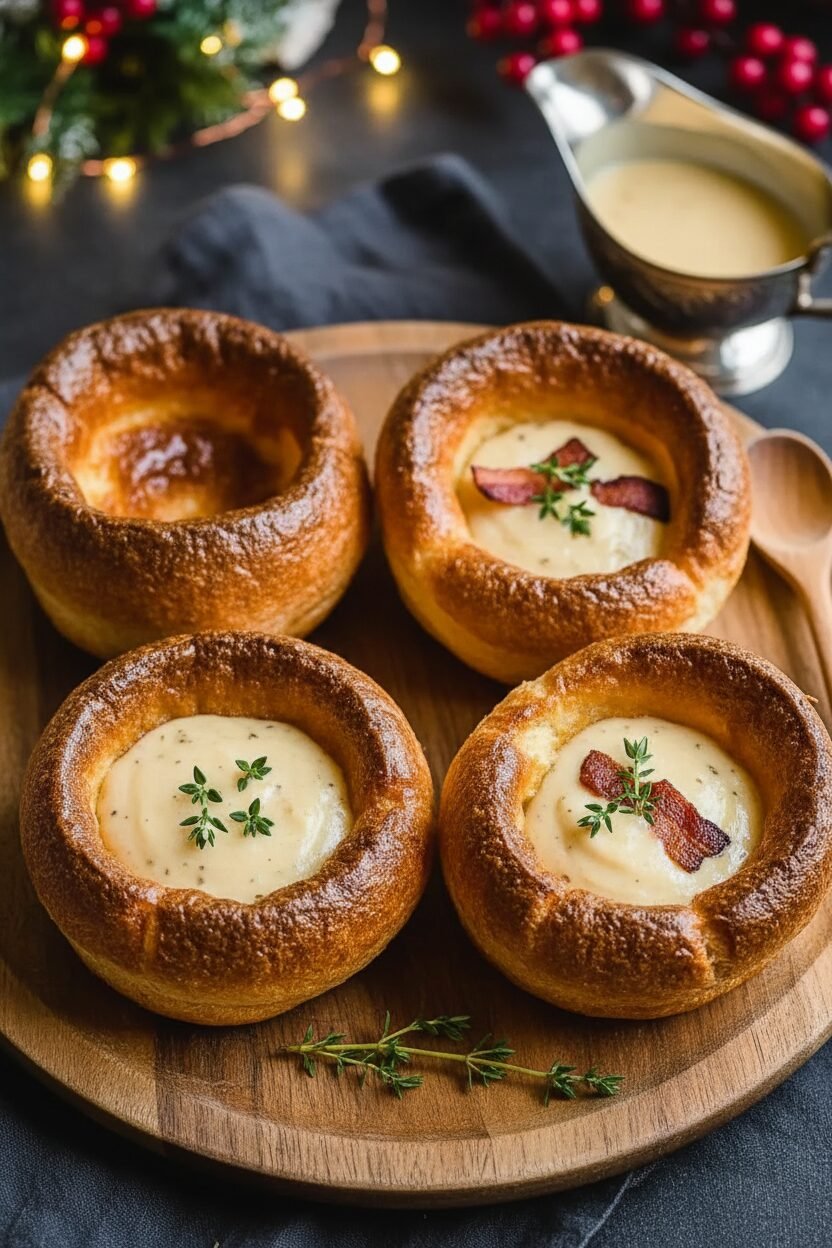
These puddings love a good roast. Serve them with juicy sliced beef and rich gravy. A side of buttery mashed potatoes is perfect. For a fun plate, make a little well in each pudding and fill it with gravy. For a drink, a dark ale pairs nicely with the savory meal. For the kids, a sparkling apple cider is a festive choice. It feels so special. Which would you choose tonight?
Keeping Your Puddings Perfect
These puddings are best eaten right away. But I know life gets busy. You can store them for later. Let them cool completely first. Then pop them in a sealed bag.
They will keep on the counter for a day. For longer, freeze them for up to a month. I once froze a whole batch for my grandson’s surprise visit. He was so happy!
To reheat, use a hot oven. 400 degrees for five minutes works wonders. This brings back their crisp magic. Batch cooking matters because it saves your precious time.
You can enjoy a cozy meal any night. Have you ever tried storing it this way? Share below!
Pitfalls and Puffed-Up Success
First, flat puddings are often from cold batter or cold fat. Room temperature ingredients are key. I remember when my first batch didn’t rise. My fat wasn’t hot enough!
Second, don’t peek while they bake. The oven door must stay shut. Early drafts make them collapse. Trust the process. This builds your cooking confidence.
Third, they might stick without enough fat. Use that full half-teaspoon in each cup. This gives a gorgeous, crispy crust. Good flavor starts with this simple step. Which of these problems have you run into before?
Your Quick Questions, Answered
Q: Can I make these gluten-free? A: Yes! Use a good gluten-free flour blend. The results are just as lovely.
Q: Can I make the batter ahead? A: Absolutely. Rest it in the fridge overnight. Just let it warm up a bit before baking.
Q: No beef drippings? A: Vegetable oil works fine. But drippings add a *fun fact*: that rich, savory taste my Gran called “kitchen gold.”
Q: Can I halve the recipe? A: You can. Use a six-cup muffin tin. Just keep all the other steps the same.
Q: Any optional tip? A: A pinch of pepper in the batter is nice. It adds a little warmth. Which tip will you try first?
From My Kitchen to Yours
I hope you love making these. I love sharing these old kitchen secrets. There is joy in creating something so simple and good.
Tell me all about your baking adventure. I read every note from my kitchen table. Have you tried this recipe? Let me know how it turned out for you.
Happy cooking! —Elowen Thorn.
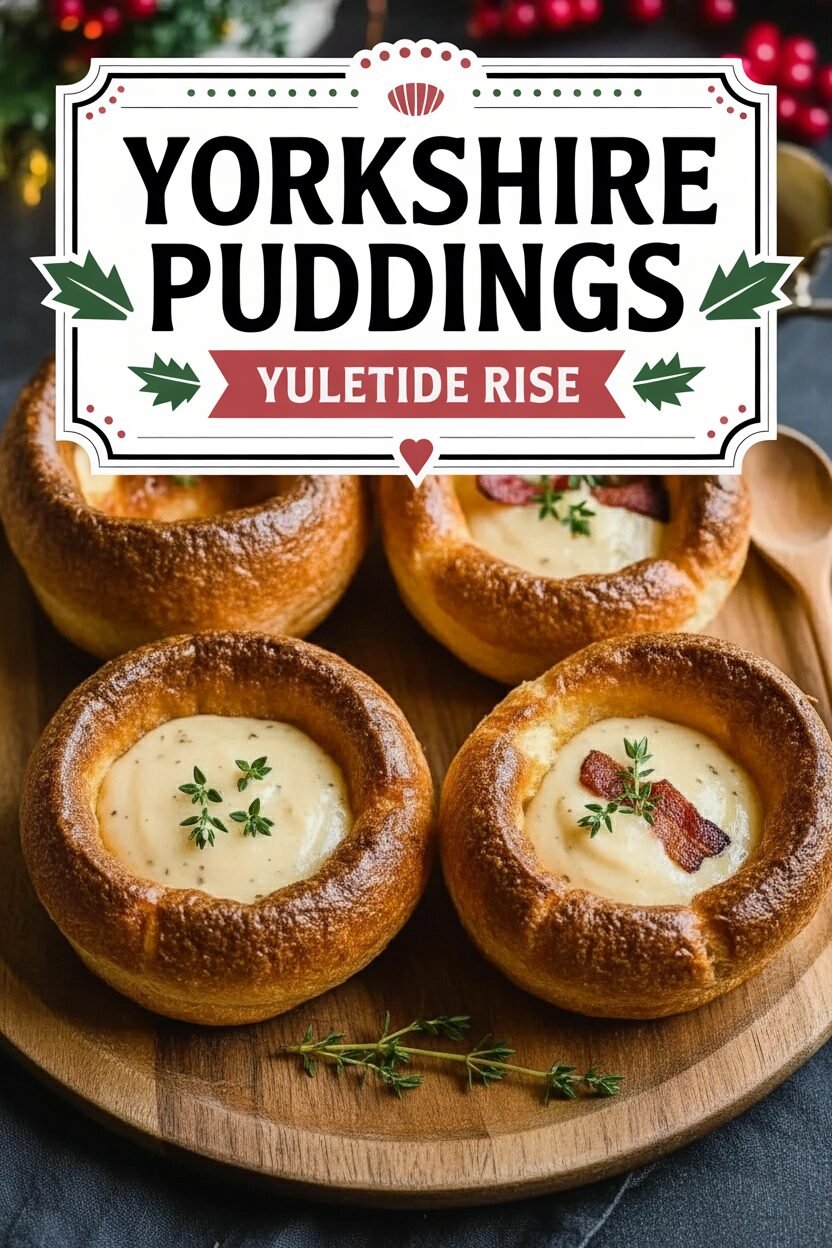

Yorkshire Puddings Yuletide Rise
Description
Individual Yorkshire Puddings
Ingredients
Instructions
- Prepare the Batter: In a large mixing bowl, whisk the eggs and milk together until fully combined and smooth, approximately 20 seconds. In a separate bowl, whisk the flour and salt until evenly mixed. Gradually add the flour mixture to the egg mixture, whisking just until the flour is incorporated and a smooth batter forms, about 30 seconds. Do not overmix. Cover the bowl with plastic wrap and let the batter rest at room temperature for a minimum of 1 hour, or up to 3 hours, to allow the ingredients to fully hydrate.
- Preheat the Oven and Prepare Muffin Tin: Preheat the oven to 450°F (232°C). Once the batter has rested, whisk in 1 tablespoon of hot drippings until the batter becomes frothy and slightly bubbly, approximately 30 seconds. Transfer the batter to a large liquid measuring cup to facilitate easy pouring.
- Heat the Muffin Pan with Drippings: Measure 1/2 teaspoon of the remaining 2 tablespoons of drippings into each cup of a standard 12-cup muffin pan. Place the muffin pan in the preheated oven and allow the drippings to heat for approximately 3 minutes, or until the fat is very hot and begins to smoke lightly.
- Fill the Muffin Cups and Bake: Working swiftly and carefully, remove the muffin pan from the oven. Close the oven door to maintain temperature. Immediately pour the prepared batter evenly into the 12 muffin cups, filling each cup about two-thirds full. Return the pan to the oven without delay.
- Bake the Yorkshire Puddings: Bake the puddings at 450°F (232°C) for 20 minutes without opening the oven door. After 20 minutes, reduce the oven temperature to 350°F (177°C) and continue baking for an additional 10 minutes, or until the puddings are deeply golden brown and fully puffed.
- Finish and Serve: Remove the pan from the oven and pierce the side of each pudding with a skewer to release steam and prevent collapse. Carefully lift each pudding from the muffin tin using a dinner knife or clean hands. Serve immediately while hot and crisp.
Notes
- For best results, ensure all ingredients are at room temperature and the fat in the muffin tin is smoking hot before adding the batter. Do not open the oven door during the initial high-temperature bake.