

My First Crescent Moon
I made my first batch of these cookies when I was twelve. My hands were so small. The dough felt like magic clay. I shaped them into little moons and stars. I still laugh at that.
They came out a bit lopsided. But my grandpa said they were perfect. That is why this matters. Food made with happy hands always tastes better. It carries your good feelings.
The Heart of the Cookie
Let’s talk about the nuts. You can use walnuts or pecans. I like walnuts for their gentle, earthy taste. Doesn’t that smell amazing when you chop them?
You grind some nuts very fine. This makes the cookie tender. The other nuts you leave chopped. This gives you a lovely little crunch. Fun fact: grinding nuts with a rolling pin is a great way to get out a little frustration!
Shaping with Love
This dough is very forgiving. You can make balls, crescents, or even little logs. There is no wrong shape. What is your favorite shape for a cookie? Tell me in the comments.
Roll each piece gently in your palms. Do not squeeze too hard. Think of forming a cozy little nest. This is not a race. The slow, careful work is part of the gift.
A Sweet Winter Coat
After baking, the cookies get a snowy coat. You roll them in powdered sugar twice. The first coat soaks in a bit. The second coat stays fluffy and white.
This is the best part for me. They look like they are dressed for a party. Which do you prefer: a light dusting of sugar or a thick, snowy coat?
Why We Make Them
These cookies are fragile. They crumble easily. You must handle them with care. That is the second reason this matters. They teach us to be gentle.
We make them to share. We make them to say “I thought of you.” A cookie that melts on your tongue can melt a hard day. Do you have a cookie that makes you feel that way?
Ingredients:
| Ingredient | Amount | Notes |
|---|---|---|
| Whole pecans or walnuts, chopped fine | 2 cups (8 ounces) | |
| Bleached all-purpose flour | 2 cups (10 ounces/284 grams) | |
| Table salt | ¾ teaspoon | |
| Unsalted butter, softened | ½ pound (227 grams / 2 sticks) | |
| Superfine sugar | ⅓ cup (2 ⅓ ounces/66 grams) | |
| Vanilla extract | 1 ½ teaspoons | |
| Confectioners’ sugar | 1 ½ cups (6 ounces/170 grams) | For rolling cooled cookies |

Instructions
Step 1: First, get your oven ready at 325 degrees. Chop your nuts very fine. Mix one cup of them with the flour and salt. Now, take the other cup of nuts. You need to make them look like coarse sand. A food processor is easiest for this. (If you don’t have one, put them between plastic wrap and roll hard!). Doesn’t that smell amazing? Stir these sandy nuts into your flour bowl.
Step 2: Let’s make the dough. Beat the soft butter and the superfine sugar together. Keep going until it looks creamy and light. Then mix in the vanilla. Now, add all your flour and nut mixture. Mix just until it becomes one big, crumbly ball. (Stop the mixer the second it looks like dough. Overmixing makes tough cookies!). What do you think makes cookies tender: mixing a lot or a little? Share below!
Step 3: Time to shape! Grab a tablespoon of dough. Roll it into a little log in your hands. Then bend it into a crescent moon shape. I still laugh at how my first ones looked like bananas. Place them on a baking sheet. Bake them until the bottoms are just golden. Remember to swap the pans halfway through.
Step 4: Let the cookies cool completely. This part requires patience! Now, the magic. Pour powdered sugar into a shallow bowl. Roll each cool cookie in it. They will look like little snowy moons. (Letting them cool first keeps the sugar from melting into a glaze). You can store them in a tin.
Step 5: Just before serving, give them another roll in the powdered sugar. This makes a beautiful, thick, snowy coat. Gently tap off the extra. I always sneak one at this stage. They are crumbly, buttery perfection. Now, they are ready to share with someone special.
Creative Twists
Orange Dream: Add a teaspoon of orange zest to the dough. It smells like sunshine.
Spiced Moon: Mix a pinch of cinnamon into your powdered sugar for rolling.
Chocolate Dip: Dip one tip of the cooled cookie in melted chocolate. Let it set on wax paper.
Which one would you try first? Comment below!
Serving & Pairing Ideas
These cookies are lovely on a vintage plate. Add a few whole walnuts for decoration. They pair wonderfully with fresh berries or a tiny scoop of vanilla ice cream. For a drink, a glass of cold milk is the classic choice. For the grown-ups, a sweet sherry or a creamy coffee liqueur is just right. It’s a cozy combination. Which would you choose tonight?

Keeping Your Crescent Moons Bright
These cookies keep their magic for days. Store them in a tin at room temperature. Layer them with parchment paper so they don’t stick.
You can freeze the dough, too. Just shape it into a log and wrap it well. Slice and bake whenever you need a sweet treat.
I once stored a batch in a jar without parchment. They all stuck together! We had to eat them as one big cookie lump.
Batch cooking saves time for busy days. It also means fresh cookies are always close by. That matters for surprise visits or a bad day.
Have you ever tried storing it this way? Share below!
Cookie Troubles? Easy Fixes Right Here
First, dough too crumbly? Your butter might be too cold. Let it soften on the counter for an hour. It should give when you press it.
Second, cookies spread too much? Your oven might be too cool. Use an oven thermometer to check. I remember my old oven ran cold.
Third, not enough sugar coating? Roll them twice. The first coat melts into the warm cookie. The second gives that pretty, snowy finish.
Fixing small problems builds your cooking confidence. You learn how ingredients work together. It also makes sure every bite tastes perfect.
Which of these problems have you run into before?
Your Quick Questions, Answered
Q: Can I make these gluten-free? A: Yes. Use a good gluten-free flour blend. The texture will be a bit more sandy.
Q: Can I make the dough ahead? A: Absolutely. Wrap it and chill for up to three days. Let it soften a bit before shaping.
Q: What if I don’t have superfine sugar? A: Regular granulated sugar works fine. Just beat it with the butter a little longer.
Q: Can I double the recipe? A: You can. But mix it in two separate batches. It’s easier for your mixer and your arms.
Q: Any optional tips? A: A tiny pinch of cinnamon in the dough is lovely. Fun fact: Walnuts are actually seeds, not true nuts!
Which tip will you try first?
From My Kitchen to Yours
I hope you love making these little moons. They always remind me of my own grandma. She taught me to bake with patience and joy.
I would love to hear about your baking adventure. Tell me all about it in the comments below. Your stories make my day brighter.
Have you tried this recipe? Let me know how it turned out for you. Happy cooking!
—Elowen Thorn.
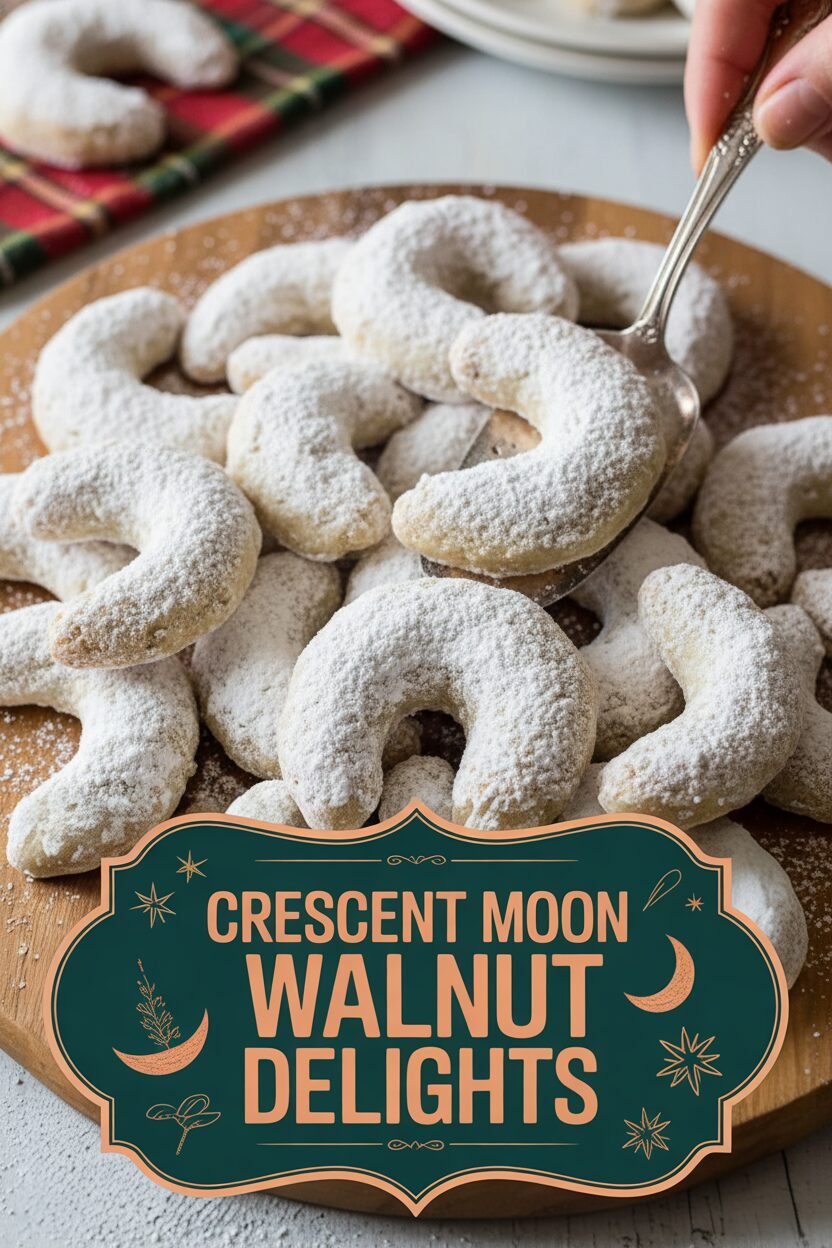

Crescent Moon Walnut Delights
Description
Buttery, melt-in-your-mouth crescent cookies packed with finely ground nuts and rolled in powdered sugar.
Ingredients
Instructions
- Adjust oven racks to upper- and lower-middle positions and heat oven to 325 degrees. Mix 1 cup chopped nuts, flour, and salt in medium bowl; set aside. In workbowl of a food processor fitted with a steel blade, process remaining chopped nuts until the texture of coarse cornmeal, 10 to 15 seconds (do not overprocess); stir into flour mixture and set aside. (To finely grind chopped nuts by hand, roll them between two large sheets plastic wrap with rolling pin, applying moderate pressure, until broken down to coarse cornmeal-like texture).
- In bowl of an electric mixer at medium speed or by hand, beat butter and sugar until light and creamy, about 1 1/2 minutes with an electric mixer or 4 minutes by hand; beat in vanilla. Scrape sides and bottom of bowl with rubber spatula; add flour mixture and beat at low speed until dough just begins to come together but still looks scrappy, about 15 seconds. Scrape sides and bottom of bowl again with rubber spatula; continue beating at low speed until dough is cohesive, 6 to 9 seconds longer. Do not overbeat.
- Working with about one tablespoon dough at a time, roll and shape cookies into balls, crescents, rings, or cigar shapes as desired. Bake until tops are pale golden and bottoms are just beginning to brown, turning cookie sheets from front to back and switching from top to bottom racks halfway through baking, 17 to 19 minutes.
- Cool cookies on sheets about 2 minutes; remove with metal spatula to wire rack and cool to room temperature, about 30 minutes. Working with three or four cookies at a time, roll cookies in confectioners’ sugar to coat them thoroughly. Gently shake off excess. (They can be stored in an airtight container up to 5 days.) Before serving, roll cookies in confectioners’ sugar a second time to ensure a thick coating, and tap off excess.
Notes
- For best texture, ensure the butter is properly softened. The cookies are very delicate when warm, so handle with care during the initial transfer to the cooling rack.