

The Magic of Brown Butter
Let me tell you about brown butter. It is a simple kitchen trick. You cook butter until it turns a golden color. It smells like toasted nuts and caramel. Doesn’t that smell amazing? It changes everything.
I learned this from my friend Margie years ago. She made cookies that tasted like magic. I asked her secret. She just winked and said, “I gave the butter a tan.” I still laugh at that. Why does this matter? That nutty flavor makes a simple cookie taste special. It feels like a secret hug in every bite.
Making Your Cookie Clouds
The dough will be very soft. Do not worry. That is how it should be. Use a spoon to make little mounds on your baking sheet. They will puff up in the oven. They become golden and lovely.
Let them cool completely. This is important. A warm cookie will melt your ice cream too fast. Patience makes a better sandwich. What is your favorite ice cream flavor for a sandwich? Mine is vanilla bean. It lets the brown butter flavor sing.
The Fun Assembly Line
Now for the fun part. Put a big scoop of ice cream on one cookie. Top it with another. Gently press and twist. The ice cream will squish to the edges. It does not have to be perfect. We will fix it later.
Put them on a cold sheet in the freezer right away. This chills them fast. Why does this matter? A firm sandwich is easier to roll in chocolate chips. It keeps everything neat and happy. *Fun fact*: The first ice cream sandwich was sold by a street vendor in New York City over a hundred years ago!
A Snowdrift of Chocolate
This next step is my favorite. Take your frozen sandwiches out. Hold one over a bowl of mini chocolate chips. Use your hand to press the chips into the sides. It makes a beautiful, frosty coat.
It looks like a cookie wrapped in a snowdrift. Your hands will get cold. It is worth it. Do you like lots of chocolate on the outside, or just a little? I always go for lots.
The Long Wait for a Sweet Reward
Now, you must wait. Freeze the sandwiches for at least eight hours. I know, it is a long time. But this wait is the final magic trick. It lets everything settle and become one perfect treat.
Wrap them up tight. They can live in your freezer for two months. This means you can have a little joy anytime you need it. What is the best treat you ever saved for a rainy day? I would love to hear your story.
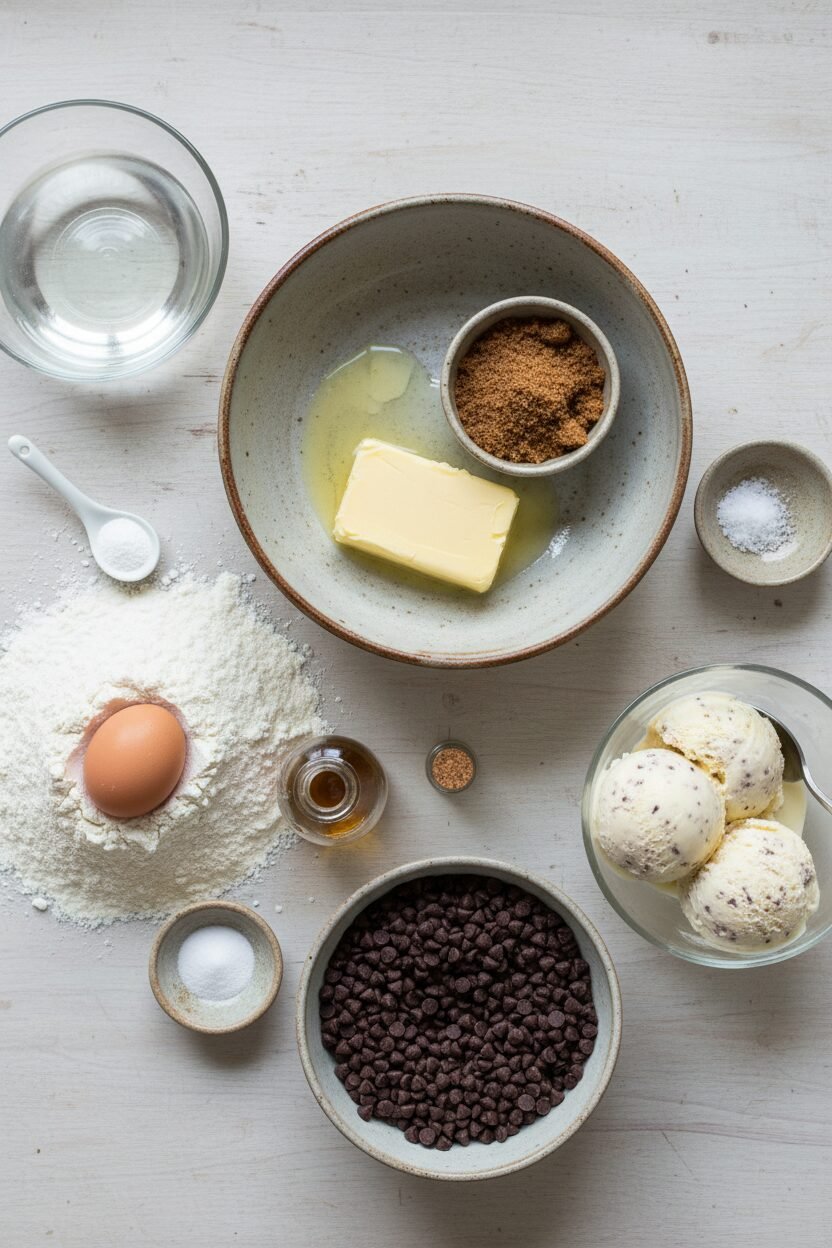
Ingredients:
| Ingredient | Amount | Notes |
|---|---|---|
| Unsalted butter | 10 tablespoons | Brown it for a nutty flavor |
| Dark brown sugar | ¾ cup (packed, 5¼ oz/149g) | |
| Table salt | ¾ teaspoon | |
| All-purpose flour | 1 cup + 2 tbsp (5⅔ oz/160g) | |
| Baking soda | ¼ teaspoon | |
| Large egg | 1 | |
| Water | 2 tablespoons | |
| Vanilla extract | 2 teaspoons | |
| Mini semisweet chocolate chips | ½ cup (3 oz/85g) | For the cookie dough |
| Ice cream | 3 pints | Any flavor you like |
| Mini semisweet chocolate chips (optional garnish) | 1 cup | For pressing into the sides |
Instructions
Step 1: First, get your oven ready. Put a rack in the middle and heat it to 325 degrees. Now, melt your butter in a skillet. Keep stirring it until it smells wonderfully nutty and turns a cozy brown. Pour it into a big bowl right away. Whisk in the brown sugar and salt. Let that lovely smell fill your kitchen for 10 minutes. (Watch the butter closely—it goes from perfect to burnt in a blink!)
Step 2: Grab your flour and baking soda. Stir them together in a separate bowl. Now, go back to your butter bowl. Whisk in the egg, water, and vanilla. It will become smooth and shiny. Gently stir in the flour mixture. Finally, fold in that half cup of mini chocolate chips. Your dough will be very soft, and that’s just right.
Step 3: Line two baking sheets with parchment paper. Use a tablespoon to drop dough mounds onto them. Bake one sheet at a time for about 10 minutes. They’ll puff up and turn golden. Let them cool on the sheet for 5 minutes. Then move them to a rack to cool completely. Do you like crispy or chewy cookies? Share below! I like mine just a little chewy.
Step 4: Time for the fun part! Put four cookies upside down. Plop a big scoop of ice cream on each. Top with another cookie. Gently press and twist until the ice cream peeks out the sides. Don’t worry about being neat. Place them on a cold sheet in the freezer. Repeat with all the cookies. (Work fast so the ice cream doesn’t melt in your hands!)
Step 5: If you want them fancy, get your extra chocolate chips ready. Take four sandwiches from the freezer. Hold one over the bowl of chips. Use your other hand to press chips into the soft ice cream edges. It’s like giving them a little hug. Put them back to freeze. Do the rest in batches. Now, the hardest part: wait 8 hours! They’re worth the wait, I promise.
Creative Twists
These are just the beginning. You can make them your own. Try using peppermint stick ice cream for a real wintery treat. Or roll the edges in crushed candy canes instead of chocolate chips. My grandkids love using cookies-and-cream ice cream for double the chocolate. Which one would you try first? Comment below!
Serving & Pairing Ideas
These sandwiches are a celebration all by themselves. For a party, stick a little paper flag in each one. You could also drizzle a tiny bit of hot fudge on the plate. A cold glass of milk is the classic choice, of course. For the grown-ups, a small glass of creamy Irish cream liqueur pairs beautifully. Which would you choose tonight?
Keeping Your Snowdrift Sandwiches Perfect
Let’s talk about keeping these treats happy. Freeze them solid for eight hours first. This stops the ice cream from squishing out. Then wrap each one tightly in plastic wrap. Pop them all into a big freezer bag. They will keep for two months this way.
I remember my first batch. I just put them on a plate. The next day, they tasted like my freezer! Wrapping them keeps the flavor fresh. It also means you have a sweet surprise ready for guests. Batch cooking matters because it saves you time later. You can enjoy a homemade treat anytime.
Have you ever tried storing it this way? Share below! My grandson loves finding these behind the peas. It’s our little secret.
Simple Fixes for Common Cookie Hiccups
First, your cookies spread too much. Your butter was likely too warm. Let the browned butter cool fully. This helps the dough keep its shape. I once used hot butter. My cookies ran together like a chocolate lake!
Second, the ice cream melts too fast. Work quickly and keep everything cold. Have your cookie sheets ready in the freezer. Scoop the ice cream right from the freezer. This keeps your sandwiches neat. It matters for a pretty final look.
Third, the chocolate chips won’t stick. The ice cream sides must be very cold. If they get soft, pop the sandwich back in the freezer. Then try again. Getting it right builds your kitchen confidence. It also makes every bite more fun.
Which of these problems have you run into before? We all learn as we go.
Your Quick Questions, Answered
Q: Can I make these gluten-free? A: Yes! Use your favorite gluten-free flour blend. The results are just as tasty.
Q: Can I make the cookies ahead? A: Absolutely. Bake and cool them completely. Store them in a sealed container for two days.
Q: What ice cream swaps work? A: Any flavor you love! Vanilla is classic. Mint chip or strawberry are wonderful too.
Q: Can I double the recipe? A: You can. Just bake the cookies in more batches. Do not crowd the oven sheets.
Q: Is browning the butter necessary? A: It gives a warm, nutty flavor. But you can just melt it if you are short on time. *Fun fact: Browning butter is called “beurre noisette” in French. It means “hazelnut butter”!*
Which tip will you try first?
From My Kitchen to Yours
I hope you love making these snowy treats. They always bring smiles to my table. Cooking is about sharing joy and making memories. Please tell me all about your kitchen adventure.
Have you tried this recipe? I would love to hear your story. Leave a comment below and tell me all about it.
Happy cooking!
—Elowen Thorn.
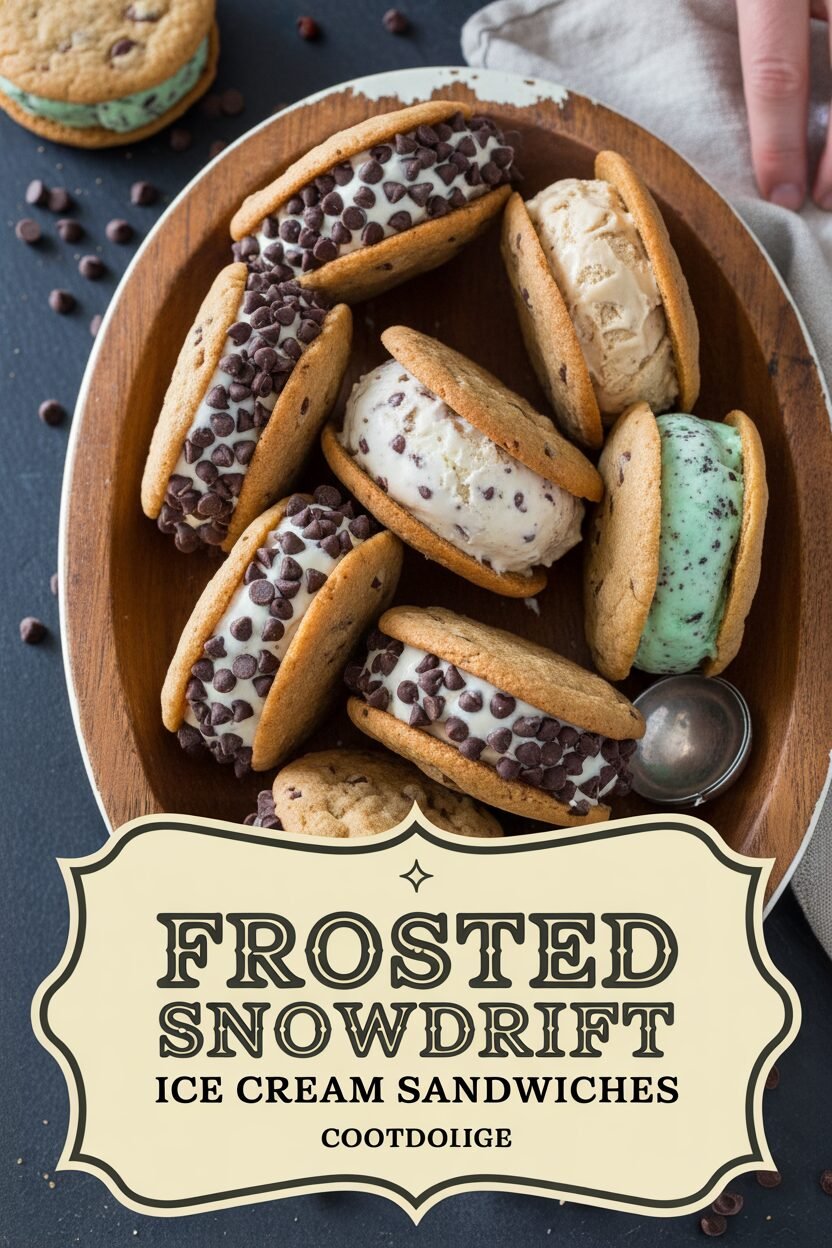

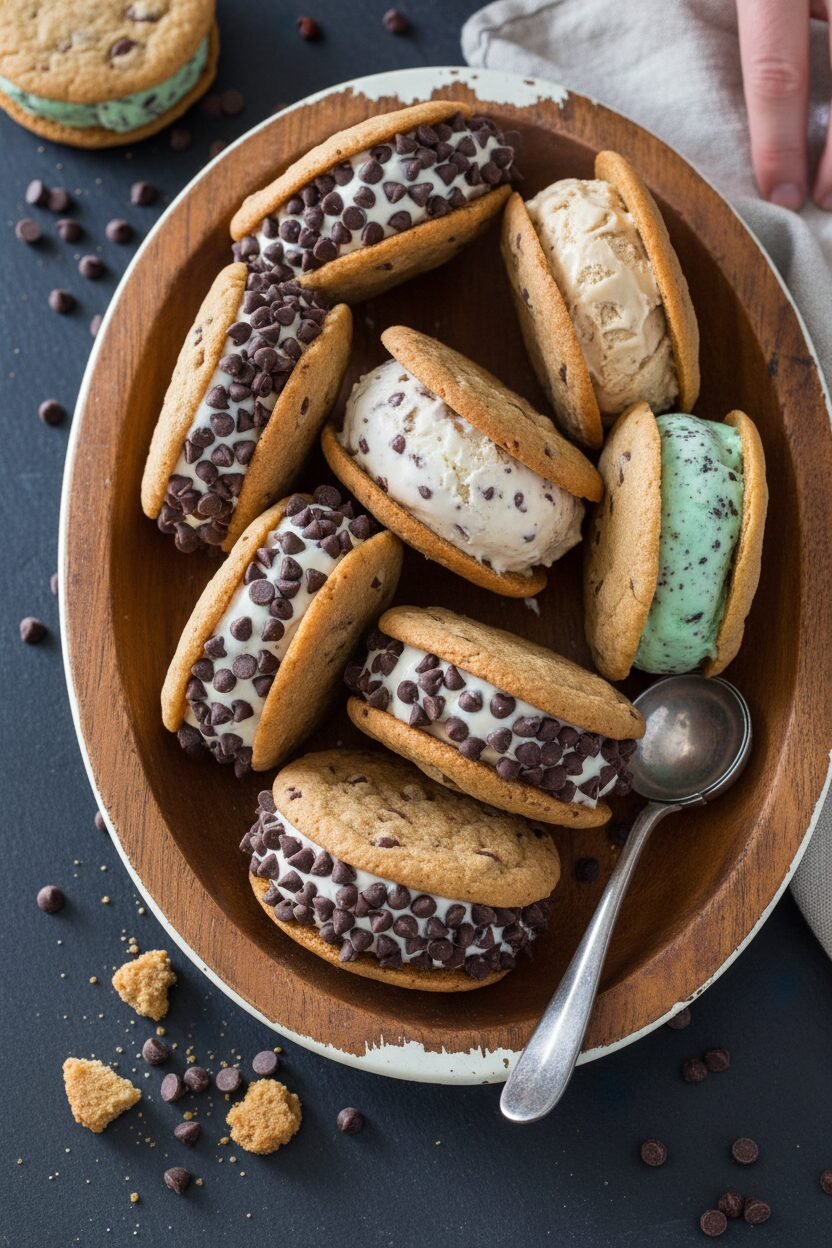
Frosted Snowdrift Cookie Ice Cream Sandwiches
Description
Indulge in the ultimate frozen treat with these homemade ice cream sandwiches, featuring rich browned butter chocolate chip cookies and your favorite ice cream.
Ingredients
Instructions
- Adjust oven rack to middle position and heat oven to 325 degrees. Melt butter in 10-inch skillet over medium-high heat. Cook, stirring and scraping skillet constantly with rubber spatula, until milk solids are dark golden brown and butter has nutty aroma, 1 to 3 minutes. Immediately transfer to heatproof large bowl. Whisk in sugar and salt until fully incorporated and let mixture cool for 10 minutes. Meanwhile, line 2 rimmed baking sheets with parchment paper. Stir flour and baking soda together in second bowl; set aside.
- Add egg, water, and vanilla to browned butter mixture and whisk until smooth, about 30 seconds. Using rubber spatula, stir in flour mixture until combined. Stir in ½ cup chocolate chips. (Dough will be very soft.)
- Using #60 scoop or 1-tablespoon measure, evenly space 12 mounds of dough on each prepared sheet. Bake cookies, 1 sheet at a time, until puffed and golden brown, 9 to 12 minutes, rotating sheet halfway through baking. Let cookies cool on sheet for 5 minutes, then transfer to wire rack and let cool completely, about 45 minutes. Place 1 sheet, still lined with parchment, in freezer.
- Place 4 cookies upside down on counter. Quickly deposit 2-inch-tall, 2-inch-wide scoop of ice cream in center of each cookie. Place 1 cookie from wire rack right side up on top of each scoop. Gently press and twist each sandwich between your hands until ice cream spreads to edges of cookies (this doesn’t have to be perfect; ice cream can be neatened after chilling). Transfer sandwiches to sheet in freezer. Repeat with remaining cookies and remaining ice cream. Place 1 cup chocolate chips, if using, in shallow bowl or pie plate.
- Remove first 4 sandwiches from freezer. Working with 1 sandwich at a time, hold sandwiches over bowl of chocolate chips and gently press chocolate chips into sides of sandwiches with your other hand, neatening ice cream if necessary. Return garnished sandwiches to freezer and repeat with remaining 8 sandwiches in 2 batches. Freeze sandwiches for at least 8 hours before serving. (Sandwiches can be individually wrapped tightly in plastic wrap, transferred to zipper-lock bag, and frozen for up to 2 months.)
Notes
- For the ‘Frosted Snowdrift’ version, use the optional 1 cup of chocolate chips to garnish the sides. For a simpler ‘Chocolate Chip Cookie Ice Cream Sandwich’, you can skip the garnish step. Choose your favorite ice cream flavor to customize.