

The Secret is in the Broth
Let’s start with the base. We make a rich broth first. It uses the turkey neck and giblets from your bird. I know, they look a bit funny. But trust me, they hold so much flavor. We cook them low and slow with an onion.
Your kitchen will smell like Thanksgiving already. Doesn’t that smell amazing? This step matters because it builds a deep, savory taste. Good gravy needs a strong foundation. Do you save the neck and giblets from your chicken, too? I’d love to hear.
A Little Kitchen Magic
Next comes the roux. That’s just butter and flour cooked together. You whisk until it turns a lovely honey color. It should smell a bit like toasted nuts. This is the thickener for your gravy.
My first roux was a lumpy mess. I was too scared to whisk! Now I know, just keep stirring. Fun fact: This cooking step gets rid of the raw flour taste. It makes your gravy smooth and silky. That’s why it matters so much.
Making it Ahead is a Gift
Here is the best part. You can make this gravy two days before the feast. Just stop after step five and pop it in the fridge. On the big day, you just reheat it and add the turkey drippings.
This saves your sanity. No last-minute gravy panic while the turkey rests. I still laugh at the year I forgot to make gravy. We had to use a jar! Never again. What’s your biggest Thanksgiving day scramble? Mine was definitely the gravy year.
The Final Flourish
When your turkey is done, collect the golden drippings. Let the fat rise to the top and skim it off. Then, stir those meaty juices into your reheated gravy. It brings everything together.
That final simmer wakes all the flavors up. It makes the gravy taste like the whole feast in a spoon. This step matters because it ties the gravy to your specific, beautiful turkey. It’s the taste of your own holiday table.
Your Gravy, Your Way
Now, taste it. Add salt and pepper until it sings for you. Some like it peppery. I like mine with a little extra thyme. It’s your creation.
Pour it into your favorite gravy boat. You did it. You made real, from-scratch gravy ahead of time. I’m so proud of you. Will you be the gravy maker in your family from now on? I think you should be.
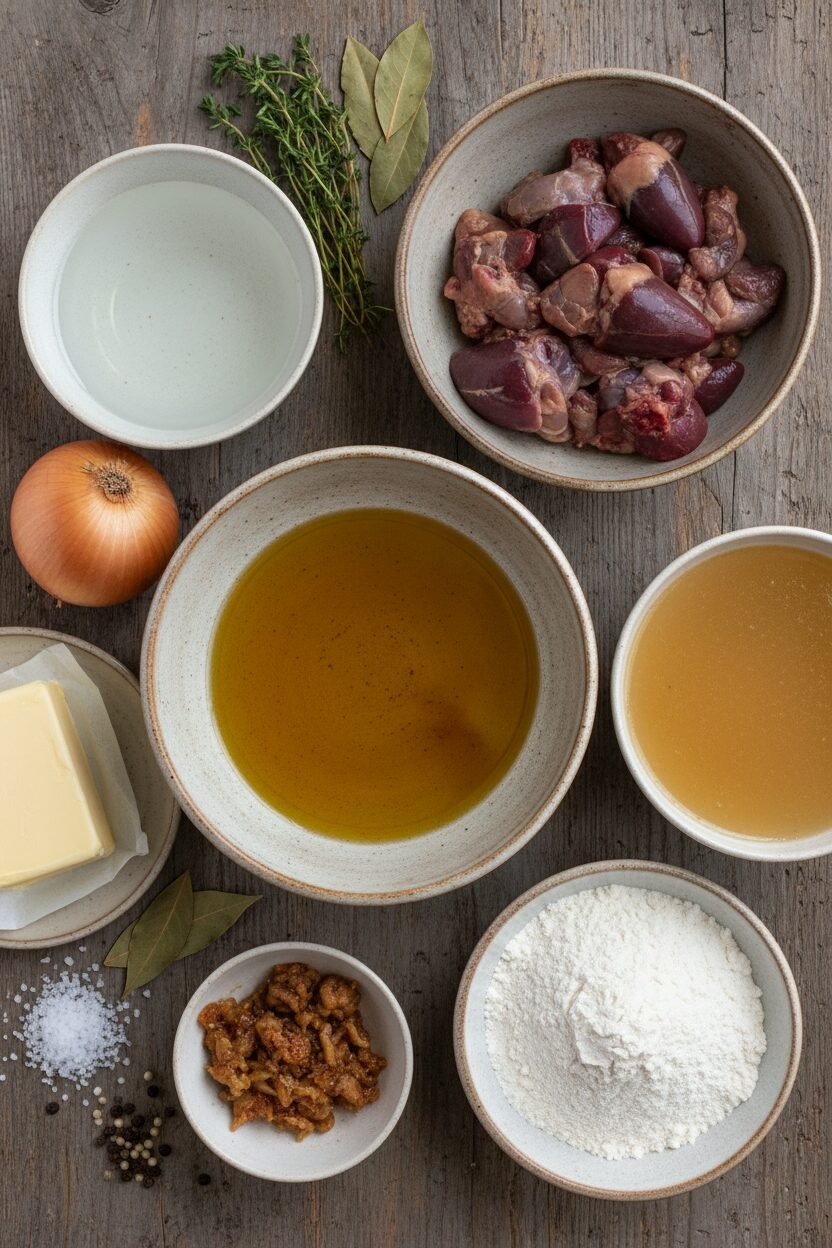
Ingredients:
| Ingredient | Amount | Notes |
|---|---|---|
| Vegetable oil | 1 tablespoon | |
| Reserved turkey neck and giblets | from turkey | Minus the liver |
| Onion | 1 | Chopped |
| Low-sodium chicken broth | 4 cups | |
| Water | 2 cups | |
| Fresh thyme | 4 sprigs | |
| Bay leaf | 1 | |
| Unsalted butter | 4 tablespoons | |
| All-purpose flour | 6 tablespoons |
My Make-Ahead Turkey Gravy Secret
Hello, my dear. Come sit. Let’s talk about gravy. Good gravy is a hug in a bowl. Making it ahead is my favorite trick. It saves so much fuss on the big day. I remember my own grandma teaching me this. The kitchen was so warm and full of laughter. Doesn’t that smell amazing? Let’s make some magic together.
Instructions
Step 1: First, let’s build flavor. Heat your oil in a big pan. Brown the turkey neck and giblets for five minutes. Now add your chopped onion. Cook until it gets soft and sweet. Then put the lid on and let it all whisper together on low heat for twenty minutes. (A good brown color here means more flavor later!)
Step 2: Time for the broth. Pour in your chicken broth and water. Scrape up all those tasty bits from the pan bottom. Bring it to a happy little boil. Then add your thyme and bay leaf. Let it simmer gently for half an hour. I still laugh at the “plop” sound the herbs make. Do you have a favorite herb? Share below!
Step 3: Now, we strain. Pour everything through a fine strainer into a bowl. We can say goodbye to the solids. Let this beautiful broth cool completely. You can pop it in the fridge for two days. See? The hard part is already done. What a relief.
Step 4: This is the important part. Melt your butter in a clean pan. Whisk in the flour until it’s smooth. Keep whisking for about four minutes. It will turn a lovely golden color and smell like toasted nuts. (Never stop whisking here, or it might burn!)
Step 5: Bring your broth back to a simmer. Slowly whisk it into your flour-butter mix. Add just a little at a time. Keep whisking until it’s all in there. Let it bubble and thicken for five minutes. Then just cover it and wait for the turkey. Your future self will thank you.
Step 6: The big day is here! Your turkey is done. Pour the pan drippings into a fat separator. Reheat your gravy until it bubbles. Add the good juices from the separator, not the fat. Let it simmer for two final minutes. Taste it. Add salt and pepper until it sings.
Creative Twists
Add a splash of apple cider when you simmer the broth. It gives a gentle, fruity sweetness.
Stir in a spoonful of whole-grain mustard at the very end for a little zing.
For extra richness, use a half-cup of cream instead of some broth in step five.
Which one would you try first? Comment below!
Serving & Pairing Ideas
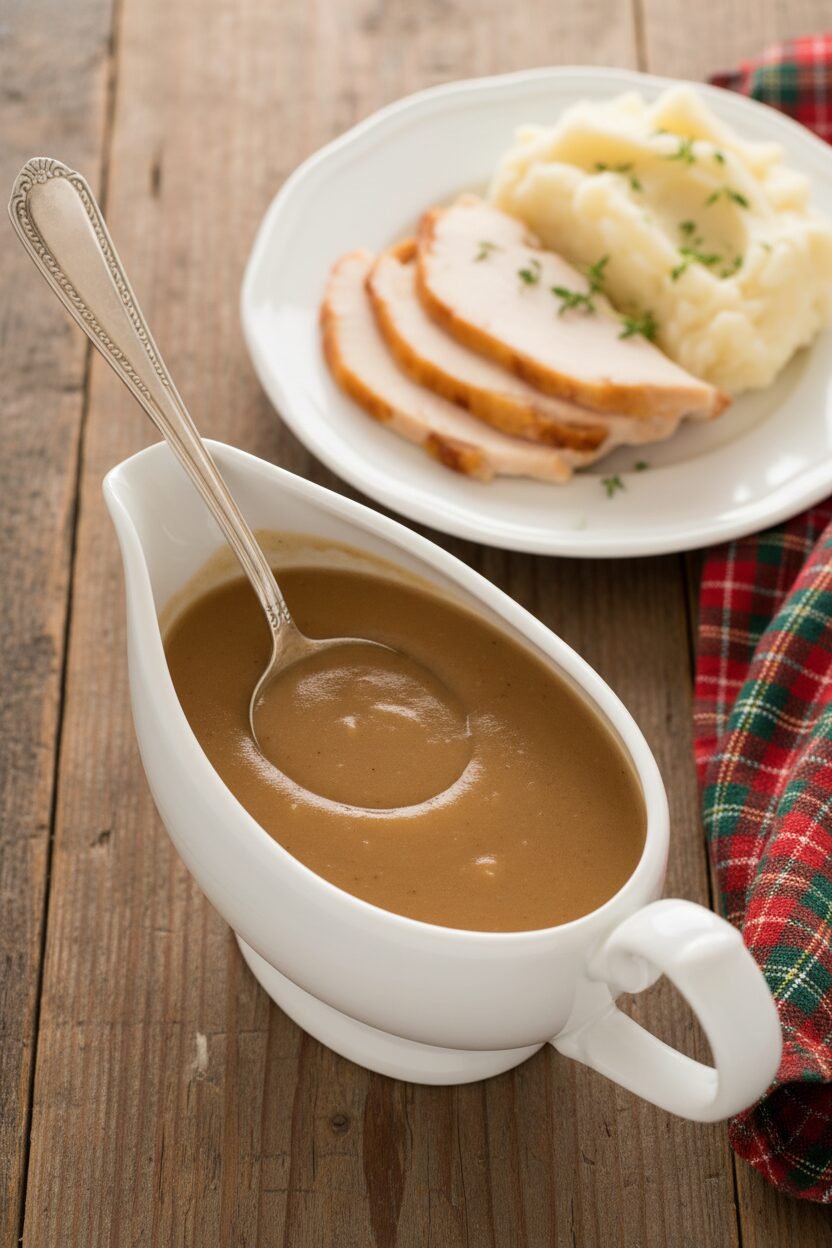
Pour this gravy over everything. It loves mashed potatoes most of all. A sprinkle of fresh chopped parsley on top looks so pretty. For a drink, a chilled glass of white wine pairs nicely. For the young ones, sparkling apple cider in a fancy glass feels special. Which would you choose tonight?
Make-Ahead Magic for Your Gravy
This gravy is a perfect make-ahead friend. Let it cool completely after step five. Then, pop it in the fridge for a day. It will thicken up as it chills. That is perfectly normal.
To reheat, warm it slowly in a pot. Add a splash of broth if it gets too thick. I once reheated it too fast. It got a little lumpy! A good whisk fixed it right up.
You can also freeze it for a month. Use a freezer-safe container. Thaw it in the fridge overnight before reheating. This matters because it saves you big time on your feast day. You get to enjoy your guests, not just the stove.
Have you ever tried storing gravy this way? Share your tips below!
Gravy Troubles? Let’s Fix Them Together
Is your gravy too thin? Let it simmer a bit longer. The heat helps it thicken up. Too thick? Just whisk in more warm broth, a spoonful at a time.
Lumps can happen to anyone. I remember my first lumpy roux! Do not panic. Just pour your gravy through a fine strainer. It will be silky smooth again.
Does it taste bland? Wait until the very end to season. The drippings from your turkey add huge flavor. Fixing these small issues builds your cooking confidence. It also makes your whole meal taste better.
Which of these problems have you run into before?
Your Quick Questions, Answered
Q: Can I make this gluten-free?
A: Yes! Use an equal amount of cornstarch or gluten-free flour mix instead of regular flour.
Q: How far ahead can I make it?
A: You can make the broth two days ahead. The full gravy can be made one day before.
Q: I don’t have fresh thyme.
A: That is fine. Use one teaspoon of dried thyme instead of the fresh sprigs.
Q: Can I double the recipe?
A: Absolutely. Just use a bigger pot. You will want extra gravy for leftovers!
Q: Is the turkey neck essential?
A: It adds wonderful flavor, but you can skip it. Just use all broth. *Fun fact: The long simmer pulls flavor from the bones, just like a soup.*
Which tip will you try first?
From My Kitchen to Yours
I hope this recipe becomes a tradition in your home. Good gravy is like a warm hug on a plate. It brings everyone together at the table.
I would love to hear about your cooking adventures. Tell me all about your feast. Have you tried this make-ahead gravy trick? Please share your story in the comments below.
Happy cooking!
—Elowen Thorn.
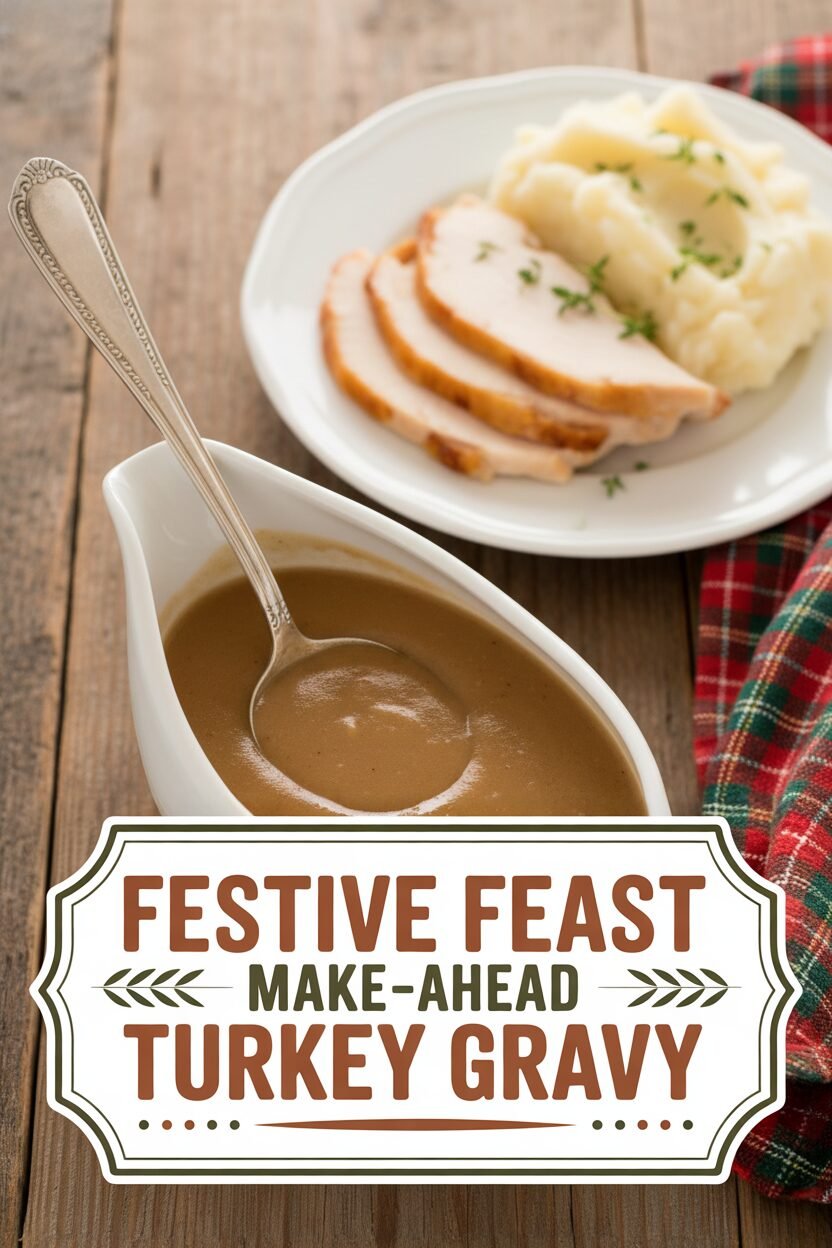

Festive Feast Make-Ahead Turkey Gravy
Description
A rich, flavorful gravy prepared in advance to make your holiday turkey dinner effortless and delicious.
Ingredients
Instructions
- SAUTÉ AND SOFTEN Heat oil in large saucepan over medium-high heat and brown giblets (minus the liver) and neck for 5 minutes. Add onion and cook until softened, about 3 minutes, then reduce heat to low, cover, and cook for 20 minutes.
- SIMMER AND SKIM Turn heat to high, add chicken broth and water, scrape pan bottom, and bring to boil. Reduce heat to low, add herbs, and simmer for about 30 minutes, skimming if needed.
- STRAIN AND COOL Pour broth through fine-mesh strainer. Discard solids. Broth can be made in advance and stored in the refrigerator for 2 days.
- MAKE ROUX Melt butter in large saucepan over medium heat. Whisk in flour. Cook, whisking constantly, until honey-colored and fragrant, about 4 minutes.
- ADD BROTH Bring reserved turkey broth to simmer and add to pan, a little at a time, whisking constantly. Simmer gravy, whisking occasionally, until thickened, about 5 minutes. Set aside, covered, until turkey is done. (Gravy can be refrigerated, covered, for 1 day.)
- DEFAT AND FINISH Scrape up bits in roasting pan and pour drippings into fat separator. Reheat gravy over medium heat until bubbling. Add defatted drippings. Simmer for 2 minutes until the gravy thickens. Season with salt and pepper. Serve with turkey.
Notes
- The turkey drippings added at the end are optional but highly recommended for the most authentic flavor. If you don’t have them, the gravy will still be delicious.