

A Name Like a Winter Song
This recipe is called Crimson Snowflake Sorbet Noel. That’s a fancy name. I just call it my ruby red raspberry snow. It sounds like a winter song, doesn’t it? The “Noel” part is for Christmas. But I make it all year round.
I first made it for a summer picnic. My grandson said it looked like frozen jewels. I still laugh at that. A dessert can be for any season you want. What season does it feel like to you right now?
Sweet Snow, Simple Start
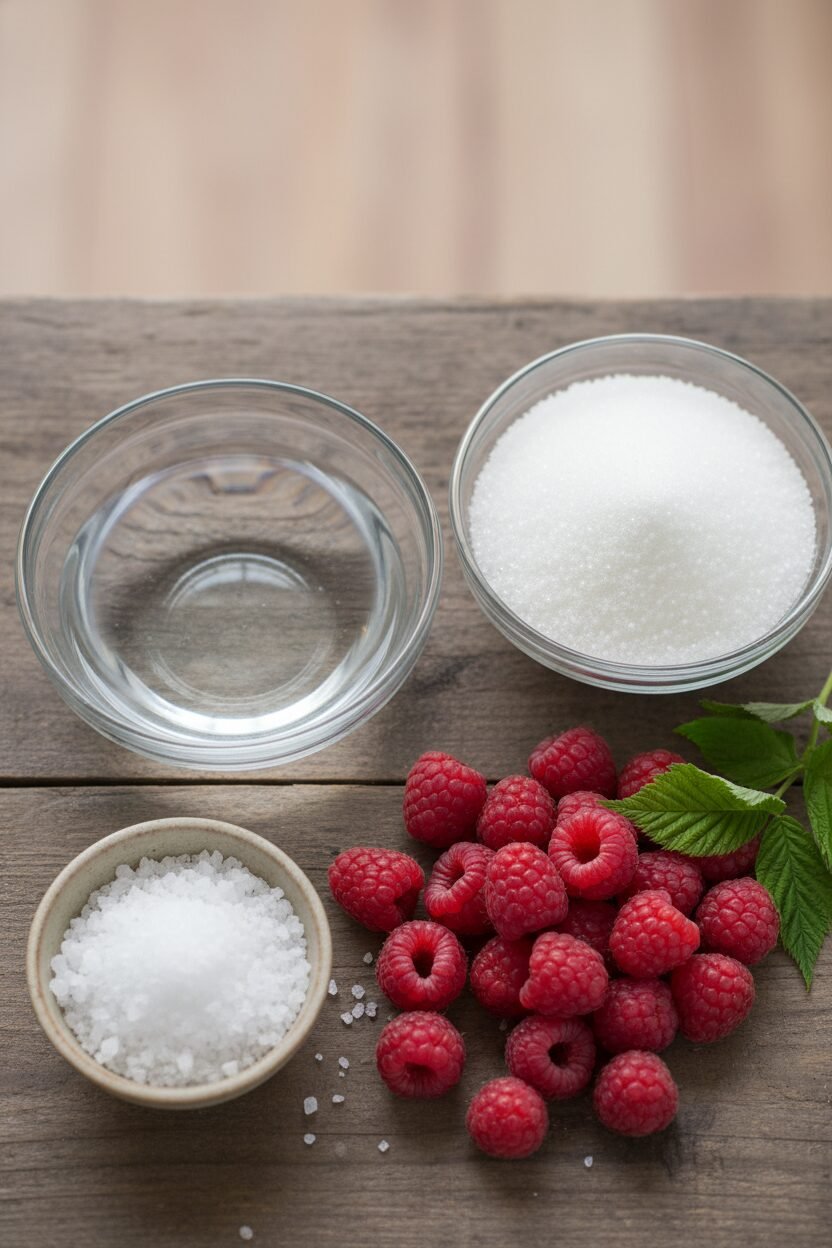
We start with sugar and water. Heat them until the sugar melts away. This makes simple syrup. It is the secret to smooth sorbet. Without it, your treat would be a block of ice.
Let it cool a little. This matters because you don’t want to cook your berries. We want their bright, fresh taste. Fun fact: This syrup can be made ahead and kept in your fridge for weeks!
The Heart of the Matter
Now, the raspberries. Use four cups. Fresh or frozen both work beautifully. Pour the warm syrup over them in a blender. Add a tiny pinch of salt.
That salt is my little trick. It makes the sweet flavor pop even more. Doesn’t that smell amazing? Like a sunny berry patch. Blend it all until it’s completely smooth.
A Little Patience, Please
Next, we strain it. Push the liquid through a fine sieve. This catches all the little seeds. It gives you a sorbet as smooth as silk. Then, it must chill in the fridge.
This waiting time is important. It lets the flavors get to know each other. I think it tastes best after a night in the cold. What’s the hardest recipe you’ve ever had to wait for?
Watching Magic Happen
Pour the cold mix into your ice cream maker. Churn it for about twenty minutes. Watch the magic. It turns from juice into soft, fluffy snow.
You can eat it right then. It’s like a creamy slush. Or freeze it longer for firm scoops. This matters because you choose your perfect texture. My favorite is straight from the churn.
Your Bowl of Sunshine
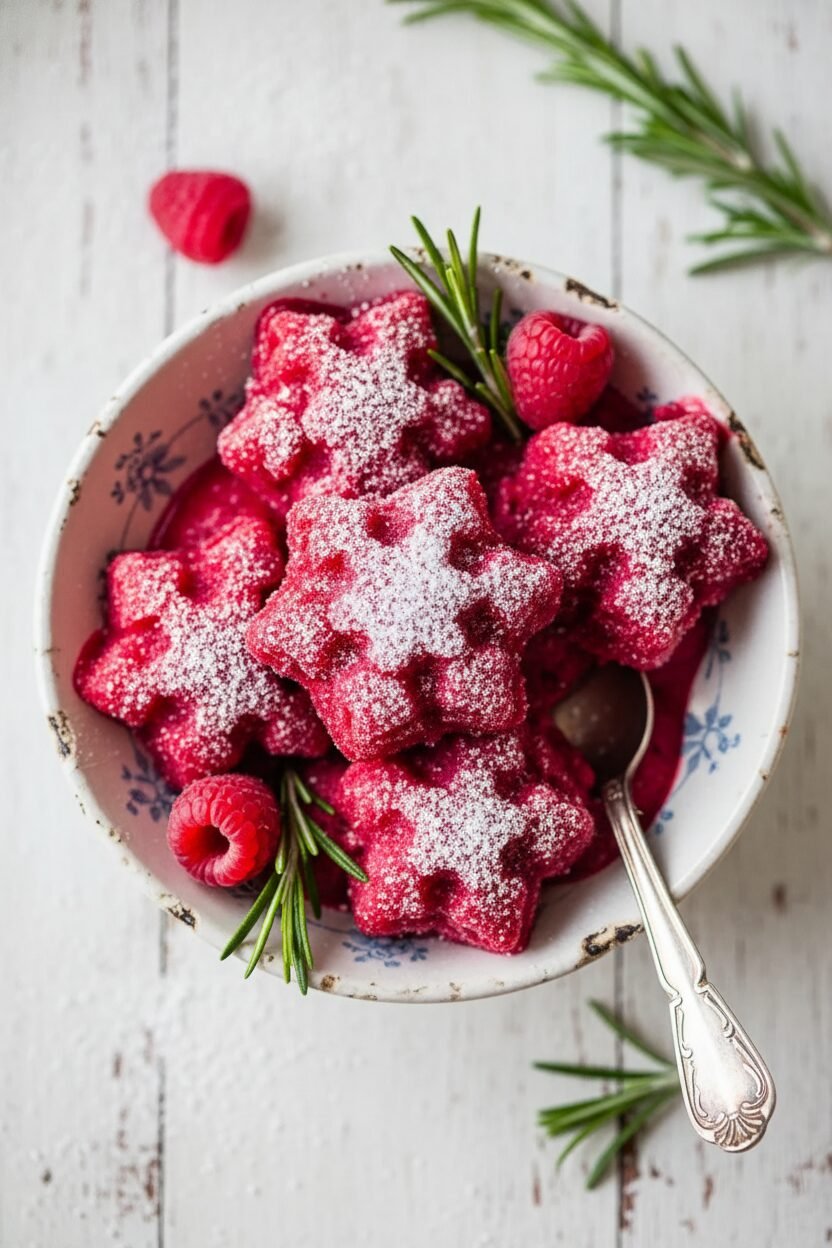
This sorbet is more than a dessert. It’s a bowl of pure fruit sunshine. It tastes clean and bright. It makes you feel happy from the inside out.
It reminds me that simple things are often the best. Just fruit, sugar, and water. What fruit would you use to make your own “snowflake” sorbet? I’d love to hear your ideas.
Ingredients:
| Ingredient | Amount | Notes |
|---|---|---|
| Water | 2 cups | |
| Granulated sugar | 1 1/2 cups | |
| Salt | 1 pinch | |
| Raspberries | 4 cups | Fresh or thawed frozen |
Crimson Snowflake Sorbet Noel
Hello, my dear. Come sit at the table. Let’s make a little winter magic. This sorbet is like eating a frozen raspberry cloud. It’s so simple and bright. I call it my Crimson Snowflake. Doesn’t that sound festive? We made this every December when my grandchildren were small. Their noses would press against the freezer door. Waiting is the hardest part, they’d say. I still laugh at that.
Instructions
Step 1: First, we make a sweet syrup. Combine the water and sugar in a pan. Warm it on medium-low heat. Stir until the sugar just disappears. Then take it off the stove. Let it cool for a bit. This is the secret to a smooth sorbet. (A clean spoon taste here is my favorite cook’s treat!)
Step 2: Now, the fun berry part. Put your raspberries in the blender. Add that tiny pinch of salt. It makes the berries taste even more like themselves. Pour your cooled syrup over them. Blend it all until it’s perfectly smooth. Doesn’t that color just make you happy?
Step 3: Next, we strain it. Push the mixture through a fine strainer. This catches all the little seeds. Use a spatula to get every last drop. The pulp left behind looks like pink confetti. What’s your favorite berry? Share below!
Step 4: Patience time, my dear. Cover the bowl with plastic wrap. Let it chill in the fridge for a few hours. Overnight is even better, if you can wait. The flavor gets friendlier and deeper. (Chilling the mix fully helps your ice cream maker so much.)
Step 5: Time to churn! Pour your cold mix into the ice cream maker. Let it work its magic for about 20 minutes. It will become soft and creamy. You can eat it right then, like a frosty mush. I always sneak a spoonful.
Step 6: For pretty scoops, freeze it more. Spoon the soft sorbet into a container. Seal it tight and freeze for two more hours. Then you can scoop perfect crimson snowflakes. The wait is always worth it, you’ll see.
Creative Twists
Sparkling Berry: Swap half the water for lemon-lime soda. It adds a fizzy feeling.
Chocolate Snowfall: Serve scoops in a bowl with shaved white chocolate on top.
Minty Fresh: Add a few fresh mint leaves to the blender with the berries.
Which one would you try first? Comment below!
Serving & Pairing Ideas
Place a scoop on a simple sugar cookie. It’s a perfect little plate. Or serve it in a fancy glass with fresh mint. For a party, make tiny scoops on a tray. A crisp, cold Prosecco pairs beautifully for grown-ups. For everyone, try sparkling apple cider. The bubbles are so cheerful. Which would you choose tonight?
Keeping Your Sorbet Sparkling
Let’s keep that sorbet tasting fresh. Store it in a tight-lidded container. Press plastic wrap right on the surface first. This stops icy crystals from forming on top.
You can make a big batch ahead of time. It freezes beautifully for a whole month. Just let it soften on the counter for ten minutes before scooping.
I once left a bowl out too long. It became a lovely pink puddle! We drank it like a tart raspberry soup. Nothing was wasted.
Good storage matters. It saves your beautiful work. It also means a sweet treat is always ready for you. Have you ever tried storing it this way? Share below!
Smooth Sorbet Solutions
First issue: your sorbet is too icy. The mix probably wasn’t cold enough before churning. Always chill it in the fridge first. This makes it freeze creamy, not crunchy.
Second issue: it’s too sweet or too tart. Taste your mix before it chills. Add a squeeze of lemon for brightness. Add a spoon more sugar if it’s too sharp.
Third issue: it won’t scoop. I remember trying to scoop rock-hard sorbet! Just be patient. Let it warm up a little on the counter. It will become perfectly scoopable.
Fixing these small things builds your kitchen confidence. It also makes the flavor just right for you. Which of these problems have you run into before?
Your Quick Questions, Answered
Q: Is this sorbet gluten-free?
A: Yes, it is! All the ingredients are naturally free from gluten.
Q: Can I make it ahead?
A: Absolutely. Make it up to a month ahead. Store it well in the freezer.
Q: Can I use other berries?
A: You sure can. Try blackberries or strawberries. The sugar amount might need a small tweak.
Q: Can I double the recipe?
A: Of course. Just use a bigger pot for the syrup. Your ice cream maker might need two batches.
Q: Is straining really needed?
A: It’s optional. It gives a super smooth texture. But the seeds are fine to eat if you like them.
Fun fact: A single raspberry is made of many tiny fruits! Each little bump is called a drupelet. Which tip will you try first?
From My Kitchen to Yours
I hope you love this bright, frosty treat. It always reminds me of summer berries in winter. Making it is such a simple joy.
I would love to hear about your kitchen adventures. Tell me all about it in the comments below. Have you tried this recipe? I am cheering for you.
Happy cooking!
—Elowen Thorn.

Crimson Snowflake Sorbet Noel
Description
A vibrant and refreshing raspberry sorbet, perfect for a festive treat or a light dessert.
Ingredients
Instructions
- Prepare the Simple Syrup: In a medium-sized saucepan, combine the water and granulated sugar. Place over medium-low heat and stir occasionally until the sugar has completely dissolved. Once dissolved, remove the saucepan from the heat and set aside to cool slightly.
- Blend the Raspberries: In a blender, add the raspberries along with a pinch of salt. Pour the prepared sugar-water mixture over the berries. Blend on high speed until the mixture is smooth and well combined.
- Strain the Mixture: For a smoother texture, pass the blended mixture through a fine mesh strainer into a large bowl, using a spatula to press and extract as much liquid as possible. Discard the remaining seeds and pulp.
- Chill the Mixture: Cover the strained sorbet base with plastic wrap and refrigerate for 2 to 3 hours, or until thoroughly chilled. For best results, refrigerate overnight to allow the flavors to develop fully.
- Churn the Sorbet: Pour the chilled mixture into an ice cream maker and churn according to the manufacturer’s instructions, typically for 20 minutes, or until the sorbet reaches a soft, creamy consistency.
- Freeze for a Firmer Texture (Optional): If a firmer sorbet is desired, transfer the churned sorbet into an airtight container and place it in the freezer for an additional 2 hours before serving.
Notes
- For a no-churn version, pour the strained mixture into a shallow dish and freeze, stirring with a fork every 30 minutes until firm, about 3-4 hours.