

My Favorite Easter Bunny Cookies
I make these bunny cookies every spring. They are the easiest bunny cookies ever. My grandkids love to help. We turn the kitchen into a sweet, sugary art studio.
The secret is a good sugar cookie recipe. You just cut out bunny shapes and bake. The real fun is in the decorating. I still laugh at the year we made bunny butt cookies. The little tails were so silly!
How to Decorate Bunny Cookies
Let’s talk about how to decorate bunny cookies. First, tint your frosting a soft color. Pink, blue, or yellow are lovely. Doesn’t that smell amazing? Fresh frosting is the best.
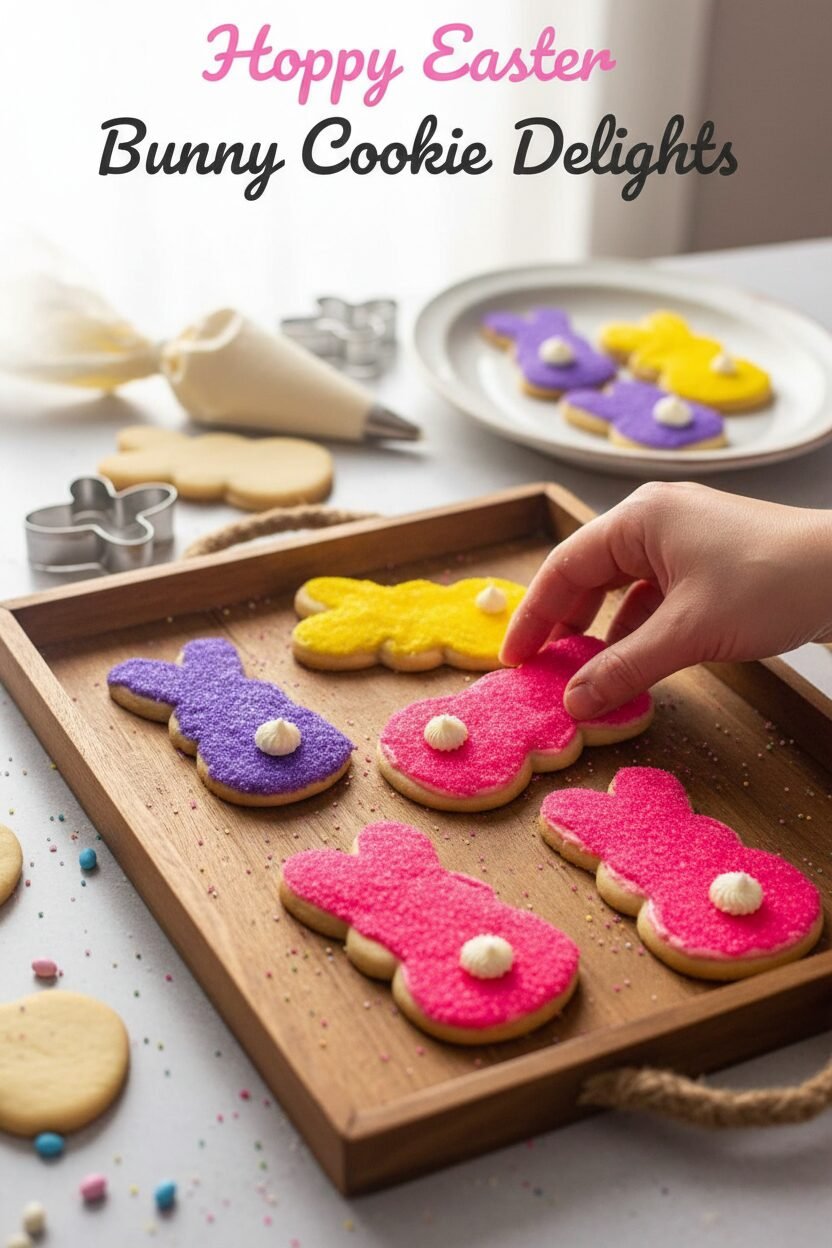
Frost one cookie at a time. Then dip it right into a plate of colored sugar. Press gently. You get a perfect, sparkly coat. For bunny faces, use tiny sprinkle eyes and a nose. It brings them to life!
The Silly Bunny Butt Cookie
Now, the bunny butt cookies. This matters because it’s pure joy. Food should make you smile. Pipe a little white frosting tail on the bottom of a cookie. It’s so simple and funny.
My grandson invented these years ago. He said the bunnies needed to hop away. So we gave them tails to see. Everyone who sees them giggles. What’s the funniest cookie you’ve ever made?
Why This Recipe Works
This is my go-to recipe for easy Easter desserts. You use one dough for everything. No fancy tools are needed. Just cookie cutters, frosting, and your hands.
*Fun fact*: The colored sugar coating seals the frosting. This keeps the cookies soft. This matters for busy families. You can bake the cut out sugar cookies one day and decorate the next.
Your Turn in the Kitchen
I hope you try these Easter sugar cookies. They are sweet, simple, and full of love. Bunny cookie decorating is about making memories. Which part sounds most fun to you: making the faces or the funny tails?
Share your baking day with someone you love. Tell me, what’s your favorite spring treat to make? I’d love to hear your stories. Now, go make some magic in your kitchen.
Ingredients:
| Ingredient | Amount | Notes |
|---|---|---|
| Cutout sugar cookies with frosting | 1 recipe | Baked into bunny shapes |
| Colored Sugar (Sanding Sugar) | As needed | For coating the frosted cookies |
| Sprinkles | As needed | Optional, for making bunny faces (eyes and noses) |
| Frosting (for tinting and piping) | As needed | Tinted for coating; white reserved for piping tails |

Instructions
Step 1: First, make your favorite sugar cookie recipe. Roll out the dough nice and thin. Use a bunny-shaped cutter for your Easter bunny cookies. I still smile seeing those shapes on the tray.
Step 2: Bake your cut out sugar cookies as the recipe says. Let them cool completely on a rack. This patience is key for decorating. Doesn’t that smell amazing?
Step 3: Now, tint your frosting a soft, pretty color. Frost one bunny cookie all over with a knife. (A thin layer holds the sugar best.) Then, dip it right into a plate of colored sugar.
Step 4: For bunny butt cookies, pipe a fluffy tail with white frosting. Use a star tip for a cute, swirly look. It’s my favorite part of bunny cookie decorating! What color sugar is your favorite? Share below!
Step 5: For faces, add sprinkle eyes and a nose. Let all your easy bunny cookies dry. Then, store them in a tin. These easy Easter desserts stay fresh for days.
Creative Twists
Pastel Rainbow Bunnies: Dip each ear in a different colored sugar. Spring Garden Scene: Add green coconut “grass” under your bunny butt cookies. Glittery Galaxy Bunnies: Mix edible glitter into your sugar for sparkly Easter bunny cookies. Which one would you try first? Comment below!Serving & Pairing Ideas
Place your bunny cookies on a pastel platter for Easter. They look lovely next to chocolate eggs. You could also pack them in a cute box as a sweet gift. These are the best easy Easter desserts to share. Which would you choose tonight?
Keeping Your Bunny Cookies Fresh and Happy
Let’s talk about storing your sweet creations. Cool cookies completely first. Then, layer them in an airtight container. Use parchment paper between layers. This keeps your bunny cookies from sticking together.
They will stay fresh for up to three days. I remember my first batch. I put them in a bowl with a towel on top. They turned soft overnight. I learned my lesson about airtight containers!
Batch cooking these easy Easter desserts saves so much time. You can bake the cut out sugar cookies ahead. Freeze them plain for a month. Decorate them the day before your party. This matters because it makes holiday fun, not fuss.
Have you ever tried storing it this way? Share below!
Simple Fixes for Common Cookie Troubles
Sometimes our baking doesn’t go as planned. Here are three easy fixes. First, if your dough is too sticky, chill it. Just wrap it and put it in the fridge for an hour.
Second, cookies spreading too much? Your dough might be too warm. I once had bunny cookies turn into blobs. Chilling the dough fixed it next time. This matters because sharp shapes make decorating more fun.
Third, frosting too runny? Add a little more powdered sugar. Frosting too thick? Add milk, one drop at a time. Getting the frosting right matters. It helps the colored sugar stick perfectly for bunny cookie decorating.
Which of these problems have you run into before?
Your Quick Questions, Answered
What are Hoppy Easter Bunny Cookie Delights?
They are the cutest Easter sugar cookies. You start with a simple sugar cookie recipe. Then you cut them into bunny shapes. The fun part is the decorating. You coat them in bright colored sugar. You can even make funny bunny butt cookies with a piped tail.
How to make Hoppy Easter Bunny Cookie Delights?
First, make your dough for cut out sugar cookies. Roll it out and cut bunny shapes. Bake them and let them cool completely. Tint your frosting and spread it on a cookie. Then, dip the frosted side right into a plate of colored sugar. It’s one of the easiest bunny cookies ever.
What ingredients are in Hoppy Easter Bunny Cookie Delights?
You need a standard sugar cookie recipe. That usually has butter, sugar, flour, eggs, and vanilla. For decorating, you need frosting and colored sanding sugars. You can also use sprinkles for the faces. That’s it! These easy Easter desserts use simple things you likely have at home already.
Can I make Hoppy Easter Bunny Cookie Delights ahead of time?
Yes, you absolutely can. This is a great trick. Bake the bunny cookies ahead and freeze them. Keep them in a freezer bag for up to a month. The day before you need them, thaw and decorate. This makes your Easter preparation so much simpler and more relaxed.
Are there variations for Hoppy Easter Bunny Cookie Delights?
Oh, there are so many fun ways to change them up. Try different pastel colors for the sugar. Use jelly beans for the bunny noses. A fun fact: the bunny butt cookies became popular from a funny internet trend. For bunny faces, try small chocolate chips for eyes. Your imagination is the limit.
Where can I find the recipe for Hoppy Easter Bunny Cookie Delights?
The full recipe is right in this article. Just look at the instructions above these questions. It gives you all the steps for how to decorate bunny cookies. It tells you how to make the tails and faces. It is designed to be a very easy and joyful project for bakers of all ages.
Which tip will you try first?
From My Kitchen to Yours
I hope you have the best time making these cookies. Baking should be full of laughter and sweet messes. I love thinking of families decorating together. These memories are the real treat.
I would be so delighted to hear about your baking adventure. Tell me all about it. Have you tried this recipe? Let me know how your bunny cookies turned out in the comments below.
Happy cooking!
—Danielle Monroe


Hoppy Easter Bunny Cookie Delights
Description
Bunny Cookies (Easiest EVER!)
Ingredients
Instructions
- When making your sugar cookies, cut out bunny shapes. Bake as directed.
- Once cool, tint your frosting the color of your sanding sugars.
- Place sugar on a shallow plate (use different plates for different colors).
- Frost bunnies all over with frosting. Dip frosting side down in sugar and press to coat.
- To make bunny butts: Place white frosting in a piping bag fitted with a small star tip. Pipe a tail on the bottom of the cookie.
- To make bunny faces: Use sprinkles to make eyes and noses.
Notes
- Store in an airtight container for up to 3 days.