

The Heart of the Table
For me, a holiday table needs a centerpiece. This ham is just that. It is crisp outside and tender inside. The smell fills the whole house. It tells everyone a special meal is coming.
I love how it brings people together. Everyone gathers around as you carve it. The sweet and savoury glaze makes everyone smile. What is your favorite holiday centerpiece dish? Tell me about it in the comments.
A Little Story About Glaze
My first time making this, I was nervous. The glaze bubbled in my pot. I worried it would burn. But then the kitchen smelled like caramel and spice. I still laugh at that worry.
That moment taught me something. Good cooking is about trusting your senses. Your nose will tell you when things are right. Doesn’t that smell amazing? This matters because cooking should feel like a discovery, not a test.
Why We Let It Rest
After baking, you must let the ham sit. This is the hardest part! Everyone is hungry. But wait 10 or 20 minutes. I know it seems silly.
Here is why it matters. The juices inside need to settle. If you cut right away, all the good juice runs out. Your slices will be dry. Letting it rest keeps every bite juicy and perfect. It is a small step with a big reward.
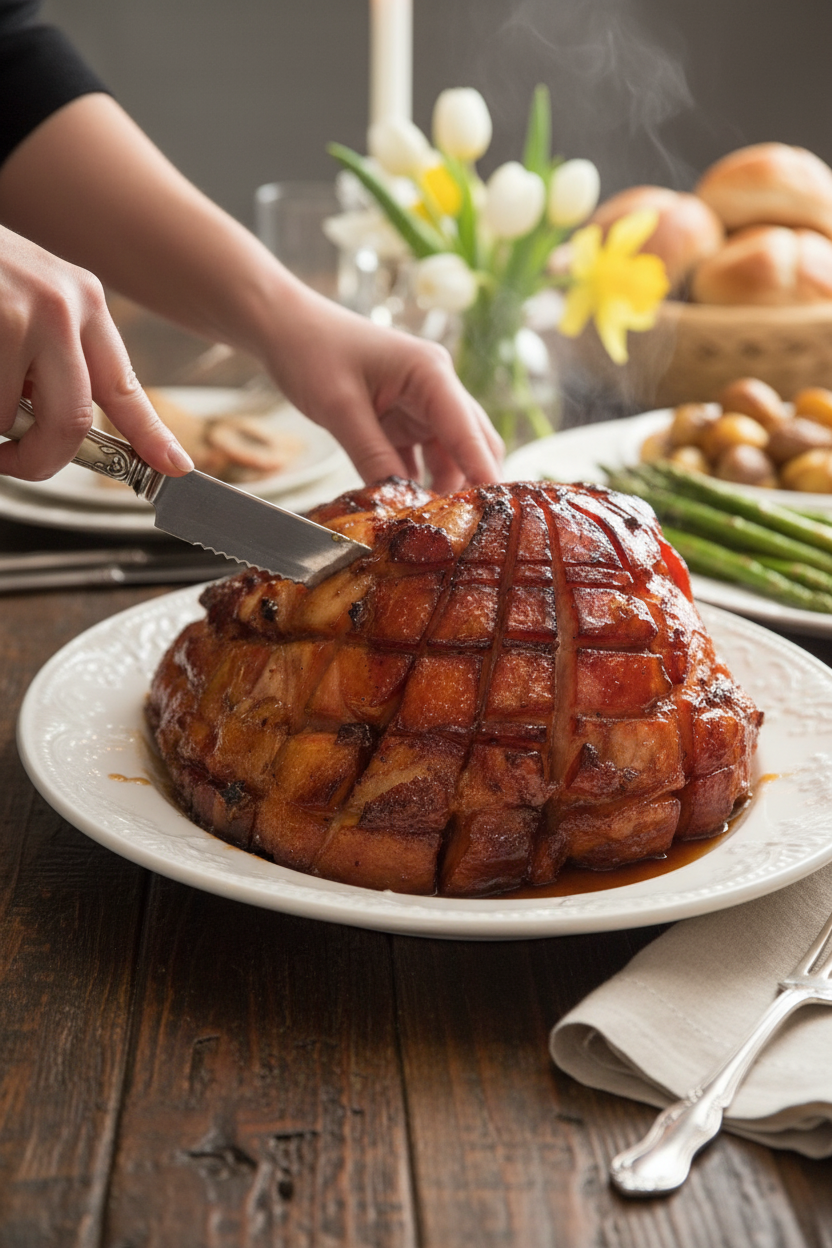
The Magic of Scoring
See those diamond cuts on the ham? That is called scoring. You use a sharp knife. Do not cut too deep. Just through the fat.
This is not just for looks. Those little cuts let the glaze seep in. Every bite gets that sweet, sticky goodness. *Fun fact:* This method is centuries old! Cooks found it made roasts taste better. Do you like your ham slices with more glaze or more meat? I am always team extra glaze!
Your Kitchen Helper
My best tip is simple. Ask your butcher about the ham. Tell them you are using this recipe. They know their meat. They can help you pick the right one.
This makes everything easier. No guesswork for you. It turns a big job into a friendly chat. What is the best cooking tip someone ever gave you? Sharing our little secrets makes us all better cooks.
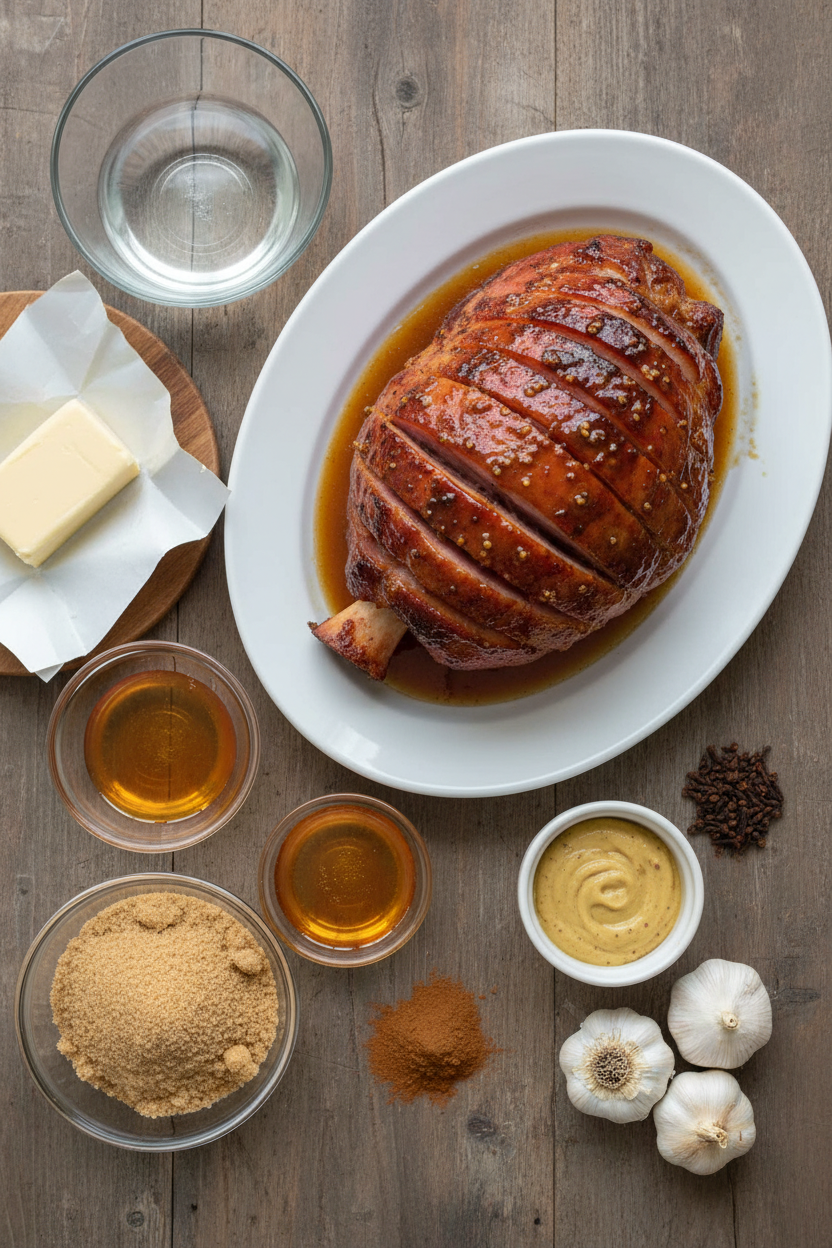
Ingredients:
| Ingredient | Amount | Notes |
|---|---|---|
| bone-in fully cooked ham | 8-10 lb (4-5 kg) | Double smoked is recommended |
| water | 1/2 cup | For the base of the roasting pan |
| unsalted butter | 1/2 cup | |
| brown sugar | 1 cup | |
| honey | 1/2 cup | |
| Dijon mustard | 2 tablespoons | |
| ground cinnamon | 1/4 teaspoon | |
| ground cloves | 1/4 teaspoon | |
| garlic | 4 cloves |
Instructions
Step 1: Let your ham sit out for an hour or two. This helps it cook evenly. Preheat your oven to 300°F. Peel off any plastic and the tough skin. Leave that lovely fat underneath. I still laugh at that time I forgot to remove the netting!
Step 2: Now, make pretty diamond cuts on the fat. Don’t cut too deep! Place the ham in a foil-lined pan. Add a little water to the bottom. Cover it all up with foil and bake for 30 minutes. (The water keeps everything juicy.)
Step 3: Time for the magic glaze! Melt butter until it’s golden. Stir in brown sugar, honey, mustard, cinnamon, and cloves. Doesn’t that smell amazing? Let it simmer for a minute. What’s your favourite sweet-and-salty food? Share below!
Step 4: Take the ham out and turn the oven up to 425°F. Brush on a third of your warm glaze. Get it into all those little cuts. Bake it uncovered for 15 minutes. Then, brush on more glaze. You’ll do this twice more.
Step 5: Let your beautiful ham rest before you slice it. This keeps all the juices inside. (Always mix a little pan juice into your leftover glaze for brushing.) Slice it thin and watch everyone smile. The waiting is the hardest part!
Creative Twists
Add orange zest to your glaze for a sunny, bright flavour. Press whole cloves into the center of each diamond for a classic look. Use maple syrup instead of honey for a deeper, woodsy sweetness. Which one would you try first? Comment below!Serving & Pairing Ideas
Serve thick slices with creamy mashed potatoes. The gravy from the pan is perfect on them. Buttered green beans with almonds add a nice crunch. For a pretty plate, add some bright orange roasted carrots. Leftovers are wonderful in sandwiches the next day. Which would you choose tonight?
Keeping Your Glazed Ham Happy
Let’s talk about storing your beautiful ham. First, let it cool completely. Then, slice what you’ll eat soon. Wrap those slices tightly in plastic wrap. Place them in a container in the fridge. They will stay good for about four days.
For the bone and bigger pieces, wrap them well in foil. You can freeze them for up to two months. I remember my first big ham. I froze the bone for soup later. That soup was the best part!
To reheat, place slices in a pan with a little broth. Cover and warm on low heat. This keeps it juicy. Batch cooking matters because it gives you easy meals later. A ready meal is a gift to your future self.
Have you ever tried storing it this way? Share below!
Simple Fixes for Common Ham Hiccups
Sometimes cooking has little problems. Here are three easy fixes. First, if your glaze is too thick, add a teaspoon of warm water. This will make it easier to brush on. I once made a glaze like tar! A little water saved the day.
Second, if the bottom of your pan is burning, add more water. Just pour a little more in during baking. Third, if the top browns too fast, tent it with foil. This slows down the browning.
Fixing small issues builds your cooking confidence. It also makes sure every bite tastes wonderful. You learn by doing, my dear.
Which of these problems have you run into before?
Your Quick Questions, Answered
How long to cook an Easter ham per pound?
For a fully cooked ham like ours, warm it for about 15 minutes per pound. We start at 300°F covered. Then we glaze and finish at a higher heat. The most important thing is to use a meat thermometer. You want the internal temperature to reach 140°F. This ensures it is heated through perfectly and safely for everyone to enjoy.
What is the best type of ham for a brown sugar glaze?
A bone-in, fully cooked ham is best. I love a double-smoked ham. It has a richer flavor. The bone adds so much taste and helps keep the meat juicy. The glaze clings to the scored fat beautifully. This combination creates a wonderful balance of sweet, savory, and smoky flavors that will make your holiday meal truly special and memorable for your family.
Can I make the brown sugar Dijon glaze ahead of time?
Yes, you absolutely can! Make it up to two days ahead. Let it cool and store it in a jar in the fridge. *Fun fact: the flavors get even friendlier overnight!* When you’re ready, gently warm it on the stove. Add a splash of water if it’s too thick. This makes your cooking day so much easier and less stressful.
What sides go best with a glazed Easter ham?
You want sides that love the sweet and savory glaze. Creamy scalloped potatoes are a classic choice. Buttery mashed potatoes work too. For something green, try steamed green beans or honey-glazed carrots. A simple dinner roll is perfect for soaking up the delicious juices. These sides create a balanced, comforting, and colorful plate that everyone at your table will enjoy and appreciate.
How do I prevent the glaze from burning?
The key is the two-step baking process. We start low and covered. This warms the ham without burning the sugar. We add the glaze only at the higher heat for the last 30 minutes. Watch it closely! If it browns too fast, loosely tent the ham with foil. Keeping a little water in the pan bottom also helps prevent any drips from burning and smoking.
Can I use a different mustard in the glaze?
You can, but Dijon is best. Its sharpness cuts the sweetness perfectly. Yellow mustard will be milder. A whole grain mustard will add nice texture. Avoid very strong mustards like English mustard. They can overpower the other flavors. The goal is a balanced glaze where no single ingredient shouts too loudly, but all sing together in a lovely, harmonious flavor song.
Which tip will you try first?
From My Kitchen to Yours
I hope this recipe brings joy to your table. Cooking for family is an act of love. Each slice of ham carries that warmth. I love hearing your stories and seeing your photos.
Tell me all about your Easter meal. Did your family ask for seconds? What was their favorite part? Your stories are my favorite thing to read.
Have you tried this recipe? Let me know in the comments below. I read every one.
Happy cooking!
—Elena Rutherford
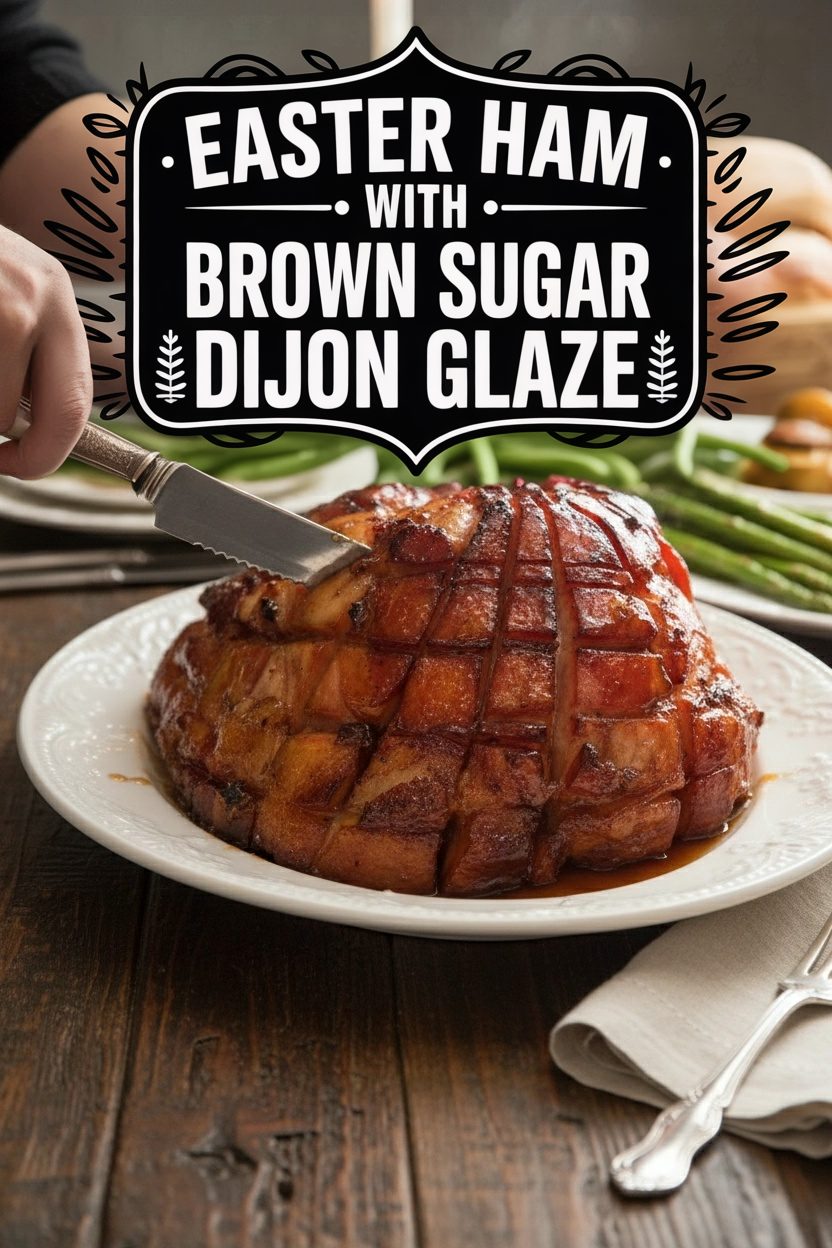

Easter Ham with Brown Sugar Dijon Glaze
Description
This crisp on the outside, tender on the inside glazed ham will become a family favourite! It’s so juicy and deliciously sweet and savoury.
Ingredients
Instructions
- Preheat the oven to 300°F | 150°C and arrange a rack in the lower third. Remove any plastic packaging or netting from the ham. Trim away the rind and discard. Set the ham aside to rest at room temperature for 1- 2 hours.
- Line a baking tray with aluminum foil or parchment paper if you prefer (it will make cleanup a lot easier). If your ham has the skin on it, cut a slit down the side of the ham and carefully remove the skin by peeling it away from the fat layer, leaving the fat layer intact.
- Using a sharp knife score a 1-inch-wide diamond pattern (don’t cut more than 1/4 inch deep) over the entire ham. Place the ham in the prepared baking tray; pour about 1/2 cup of water into the base of the pan. Cover the ham with two pieces of foil and bake for 30 minutes.
- Meanwhile, heat the butter in a small pot or saucepan over medium heat until golden browned. Add in the brown sugar, honey, mustard, cinnamon, and clove. Stir to combine, allowing the brown sugar to dissolve completely, about 2 minutes.
- Reduce heat to low and add in the garlic. Allow it to become fragrant, cooking for a further minute or two until the glaze just begins to simmer, then set it aside and let cool to lukewarm. The glaze should be the consistency of room-temperature honey.
- After 30 minutes baking time, carefully remove the ham from the oven and increase the oven temperature to 425°F | 220°C. Discard the foil or parchment paper and pour 1/3 of the glaze all over the ham, brushing in between the cuts to evenly cover. Return to the oven and bake uncovered for 15 minutes.
- Remove from the oven, brush with another third of the glaze and some of the pan juices, and repeat again after 15 minutes more minutes of baking until a dark golden-brown crust has formed, (about 30 minutes total). For added depth of flavour, mix some of the ham pan juices together with the glaze in the pot which will help keep it runny enough for brushing. If your crust is still pink after the suggested baking time, turn on your broiler (or oven grill), and allow it to broil for 2-5 minutes, while keeping an eye on it so it doesn’t burn from the sugar.
- Let the ham rest 10-20 minutes before slicing.
Notes
- If you get a single smoked ham or uncooked ham, you will have to boil it first and then follow with this recipe. Ask your butcher if you need more info about how to pre-cook it; they can be your best resource.