

The Magic in Your Pot
Let me tell you about kitchen magic. You start with plain milk. You add a little lemon juice. Then, something wonderful happens. The milk separates into soft clouds and clear liquid. I still laugh at that. It feels like a quiet secret.
Those soft clouds are your fresh ricotta. Making it connects you to cooks from long, long ago. This is how people made cheese before factories. You are doing something very old and very good. Doesn’t that smell amazing?
A Simple Start
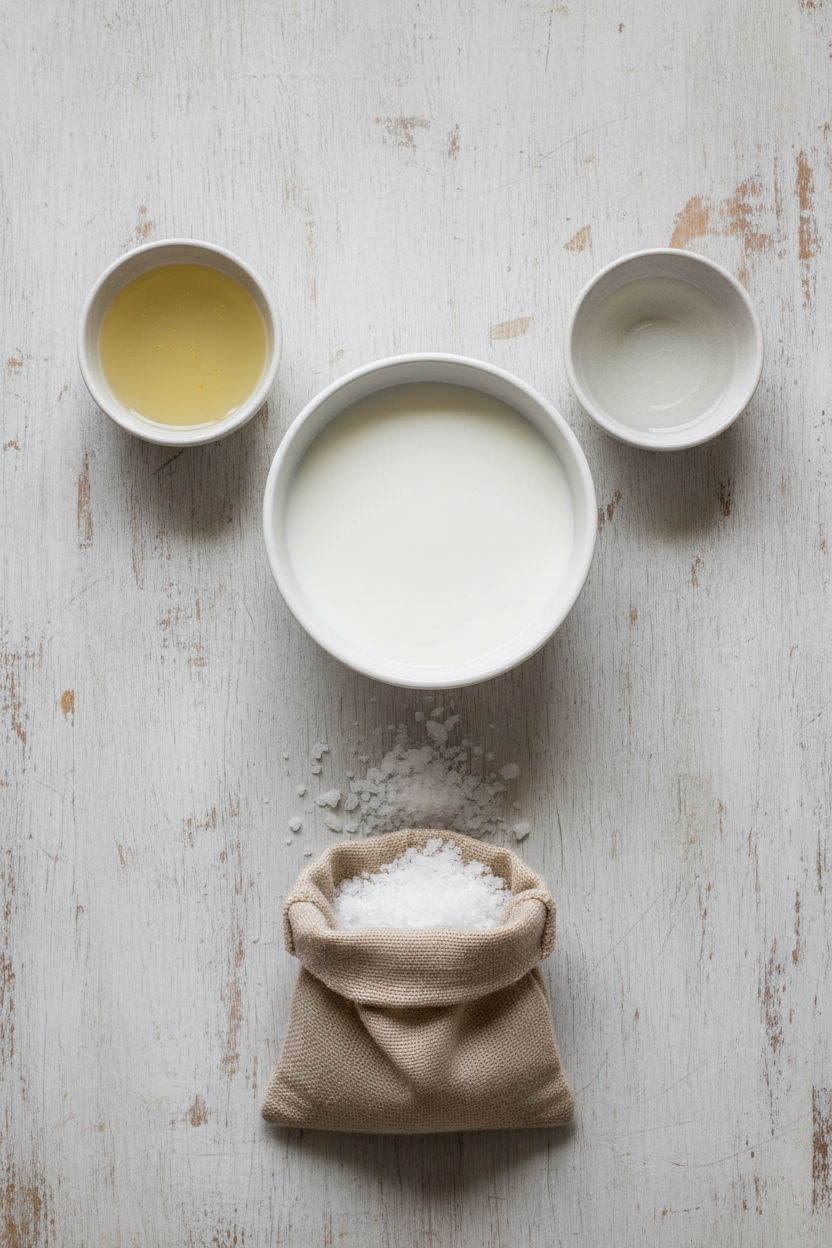
You only need three things. Whole milk, a bit of lemon juice or vinegar, and a pinch of salt. Use the regular milk from the store. But check the label. You want milk that is not “ultra-pasteurized.” That kind won’t work as well.
My grandson once tried it with fancy “ultra” milk. The pot just stayed milky! We had to start over. It was a good lesson. Simple, real ingredients work best. What’s your favorite kind of milk to cook with?
The Gentle Heat
Heat the milk slowly. You want it just warm, not boiling. Aim for 185 degrees. If you don’t have a thermometer, watch for tiny bubbles at the edge. Then add your lemon juice. Give it one gentle stir. Then walk away.
This is the important part. Let it sit for 20 minutes. Don’t stir! The curds need to rest and gather. This patience matters. Good food often asks us to slow down. It’s a gift to yourself.
Draining Your Clouds
Now, spoon those soft curds into a strainer. Let the whey (the liquid) drip out. You decide how long. For creamy ricotta, drain for 5 minutes. For thicker cheese, go for 20. Taste it as you go!
*Fun fact*: That leftover whey is full of protein. You can use it in bread or soup instead of water. Nothing goes to waste. Do you think you’ll try a moist or dry ricotta first?
Why This All Matters
When you make your own food, you know what’s in it. Just milk, a simple acid, and love. No strange additives. You control the salt. You make it fresh. This is food you can trust for your family.
It also shows you the beauty of process. From one thing (milk) comes two new things (cheese and whey). It’s a small miracle on your stove. What will you make with your first batch of ricotta? Tell me your ideas!
Ingredients:
| Ingredient | Amount | Notes |
|---|---|---|
| Whole milk | 1/2 gallon (1.9 L) | Not ultra-pasteurized |
| Distilled white vinegar or fresh lemon juice | 2 tablespoons plus 2 teaspoons (40 ml) | |
| Kosher salt | 1 pinch | Optional |
Instructions
Step 1: Pour your milk into a big pot. Add a tiny pinch of salt if you like. Warm it gently until it’s steamy hot. Stir in your lemon juice or vinegar. Watch the magic happen as little clouds form! (Always use whole milk for the creamiest cheese.)
Step 2: Now, let those little clouds rest. Keep the pot warm for about 20 minutes. Don’t stir them! I like to watch them get bigger. It reminds me of fluffy summer clouds. What kitchen tool helps you watch the temperature? Share below!
Step 3: Line a strainer with a clean cloth. Gently scoop the fluffy curds into it. Let the whey drip out into a bowl below. You decide how long! A short drain makes it soft and spreadable.
Step 4: Your fresh ricotta is ready! Taste it. Isn’t that amazing? You made cheese. Scoop it into a container. It’s best eaten right away, with a spoon. I still laugh at how easy it is.
Creative Twists
Sweet Honey & Berry: Drizzle with honey and mix in fresh berries for a perfect breakfast.
Herb Garden Ricotta: Stir in chopped basil, a little garlic, and pepper.
Lemon Zest Delight: Add bright lemon zest and a tiny bit of black pepper.
Which one would you try first? Comment below!
Serving & Pairing Ideas
Spread it thick on warm, toasted bread. Drizzle a little olive oil on top. Or, spoon it over pasta with fresh tomatoes. For a treat, layer it with fruit and a cookie. Doesn’t that sound lovely? Which would you choose tonight?

Keeping Your Ricotta Fresh and Happy
Fresh ricotta is a lovely treat. It does not last long in the fridge. I keep mine in a small bowl covered tightly. It stays good for about two days.
You can freeze it for a month. Scoop it into an ice cube tray first. Thaw it in the fridge when you are ready. It will be a bit softer but still tasty.
I remember my first batch. I left it out too long. It made me so sad. Now I put it away right after it drains.
Making a double batch saves time later. You can use it in lasagna or on toast. This matters because good food should be easy to enjoy all week. Have you ever tried storing it this way? Share below!
Little Fixes for Bigger Smiles
Sometimes cooking has small troubles. Do not worry. Here are three common ones and their fixes.
First, no curds are forming. Your milk might be too cool. Gently heat it a bit more. Curds should appear then.
Second, the ricotta tastes too sharp. You may have used too much lemon juice. Try a little less next time. I once made this mistake myself.
Third, the ricotta is too wet. Just let it drain longer. This gives you the perfect texture. Fixing these small issues builds your confidence. It also makes your food taste just right. Which of these problems have you run into before?
Your Quick Questions, Answered
What is the easiest way to make ricotta at home?
Heat milk until it is steamy. Then add lemon juice or vinegar. Let it sit for twenty minutes. Gently scoop out the soft curds that form. Drain them in a lined strainer. That is all there is to it. You just made cheese. A fun fact: this method is hundreds of years old.
Can I make ricotta without rennet?
Yes, you absolutely can. Traditional ricotta uses an acid, not rennet. Lemon juice or white vinegar works perfectly. The acid makes the milk proteins separate. This creates the lovely curds. You do not need any special ingredients from the store.
What kind of milk is best for homemade ricotta?
Use whole milk for the creamiest result. Make sure it is not ultra-pasteurized. That kind is heated too much. It often will not form proper curds. Regular pasteurized whole milk from any grocery store is your best friend here.
How long does homemade ricotta cheese last?
It is best eaten very fresh. Keep it covered in your refrigerator. Enjoy it within two days for the best flavor and texture. It does not have preservatives like store-bought cheese. So make it when you plan to use it soon.
What can I do with leftover whey from making ricotta?
Do not pour that whey down the drain. It is full of goodness. Use it to boil pasta or potatoes. You can add it to soups or bread dough. It gives a nice, subtle tang. It makes other foods more nutritious too.
Why is my homemade ricotta dry or grainy?
This often happens if the milk gets too hot. Try to keep it around 185 degrees. Also, do not stir after the curds form. Stirring can break them into small, grainy pieces. Gentle handling makes soft, moist ricotta.
I hope these answers help you. Which tip will you try first?
From My Kitchen to Yours
I love sharing these kitchen stories with you. Making ricotta is a simple joy. I hope you feel proud of your homemade cheese.
Tell me all about your cooking adventure. I read every comment from my kitchen table. Have you tried this recipe? Let me know how it went for you.
Happy cooking!
—Danielle Monroe.


Fresh Ricotta Made in Your Own Kitchen
Description
Experience the joy of making creamy, fresh ricotta cheese at home with just a few simple ingredients.
Ingredients
Instructions
- Fill a pot with milk. Stir in salt, if using. Heat over medium heat until milk registers 185°F (85°C) on an instant-read thermometer. Add vinegar or lemon juice and stir briefly to incorporate. Curds should begin forming almost immediately; stop stirring as soon as they’ve formed throughout the pot.
- Without stirring, continue to hold curdled-milk mixture at 185°F for 20 minutes. It’s okay if the temperature fluctuates down to 175°F (79°C) or up to 190°F (88°C), but try to keep it in that zone for the full 20 minutes.
- Line a fine-mesh strainer with paper towels or cheesecloth. Using a slotted spoon, transfer curds to strainer and let stand until excess liquid has drained away. Exactly how long to let it drain depends on whether you want a moister final product or a drier one. Do not try to pour all the milky liquid through the strainer, as this will clog it and prevent the liquid from flowing through.
- Drained ricotta can be refrigerated, covered, for up to 2 days, though it is best when freshly made.
Notes
- For a richer flavor, try using a combination of whole milk and heavy cream. The yield and consistency can vary slightly depending on the milk used.