

My First Key Lime Pie
I made my first key lime pie at a beach house. I was so young. I used a whole bag of limes. My arms got tired from all that squeezing.
That pie was a bit sour. But my family ate every bite. I still laugh at that. Now I use bottled juice. It is so much easier. The taste is still wonderful.
Why Little Jars Are So Nice
These little jars make me smile. Everyone gets their own dessert. No fighting over who got the bigger slice. It just feels special.
You can make them days before a party. This matters because it takes the stress away. You get to enjoy your own guests. What is your favorite dessert to serve in a jar? Tell me, I would love to know.
The Secret to the Filling
The filling is creamy and tangy. The trick is to fold gently. Use your spatula like a soft hug. This keeps the filling light and fluffy.
Always taste as you add the lime juice. Your tongue is your best tool. *Fun fact:* Most “key lime” pies in stores are made with regular Persian limes. That is what we use here. It works perfectly.
The Crust You Don’t Pack Down
For the crust, just mix and sprinkle. Do not pack it down. I learned this the hard way. A packed crust is like a little brick.
A loose crust is easy to scoop. This matters. Dessert should be easy and fun to eat. Do you prefer a thick crust or a thin one? I am a thin crust girl myself.
Make It Your Own
This recipe is like a friendly suggestion. You are the boss of your kitchen. Add more zest if you love that bright flavor. Use a dollop of cream, not a fancy swirl.
Cooking is about sharing joy. That is the most important thing. Doesn’t that smell amazing? What will you name your version of this dessert?
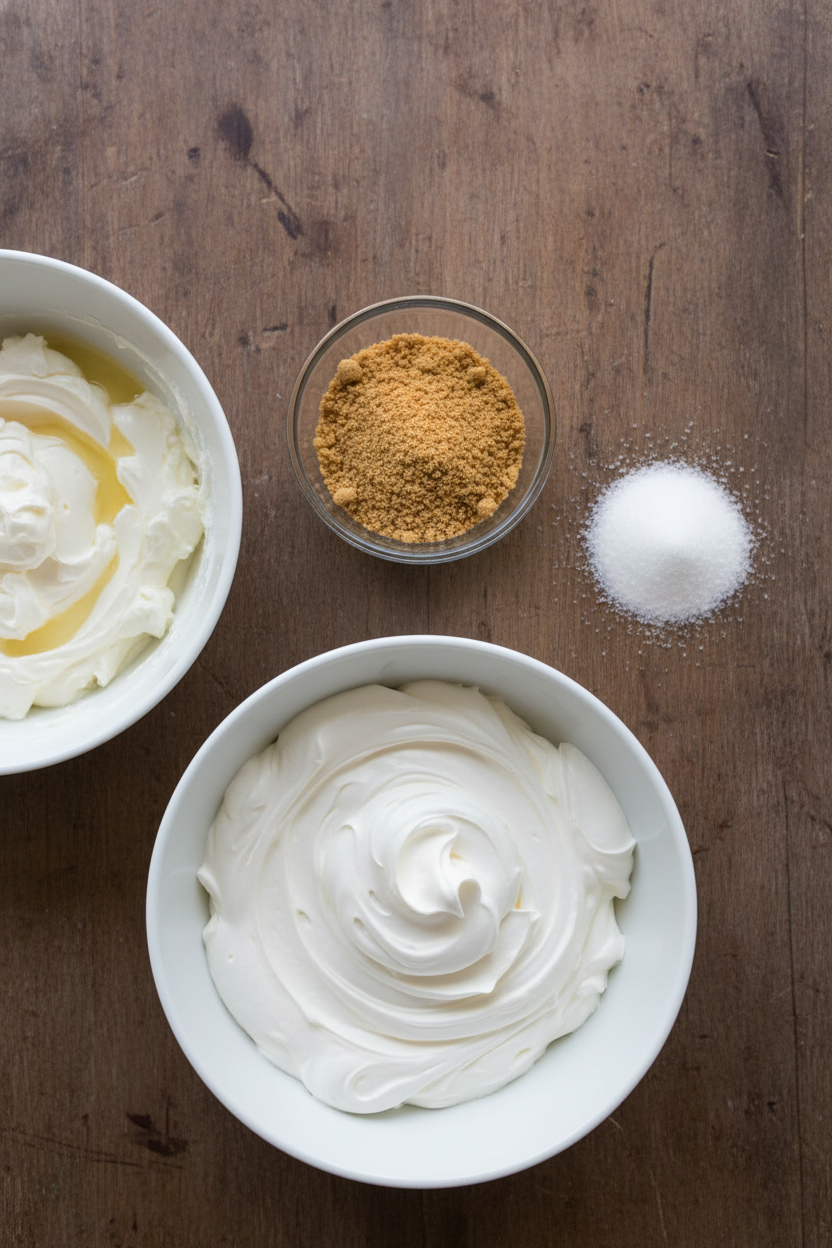
Ingredients:
| Ingredient | Amount | Notes |
|---|---|---|
| Heavy whipping cream | 2/3 cup | For the filling |
| Granulated sugar | 2 tablespoons | For the filling |
| Cream cheese | 8 ounces | Softened, for the filling |
| Sweetened condensed milk | 7 ounces | Half of a standard can, for the filling |
| Bottled lime juice | 1/4 cup | Key lime or regular lime juice (e.g., Santa Cruz Organic) |
| Lime zest | from 1-2 limes | To taste, for the filling |
| Graham cracker crumbs | 1/2 cup | About 3.5 full sheets, for the crust |
| Sugar | 1 1/2 tablespoons | For the crust |
| Unsalted butter | 2 tablespoons | Melted, for the crust |
Instructions
Step 1: First, make the filling. Whip the heavy cream and sugar until it’s fluffy. Set it aside for later. Now, beat the softened cream cheese until it’s smooth. Doesn’t that smell amazing? Add the sweetened condensed milk and mix it well.
Step 2: Slowly mix in the lime juice. Taste as you go! (Fresh limes can be very strong, so go slow). Then, gently fold in the lime zest with a spatula. I love that bright green color. Fold in some of the whipped cream you made.
Step 3: Chill the filling for at least six hours. Patience is the secret ingredient! While it chills, mix your crust. Combine graham crumbs, sugar, and melted butter in a bowl. My grandson always licks the spoon. Sweet or tangy—which part do you like best? Share below!
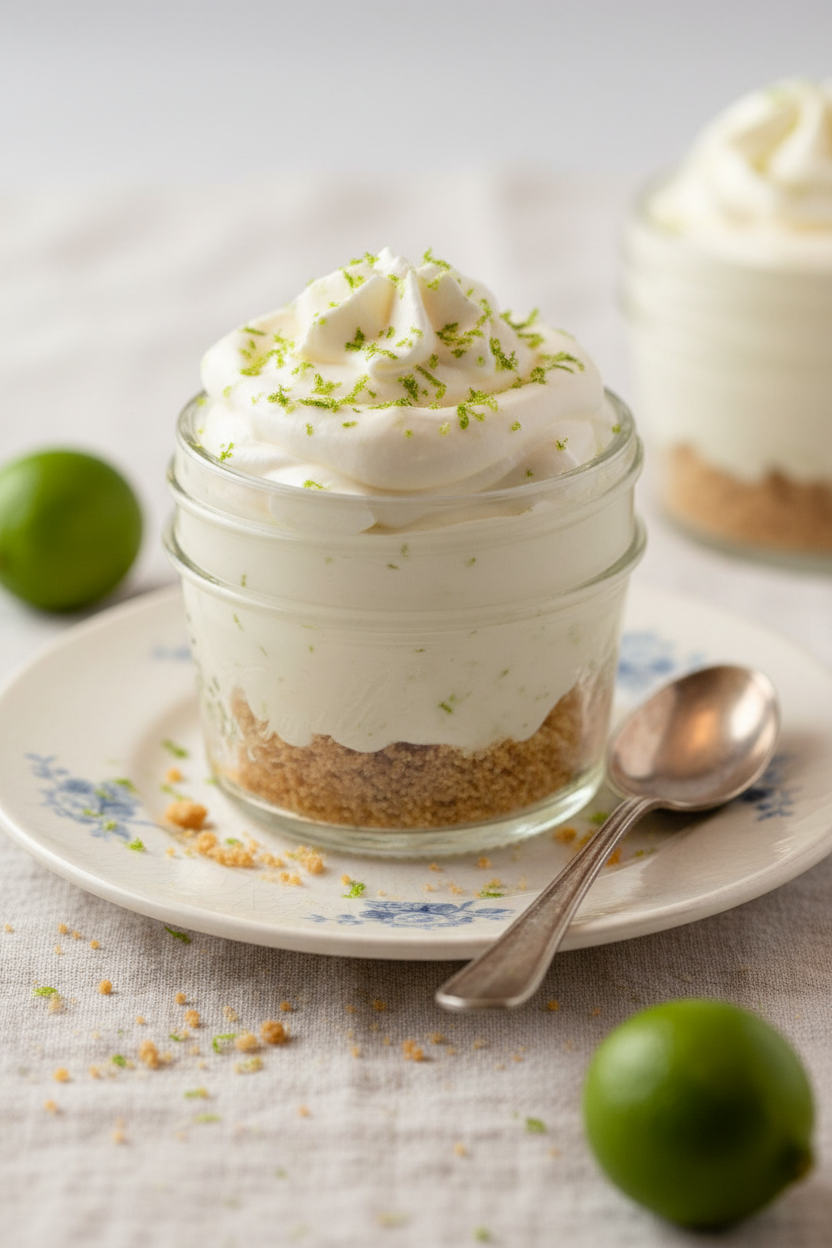
Step 4: After chilling, assemble the jars. Divide the crumb mix among eight little jars. Just wiggle them to settle the crumbs. (Don’t press down hard—it gets too dense). Then, spoon the creamy filling on top. It looks so pretty already!
Step 5: Finally, pipe the leftover whipped cream on top. A star shape is my favorite. Add a tiny sprinkle of lime zest for color. I still laugh at my first messy piping attempt. Now, they’re ready to share or hide in the fridge!
Creative Twists
… Lemon Sunshine: Use lemon juice and zest instead of lime for a sunny twist.… Berry Swirl: Gently swirl a spoonful of raspberry jam into the filling before chilling.
… Coconut Dream: Add a tablespoon of toasted coconut to the graham cracker crust.
Which one would you try first? Comment below!
Serving & Pairing Ideas
These little jars are perfect for a picnic. Tuck them into a cooler with some napkins. For a fancy touch, place each jar on a small plate. Add a thin, crispy butter cookie on the side. A glass of cold iced tea pairs wonderfully with the tangy lime. It cuts through the sweetness just right. Which would you choose tonight?
Keeping Your Sunshine Jars Bright
Let’s talk about keeping your pie jars perfect. They need to stay cold. Always store them in the fridge. They will be happy there for up to five days.
I like to make the filling a day ahead. This is called batch cooking. It lets the flavors become friends overnight. Then I just add the crust and cream before serving.
I remember my first batch. I put the whipped cream on too early. It got a little soft. Now I add it right before we eat. It stays fluffy and pretty.
Doing a little work ahead matters. It makes a busy day feel simpler. You can just grab a jar of sunshine. Have you ever tried storing it this way? Share below!
Three Little Hiccups and How to Fix Them
Sometimes cooking has small troubles. That is normal. First, your cream cheese might be too cold. If it is lumpy, let it soften on the counter. I once tried to mix it straight from the fridge. What a workout for my mixer!
Second, the filling can taste too mild. Always taste it as you add the lime juice. Your tongue is your best tool. Third, the crust might seem too dry. Just mix it more. The butter needs to coat every crumb.
Fixing these small things matters. It builds your cooking confidence. It also makes sure every bite is full of flavor. Which of these problems have you run into before?
Your Quick Questions, Answered
How do you make key lime pie filling from scratch?
You whip cream with sugar until stiff. Then mix soft cream cheese with sweetened condensed milk. Slowly add lime juice and mix until smooth. Gently fold in lime zest and some of the whipped cream. Chill it for six hours. This makes a creamy, tangy, no-bake filling that sets up perfectly in your jars.
What can I use instead of key lime juice?
Regular bottled lime juice works wonderfully. I use Santa Cruz Organic. Fresh lime juice is also great but tastes stronger. *Fun fact: most “key lime pies” in stores use regular Persian lime juice!* The key is to taste as you mix. Start with a little less juice. Add more until the tang is just right for you.
How long do no bake key lime jars need to set?
They need at least six hours in the refrigerator to set properly. Overnight is even better. This chill time lets the filling firm up. It makes the texture just right for scooping. Plan ahead so they have time to rest. A patient wait leads to the perfect dessert.
Can I use regular limes instead of key limes?
Yes, you absolutely can. Regular Persian limes are easier to find. They are bigger and have more juice. Their flavor is a bit different but still delicious. Use the juice and the zest from them. Remember, taste your filling as you go. Fresh lime juice can be more powerful than bottled.
What kind of crust is best for no bake jars?
A simple graham cracker crust is best. Mix crumbs with a little sugar and melted butter. It adds a sweet, crunchy contrast to the creamy filling. You do not need to bake it. The butter helps it hold together in the jar. It is the classic, no-fuss choice for this easy dessert.
How do you keep the graham cracker crust from getting soggy?
Make the crust right before you assemble the jars. Do not pack it down too hard. Just sprinkle it in and give the jar a gentle shake. The filling is chilled and thick when you add it. This helps. Also, eat the jars within a few days for the best texture. Which tip will you try first?
From My Kitchen to Yours
I hope you love making these little jars. They are like sunshine in a glass. Cooking is about sharing joy and simple treats.
I would love to hear about your kitchen adventures. Tell me how it went for you. Your stories make my day brighter.
Have you tried this recipe? Let me know in the comments below. I read every one.
Happy cooking!
—Grace Hollander.
