

The Story Behind the Turtle
I have a funny story about these bars. My grandson once asked why they’re called “turtle” bars. I told him to look at the pecan halves. See the shape? They look like little turtle legs poking out from the chocolate and caramel shell. He thought that was the best thing. I still laugh at that. It’s a simple, happy name for a treat that brings people together. That’s what matters most in a kitchen, you know.
Making them fills your home with the warmest smell. Butter, brown sugar, and toasting pecans. Doesn’t that smell amazing? It tells everyone something good is coming. Sharing food you made with your own hands is a special kind of love. It’s not just about the sugar. It’s about the care. Do you have a treat that makes your whole house smell wonderful? I’d love to hear about it.
Your Crust is the Foundation
Let’s start with the crust. You mix flour and brown sugar. Then you cut in cold butter. Your fingers are the best tool here. You want it to look like wet sand with little pebbles. This crust is not fancy. But it holds everything up. It gives a nice crunch against the gooey top. A good foundation matters in baking, just like in life. Start simple and strong.
Press it firmly into your pan. I use my knuckles. This makes sure it bakes evenly. Now, scatter those pecan halves. Don’t just dump them. Place them with a little thought. Some will show, some will hide. It makes each bar unique. *Fun fact:* Pecans are the only major tree nut that grows naturally in North America. I think that’s pretty neat.
The Magic of the Caramel
This is the fun part. You melt butter and brown sugar together. Watch it carefully. It will bubble and foam like a little science experiment. Let it cook for just one minute. This turns it into a simple, rich caramel. Pouring it over the pecans is so satisfying. It seeps into every crack.
This hot caramel does two jobs. It toasts the pecans a bit more. And it soaks into the crust, making it chewy. This step is why the bars are irresistible. That mix of textures is everything. It reminds me of other layered desserts, like a no-bake chocolate lasagna. Different, but the same joy in every bite.
The Chocolate Finish
Take the pan out of the oven. It will be all golden and bubbly. Now, act fast. Sprinkle the chocolate chips right over the hot caramel. Wait a minute. You’ll see them go from solid to shiny and soft. Then, take a knife and spread them into a smooth layer. It’s like magic frosting.
This is where you can make them your own. A sprinkle of sea salt? Perfect. A drizzle of extra caramel? Why not! Some chopped pecans on top add a nice crunch. It’s your creation. Do you like your treats super sweet, or with a little salty twist? Tell me your favorite way to finish a dessert. For more chocolate ideas, a chocolate peanut butter pie is another family favorite of mine.
Sharing is the Best Part
Let the bars cool completely. This is the hardest part! Waiting. But it’s important. It lets all the layers set. Then you can cut them into squares. You’ll see all the beautiful layers you made. The crust, the pecans, the caramel, the chocolate. Each one has a job.
One bar is rich enough to share. Really! Cut them small. Enjoy them with a glass of cold milk. Food is meant to be shared with people you love. That’s the second “why this matters.” It creates a happy moment. Whether it’s these bars or a dark chocolate bread pudding, the feeling is the same. What was the last treat you baked for someone special? Making something like a strawberry layer cake takes more time, but the smile it brings is worth it.
Instructions
Step 1: First, get your oven nice and warm at 350°F. Line your baking pan with parchment paper. This little trick makes cleanup so easy. I still laugh at that time I forgot the paper!
Step 2: Mix the flour and brown sugar in a bowl. Cut in the cold, cubed butter with a fork. You want it to look like sandy crumbs. (Keep your butter cold for a perfect, flaky crust.)
Step 3: Press your crumbly mix firmly into the pan. Now, scatter all those pecan halves over the top. Doesn’t that look pretty already? It’s like making a tasty mosaic.
Step 4: Melt the butter and brown sugar in a saucepan. Let it bubble for one whole minute. This makes the magic caramel. What’s your favorite sweet smell? Share below! Pour it over the pecans carefully.
Step 5: Bake for about 20 minutes until golden. Pull it out and sprinkle the chocolate chips right away. Let them get soft, then spread them like a dreamy blanket. Cool completely before you cut.
Creative Twists
Salty-Sweet: Sprinkle a pinch of sea salt on the warm chocolate.
Cookie Swap: Use a chocolate chip cookie base instead.
Fruit Friend: Add dried cherries with the pecans for a tart surprise.
Which one would you try first? Comment below!
Serving & Pairing Ideas
Serve these bars with a cold glass of milk. It’s the classic way. For a fancy touch, add a drizzle of extra caramel. A scoop of vanilla ice cream turns it into a sundae. Which would you choose tonight?
Keeping Your Turtle Bars Perfect
Let’s talk about storing these sweet bars. First, cool them completely in the pan. Then, cover the pan tightly with foil. They will stay fresh on the counter for three days. For longer storage, I use the freezer. Wrap individual bars in parchment paper. Then place them all in a freezer bag. They keep for up to three months this way.
I remember my first batch of bars. I put the whole warm pan in the fridge. The next day, the caramel was hard as a rock. Now I know to let them cool first. This keeps the caramel wonderfully chewy. Batch cooking these bars is a smart move. It means you always have a treat ready for guests. Have you ever tried storing it this way? Share below!
Simple Fixes for Common Hiccups
Even grandmas run into little problems. Here are three common ones. First, a soggy crust. This happens if you press the dough too hard. Just press it gently into the pan. I once made a crust like concrete. It was not tasty. A light touch makes a perfect, crumbly base.
Second, the caramel might not bubble. Your heat could be too low. Cook it until you see active bubbles. This step matters for the right texture. Third, chocolate chips not melting. The bars must be very hot when you add them. If they don’t spread, pop the pan back in the warm oven for a minute. Which of these problems have you run into before?
Fixing small issues builds your confidence. It also makes your food taste just right. Good flavor comes from good technique. For another dessert with great technique, try this creamy chocolate peanut butter swirl pie.
Your Quick Questions, Answered
How do I prevent my caramel from becoming too hard?
Do not overcook the caramel sauce. Once it starts bubbling, cook it for just one minute. Remove it from the heat right away. Also, let the bars cool at room temperature. Putting hot bars in the fridge makes the caramel hard. Proper cooling keeps it soft and chewy for days. This simple step makes all the difference.
Can I use a different type of nut instead of pecans?
Yes, you can use walnuts or almonds instead. They will taste delicious. Make sure to use the same amount. Chop them if they are large. The nuts add a nice crunch. They also balance the sweet caramel. A fun fact: the name “turtle bars” comes from the pecan shape looking like a turtle’s shell.
What’s the best way to store these bars to keep them fresh?
Store cooled bars in their pan. Cover the pan tightly with foil or plastic wrap. Keep them at room temperature for up to three days. For longer freshness, freeze them. Wrap each bar and place them in a freezer bag. This method locks in moisture and flavor perfectly.
Can I make these bars without corn syrup?
This recipe does not use corn syrup. The caramel is made from butter and brown sugar. That is it. It creates a rich, simple caramel layer. You get wonderful flavor from just two ingredients. It is much easier than you might think. For a different no-bake treat, explore this layered raspberry chocolate lasagna.
How do I get clean cuts when slicing the bars?
Use a very sharp knife. Wipe the blade clean with a warm towel between each cut. This removes sticky caramel and chocolate. Also, cut the bars after they are completely cool. Chilling the whole pan for 30 minutes can help too. Clean cuts make your bars look bakery-perfect.
Can I prepare these bars ahead of time and freeze them?
Yes, these bars freeze beautifully. Let them cool completely after baking. Then, wrap each bar in parchment paper. Place the wrapped bars in a heavy freezer bag. They can be frozen for up to three months. Thaw at room temperature when you are ready to eat. Which tip will you try first?
From My Kitchen to Yours
I hope you love making these turtle bars. They are full of sweet, happy memories for me. Baking should be fun and shared. I would love to hear about your baking adventures. Tell me all about it in the comments below. Have you tried this recipe? Maybe you have a twist of your own. For another decadent chocolate idea, this decadent dark chocolate bread pudding is wonderful.
Happy cooking!
—Elowen Thorn.

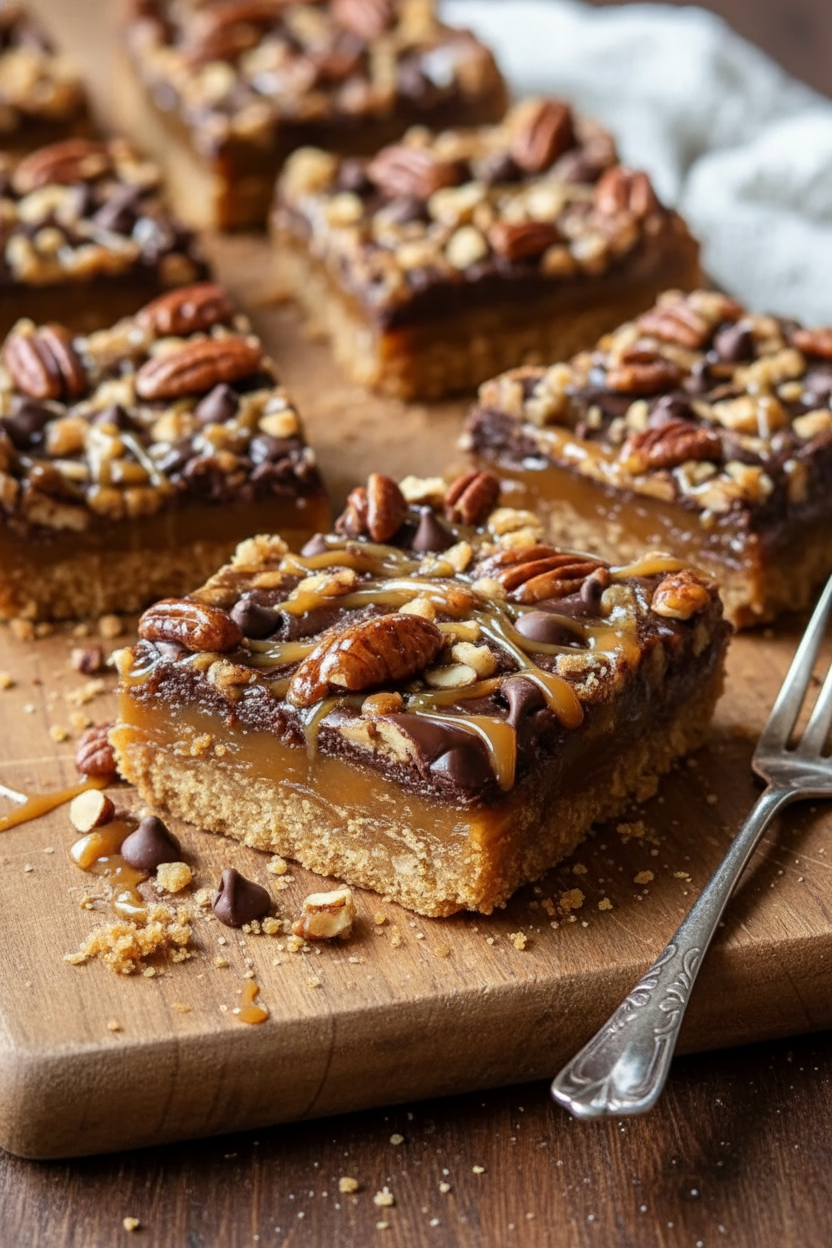
My Gooey Chocolate Pecan Caramel Bars Recipe
Description
Indulge in the ultimate sweet treat with these Gooey Chocolate Pecan Caramel Bars, featuring a buttery crust, rich caramel, crunchy pecans, and melted chocolate.
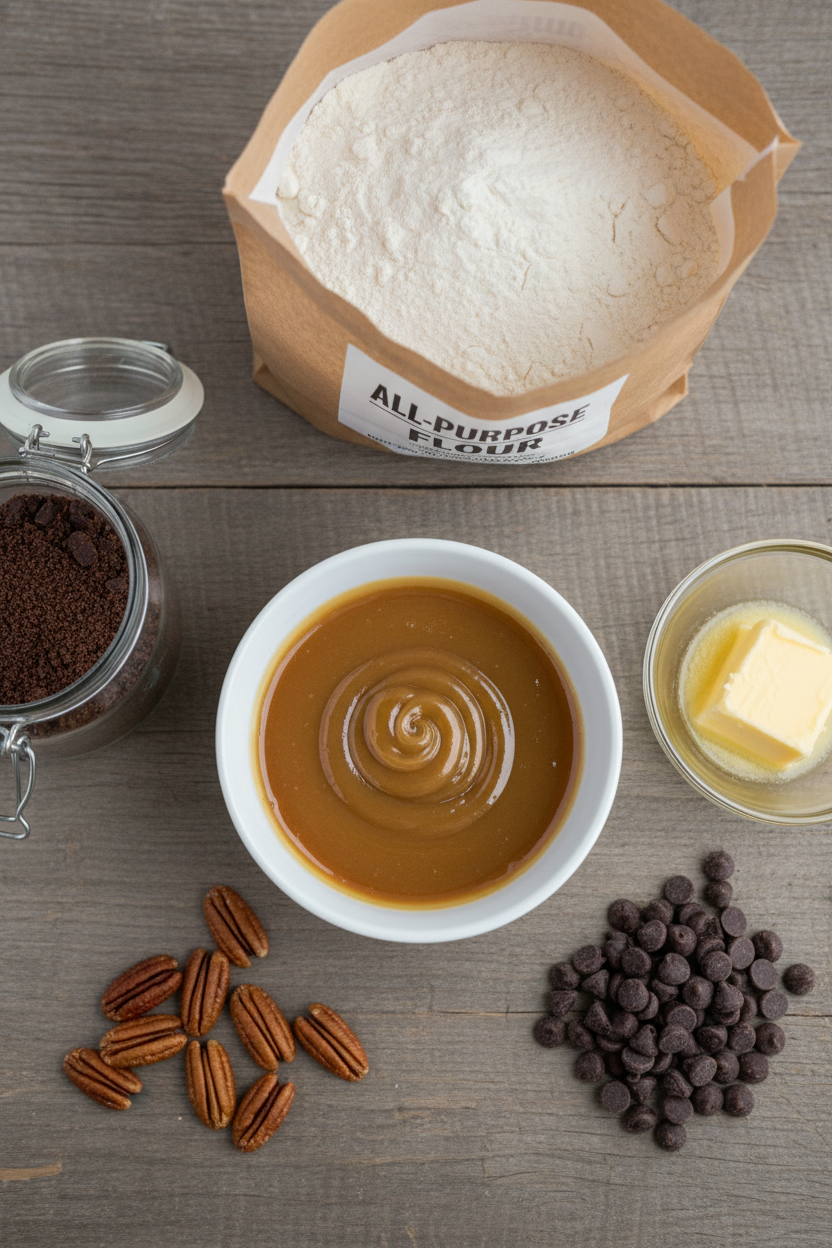
Ingredients
Instructions
- Preheat your oven to 350°F (175°C). Line a 9×13 inch baking pan with parchment paper.
- In a mixing bowl, combine flour and 1/2 cup brown sugar. Cut in cold cubed butter until crumbly.
- Press the mixture evenly into the bottom of the prepared pan.
- Sprinkle pecan halves over the crust.
- In a saucepan over medium heat, melt remaining butter and brown sugar until bubbling; cook for one minute.
- Pour the hot caramel over the pecans and crust.
- Bake for 18–20 minutes until golden brown and bubbly.
- Remove from oven and immediately sprinkle chocolate chips on top; let them soften, then spread evenly.
Notes
- For a finishing touch, garnish with extra chopped pecans, a sprinkle of sea salt flakes, or a drizzle of caramel sauce while the bars are still slightly warm.