

My First Earthquake Cake
I remember the first time I made this cake. It was for my grandson’s birthday. He loved peanut butter cups more than anything. I wanted to surprise him. When we cut into it, the gooey peanut butter center oozed out. His eyes got so wide! I still laugh at that happy face. It’s why I love simple, joyful baking. It’s about the smiles you create. If you want another fun surprise dessert, you should see these strawberry cheesecake tacos. They always get a reaction too.
Why does this matter? Well, food is a way to show love. You don’t need fancy skills. You just need a happy heart and a few good ingredients. This cake is proof. It’s messy and imperfect, but that’s the best part. What’s your favorite treat to make for someone special? I’d love to hear your stories.
Why It’s Called an Earthquake
The name is so funny, isn’t it? It’s not because it shakes the house! As the cake bakes, the heavy peanut butter and candy sink. They create cracks and valleys in the chocolate batter. It looks like the ground after a little quake. *Fun fact:* The first recipes like this became popular in community cookbooks. Everyone wanted a piece that looked different. It’s a cake full of delicious surprises in every slice.
That’s the second reason this matters. The beauty is in the mess. You don’t have to make it look perfect. Its cracks are where the flavor hides. It reminds me of my easy strawberry cheesecake nachos. They are gloriously messy and meant to be shared with hands. Isn’t that the most fun kind of food?
The Magic of Warm Peanut Butter
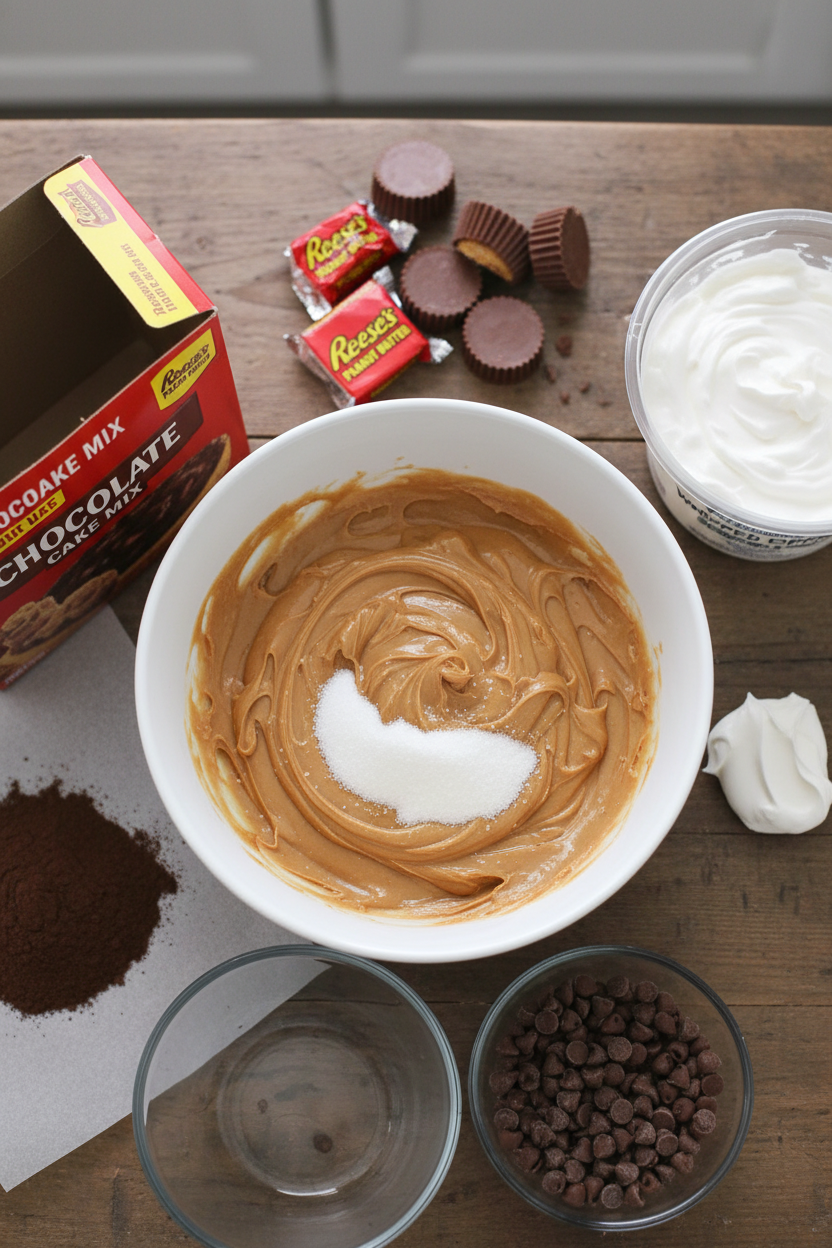
Let’s talk about that peanut butter swirl. Mixing it with powdered sugar is key. It makes it sweet and creamy. When you dollop it on the batter, don’t stir. Just let it sit there. The oven works its magic. The peanut butter gets warm and soft. It melts into the cake just a little. Doesn’t that smell amazing while it bakes? It fills the whole kitchen with a cozy smell.
For another recipe where warm, sweet filling is the star, try this pineapple cherry cupcake. The fruit gets so sticky and good. Now, a question for you: do you like smooth or crunchy peanut butter best for baking? I’m team smooth for this cake.
The Gooey Finish
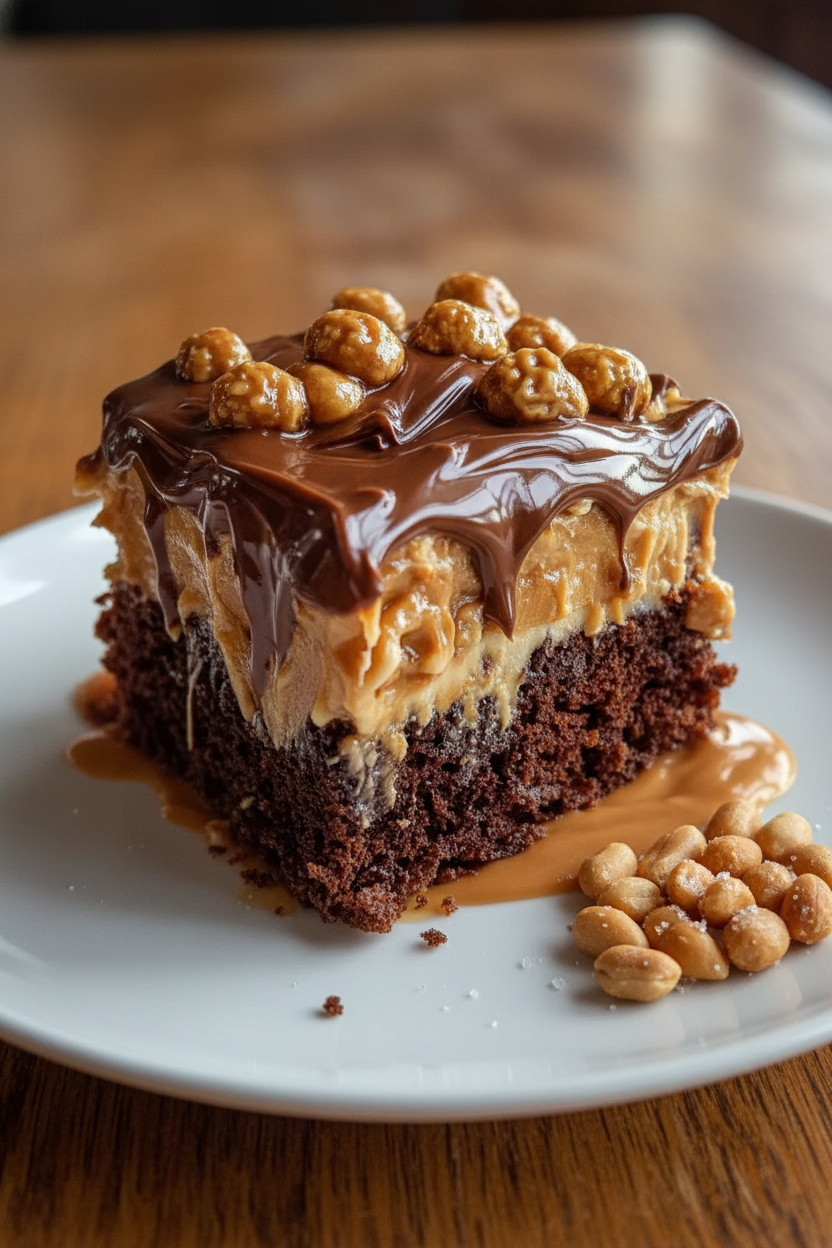
The final touch is that chocolate drizzle. It’s just three things: chips, butter, and cream. Melt them slow and stir until shiny. Pour it over the cool whipped topping. It makes a pretty pattern. More importantly, it adds a rich, silky finish. It cuts the sweetness with a deep chocolate flavor. It’s like the bow on a present.
Letting the cake sit for a few minutes after is important. It lets the layers settle. Then you get a perfect slice with all the gooey parts. It’s a lesson in patience that pays off. If you love creamy layers, you might enjoy the smoothness of a strawberry winter cream cake. It has a different, but just as lovely, texture.
Make It Your Own
The best part about this cake? You can play with it. My friend Anna uses mini peanut butter cups instead of chopping big ones. Sometimes I add a sprinkle of sea salt on top. It makes the chocolate taste even deeper. What would you add? Maybe some pretzel pieces for crunch? Or a scoop of vanilla ice cream on the side? Tell me your idea!
Baking should be fun, not strict. This recipe is a wonderful starting point. It’s forgiving and full of joy. For another zesty, forgiving dessert, look at this Italian lemon cream cake. Or, if you’re a fan of nutty flavors, I swear by these honey pistachio cheesecake bars. Now, go make a happy mess in your kitchen.
Instructions
Step 1: First, get your oven nice and warm. Follow the temperature on your chocolate cake mix box. Mix it up just like the package says. Pour that lovely batter into your greased dish. Doesn’t that smell amazing already?
Step 2: Now, let’s make the peanut butter heart. Stir your smooth peanut butter and powdered sugar together. Keep stirring until it’s super creamy. Gently drop spoonfuls of it all over the chocolate batter. (A warm spoon makes this so much easier!)
Step 3: Time for the best part! Sprinkle your crushed Reese’s cups everywhere. I still laugh at how fast these disappear. Pop the dish into your warm oven. Bake it as long as the cake box says. What’s your favorite candy to bake with? Share below!
Step 4: Let the cake cool just a bit. Then, spread the fluffy whipped topping over the top. Melt the chocolate chips, butter, and cream together. Drizzle that silky sauce everywhere! Let it sit for a few minutes before you slice. I promise, the wait is worth it.
Creative Twists
Cookie Swirl: Mix in some peanut butter cookie dough chunks. It creates yummy pockets of joy.
Banana Split: Add sliced bananas under the whipped cream. A drizzle of caramel makes it perfect.
Salty Sweet: Sprinkle a little sea salt on the chocolate drizzle. It makes the peanut butter flavor pop! Which one would you try first? Comment below!
Serving & Pairing Ideas
Serve a warm slice with a cold glass of milk. It’s a classic for a reason! For a party, add a scoop of vanilla ice cream. The mix of hot and cold is dreamy. You could even make mini versions in a muffin tin for easy sharing. Which would you choose tonight?
Keeping Your Gooey Cake Perfect
This cake is best fresh, but leftovers are a treat. Let it cool completely first. Then, cover the dish tightly with plastic wrap. Store it right on your kitchen counter for two days. The fridge will dry it out. The gooey layers need room temperature to stay soft.
I learned this the hard way. I once put a whole cake in the fridge. The next day, it was sadly firm. For longer storage, you can freeze slices. Wrap each piece in plastic, then foil. Thaw a slice on the counter when a craving hits. This is a great make-ahead dessert for busy weeks.
Batch cooking matters because life gets busy. Having a sweet treat ready is a little gift to yourself. It makes a tough day feel softer. Have you ever tried storing it this way? Share below!
Simple Fixes for Common Cake Troubles
First, a soggy bottom. This happens if the dish is too thin. Use a good, sturdy baking dish. I remember using a flimsy pan once. The bottom burned before the top was done. A proper dish cooks everything evenly. This matters for perfect texture in every bite.
Second, sinking peanut butter cups. Toss them in a little flour first. This simple trick helps them stay put in the batter. It makes sure every slice gets a chocolatey surprise. Third, a broken drizzle. If your chocolate seizes up, add a tiny bit more warm cream. Stir gently until it becomes silky again. Getting these little things right builds your kitchen confidence. It turns worry into wonderful flavor. Which of these problems have you run into before?
Your Quick Questions, Answered
How do you make peanut butter cup cake from scratch?
You can make a scratch chocolate cake instead of using a mix. Whisk together flour, sugar, cocoa, baking powder, and salt. Add eggs, oil, and milk. Mix until smooth. Then, layer your peanut butter swirl and candies as the recipe says. A from-scratch cake has a lovely, rich homemade taste everyone will love.
Can I use a box mix for peanut butter cup cake?
Absolutely! A box mix works perfectly here. It is quick, easy, and always turns out moist. Just follow the directions on the box for mixing. Then, use that as your base cake batter. This is a fantastic shortcut for a last-minute or easy weekend treat that feels special without much fuss.
What’s the best way to add peanut butter to chocolate cake?
The best way is to make a sweet peanut butter swirl. Mix smooth peanut butter with sifted powdered sugar. This creates a thick, creamy mixture. Drop spoonfuls of it over your chocolate batter. Do not stir it in. As it bakes, it will sink and create delicious, gooey pockets. *Fun fact: The powdered sugar helps the peanut butter hold its shape.*
How do you keep peanut butter cups from sinking in the batter?
Give your chopped peanut butter cups a light coat of flour. Just toss them in a small bowl with a tablespoon of flour. This tiny step makes them a bit less heavy. It helps them stay suspended in the cake batter instead of falling straight to the bottom. You will get candy in every single slice.
Can this cake be made as cupcakes instead?
Yes, this makes wonderful cupcakes! Line a muffin tin with papers. Fill each cup halfway with chocolate batter. Add a small spoon of peanut butter mix and a few candy pieces. Top with more batter. Bake for about 18-20 minutes. They are perfect for parties, just like these fun cheesecake tacos.
What frosting goes with peanut butter cup chocolate cake?
A fluffy peanut butter frosting is dreamy. Whip together peanut butter, soft butter, powdered sugar, and a splash of milk. A simple chocolate ganache drizzle is also classic. For something lighter, use the whipped topping from the recipe. It balances the rich cake, similar to the cream on a beautiful winter cream cake. Which tip will you try first?
From My Kitchen to Yours
I hope you love making this messy, joyful cake. It is meant to be shared with lots of laughter. The best recipes are the ones that create sweet memories. I would be so delighted to hear about your baking adventure. Tell me all about it in the comments. Have you tried this recipe? I am waiting for your story.
Happy cooking!
—Elowen Thorn.

Easy Peanut Butter Cup Chocolate Cake Recipe
Description
Indulge in the ultimate dessert with this Easy Peanut Butter Cup Chocolate Cake, featuring a moist chocolate cake base, a creamy peanut butter swirl, and a rich chocolate drizzle.
Ingredients
Instructions
- Preheat your oven to the temperature indicated on the cake mix box. Prepare the chocolate cake mix following the package instructions, then pour it into a greased baking dish.
- In a separate bowl, combine the smooth peanut butter and sifted powdered sugar. Stir until creamy. Gently spoon dollops of the peanut butter mixture over the chocolate batter.
- Sprinkle the crushed Reese’s peanut butter cups evenly over the batter. Place the cake in the oven and bake according to the instructions, usually about 30-35 minutes.
- Allow the cake to cool slightly before spreading whipped topping over the top.
- Melt the chocolate chips, butter, and heavy cream together, stirring until silky, and drizzle over the whipped topping. Let the cake sit for a few minutes before slicing.
Notes
- For best results, ensure the cake is completely cool before adding the whipped topping and chocolate drizzle to prevent melting. Store leftovers in the refrigerator.