

The Yeast That Makes the Feast
Let’s start with the yeast. You mix it with warm water and sugar. Then you wait. It should get all foamy and happy. I call it the “yeast wake-up.” If it doesn’t foam, your yeast is still asleep. You’ll need new yeast then.
This foaming matters. It means your dough will rise. It will become light and airy. Without it, your beignets will be flat little pillows. I once forgot to check my yeast. What a sad batch that was! I still laugh at that mistake. Do you have a funny kitchen mistake story? I’d love to hear it.
A Little Arm Workout
Next, you mix in the good stuff. Egg, milk, butter, and lots of vanilla. The smell is already wonderful. Then comes the flour. You add it bit by bit. The dough gets shaggy, then smooth.
Now, you knead. You can use a mixer with a dough hook. Or you can use your hands. Kneading by hand is a lovely little workout. It connects you to the food. You feel the dough become soft and elastic. This step builds the structure. It gives the beignets their perfect chew. It’s why homemade always feels special.
The Magic of the Rise
Put the dough in a greased bowl. Cover it and walk away. Find a warm spot for it. A sunny windowsill is perfect. Let it rest for about an hour. It will grow to twice its size. This is the magic.
This waiting time matters. It lets the yeast do its job. It creates tiny air pockets. Those pockets mean fluffy, cloud-like beignets. Fun fact: the word “beignet” just means “fritter” in French. While you wait, you could plan another treat, like some no-bake peanut butter bars for later.
Fry Them Up With Care
After the rise, you punch the dough down. Doesn’t that feel good? Roll it out and cut little squares. Now, heat your oil. Getting the temperature right is key. Too hot, and they burn. Too cool, and they get greasy.
I use a thermometer to be sure. You want it around 350°F. Carefully slide a few squares in. They will puff up and turn golden. Flip them once. It only takes a minute or two per side. What’s your favorite thing to fry? Mine will always be these beignets or maybe some cinnamon sugar churros.
The Sugar Snowstorm
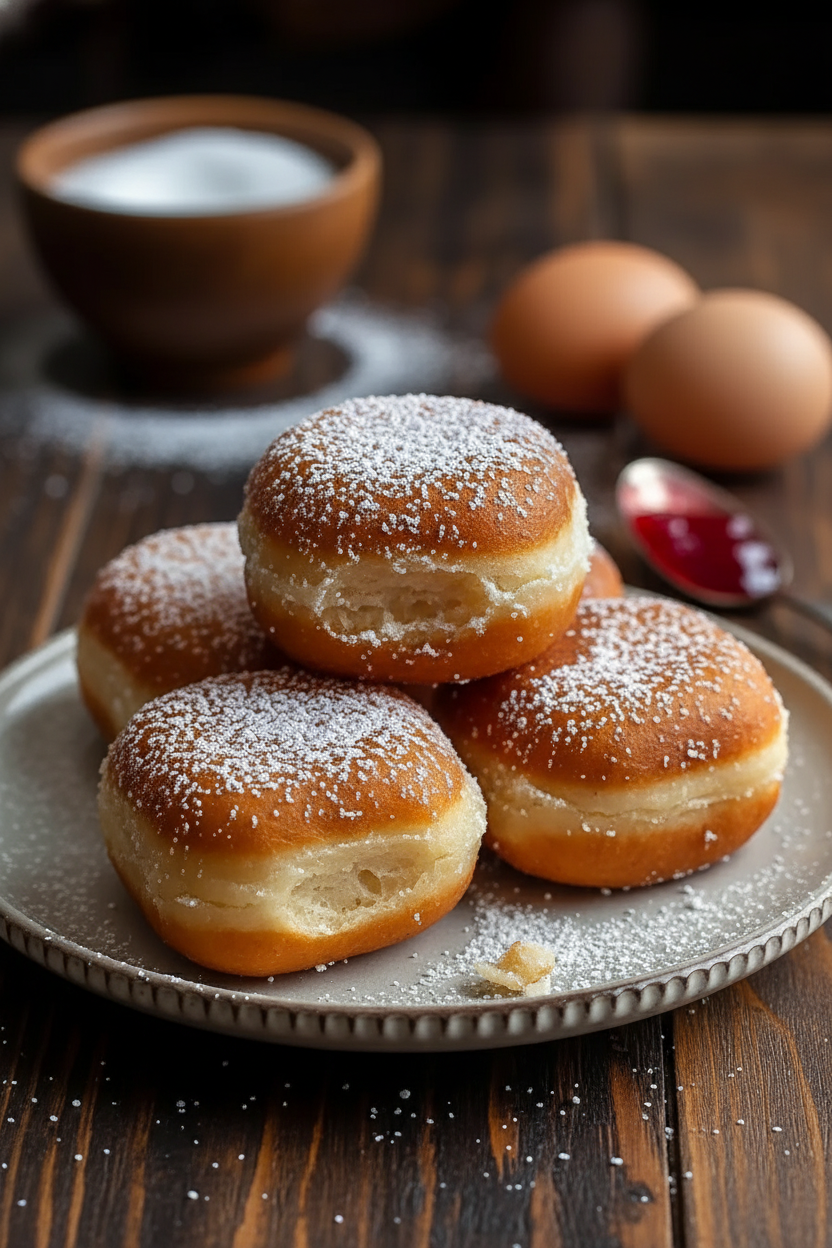
Take the beignets out. Let them drain on paper for just a second. Then comes the best part. Move them to a plate with a mountain of powdered sugar. Dump more sugar on top! It should look like a sweet snowstorm landed on them.
Serve them immediately. They are best hot and messy. The sugar will coat your fingers and maybe your chin. That’s how you know they’re good. Sharing these warm puffs creates happy memories. That’s the real goal of cooking, isn’t it? Would you eat them plain or with a simple chocolate glaze for dipping?
Instructions
Step 1: Mix warm water, sugar, and yeast in a big bowl. Let it sit for 5-10 minutes. It should get all foamy and happy. If it doesn’t foam, your yeast is sleepy. You’ll need new yeast for this easy air fryer churros recipe.
Step 2: Whisk in the egg, evaporated milk, salt, butter, and vanilla. It will smell amazing. Now, add the flour a cup at a time. Stir until a shaggy dough forms. (A little sticky dough is good, trust me!)
Step 3: Knead the dough for 10 minutes. Your arms will get strong! The dough should feel smooth. Put it in a greased bowl and cover it. Let it rise until it’s double its size. What’s your favorite rising spot? Share below!
Step 4: Punch the dough down. Roll it out on a floured surface. Cut it into little squares. Heat your oil in a deep pot. (Test it with a dough scrap—it should sizzle nicely.) Fry a few squares until golden brown.
Step 5: Drain beignets on paper towels for just a second. Then, bury them in a mountain of powdered sugar. I still laugh at how messy this gets. Serve them hot and enjoy your chewy coconut cream bars another day!
Creative Twists
Add a spoonful of cinnamon to the powdered sugar for a warm hug. Drizzle them with chocolate like you would on a simple chocolate glaze. Fill them with a dollop of jam or lemon curd after frying. Which one would you try first? Comment below!
Serving & Pairing Ideas
Serve these beignets on a big platter for sharing. A cup of hot chocolate is the perfect partner. For a fancy brunch, add fresh berries on the side. It’s a sweet treat, unlike a creamy Cajun chicken orzo skillet. Which would you choose tonight?
Making Your Beignets Last (And Taste Just Made!)
Beignets are best fresh. But you can save them for later. Let them cool completely first. Then store them in a single layer. Use an airtight container at room temperature.
You can also freeze them. Place cooled beignets on a baking sheet. Freeze for one hour. Then pop them into a freezer bag. This stops them from sticking together. I learned this after my first batch became a solid lump!
To reheat, use your oven. Warm at 350°F for 5-8 minutes. This brings back their magic. A quick fry in hot oil also works wonders. Batch cooking lets you enjoy a sweet treat anytime. It turns a project into simple joy. Have you ever tried storing them this way? Share below!
Little Fixes for Bigger Smiles
Is your dough not rising? Your yeast might be old. Always test it in warm water with sugar. It should get foamy. I once used old yeast and waited for hours. Nothing happened!
Are your beignets oily? Your oil is likely too cool. Use a thermometer. The right temperature makes them crisp, not greasy. This matters for perfect texture. Confidence grows when you know the why.
Are they dense, not fluffy? You may have over-kneaded the dough. Stop when it’s smooth and elastic. Gentle handling keeps the air inside. This matters for that cloud-like bite. Good technique makes food taste happier. Which of these problems have you run into before?
Your Quick Questions, Answered
What is the secret to light and fluffy beignets?
The secret is the yeast and gentle handling. Let your yeast foam in warm water. This proves it is alive. Knead the dough until smooth but stop there. Let it rise fully in a warm place. This creates air pockets. Then, fry at the correct hot temperature. The steam from the dough makes them puff up into clouds.
How do I make beignet dough from scratch?
Start by waking up your yeast with warm water and sugar. Then mix in egg, milk, butter, and vanilla. Add flour gradually until a shaggy dough forms. Knead it well by hand or mixer. The dough should be smooth and slightly sticky. Let it rise until doubled in size. Then roll, cut, and fry your squares. It is a fun process, like making cinnamon sugar churros.
What is the traditional topping for beignets?
The traditional topping is a mountain of powdered sugar. As soon as the beignets come out of the oil, you dust them. You must use lots and lots of powdered sugar. It creates a sweet, snowy coating. This classic finish is non-negotiable for real French-style beignets. It is a simple joy that never gets old.
Can I prepare beignet dough ahead of time?
Yes, you can prepare the dough ahead. After the first rise, punch it down. Then place it in a greased bowl. Cover it tightly and put it in the fridge. It will slowly rise overnight. This can even improve the flavor. The next day, let it warm up a bit. Then roll, cut, and fry for fresh beignets anytime.
What is the best oil and temperature for frying beignets?
Use a neutral oil with a high smoke point. Vegetable or canola oil works perfectly. Heat it to 350°F (175°C). This temperature is key. If the oil is too cool, the beignets soak up oil. If it is too hot, they burn outside but stay raw inside. A thermometer helps you fry them just right, every single time.
How do I keep beignets crispy after frying?
Drain them on paper towels for just a moment. Then move them to a wire rack. Do not pile them up. Let the air circulate around each one. Serve them immediately. *Fun fact: The sugar coating can make them soften faster.* For later, reheat in an oven to crisp them back up. Enjoy them with a glass of milk or a no-bake peanut butter bar.
Which tip will you try first?
From My Kitchen to Yours
I hope you love making these beignets. Cooking is about sharing joy and creating memories. These puffy treats always make my kitchen feel happy. I would love to hear about your baking adventures.
Maybe you paired them with a creamy savory dish for a full feast. Tell me all about it in the comments. Your stories are my favorite thing to read. Have you tried this recipe? Let me know how it turned out for you.
Happy cooking!
—Elowen Thorn

My Favorite Homemade Beignet Recipe for Perfect Fried Dough
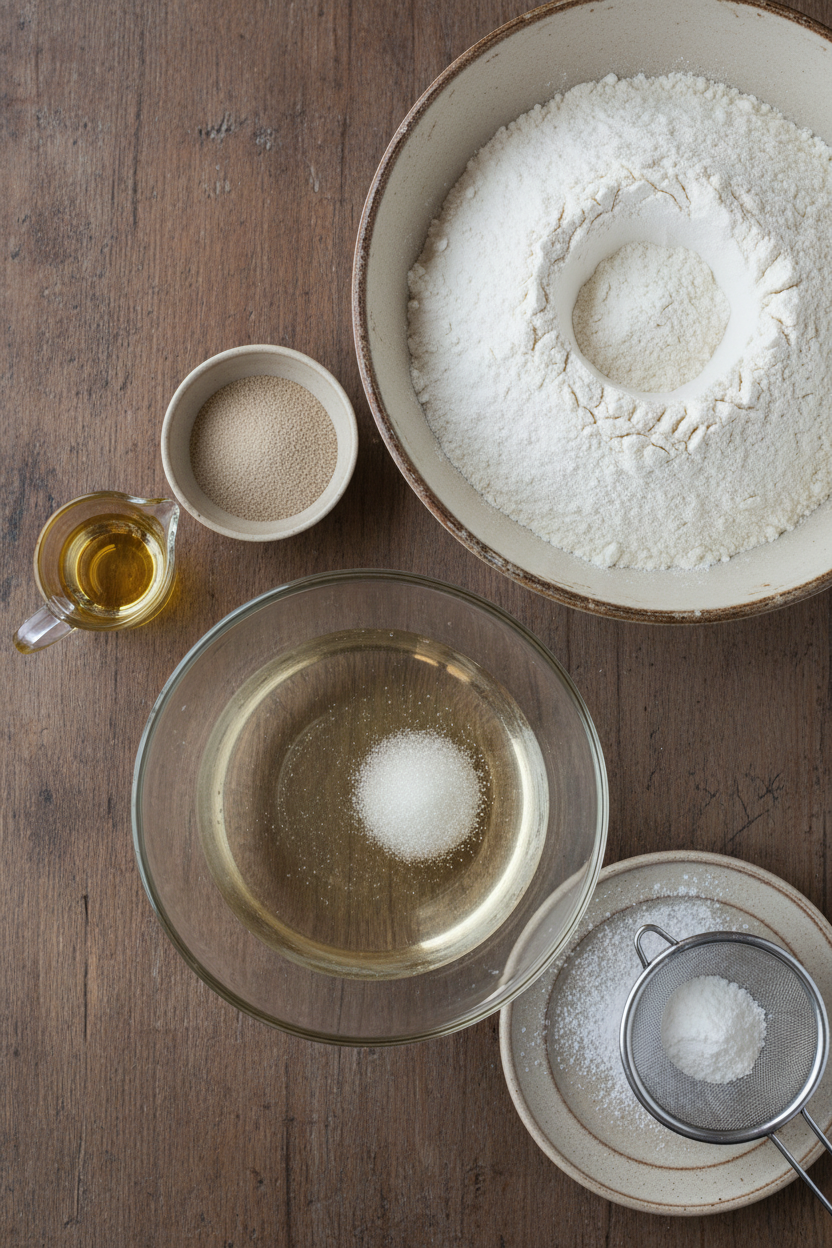
Ingredients
Instructions
- Grab a big bowl, like a really big one. Or your stand mixer bowl if you’re using one. Whisk the warm water, sugar, and yeast together. Let it sit for about 5-10 minutes until it looks all foamy and happy. This means your yeast is alive. If it doesn’t foam, toss it and get new yeast.
- Once it’s foamy, whisk in the egg, evaporated milk, salt, softened butter, and vanilla extract.
- Now, start adding the flour, about a cup at a time. If you’re using a stand mixer, use the dough hook. If doing it by hand, just use a sturdy spoon or spatula at first, then turn it out onto a floured surface when it gets too stiff.
- Mix until a shaggy dough forms. Then, knead. In the mixer, let it go for 8-10 minutes on medium speed until the dough is smooth and elastic. By hand, get ready for an arm workout, maybe 10-12 minutes. It should be a little sticky, but shouldn’t glue itself permanently to your hands or the counter.
- Grease that big bowl you used earlier with a little oil. Put the dough in, turn it to coat, then cover the bowl with plastic wrap. Let it rise in a warm place until it’s doubled in size. This usually takes about an hour to an hour and a half, depending on how warm your kitchen is.
- Once it’s doubled, punch the dough down. Turn the dough out onto a lightly floured surface. Roll it out to about ¼ inch thick. Use a knife or a pizza cutter to cut the dough into squares, roughly 2-3 inches.
- Pour your oil into a deep pot or Dutch oven. Heat it over medium-high heat until it reaches 350°F (175°C). If you don’t have a thermometer, you can test by dropping a small piece of dough in; it should bubble immediately but not burn instantly.
- Carefully slide a few beignet squares into the hot oil. Don’t crowd the pot. Fry for about 1-2 minutes per side, until they’re golden brown and puffy. Use tongs or a spider strainer to flip them and take them out.
- Transfer the fried beignets to a plate lined with paper towels to drain for just a sec. Immediately transfer them to a plate or tray with a ton of powdered sugar. Dump more sugar on top.
- Repeat with the remaining dough squares. Keep that oil temperature steady. Serve hot.
Notes
- Nutrition information is an estimate per beignet, excluding the powdered sugar dusting, which will add significant additional sugar and calories.