

My First Macaron Mess
I want to tell you about my first try. It was a funny disaster. My kitchen looked like it snowed almond flour. The shells came out flat and cracked. I still laugh at that. But you know what? I learned so much. Every baker has a story like this. It’s how we get better.
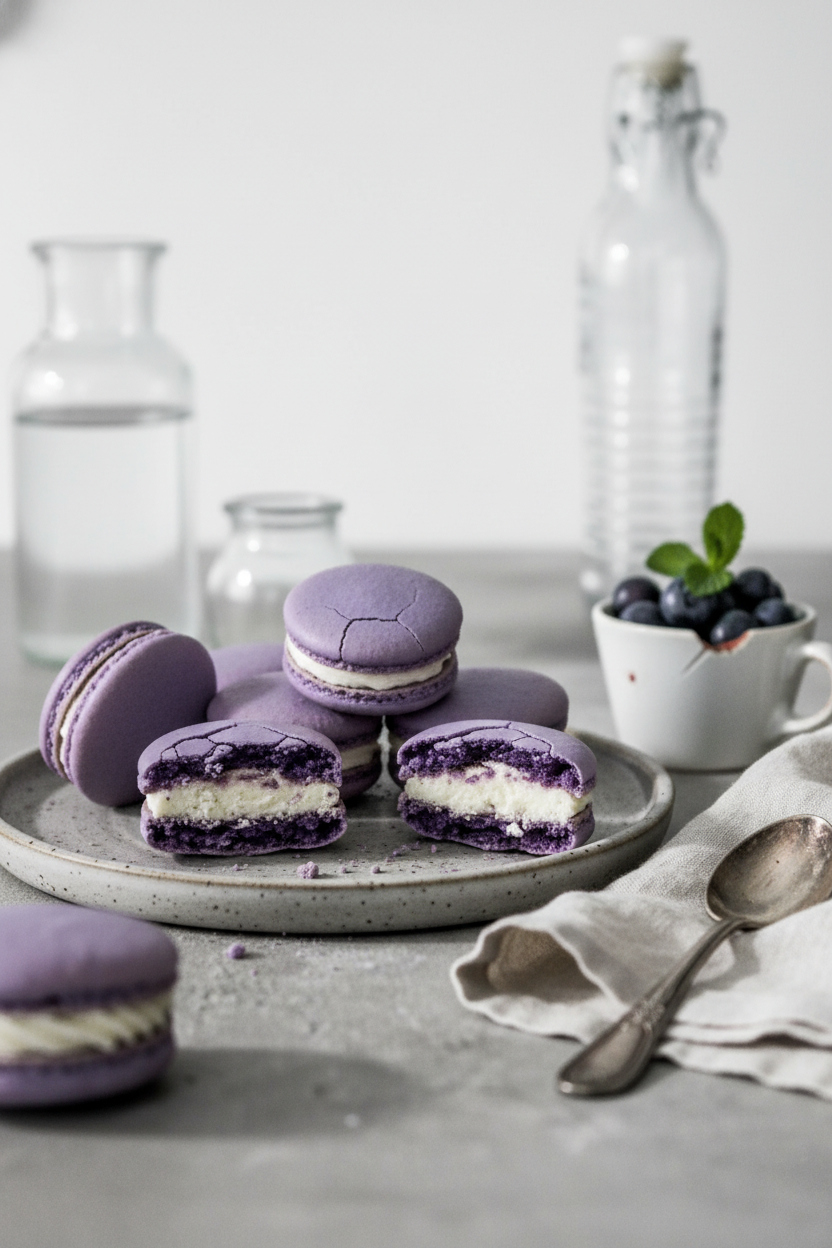
That’s why I love this beginner recipe. It breaks things down simply. Getting those pretty, smooth tops matters. It means you mixed the batter just right. And those little ruffly “feet” at the bottom? That’s the sign of a perfect bake. It feels like magic every time. Have you ever had a baking disaster that turned into a good lesson? I’d love to hear about it.
The Heart of the Matter: Meringue
Let’s talk about the cloud. That’s the meringue. Room temperature egg whites whip up best. Start slow until they get foamy. Then add the sugar bit by bit. Keep whipping until it’s glossy and stiff. The tip should stand up straight. This strong meringue is your macaron’s backbone.
*Fun fact*: The word “meringue” might come from a Swiss village called Mehrinyghen. Isn’t that fun to say? Now, here’s a key insight. Why does this matter so much? Those stiff peaks hold everything together. They give the shells their lift and shape. If your meringue is weak, the batter will be too runny. You can find tips for eggless meringue options here, if you need them.
The Gentle Fold
This next part is the most important. You must be gentle. Add your almond flour mix to the meringue in parts. Fold it slowly. You are deflating the cloud just enough. You want batter that flows like thick lava. It should ribbon off your spatula.
The test is to draw a figure 8 with the batter. If the 8 holds its shape for a moment, you’re done. This step matters because it controls the texture. Under-mix, and your tops will be bumpy. Over-mix, and they’ll spread flat. It’s a feel you learn. Do you think you’re better at being patient or at being quick in the kitchen?
The Waiting Game
After piping your little circles, you must wait. This feels hard. But it’s not idle time. You are letting a “skin” form on top. Tap the pan to pop bubbles. Then let them sit for 30 to 60 minutes. Touch one gently. No batter should stick to your finger.
This skin is the secret to the feet. In the oven, the inside pushes up against that dry top. The only way out is the bottom! That’s what creates the ruffles. It’s a neat bit of kitchen science. While you wait, you could whip up a creamy macaroni salad for later. A very different kind of “mac” but just as comforting!
Filling Your Creations
Once cooled, carefully peel them up. Match the similar-sized shells. Now for the fun part! The filling. A simple vanilla buttercream is lovely. So is jam or chocolate. Use something thick so it doesn’t leak. Pipe or spoon it on one shell and sandwich it.
Here’s my last tip. Let them rest in the fridge overnight. This is called “maturing.” The shells soften a little. They soak up flavor from the filling. It makes them even better. Trust me on this. What filling flavor do you dream of trying first? Is it fruity, chocolaty, or something else? For a savory twist on a similar name, my friend makes a wonderful classic tomato macaroni that’s pure comfort.
Instructions
Step 1: First, sift your almond flour and powdered sugar together. This makes them super fine. Mix them gently in a bowl. Set this pretty cloud of flour aside for now. Doesn’t that smell amazing?
Step 2: Now, whip your room-temperature egg whites with salt. Do this until they get foamy. Slowly add the granulated sugar while beating. Keep going until you have glossy, stiff peaks. (Room-temperature eggs whip best, trust me!).
Step 3: Add vanilla and food coloring to the meringue. Gently fold in the almond flour mixture. This part is called macaronage. You want batter that flows like thick lava. Can you draw a figure “8” with it? Share below!
Step 4: Pipe small circles onto a baking sheet. Bang the tray firmly to pop bubbles. Let them sit out to form a skin for 30 minutes. Then bake until they have little “feet.” I still laugh at how cute those feet are.
Step 5: Let the shells cool completely. Then, peel them off the paper. Match up similar-sized shells. Fill them with buttercream or jam. Now you have beautiful, homemade macarons!
Creative Twists
Rainbow Swirl: Divide your batter and color a few bowls differently. Swirl them in the piping bag!
Hidden Surprise: Add a tiny dot of fruit curd in the center of your buttercream filling.
Crunchy Top: Gently press a sprinkle of crushed freeze-dried berries on top before drying.
Which one would you try first? Comment below!
Serving & Pairing Ideas
Serve these on a pretty plate with a cup of herbal tea. They also look lovely with fresh berries on the side. For a party, stack them high on a cake stand. It feels so fancy! You could even try them with a creamy dessert drink. Which would you choose tonight?
Storing Your Sweet Success
Let’s talk about keeping your macarons happy. First, always fill them before storing. An empty shell gets soggy fast. Keep them in a sealed container in the fridge. They will stay good for up to five days there.
You can also freeze them for a month. Layer them between parchment paper in a freezer box. I remember my first batch. I left them on the counter. They turned soft and sad by morning!
To serve, just let them thaw in the fridge. Batch cooking matters. It means you always have a sweet treat ready for surprise guests. Have you ever tried storing them this way? Share below! For a fun twist, try an eggless Diwali macaron recipe next time.
Little Fixes for Big Wins
We all face little kitchen troubles. Here are three common ones. First, hollow shells. This often means the batter was over-mixed. I once mixed mine too long. They looked flat and empty inside.
Second, no feet on your macarons. The oven might be too hot. Use an oven thermometer to check. Third, cracked tops. This usually means the shells were not dry enough before baking. Patience is key here!
Fixing these issues builds your confidence. It also makes the flavor and texture perfect. Which of these problems have you run into before? Remember, even a simple classic tomato macaroni teaches us about timing.
Your Quick Questions, Answered
Why do my macarons crack on top?
They likely went into the oven too soon. A proper “skin” must form first. This skin holds the rising air inside. If the shell is wet, steam escapes and cracks the top. Let them dry until no batter sticks to your finger. This can take 30 to 60 minutes.
How do I get perfect feet on macarons?
Feet come from the right bake. Your oven must be at the correct temperature. Use an oven thermometer to be sure. The batter must also be the right consistency. It should flow like thick lava. Proper feet mean your macarons are rising correctly.
What is the best way to fold macaron batter?
Be gentle and patient. Use a spatula to fold from the bottom up. You are deflating the meringue slowly. Stop when the batter flows smoothly. It should make a thick ribbon. The figure-8 test is your best friend here. If the ribbon breaks, fold a little more.
How long should I rest macarons before baking?
Rest them until they are not sticky. This usually takes 30 to 60 minutes. Touch the top gently. Your finger should come away clean. The shell will look dull, not shiny. This rest is non-negotiable for good feet. A fun fact: this step is called “drying” or “croustillage”.
Why are my macarons hollow inside?
Hollows happen for a few reasons. The batter may be over-mixed or under-mixed. Your oven temperature could be wrong. Even the meringue can be the culprit. It might not be stiff enough. Getting each step just right prevents big air pockets inside your shells.
How do I achieve vibrant colors without ruining the batter?
Use gel or powdered food coloring. Add it to the meringue just before stiff peaks. Liquid coloring adds too much moisture. This can make your batter runny. A little gel color goes a long way. For a colorful side dish idea, see this creamy Hawaiian macaroni salad.
Which tip will you try first?
From My Kitchen to Yours
I hope these tips help you. Baking should be fun, not stressful. Every batch teaches you something new. I love hearing your stories and seeing your creations.
Please tell me all about your baking adventures. Have you tried this recipe? Let me know how it went in the comments. For another comforting dish, this creamy macaroni salad always feels like home.
Happy cooking!
—Grace Ellington.

Foolproof French Macaron Recipe with Expert Tips
Description
Master the art of French macarons with this detailed, step-by-step recipe. Learn expert tips for perfect shells, feet, and delicious fillings.
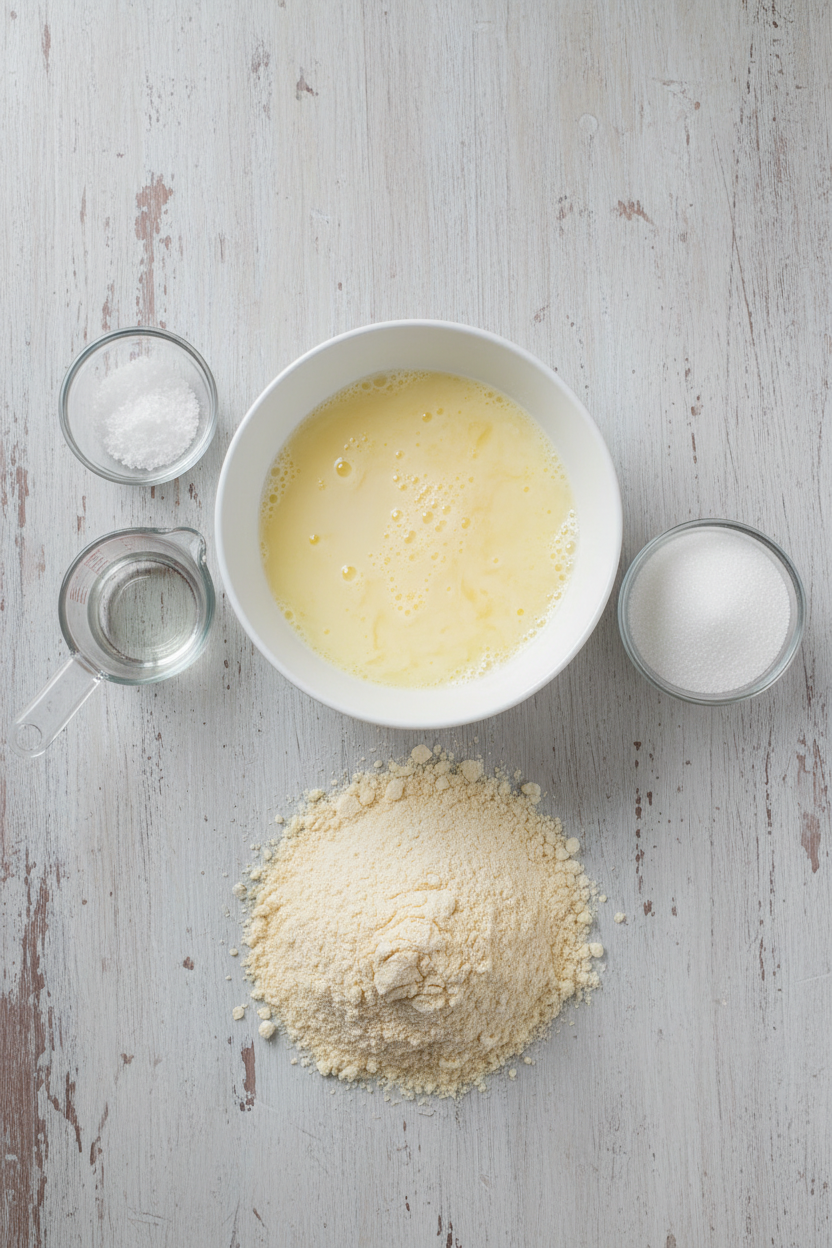
Ingredients
150 grams almond flour, sifted then measured
Vanilla buttercream, or other thick filling such as jam, lemon curd, chocolate buttercream, chocolate ganache, or thickened caramel sauce.
Instructions
- Sift almond flour. Measure your almond flour after sifting it.
- Sift powdered sugar and mix into your sifted almond flour. Set aside to prep the meringue.
- Whip egg whites and salt together until foamy.
- Gradually add granulated sugar to the egg whites, beating well in between each addition.
- Whip meringue until it reaches stiff peaks. It should be glossy. The tip of the meringue should not curl over when you pull a whisk out.
- Add your food coloring (if using) and vanilla to the meringue, and mix to combine.
- Fold your almond flour mixture into the meringue. Add in roughly 3 additions, gently folding each to combine.
- Macaronage: Use a spatula to scrape the sides of the bowl and then run through the middle of the batter to deflate. Continue until your batter loosens up to the consistency of lava. The batter should flow off the spatula without splitting. You should be able to draw a figure 8 with your spatula without the batter breaking and the 8 should sink back into the rest of the batter after about 20 seconds.
- Transfer your macaron batter to a piping bag fitted with a plain tip. Avoid scooping the batter with a spoon.
- Pipe your macarons. Hold your piping bag at a 90° angle to your baking sheet. Pipe macarons just slightly smaller than you’d like, leaving about 1 inch of space between each one.
- Firmly bang your baking sheets on the counter a few times to even out bumps and pop bubbles. Use a skewer to manually pop any remaining bubbles.
- Set aside the macarons to dry for 30 to 60 minutes, until a skin forms. Gently touch the top of a shell; no batter should stick to your finger.
- Bake. The macarons are ready after they’ve risen and formed feet. The bottom should be firm and shouldn’t jiggle if gently pressed.
- Cool. Let the shells cool completely on the baking sheet, then carefully peel them off the parchment paper.
- Fill. Match up similarly sized macarons. Pipe or spoon some filling on the bottom of one shell, and sandwich together.
Notes
- Ensure all equipment is clean and grease-free for the meringue. Use aged egg whites (left out overnight) for more stable meringue. Oven temperatures vary; consider using an oven thermometer. Let filled macarons mature in the fridge for 24 hours for best texture.