

My First Time with a Sweet Mix-Up
I first made these for my grandson’s bake sale. I mixed up the coconut and chocolate steps. I still laugh at that. The brownies were a messy, delicious hit. The kids did not mind one bit.
Sometimes the best treats come from happy accidents. This matters because cooking should be fun, not perfect. Have you ever had a kitchen mix-up turn out great? I would love to hear your story.
Why These Flavors Sing Together
Chocolate, coconut, and caramel are old friends. They just belong together. The toasted coconut adds a little crunch. The caramel makes everything sweet and sticky.
Doesn’t that smell amazing? Toasting the coconut is my favorite part. *Fun fact: Toasting coconut brings out its natural oils. That makes the flavor so much richer. This matters because good smells in the kitchen make a house feel like a home.
A Simple Trick for a Pretty Drizzle
You do not need fancy tools. My piping bag is just a small plastic bag. I snip a tiny corner off with my kitchen scissors. Then I drizzle the melted chocolate back and forth.
It is like drawing on your dessert. It feels so creative. Do you like to make your food look pretty, or do you just dive right in? There is no wrong answer here.
Let’s Talk About That Chill Time
I know, waiting is hard. But trust your kitchen grandma. Letting the brownies chill in the fridge is the secret. It lets all the layers settle and become friends.
Then you get a clean slice. You can see every beautiful layer. It makes the first bite even more special. What is your favorite treat to eat straight from the fridge?
Making It Your Own
This recipe is a wonderful starting point. My neighbor adds a pinch of sea salt on top. It is a lovely little surprise. You could try chopped nuts or even dried cherries.
That is the joy of baking. You get to make it just how you like it. The kitchen is your playground. So tell me, what would you add to make these brownies perfect for you?
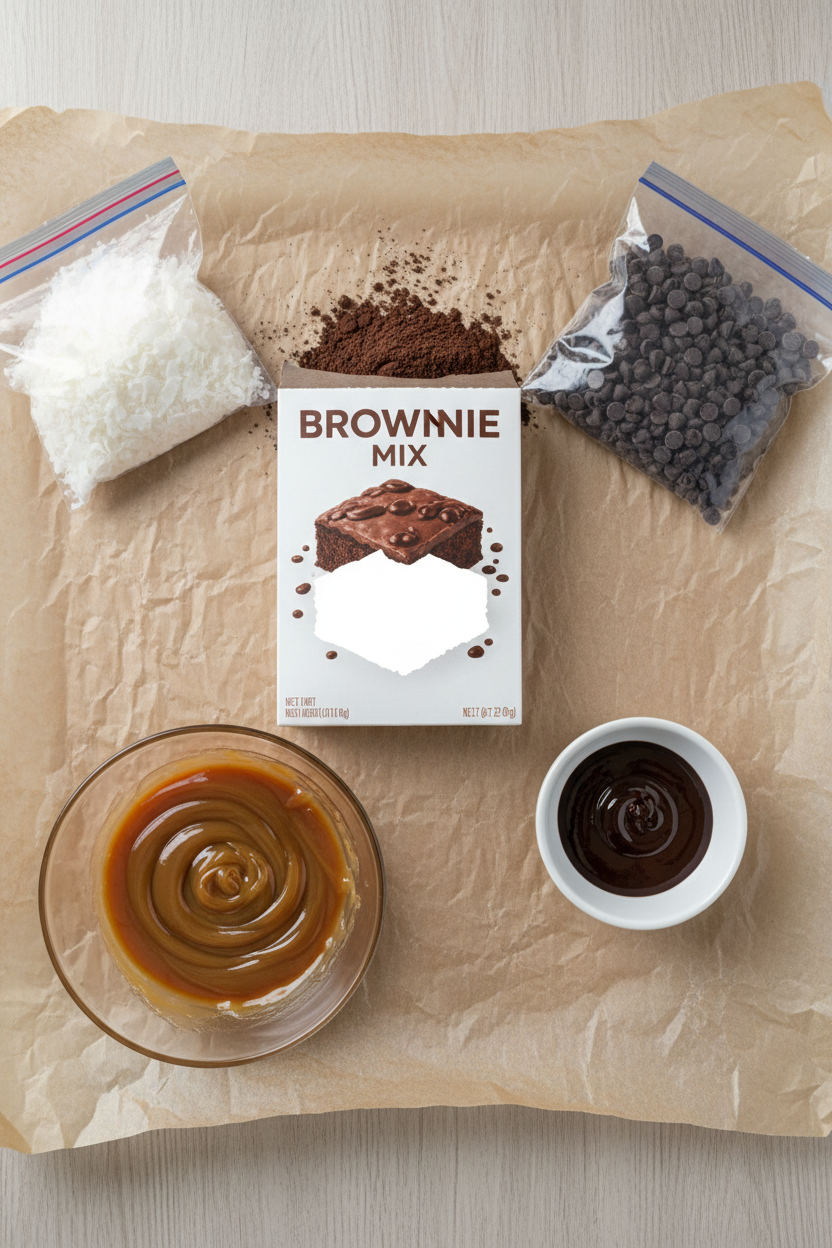
Ingredients:
| Ingredient | Amount | Notes |
|---|---|---|
| Brownie mix | 1 box | Prepared according to the package directions |
| Coconut, shredded | 2 cups | Toasted until golden brown |
| Caramel ice cream topping | 16 ounce bottle | Can be warmed for easier spreading |
| Semi-sweet chocolate chips | ½ cup | Melted for drizzling |
Instructions
Step 1: First, bake your brownie mix. Follow the box directions exactly. Let the warm smell fill your kitchen. I always do a little dance while waiting. (A tip: line your pan with parchment paper first.) This makes cleanup so easy later.
Step 2: Now, toast the coconut. Use the same hot oven. Spread it on a baking sheet. Watch it closely and stir it. It turns golden so fast! Doesn’t that smell amazing? It reminds me of summer beaches.
Step 3: Mix the toasted coconut with caramel. Stir it gently in a bowl. The caramel gets all gooey and warm. Spoon this over your cooled brownies. Try to spread it evenly. Sweet or salty caramel—which do you prefer? Share below!
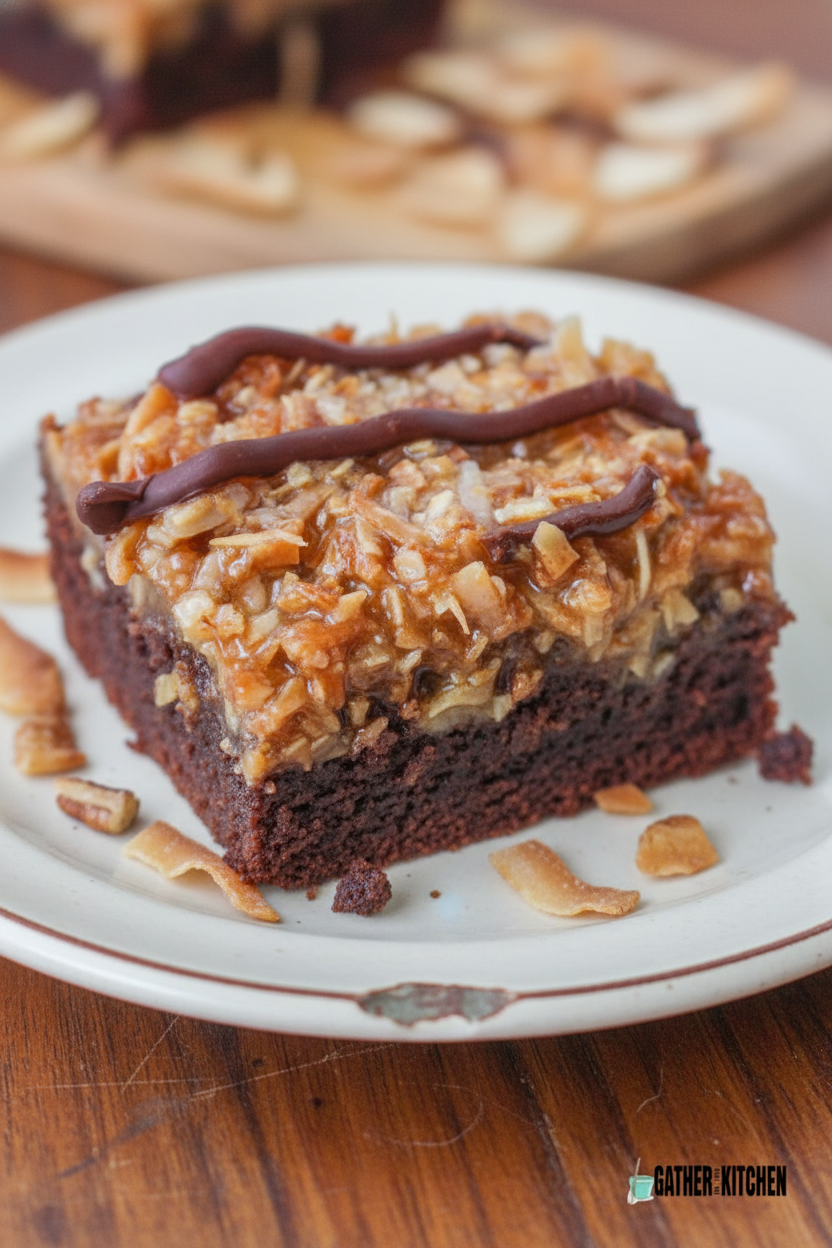
Step 4: Time for the chocolate drizzle. Melt your chocolate chips. Pour it into a small plastic bag. Snip a tiny corner off the bag. Now drizzle lines back and forth. I still laugh at my first messy try!
Step 5: Finally, chill the brownies in the fridge. This helps everything set nicely. Wait about an hour if you can. Then slice them into squares. (Use a warm knife for clean cuts.) Now, enjoy your delicious creation!
Creative Twists
Add a pinch of sea salt on top before chilling. Mix chopped pecans right into the coconut caramel. Use dark chocolate chips for a richer drizzle. Which one would you try first? Comment below!Serving & Pairing Ideas
Serve a brownie square with a scoop of vanilla ice cream. The cold and warm mix is magic. For a pretty plate, add a few fresh berries on the side. A tall glass of cold milk is always the best friend for brownies. Which would you choose tonight?
Keeping Your Treats Tasty
Let’s talk about keeping those brownies fresh. Cool them completely first. Then, tuck them into an airtight container. They are happy on the counter for two days. For longer, the fridge is best. They will last a week there.
You can freeze them, too. Wrap each brownie tightly in plastic wrap. Pop them all in a freezer bag. They will keep for three months. Thaw them on the counter when you are ready. I remember my first batch of brownies. I left them uncovered overnight. They turned dry and sad. I learned my lesson!
Storing food well matters. It saves money and prevents waste. It also means a sweet treat is always ready for you. Have you ever tried storing it this way? Share below!
Little Fixes for Big Flavor
We all run into little kitchen troubles. Here are three common ones. First, burnt coconut. It happens so fast! Watch it like a hawk and stir often. I once got distracted by the phone. My perfect coconut turned black in a flash.
Second, thick caramel that won’t spread. Just warm it for ten seconds. It becomes smooth and easy. Third, messy slices. A warm, wet knife makes clean cuts every time. Fixing these small issues matters. It builds your cooking confidence. You feel like a pro. It also makes your food taste and look its very best. Which of these problems have you run into before?
Your Quick Questions, Answered
What are the ingredients for Samoa brownies?
You need a prepared box of brownie mix. You also need shredded coconut, a bottle of caramel ice cream topping, and semi-sweet chocolate chips. That is it! The magic is in the layering. You build flavor with toasted coconut and gooey caramel. It creates a wonderful treat that reminds many of the classic cookie.
How do you make toasted coconut for brownies?
Spread coconut on a parchment-lined baking sheet. Use the oven while it is still hot from the brownies. Toast it for three to five minutes. Stir it often for even color. Watch it closely. It goes from golden to burnt quickly. Toasted coconut has a nutty, warm flavor. It is much better than raw coconut for this recipe.
Can I use a box mix for Samoa brownies?
Yes, a box mix is perfect here. It is the easy base for our fancy toppings. Just prepare it exactly as the package says. Bake it in your pan. Let it cool a little before adding the coconut layer. Using a mix saves time and energy. It lets you focus on the fun, creative part—the toppings!
How do you make the caramel layer?
The caramel layer is simple. Use a store-bought caramel ice cream topping. Stir it into your slightly cooled, toasted coconut. This makes a sticky, sweet mixture. Then spoon it over your baked brownies. Spread it gently into an even layer. The warmth from the brownies helps it settle in. *Fun fact: This type of caramel is often called “butterscotch” or “dulce de leche” sauce.
What’s a shortcut for the caramel in this recipe?
The biggest shortcut is using that bottled caramel topping. You do not need to cook sugar. Just open the jar and pour. If it is too thick, warm it briefly. Ten seconds in the microwave should do it. This makes it easy to mix and spread. It is a foolproof way to get that delicious, gooey caramel flavor without any stress.
How do you store and keep Samoa brownies fresh?
Let brownies cool completely first. Store them in a sealed container at room temperature for two days. For longer freshness, use the refrigerator. They will last up to a week there. You can also freeze them for months. Wrap each one tightly. This keeps the coconut moist and the brownie soft. It prevents them from drying out or tasting stale.
Which tip will you try first?
From My Kitchen to Yours
I hope you love making these brownies. They are a joyful mix of chocolate and coconut. Baking should be fun, not fussy. My kitchen is always a little messy, and that is okay. The best part is sharing what you make.
I would love to hear about your baking adventure. Tell me how it went for you. Have you tried this recipe? Please leave a comment below with your story. Your notes make my day.
Happy cooking!
—Elena Rutherford
