

My Easter Kitchen Secret
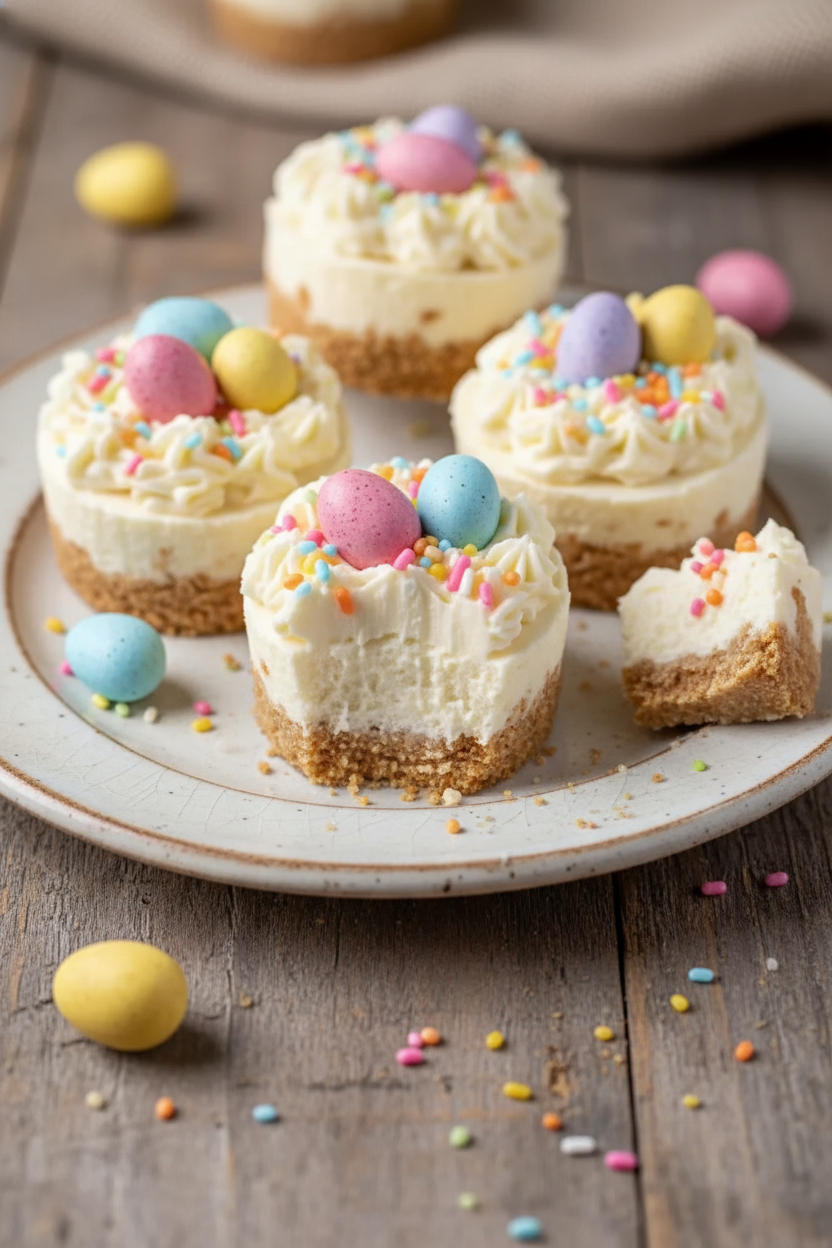
I love a dessert that feels special but is easy. These mini cheesecakes are my secret. They look like a spring party on a plate. Best of all, you don’t even need to turn on the oven.
My grandkids call them “cupcake cheesecakes.” I still laugh at that. They love to add the sprinkles. It makes them feel like little chefs. What is your favorite holiday dessert to make with family?
The Story of the Crust
Let’s start with the base. It’s just crumbs, butter, and a bit of sugar. Mix it until it feels like damp sand at the beach. Press it firmly into your muffin cups.
This step matters. A good, firm crust holds everything together. It gives you a nice little crunch with every bite. *Fun fact*: Graham crackers were invented to be a healthy snack! Isn’t that funny for a dessert?
The Magic of No-Bake Filling
Now for the creamy part. Beat the cream cheese until it’s smooth. Add some powdered sugar and vanilla. Doesn’t that smell amazing? Then, gently fold in the whipped cream.
Folding is key. You want to keep the filling light and fluffy. I once mixed it too fast and it went flat. We ate it anyway, of course! But gentle folding makes it perfect. Do you prefer creamy desserts or crunchy ones?
Making Them Feel Like Easter
Here is the really fun part. After they chill, you get to decorate. Melt those pastel candy melts. Drizzle them over the tops like little rainbows.
Then, add your mini eggs and sprinkles. This step matters because food should be joyful. It is about making memories, not just a meal. Let your creativity play. What pastel color do you like best for spring?
Why This Recipe Stays in My Box
I make these every year. They are cool, sweet, and just right after a big meal. Everyone can have their own little cake. No slicing needed!
They remind me that good things don’t have to be hard. Sharing simple, happy food with people you love is what matters most. That is the real recipe. I hope you try it and make your own sweet memories.
Ingredients:
| Ingredient | Amount | Notes |
|---|---|---|
| Graham cracker crumbs | 1 1/2 cups | |
| Unsalted butter | 1/4 cup | Melted |
| Granulated sugar | 1 tbsp | |
| Cream cheese | 12 oz | Softened |
| Powdered sugar | 1/2 cup | |
| Vanilla extract | 1 tsp | |
| Heavy whipping cream | 1 cup | |
| Pastel-colored candy melts | As needed | For drizzling |
| Mini chocolate eggs or jelly beans | As needed | For topping |
| Easter-themed or pastel sprinkles | As needed | For topping |

Instructions
Step 1: Mix your graham crumbs, melted butter, and sugar. It should look like wet sand. I love the smell of this. (Make sure every crumb gets buttery!)
Step 2: Press crumbs into a lined muffin tin. Pack them down firmly with a spoon. This makes a strong little floor for your cheesecake. Doesn’t that feel nice?
Step 3: Now beat the cream cheese until it’s super smooth. Add the powdered sugar and vanilla. My grandkids always sneak a taste here. Sweet or tangy—which do you prefer? Share below!
Step 4: Whip the heavy cream in another bowl. Gently fold it into your cream cheese. This makes it fluffy and light. (Fold slowly so it stays airy!)
Step 5: Spoon the filling onto your crusts. Chill for two hours. Then, drizzle with melted candy and add eggs and sprinkles. I still laugh at how happy these look.
Creative Twists
Lemon Zest Sunshine: Add a little lemon zest to the filling. It tastes like spring.
Cookie Crust Swap: Use crushed vanilla wafers instead of graham crackers. So sweet and simple.
Berry Surprise Center: Hide a spoonful of berry jam in the middle. A lovely, gooey secret!
Which one would you try first? Comment below!
Serving & Pairing Ideas
Serve these on a big platter with fresh berries. A few mint leaves make it pretty. They also go wonderfully with a glass of cold milk. For a brunch, pair one with sweet fruit salad. Which would you choose tonight?
Keeping Your Cheesecakes Happy
Let’s talk about storing these little treats. They need to stay cold. Keep them in the fridge, covered, for up to four days. You can also freeze them for a month. Just wrap each one tightly. Thaw them in the fridge overnight before serving.
I remember my first batch. I left them out too long. The filling got a bit soft. Now I always chill them right away. Batch cooking is a wonderful trick. Make a double batch on Sunday. You’ll have sweet treats ready all week.
This matters because it saves you time. A ready dessert makes any day feel special. It is a small gift to your future self. Have you ever tried storing it this way? Share below!
Simple Fixes for Common Hiccups
First, a soggy crust. Press your crumbs very firmly. Use the bottom of a glass. This makes a solid base that won’t crumble. I once rushed this step. The crust fell apart when we ate it.
Second, lumpy filling. Your cream cheese must be soft. Leave it on the counter for an hour. This makes it easy to beat smooth. Third, runny whipped cream. Make sure your bowl and cream are very cold. This helps it whip up nice and thick.
Fixing these issues builds your confidence. You learn that small steps make a big difference. It also means every bite is perfectly delicious. Which of these problems have you run into before?
Your Quick Questions, Answered
What is the easiest way to make mini cheesecakes?
The no-bake method is the easiest. You just mix and chill. No oven needed. Make sure your cream cheese is very soft first. This lets you beat it until perfectly smooth. Then, gently fold in the whipped cream. Spoon it into your crusts and let the fridge do the work. It’s simple and foolproof.
Can I use a muffin tin for mini cheesecakes?
Yes, a muffin tin is perfect. Always use paper or foil liners first. This stops the cheesecakes from sticking. It also makes them easy to remove and serve. Press the crust into the bottom of each liner. Then add your filling. The tin gives them a nice, uniform shape. Everyone gets their own perfect little dessert.
How do you keep mini cheesecakes from sticking?
Liners are your best friend. Use paper baking cups in the muffin tin. You can also use silicone liners. For the crust, pack it tightly with butter. This helps it hold together. After chilling, they pop right out. I never skip the liners. It saves so much trouble and keeps your cheesecakes looking pretty.
What toppings are good for Easter cheesecakes?
Think spring colors and flavors. Drizzle melted pastel candy melts on top. Add mini chocolate eggs or jelly beans. Pastel sprinkles are always cheerful. A dollop of lemon curd is lovely too. Fresh berries like strawberries look beautiful. *Fun fact: The first chocolate Easter egg was made in the 1800s.* Get creative with what makes you smile.
Can you make mini cheesecakes ahead of time?
Absolutely. They are a great make-ahead dessert. Make them the day before you need them. Let them set in the fridge overnight. Add the toppings a few hours before serving. You can even freeze them for later. This makes entertaining so much easier. You can relax and enjoy your guests.
How do you get a smooth cheesecake filling?
Start with room-temperature cream cheese. Beat it alone until it’s very creamy. This is the most important step. Then add your sugar and vanilla. In a separate bowl, whip cold cream to stiff peaks. Fold the whipped cream gently into the cheese mixture. Don’t stir too hard. This keeps the filling light and smooth, not lumpy.
Which tip will you try first?
From My Kitchen to Yours
I hope you love making these little bites of joy. They are so simple and festive. Cooking is about sharing happiness. These cheesecakes are perfect for that.
I would love to hear about your kitchen adventures. Tell me how yours turned out. Did your family enjoy them? Have you tried this recipe? Leave a comment and let me know.
Happy cooking!
—Marina Caldwell
