

My Favorite Swirly Treat
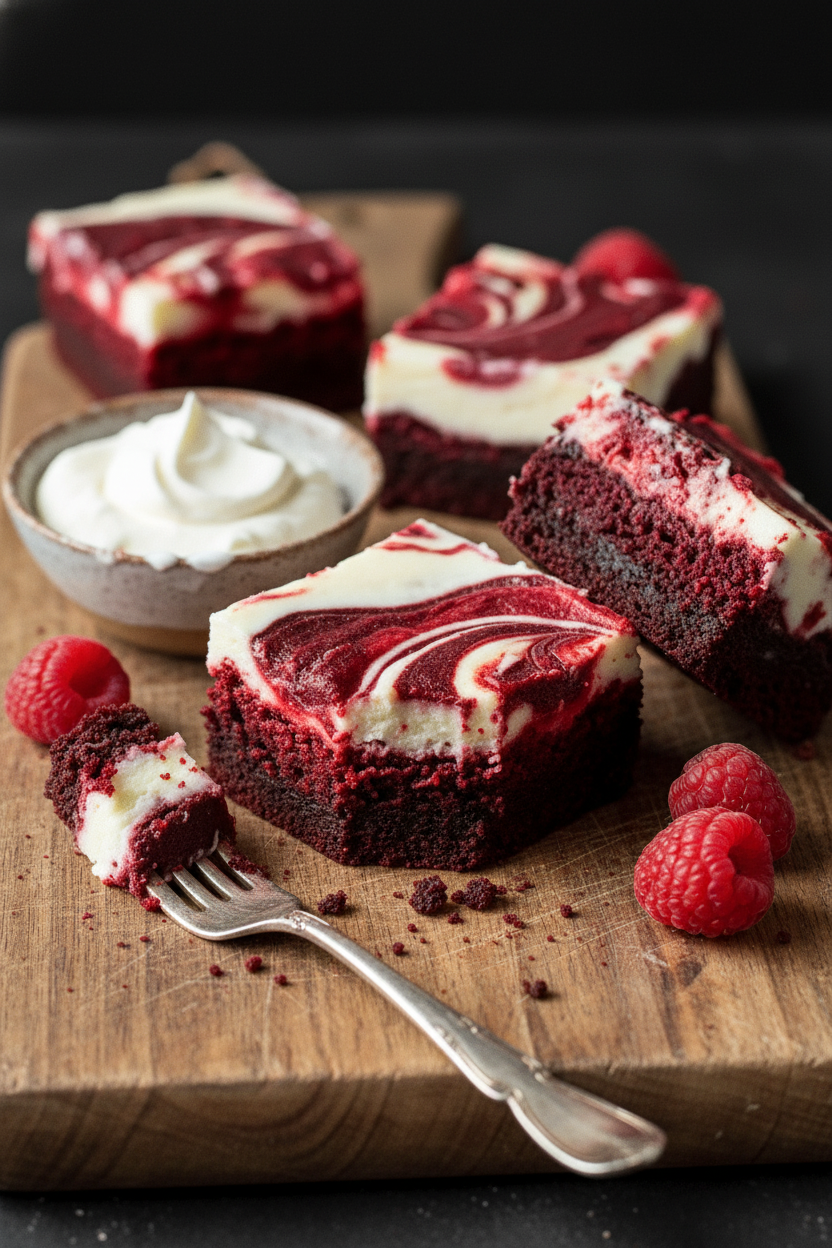
Let’s make Red Velvet Cheesecake Brownies. They are three layers of joy in one pan. I love how the red and white swirls look like a dance. Doesn’t that sound fun to make?
I first made these for my grandson’s birthday. His eyes got so wide when he saw the red batter. I still laugh at that. It turned a regular day into a little party. That’s why this matters. Food is more than eating. It’s about making happy memories together.
A Little Story About Red Velvet
Where did red velvet come from? It’s a fun story. Long ago, the cocoa and acid in the recipe made cakes look reddish. Cooks loved that special color. Now we use a bit of food coloring to help it along.
*Fun fact*: The first real red velvet cake was served in a fancy New York hotel. Isn’t that something? I think about that when I add the red coloring. It makes me feel fancy, too. Do you have a food that makes you feel fancy? I’d love to hear about it.
Why The Swirl Matters
Don’t worry about making the swirl perfect. The messy, marbled look is the best part. It means you made it with your own hands. That’s why this matters. Homemade doesn’t have to be perfect. It just has to be made with care.
When you drag your knife through the layers, be gentle. You want to see both the red velvet and the cheesecake. This mix of tangy and sweet is just right. If you like swirled desserts, you might enjoy this swirled brownie cheesecake bars recipe too.
The Secret is Patience
The hardest step is waiting. You must let the pan cool. Then you must chill it in the fridge. This wait makes the bars firm so you get a clean slice. Doesn’t that smell amazing while it bakes?
Use that waiting time to clean up. Or, dream up your next baking adventure. Maybe some ultimate triple layer cookie brownie recipe. Waiting is part of the love you put in. What’s your favorite thing to do while treats cool?
Time to Share the Sweetness
Cut your brownies into small squares. They are very rich. One small piece is just enough to feel happy. I always pack some for neighbors. Sharing makes the treat taste even sweeter.
These bars are perfect for a special lunchbox. They also make a holiday table brighter. For another creamy, dreamy bar, try these easy French silk brownie bars with cream cheese. If you love coconut, these toasted coconut Samoa brownies are a trip to the tropics. Which flavor would you try first?
Instructions
Step 1: First, heat your oven to 350°F. Line your pan with parchment paper. This makes cleanup so easy later. I still laugh at that time I forgot the paper. Now, mix the melted butter and sugar for the brownie layer. Add the eggs and vanilla. Doesn’t that smell amazing already?
Step 2: Stir in the cocoa, flour, salt, and baking powder. Spread this thick batter into your pan. For the red velvet layer, cream the soft butter and sugar. Add the egg, red food coloring, and vanilla. (Use gel coloring for a really vibrant red!).
Step 3: Mix the flour and salt into your red velvet batter. Carefully spread it over the brownie layer. In a new bowl, beat the cream cheese until smooth. Add the sugar, egg, and vanilla. This cheesecake layer is my favorite part. Do you prefer cream cheese plain or in desserts? Share below!
Step 4: Dollop the cheesecake mixture over the red velvet. Use a knife to gently swirl it all together. Bake for 45-50 minutes. The center should be just slightly jiggly. Let it cool completely in the pan. Patience is hard, I know!
Step 5: Finally, chill the pan in the fridge for two hours. This makes cutting perfect squares so much easier. Then slice and enjoy your beautiful swirled brownie cheesecake bars! They are always a hit at my house.
Creative Twists
Add a handful of white chocolate chips to the brownie batter.
Swap the red food coloring for pink, making pretty “blush” bars.
Top with a simple cream cheese glaze after they chill. Which one would you try first? Comment below!
Serving & Pairing Ideas
Serve these rich bars with a cold glass of milk. A few fresh raspberries on the side add a lovely, tart bite. For a real treat, crumble one over vanilla ice cream. It’s like a triple-layer dessert adventure! Which would you choose tonight?
Keeping Your Brownie Bars Beautiful
Let’s talk about storing these lovely bars. They must cool completely first. Then, cover the pan tightly. I use plastic wrap right on the surface. This keeps them moist. You can keep them on the counter for two days. For longer, the fridge is your friend. They will last a week chilled. The cold makes the cheesecake layer firm and safe.
You can also freeze them for a month. Wrap each bar in plastic, then place in a bag. My first time, I skipped wrapping each one. They got freezer burn and tasted sad. Thaw them overnight in the fridge. Batch cooking like this saves so much time. It means you always have a sweet treat ready for guests. Have you ever tried storing it this way? Share below!
Simple Fixes for Common Hiccups
Even grandmas have kitchen troubles. First, a cracked top means you over-mixed. Stir just until the flour disappears. I remember when my first batch looked like a dry desert. Second, a gooey middle means under-baking. Your oven might run cool. Use an oven thermometer to check. The bars should be set with a slight jiggle. Third, messy slices come from cutting warm bars.
Patience is key. Let them chill fully. Fixing these issues builds your cooking confidence. You learn how ingredients work together. It also ensures every bite is perfect. Your triple-layer creation will look and taste amazing. Which of these problems have you run into before?
Your Quick Questions, Answered
How to make triple layer red velvet cheesecake brownies?
Follow the layers in order. Make the brownie base first. Spread it in your lined pan. Next, make the red velvet layer. Spread it carefully over the brownie. Finally, make the cheesecake topping. Dollop it on and swirl with a knife. Baking it all together makes the magic happen. The key is not over-swirling. You want beautiful ribbons of cheesecake.
What is the best cream cheese frosting for red velvet brownies?
The recipe uses a cheesecake layer, not frosting. But for frosting, keep it simple. Beat soft cream cheese with soft butter. Add powdered sugar and vanilla. A little salt balances the sweetness. This creamy topping is perfect for brownie bars. Spread it on after the bars are completely cool. It adds a lovely tangy flavor.
Can you use box mix for red velvet cheesecake brownies?
Yes, you can use a box mix. Prepare it as the box directs for brownies. Pour it into your pan as the first layer. Then, make the red velvet and cheesecake layers from scratch. Follow the recipe for those. This is a great shortcut for busy days. It still gives you a wonderful homemade dessert. The swirl will be just as pretty.
How do you get clean slices in layered brownies?
Chilling is the secret. Let the pan cool on a wire rack. Then, put it in the fridge for two hours. This firms up all the layers. Use a sharp knife to cut. Wipe the knife clean between each slice. For super clean lines, you can briefly dip the knife in hot water. This helps it glide through the chilled bars smoothly.
What are some variations on red velvet cheesecake brownies?
You can add mini chocolate chips to the brownie layer. Try a teaspoon of instant coffee for depth. For a nutty crunch, sprinkle chopped pecans on top. You could even swirl in some toasted coconut caramel like in a Samoa brownie. A fun fact: red velvet originally got its color from a reaction between cocoa and acid. Which tip will you try first?
How to store and keep red velvet brownies fresh?
Store cooled bars in an airtight container. Keep them at room temperature for two days. For longer freshness, refrigerate them. They will stay good for about a week. You can also freeze them for a month. Wrap each bar tightly. This locks in the moisture. Thaw in the fridge overnight. This method keeps your decadent treats tasting just-baked.
From My Kitchen to Yours
I hope you love making these bars as much as I do. They are a special treat for any day. Sharing food is how we share love. I would love to hear about your baking adventure. Did your swirls turn out pretty? Was your family delighted? Tell me all about it in the comments below. Have you tried this recipe?
Happy cooking!
—Elowen Thorn.

Triple Layer Red Velvet Cheesecake Brownies
Description
Indulge in the ultimate dessert with these Triple Layer Red Velvet Cheesecake Brownies, featuring a fudgy brownie base, a vibrant red velvet layer, and a creamy cheesecake swirl.
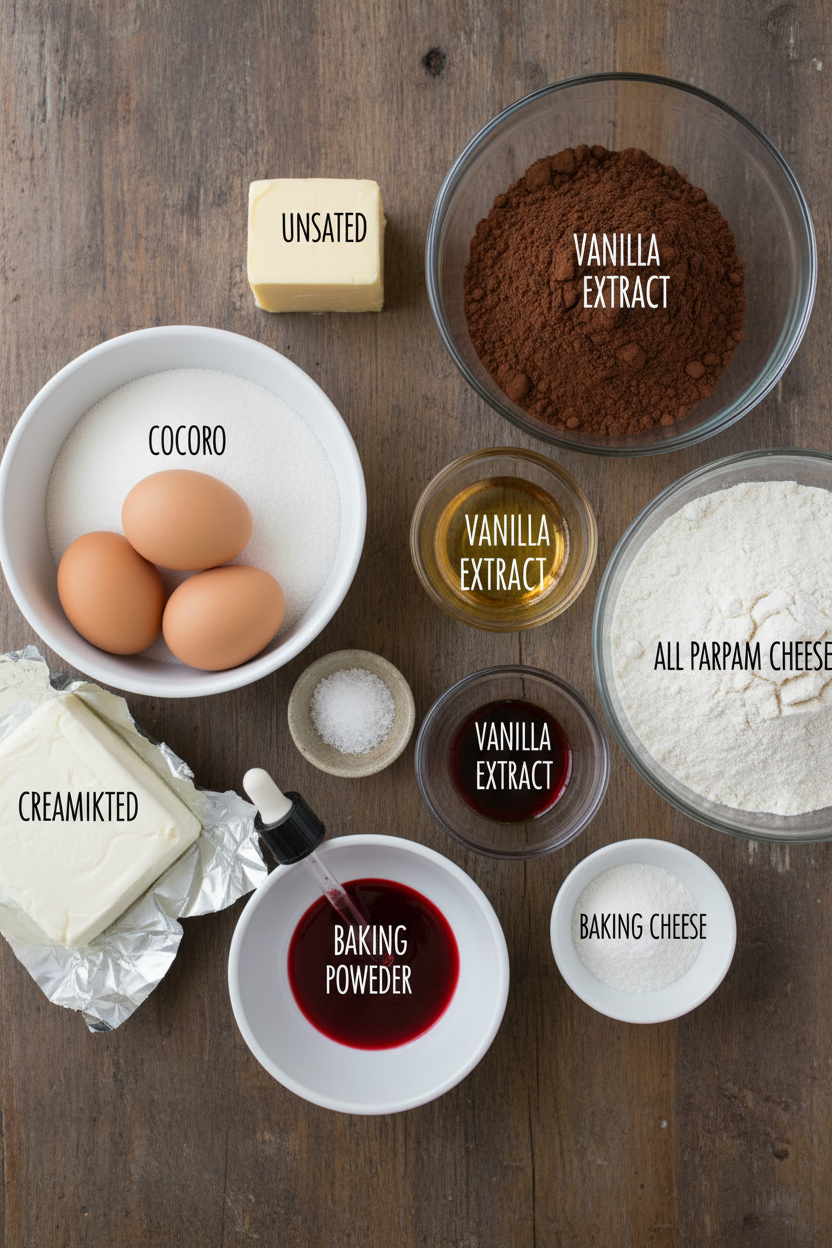
Ingredients
Brownie Layer:
Red Velvet Layer:
Cheesecake Layer:
Instructions
- Preheat the oven to 350°F (175°C). Line an 8×8-inch baking pan with parchment paper.
- Make the Brownie Layer: In a bowl, mix melted butter, sugar, eggs, and vanilla. Stir in cocoa, flour, salt, and baking powder. Spread the batter into the prepared pan.
- Make the Red Velvet Layer: In another bowl, cream softened butter and sugar. Add egg, red food coloring, and vanilla. Mix in flour and salt. Carefully spread this mixture over the brownie layer.
- Make the Cheesecake Layer: In a separate bowl, beat cream cheese, sugar, egg, and vanilla until smooth. Dollop this mixture over the red velvet layer.
- Using a knife, gently swirl the cheesecake layer into the red velvet layer to create a marbled effect.
- Bake for 45-50 minutes, or until set and slightly jiggly in the center. Cool completely in the pan on a wire rack. Chill in the fridge for at least 2 hours before cutting into squares.
Notes
- For clean cuts, use a sharp knife dipped in hot water and wiped dry between each slice.