

The Red That Started It All
My granddaughter asked me about red velvet last week. She thought it was just chocolate with red dye. I told her the story. Long ago, bakers used beet juice for color and a special tang. The cocoa was very light. It gave just a hint of chocolate flavor. That’s the real secret. It’s a gentle hug, not a big squeeze. *Fun fact: the “velvet” part comes from how fine, soft flour made the cake feel.*
Now we use food coloring for that bright pop. But the idea is the same. It’s about joy and a little bit of magic. Why does this matter? Because food has stories. Knowing them makes baking feel special. It connects us to the past. Do you have a food with a fun history you love? I’d like to hear about it.
Mixing With Heart
Let’s talk about that batter. You melt the butter first. That smell is like a warm welcome. Stir in the sugar and vanilla. Then add the eggs, one by one. This patience makes everything blend smoothly. Now, the red color! It’s so vibrant. It makes me smile every time.
Here’s a little tip from my kitchen. When you add the flour, just mix until you can’t see it. Too much mixing makes tough brownies. We want them fudgy and kind. This matters because gentle handling shows care. Your treats will taste better with a soft touch. My ultimate root beer float brownies taught me that same lesson.
The Swirl That Steals the Show
The cream cheese swirl is my favorite part. It’s like a hidden treasure. You beat the softened cheese with sugar and a yolk. Getting it smooth is so satisfying. I still laugh at the time I forgot to soften the cream cheese. My swirls looked like little white rocks! It was a funny mess.
You drop spoonfuls on the red batter. Then take a knife and swirl. Don’t overdo it. A few figure-eights are perfect. You want to see both colors dancing together. If you love this swirl, you might enjoy my cream cheese butter cake bars recipe. They use a similar creamy topping. What’s your favorite baked good with a swirl or marble?
Waiting is the Hardest Part
The baking fills your house with a sweet smell. Doesn’t that smell amazing? You bake until a toothpick comes out almost clean. A few crumbs are good. Then, you must let them cool. I know, it’s so hard to wait! But it’s the most important step.
If you cut them warm, they will fall apart. Letting them cool sets everything. It makes them neat to cut and perfect to eat. This patience matters in baking and in life. Good things come to those who wait. While you wait, maybe dream up your next bake, like these gooey chocolate drizzled cream sandwich cookies.
Your Turn to Bake & Share
Now you have the recipe and the stories. Baking is about sharing joy. These red velvet brownies are a happy treat. They are great for a birthday or just a Tuesday. I love seeing the surprise on someone’s face when they take a bite.
Will you make them for a special someone? Or maybe for yourself? That’s special too. Tell me, what color makes you feel the happiest? Red always cheers me up. And if you love mixing flavors, my easy peanut butter cup chocolate cake recipe is another fun adventure. Happy baking, my dear.
Instructions
Step 1: First, get your oven warm and friendly at 350°F. Line your pan with parchment paper. This makes lifting the brownies out so easy. I still laugh at the time I forgot this step. (Leaving paper overhang is my hard-learned tip for clean slices.)
Step 2: Melt your butter in a bowl. Stir in the sugar and vanilla. Add the eggs, one at a time. Doesn’t that smell amazing? Now, mix in the red food coloring and cocoa. It becomes such a pretty, deep red color.
Step 3: Gently stir in the salt and flour. Just mix until you don’t see white streaks. Pour this beautiful batter into your pan. For a fun change, you could try my ultimate root beer float brownies another day.
Step 4: Now, make the swirl. Beat the soft cream cheese with sugar, egg yolk, and vanilla. Drop spoonfuls on the red batter. Use a knife to swirl it all together. What’s your favorite swirl pattern? Share below! It’s like making edible art.
Step 5: Bake for about 25-30 minutes. A toothpick should have a few crumbs, not wet batter. Let them cool completely in the pan. This patience is the hardest part! Then, lift them out and slice. They pair wonderfully with a cold glass of milk.
Creative Twists
Peppermint Red Velvet: Add a dash of peppermint extract to the batter. It’s so festive!
Confetti Surprise: Fold in colorful sprinkles with the flour for a fun, confetti look.
Mocha Swirl: Add a teaspoon of instant coffee to the cream cheese mixture. It’s a grown-up flavor kids love too.
Which one would you try first? Comment below!
Serving & Pairing Ideas
Serve these brownies with a dollop of whipped cream. A sprinkle of extra cocoa powder on top looks fancy. For a real treat, crumble one over vanilla ice cream. It’s pure joy! You might also enjoy these with my cream cheese butter cake bars. Which would you choose tonight?
Keeping Your Brownies Fresh and Fudgy
Let’s talk about storing these lovely brownies. First, let them cool completely. Then, wrap them tightly in plastic wrap. You can keep them on the counter for two days. For longer, pop them in the fridge for a week. They also freeze beautifully for a month. Just wrap them well in foil first. I once froze a whole batch for my grandson’s visit. He was so happy to find them!
Batch cooking is a real kitchen helper. It saves you time and energy later. You can make a double batch of these brownies and freeze half. This matters because a sweet treat is always ready for surprise guests. Or for a quiet afternoon with a good book. Have you ever tried storing it this way? Share below!
Simple Fixes for Common Brownie Troubles
Even grandmas have kitchen hiccups. Here are three common ones. First, brownies sticking to the pan. The fix is simple. Always line your pan with parchment paper. I remember when I forgot once. What a sticky mess! Second, a dry, crumbly texture. This often means you baked them too long. Check them a few minutes early. Third, a cracked top. This happens if you over-mix the batter. Just mix until the flour disappears.
Fixing these issues builds your cooking confidence. You learn what to watch for. It also makes sure every bite is delicious and fudgy. Good food should be a joy, not a worry. Which of these problems have you run into before? For more sweet ideas, my cream cheese butter cake bars are another family favorite.
Your Quick Questions, Answered
What is the best way to marble cream cheese into brownie batter?
Drop spoonfuls of your cream cheese mix on the brownie batter. Then, use a knife. Gently drag it through the dollops in a zig-zag pattern. Do not mix it in completely. You want pretty swirls. This creates pockets of tangy cream cheese. It is a lovely contrast to the rich chocolate flavor. The key is a light hand.
Can I use a box mix for marbled red velvet brownies?
Yes, you absolutely can. Prepare the box mix as directed. Then, make the cream cheese swirl separately. Drop and swirl it right into the box mix batter before baking. It is a wonderful shortcut. You still get a homemade, special touch. This is a great trick for busy days. Fun fact: The first boxed cake mix just needed water. People did not trust it, so eggs were added back in!
How do you keep red velvet brownies moist and fudgy?
Do not over-bake them. Take them out when a toothpick has a few moist crumbs. Let them cool fully in the pan. This lets them set without drying out. Also, be sure not to over-mix your batter. Too much mixing makes them tough. These steps guarantee a soft, fudgy texture every single time. It is the secret to perfect brownies.
What’s the difference between red velvet brownies and regular red velvet cake?
Brownies are denser and fudgier. Cake is lighter and fluffier. Brownies have more butter and less flour. This gives them that rich, chewy bite. Cake uses more leavening to rise high. The flavor is similar, but the texture is very different. Think of brownies as a cozy, handheld treat. They are perfect for a decadent delight without needing a fork.
Can I make marbled red velvet brownies without food coloring?
You can, but they will not be red. The cocoa will give them a light brown color. They will still taste wonderful. For a natural red, try beet powder. It adds color and a little sweetness. The swirl will still look beautiful. The most important part is the delicious flavor you create. It is fun to experiment in the kitchen.
How do you make the cream cheese swirl for brownies?
Start with very soft cream cheese. Beat it with sugar, an egg yolk, and vanilla. Beat until it is completely smooth. No lumps allowed. This smooth mixture swirls perfectly into the batter. It bakes into creamy ribbons. It is the same base I use for my raspberry oatmeal bars. Which tip will you try first?
From My Kitchen to Yours
I hope you love making these brownies. Baking is about sharing joy and making memories. My kitchen is always full of both. I would love to hear about your baking adventures. Did your swirls turn out pretty? Did your family gobble them up? Please tell me all about it. Have you tried this recipe? Leave a comment below and let me know how it went. Happy cooking!
—Grace Ellington.

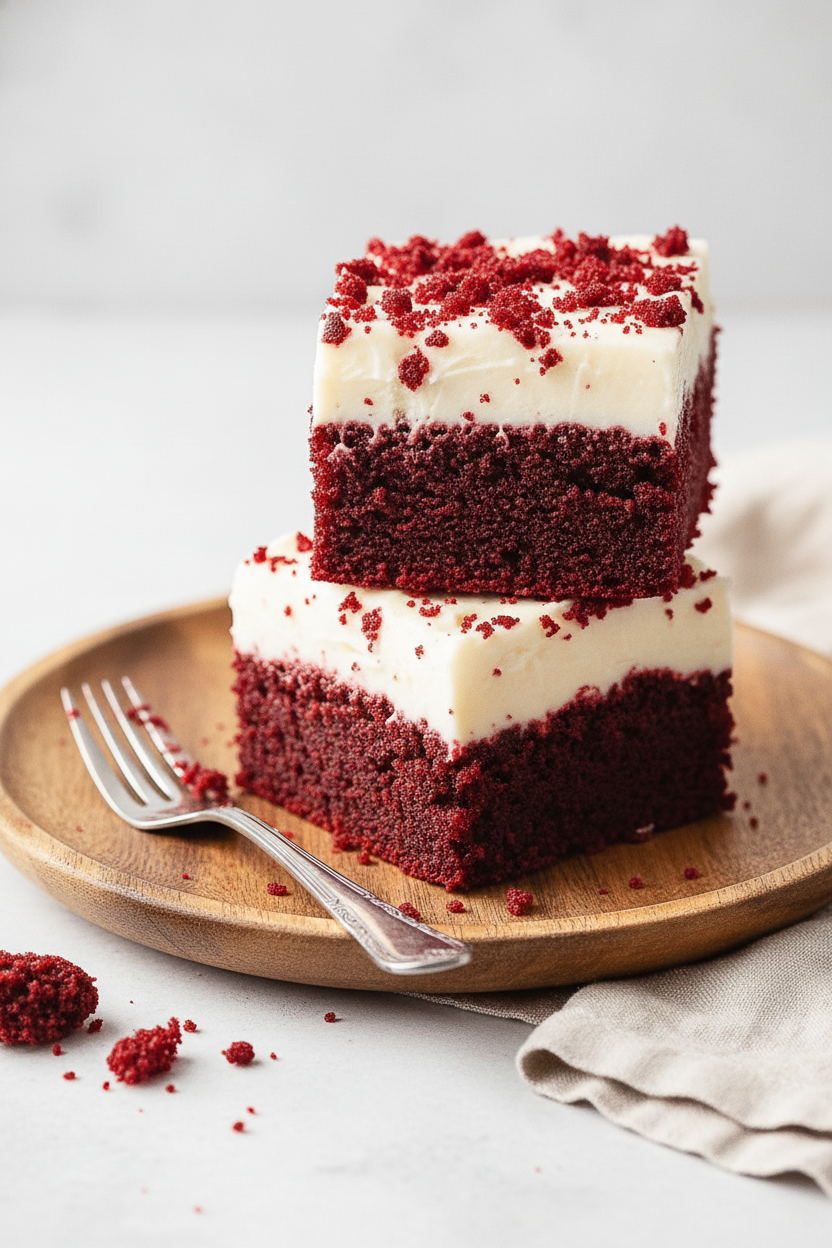
My Gooey Marbled Red Velvet Brownies
Description
Indulge in the ultimate treat with these Gooey Marbled Red Velvet Brownies, featuring a rich red velvet base swirled with a tangy cream cheese mixture.
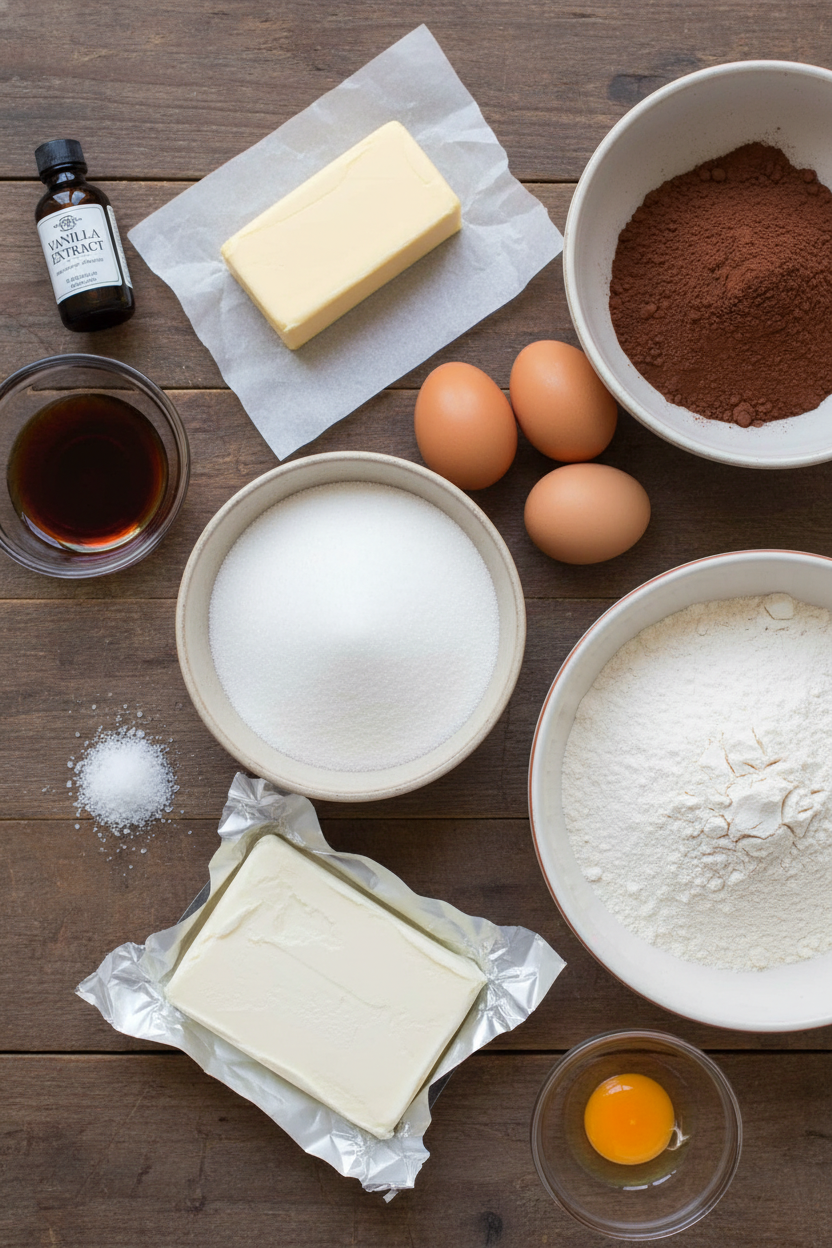
Ingredients
For the Brownies:
For the Cream Cheese Swirl:
Instructions
- Preheat your oven to 350°F (175°C). Line a 9×9-inch baking pan with parchment paper, leaving some overhang for easy removal.
- In a microwave-safe bowl, melt the butter. Stir in the sugar and vanilla extract. Add the eggs, one at a time, whisking until well combined.
- Stir in the red food coloring and cocoa powder until the batter is smooth. Add the salt and flour, mixing just until combined—don’t overmix.
- Pour the batter into the prepared pan and spread it evenly.
- In a separate bowl, beat the softened cream cheese, sugar, egg yolk, and vanilla extract until smooth.
- Drop spoonfuls of the cream cheese mixture on top of the brownie batter. Use a knife to swirl the cream cheese into the batter, creating a marbled effect.
- Bake for 25-30 minutes, or until a toothpick inserted into the center comes out with only a few moist crumbs.
- Let the brownies cool completely in the pan before lifting them out using the parchment overhang.
Notes
- For best results, ensure the cream cheese is fully softened for a smooth swirl. Do not overbake to maintain the gooey texture. Store in an airtight container in the refrigerator.