

My First Gooey Mistake
The first time I made these rolls, I did not pinch the edges tight enough. The filling leaked out all over the pan. It looked like a sticky, sweet mess.
But you know what? That pan of burnt sugar smelled like heaven. I still laugh at that memory. It taught me to always pinch those little dough pillows shut.
Have you ever had a kitchen mess turn into a happy accident? Tell me about it.
The Secret to That Gooey Center
The filling is so simple. You just beat cream cheese, sugar, vanilla, and cinnamon until it is smooth. That is it.
Here is the trick: let your cream cheese sit out for a bit before you start. Soft cream cheese mixes up much easier. It makes the filling silky, not lumpy.
Doesn’t that creamy, sweet smell make you hungry? I always have to stop and take a deep sniff.
Shortcut or Homemade? You Pick
I love that this recipe gives you two paths. You can use crescent dough from the store. Just unroll it, pinch the seams together, and cut it into squares. That is my busy-day choice.
But on a quiet Sunday, I make the dough from scratch. It turns soft and pillowy, like a warm hug. Your choice changes the feel of the whole treat.
Why this matters: Learning to make dough from scratch gives you a skill for life. But using a shortcut is not cheating. It is just being smart with your time. Both are good.
The Coating Makes Them Irresistible
After the rolls come out of the oven, you brush them with melted butter. Then you roll them in a cinnamon sugar mixture. That buttery crunch on the outside is the best part.
Do not skip the brushing step. The butter helps the sugar stick. It also adds a richness that makes you close your eyes when you bite in.
Fun fact: Cinnamon was once more valuable than gold. People traded it like treasure. I think these rolls are pretty valuable too.
Oven or Air Fryer? Both Work
You can bake these in the oven until they are golden. The oven gives them a softer, more even bake. Or you can use an air fryer for a crispy outside and gooey inside.
The air fryer is faster. It only takes about 6 to 8 minutes at 350 degrees. I use it when I want a quick treat without heating up the whole kitchen.
Which way do you like to cook your sweet rolls? Oven or air fryer? I would love to know.
Storing and Saving for Later
These rolls keep in the fridge for up to three days. Just put them in an airtight container. But honestly, they never last that long in my house.
You can also freeze them. Freeze them baked or unbaked for up to two months. That is perfect for a busy morning when you want something special.
Why this matters: Knowing how to store food saves you money and reduces waste. A frozen treat in the freezer is a little gift to your future self.
One Last Warm Thought
These little rolls remind me of mornings when the house is quiet and the coffee is hot. They bring people to the kitchen, one sweet smell at a time.
I hope you make a batch and share them with someone you love. Or keep them all for yourself. I will not tell.
What is your favorite thing to bake on a lazy morning? I am always looking for new ideas.
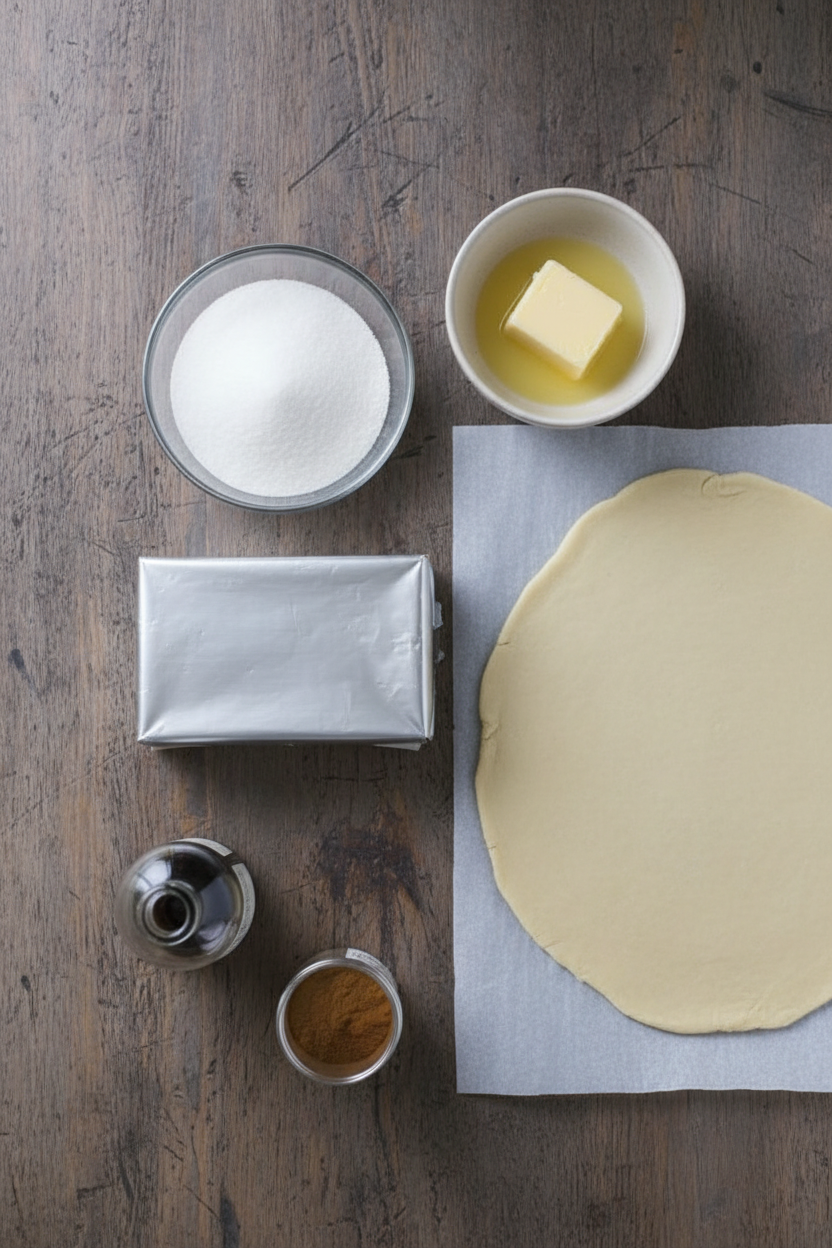
Ingredients:
| Ingredient | Amount | Notes |
|---|---|---|
| Cream cheese | 8 oz (1 block) | Softened to room temperature |
| Sugar | 1/4 cup | Granulated, for filling |
| Vanilla extract | 1 teaspoon | Pure vanilla recommended |
| Cinnamon | 1/2 teaspoon | Ground, for filling |
| Crescent roll dough or puff pastry | 1 can (8 oz) or 1 sheet | For shortcut method; pinch seams if perforated |
| Homemade dough ingredients (flour, yeast, milk, butter, etc.) | As needed for one batch | For soft, pillowy finish; optional |
| Melted butter | 1/4 cup (4 tbsp) | For brushing warm rolls |
| Cinnamon sugar mixture | 1/2 cup sugar + 1 tbsp cinnamon | For coating after baking |
Instructions
Step 1: Beat the cream cheese, sugar, vanilla, and cinnamon together until smooth. It should look like a fluffy cloud. (Don’t skip the vanilla — it makes the filling sing.)
Step 2: Unroll your crescent dough and pinch the seams shut. Cut it into equal squares — like making little blankets for your filling. What’s your favorite store-bought dough? Share below!
Step 3: Drop 1–2 teaspoons of cream cheese filling in the center of each square. Fold the dough over and pinch the edges tight. They should look like tiny pillows.
Step 4: Bake in the oven until golden and puffy. Or air fry at 350°F for 6–8 minutes for a crispy outside. I still remember the first time I tried the air fryer — what a game changer.
Step 5: Brush the warm rolls with melted butter, then roll them in cinnamon sugar. This step makes them taste like a hug. Doesn’t that smell amazing?
Creative Twists
… Add a pinch of orange zest to the cream cheese filling for a sunny pop of flavor.
… Swap cinnamon sugar for crushed graham crackers and drizzle with honey for a s’mores-style roll.
… Use puff pastry instead of crescent dough for an extra flaky, buttery crunch.
Which one would you try first? Comment below!
Serving & Pairing Ideas
Serve these warm with a cold glass of milk for dunking. They also pair beautifully with a scoop of vanilla ice cream on the side. For a fancy touch, dust with powdered sugar and add fresh berries. Which would you choose tonight?
Fridge, Freezer, and Reheating Made Simple
I remember the first time I made cream cheese pillows for a Sunday brunch. I had way too many, and I panicked. That is when I learned how well they store.
Keep baked rolls in an airtight container in the fridge for up to three days. For the freezer, wrap them tightly before or after baking. They stay fresh for up to two months. When you are ready to eat, just pop them in the oven or air fryer until warm and gooey again.
Batch cooking matters because it saves you time on busy mornings. Having a treat ready in the freezer feels like a secret gift to your future self. Have you ever tried storing it this way? Share below!
Three Common Problems and Easy Fixes
I once made a batch where the filling leaked everywhere. That was a sticky mess. Here are three issues home cooks face and how to fix them.
First, if your filling leaks, you did not pinch the edges tight enough. Press firmly with your fingers when sealing the dough. Second, if the pillows turn out dry, brush them with melted butter right after baking. Third, if they do not get golden, your oven might be too cool. Check your temperature is right.
Fixing these problems helps you feel more confident in the kitchen. It also makes every batch taste better. Which of these problems have you run into before?
Your Quick Questions, Answered
What are cream cheese pillows?
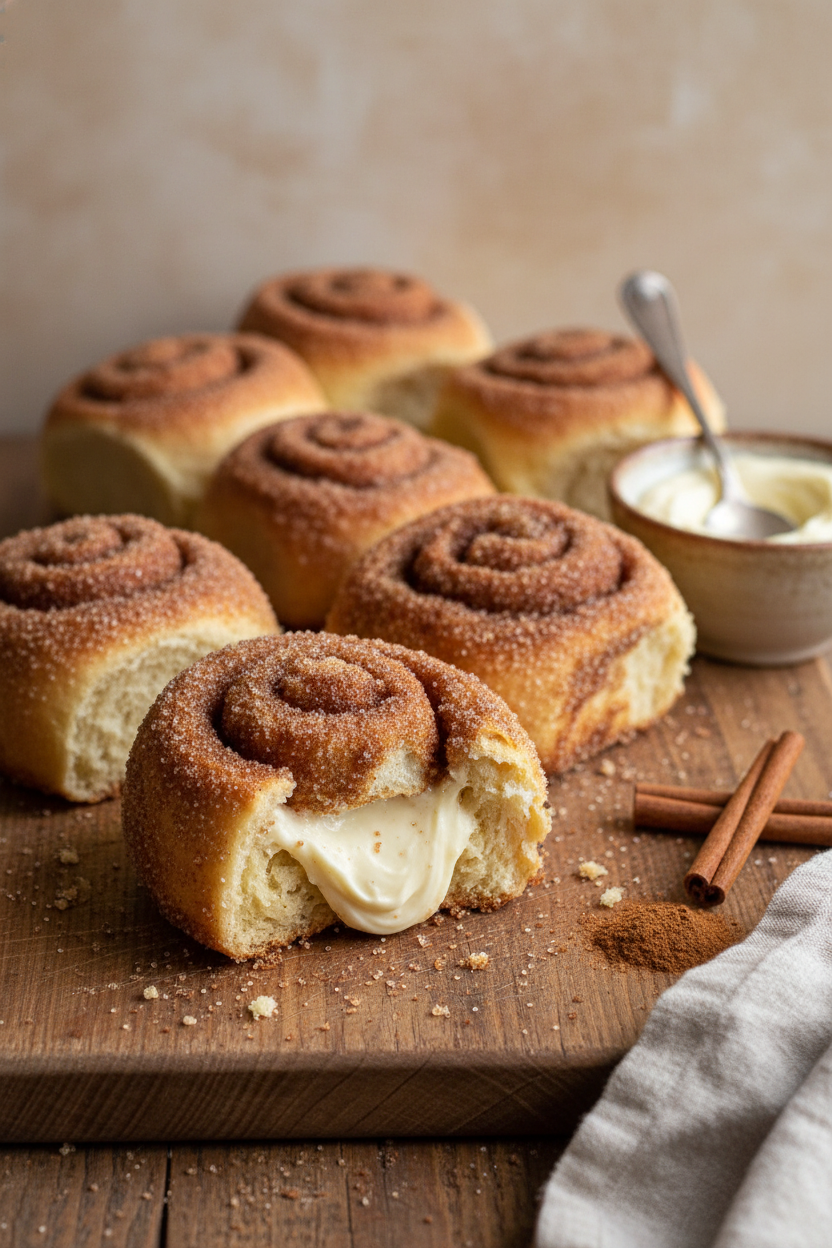
Cream cheese pillows are small, soft pastries filled with a sweet cream cheese mixture. Think of them like a mini hand pie. You fold dough around a creamy, cinnamon-spiced filling, then bake or air fry until golden. After cooking, you brush them with melted butter and coat them in cinnamon sugar. They are gooey, warm, and completely irresistible. Perfect for breakfast, dessert, or a snack.
How do you make cream cheese pillows?
Start by beating cream cheese, sugar, vanilla, and cinnamon until smooth. Then take crescent roll dough or puff pastry and cut it into squares. Place a spoonful of filling in the center of each square. Fold the dough over and pinch the edges tight to seal. Bake in the oven or air fry at 350°F for 6 to 8 minutes. Finish by brushing with melted butter and rolling in cinnamon sugar.
Can cream cheese pillows be made ahead of time?
Yes, you can make them ahead with no trouble at all. Assemble the pillows and keep them unbaked in the fridge for up to 24 hours. When you are ready, just bake or air fry them fresh. You can also freeze them before or after baking for up to two months. This makes them perfect for parties or busy mornings. Reheat in the oven or air fryer until warm.
What is the best dough for cream cheese pillows?
Crescent roll dough is the quickest and easiest option. It gives a soft, flaky texture. Puff pastry works well too and makes them extra crispy. If you want a more pillowy finish, make a simple homemade dough. All three options work great. Choose based on how much time you have. The filling stays delicious no matter which dough you pick.
Are cream cheese pillows sweet or savory?
Cream cheese pillows are sweet. The filling has sugar, vanilla, and cinnamon, which makes it taste like a dessert. After baking, you coat them in cinnamon sugar, adding even more sweetness. They remind me of a cinnamon roll, but easier to make. However, you can leave out the sugar and add herbs for a savory version. Most people love them sweet.
Can you freeze cream cheese pillows?
Yes, freezing is a great option. For unbaked pillows, place them on a tray in the freezer until solid. Then transfer them to a freezer bag for up to two months. For baked pillows, let them cool completely before wrapping tightly. When you want one, reheat in the oven or air fryer until warm. Freezing helps you always have a treat ready.
Which tip will you try first?
A Warm Send-Off from My Kitchen to Yours
Thank you for spending time with me today. Making these cream cheese pillows reminds me of lazy Sunday mornings with my family. I hope you give them a try soon. Have you tried this recipe? Let me know in the comments below. I love hearing what you make and how it turns out. Happy cooking! —Grace Ellington.
*Fun fact: Cream cheese was accidentally invented in 1872 by a dairyman in New York trying to make a French cheese.*

Cream Cheese Pillows My Family Loves
Description
Fluffy cream cheese filled pillows brushed with butter and coated in cinnamon sugar.
Ingredients
Instructions
- In a mixing bowl, beat the cream cheese, sugar, vanilla, and cinnamon until smooth and creamy. Set aside.
- Shortcut Method: Unroll crescent dough. If it’s perforated, pinch seams together to form solid rectangles. Cut into equal squares.
- Homemade Method: Prepare homemade dough for a soft, pillowy finish.
- Add 1–2 teaspoons of cream cheese filling to the center of each square. Fold over and pinch edges tightly to seal — they should look like mini pillows.
- Oven Method: Bake according to dough instructions until golden.
- Air Fryer Method: Air fry at 350°F for 6–8 minutes until golden and crispy.
- Brush warm rolls generously with melted butter, then roll or toss in the cinnamon sugar mixture until fully coated.
- Storage: Fridge: Store in an airtight container for up to 3 days. Freezer: Freeze baked or unbaked rolls for up to 2 months.
- To Reheat: Reheat in oven or air fryer until warm.
Notes
- For best results, seal edges well to prevent filling from leaking during baking.