

The Heart of the Holiday Table
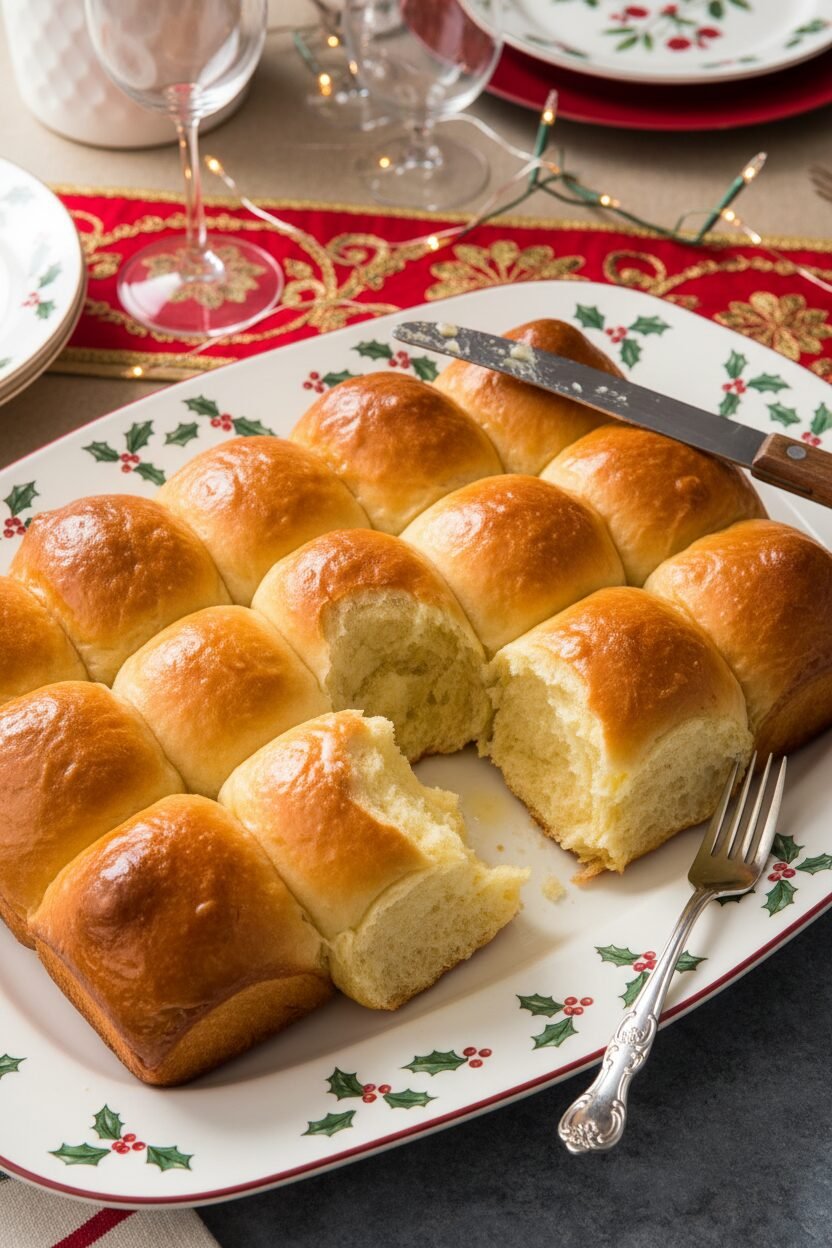
Hello, my dear. Come sit a spell. Let’s talk about Christmas dinner. The star is often the turkey or ham. But I think the real magic is in the bread basket. A warm, buttery roll can make a meal feel like a hug. It says someone took the time. That matters.
These brioche rolls are my favorite. They are soft, rich, and taste like celebration. I started making them years ago. My grandson once ate three before the meal even started. I still laugh at that. What’s your favorite part of the holiday feast? Is it the sides, the dessert, or the bread?
A Little Patience Makes Perfect
Brioche asks for your time. You mix the dough and then you walk away. This “rest” is so important. It lets the flour drink up the water and eggs. The dough becomes easier to work with. Good things come to those who wait.
Then comes the butter. You add it one piece at a time. The dough will look slippery and messy. Don’t worry! Keep kneading. It will turn smooth and elastic. This teaches us that messy middles often lead to beautiful ends. Doesn’t that smell amazing already?
Shaping with Love
Now, we make the rolls. Divide the dough into little pieces. Cup each piece in your hand. Roll it gently on the counter. You want a smooth, tight ball. This isn’t about being perfect. It’s about giving each roll a little care.
Place them in the pan, snug like a family. They will rise together and bake together. Fun fact: The word “brioche” comes from France. It first meant “to knead with butter.” Isn’t that just right? Do you like shaping dough, or is it your least favorite part?
The Gift of Getting Ahead
Christmas morning is busy. You can make these rolls the day before. Just shape them, cover the pan, and put it in the fridge. The cold slows the rise. On Christmas, you just take them out, let them warm up, and bake.
This small step is a gift to your future self. It means less stress when guests arrive. Preparing ahead lets you enjoy the moment. That matters more than any recipe. Have you ever tried a make-ahead trick that saved your day?
The Golden Finish
Just before baking, brush them with a beaten egg. This gives them that deep, shiny, golden top. It’s like putting on their holiday best. Watch them turn beautiful in the oven. It always makes me smile.
When they come out, brush them with one last bit of butter. This adds flavor and makes them glow. Serve them warm. The butter will melt into every soft bite. They are little pillows of joy. I hope they bring warmth to your table.
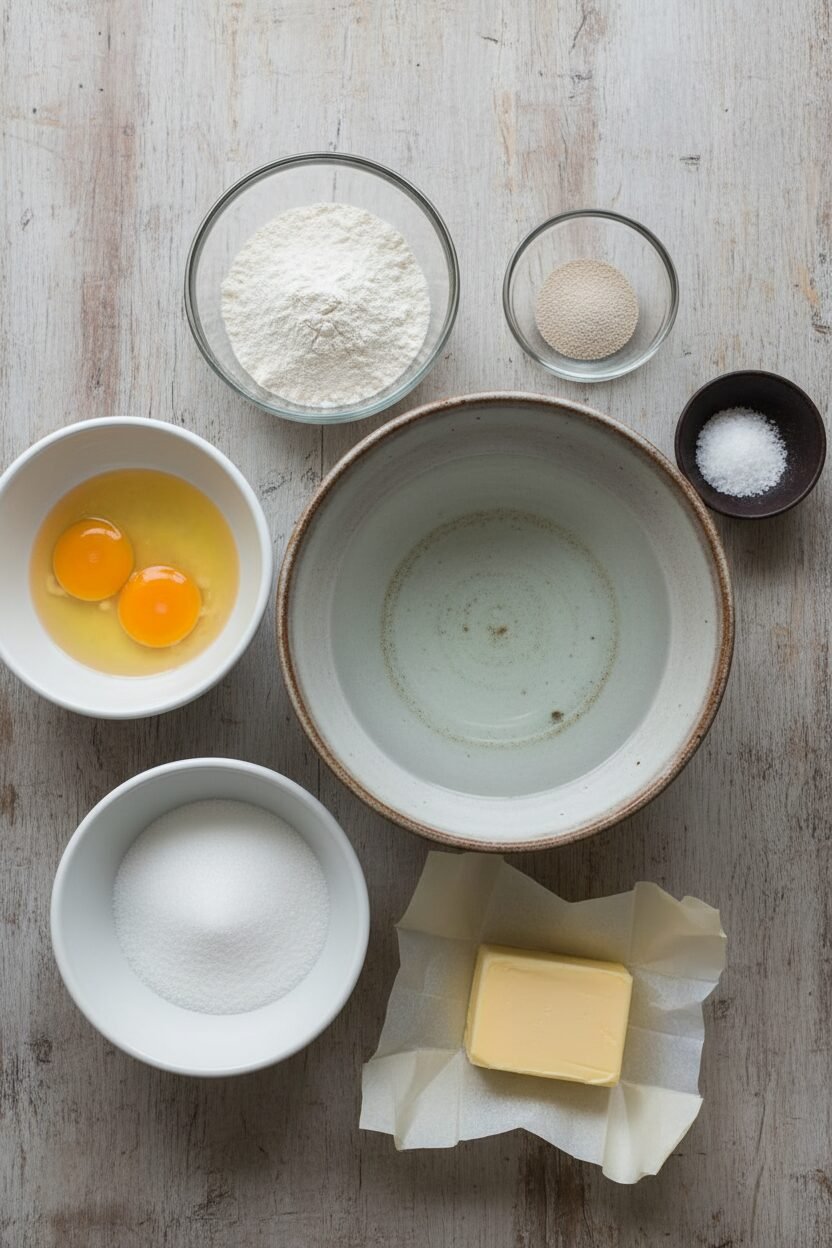
Ingredients:
| Ingredient | Amount | Notes |
|---|---|---|
| Bread flour | 3 ⅔ cups (20⅛ ounces/571 grams) | |
| Instant or rapid-rise yeast | 1 tablespoon | |
| Water | 1 ¼ cups (10 ounces/283 grams) | room temperature |
| Large eggs | 2 large | plus 1 additional for egg wash |
| Sugar | ¼ cup (1¾ ounces/50 grams) | |
| Table salt | 2 ½ teaspoons | |
| Unsalted butter | 14 tablespoons, divided | softened, cut into pieces |
Instructions
Step 1: Whisk your flour and yeast together in your mixer bowl. Add the room-temperature water and two eggs. Mix it on low until it becomes a shaggy dough. No dry flour should be left. Let this dough rest for 15 minutes. Cover the bowl with a towel. This little nap makes the dough easier to work with later.
Step 2: Now, add the sugar and salt. Mix on medium-low until they disappear into the dough. Then, with the mixer running, add 13 tablespoons of butter. Do this one soft piece at a time. Let each piece blend in before adding the next. This takes patience, but it makes the rolls so rich. Knead for about 10 more minutes until the dough is smooth and elastic. (Truly softened butter is the secret here. If it’s too cold, it won’t blend in right.)
Step 3: Put your lovely dough into a greased bowl. Cover it tightly with plastic wrap. Let it rise at room temperature until it doubles. This takes about an hour. I love watching it grow. It feels like magic every single time. While you wait, grease your 9×13 inch baking pan. This is the perfect size for our little rolls.
Step 4: Gently turn the dough out onto your counter. Divide it into 24 little pieces. Roll each piece into a smooth ball with your palm. Place all the balls in your greased pan. They should be in six rows of four. Cover the pan loosely with plastic. Let them rise again until doubled, about another hour. Preheat your oven to 350°F now. Why do we let dough rise twice? Share below!
Step 5: Uncover your beautiful risen rolls. Gently brush the tops with your beaten egg. You don’t need to use it all. Bake them for about 25 minutes. They will turn a deep, golden brown. Let them cool in the pan for just 15 minutes. Then, move them to a rack. Brush the warm tops with that last tablespoon of butter. Doesn’t that smell amazing? Serve them warm and watch them disappear.
Creative Twists
These rolls are perfect just as they are. But sometimes, a little twist is fun. You can tuck a tiny piece of good chocolate inside each dough ball. A sweet surprise in every bite! Or, brush them with garlic butter right after baking. It’s so savory and delicious. For a festive look, sprinkle the egg wash with shiny pearl sugar. It looks like a dusting of snow. Which one would you try first? Comment below!
Serving & Pairing Ideas
These buttery rolls deserve a special spot on your table. Tear them apart and serve them in a big, cozy basket. They are heavenly with a simple pat of good salted butter. For Christmas dinner, they are perfect next to creamy mashed potatoes. The flavors just sing together. For a drink, a glass of sparkling apple cider feels so festive. The grown-ups might enjoy a smooth glass of sherry. It’s a warm, old-fashioned treat. Which would you choose tonight?
Keeping Your Brioche Rolls Fresh and Warm
These rolls are best fresh from the oven. But we can save some for later. Let them cool completely first. Then store them in a bag at room temperature for two days.
For longer keeping, freeze them. Wrap each roll tightly in plastic. Place them all in a freezer bag. They will keep for a whole month. I once froze a batch for my grandson’s surprise visit. He said they tasted like I just baked them.
To reheat, wrap rolls in foil. Warm them in a 300-degree oven for ten minutes. This brings back their soft, buttery feel. Batch cooking matters because it saves your holiday morning. You can focus on family, not flour. Have you ever tried storing it this way? Share below!
Simple Fixes for Common Roll Troubles
Sometimes dough does not rise. Your kitchen might be too cold. Place the bowl in a warm, draft-free spot. I remember when my old kitchen was chilly. I would let dough rise near the stove.
The dough might feel too sticky. Do not add more flour right away. Keep kneading it in the mixer. The dough will become smooth and elastic. This matters for the perfect, soft texture.
Your rolls might bake unevenly. Always place your pan in the oven’s middle rack. Rotate the pan halfway through baking. This gives every roll a golden-brown top. Good technique builds your cooking confidence. Which of these problems have you run into before?
Your Quick Questions, Answered
Q: Can I make these gluten-free?
A: I do not recommend it. Brioche needs gluten’s special structure. The texture will be very different.
Q: Can I really make them a day ahead?
A: Yes! Follow the “make ahead” note in step six. Let them sit out before baking. Fun fact: This slow rise makes the flavor even better.
Q: What if I only have salted butter?
A: That is okay. Just reduce the added salt by one quarter. Your rolls will still taste wonderful.
Q: Can I halve the recipe?
A: You can. Use a smaller pan, like an 8-inch square. Watch the baking time closely.
Q: Any optional tips?
A: Brush them with honey butter after baking. It adds a lovely, gentle sweetness. Which tip will you try first?
From My Kitchen to Yours
I hope you love making these rolls. They fill your home with a wonderful smell. That smell is the smell of love and holiday joy.
Please tell me all about your baking adventure. I read every comment with my morning tea. Have you tried this recipe? Let me know how it turned out for you.
Happy cooking!
—Elowen Thorn.


Buttery Brioche Rolls for Christmas Dinner
Description
Soft, rich, and buttery homemade brioche dinner rolls, perfect for your holiday table.
Ingredients
Instructions
- Whisk flour and yeast together in bowl of stand mixer. Add room-temperature water and 2 eggs. Fit mixer with dough hook and mix on low speed until dough comes together and no dry flour remains, about 2 minutes, scraping down bowl and dough hook frequently. Turn off mixer, cover bowl with dish towel or plastic wrap, and let dough stand for 15 minutes.
- Add sugar and salt to dough and knead on medium-low speed until incorporated, about 30 seconds. Increase speed to medium and, with mixer running, add 13 tablespoons butter 1 piece at a time, allowing each piece to incorporate before adding next, about 3 minutes total, scraping down bowl and dough hook as needed. Continue to knead on medium speed until dough is elastic and pulls away cleanly from sides of bowl, about 10 minutes longer. Transfer dough to greased large bowl. Cover tightly with plastic and let rise at room temperature until doubled in size, about 1 hour.
- Grease 13 by 9-inch baking pan. Turn out dough onto counter and divide into twenty-four 1½-ounce (43-gram) portions; divide any remaining dough evenly among portions. Working with 1 dough portion at a time, cup dough with your palm and roll against counter into smooth, tight ball. Place dough balls in prepared pan in 6 rows of four.
- Cover loosely with plastic and let rise at room temperature until doubled in size, about 1 hour. Adjust oven rack to middle position and heat oven to 350 degrees.
- Discard plastic and brush tops of dough balls with beaten egg (you do not need to use all of it). Bake until rolls are deep golden brown and register 205 to 210 degrees in center, about 25 minutes. Let rolls cool in pan for 15 minutes, then transfer rolls to wire rack and brush with remaining 1 tablespoon butter. Serve warm. (Rolls can be stored in zipper-lock bags at room temperature for up to 2 days or frozen for up to 1 month.)
- To make ahead: After covering pan with plastic wrap in step 4, refrigerate for up to 24 hours. Let rolls sit at room temperature for 2 hours before proceeding with recipe; increase baking time by 5 minutes.
Notes
- For best results, ensure all ingredients are at room temperature before starting. The dough will be very soft and sticky before the butter is fully incorporated; keep kneading until it becomes smooth and elastic.