

A Little Story About Cherries
My grandpa had a cherry tree. Every summer, we would pick them. My job was to pull out the pits. My fingers were always stained red. I still laugh at that.
We made jam and pies. But we never made cookies like these. I wish we had. They are a happy mix of fruit and chocolate. What is your favorite fruit to bake with? Tell me in the comments.
Why These Cookies Feel Special
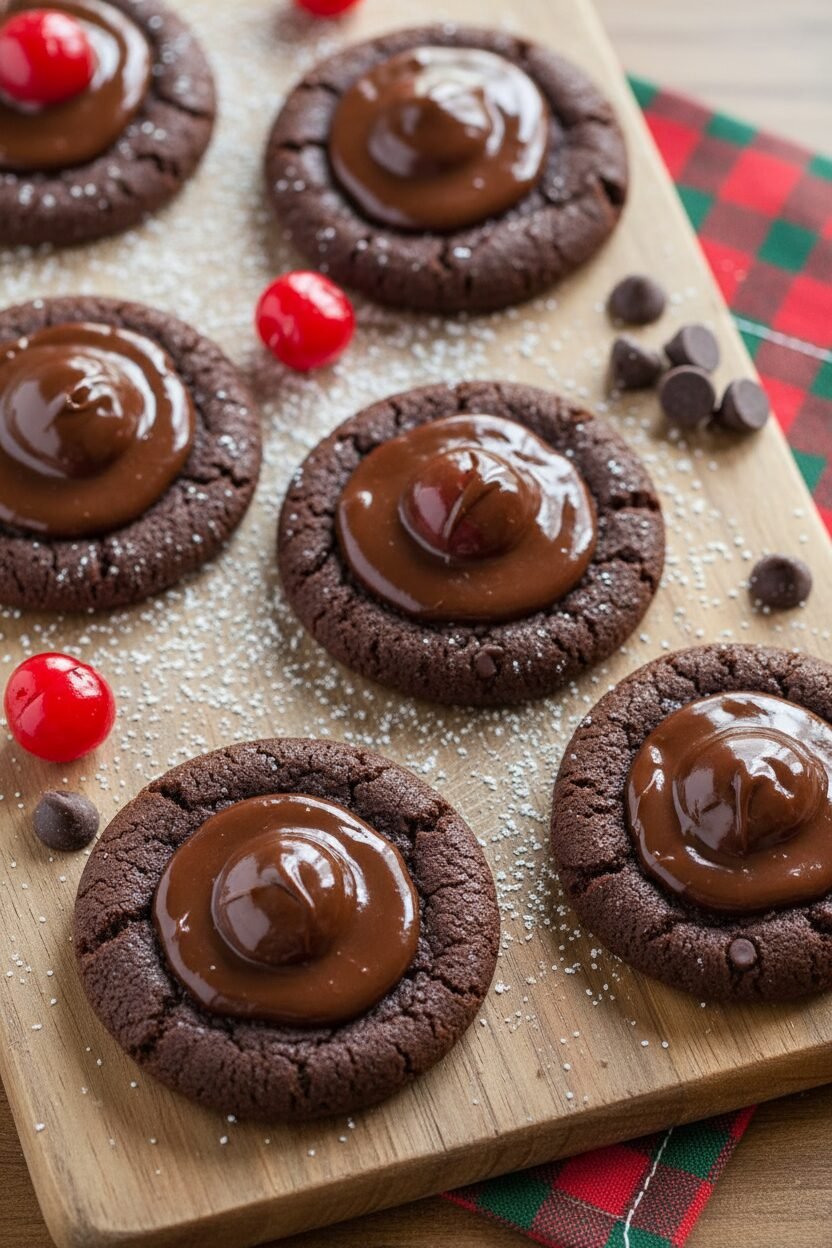
These are not plain cookies. They have a secret. You press a cherry into each one. Then you cover it with shiny chocolate. It is like a tiny present.
This matters because food is more than eating. It is about making something with care. Each cookie gets your attention. That love is the best ingredient of all.
Let’s Make the Dough
First, mix your dry things in a bowl. Flour, cocoa, and such. Set it aside. Now, beat the soft butter and sugar. It will get pale and fluffy. Doesn’t that smell amazing already?
Add the egg and vanilla. Then mix in the dry stuff. The dough will be dark and soft. Fun fact: Dutch-process cocoa is darker and smoother. It makes these cookies extra rich.
The Magic Topping
This is the easy part. Melt chocolate chips with sweetened condensed milk. Use low heat. Stir until it is smooth. Then stir in a little juice from the cherry jar.
Keep it warm. It should be like thick sauce. This warm topping will set on the cookies. It gives them a pretty, glossy hat. Do you like your chocolate dark, milk, or semi-sweet?
Putting It All Together
Roll your dough into little balls. Place them on a sheet. Now, use your thumb. Press a dent right in the center. This is where the cherry will live.
Put one cherry in each dent. Spoon the warm chocolate over it. Try to cover the cherry. Bake them. Your kitchen will smell like a holiday dream.
A Lesson in Patience
When they come out, let them cool. I know it is hard to wait. But the chocolate needs to set. If you bite too soon, it will be messy.
This matters in baking and in life. Good things often need a little waiting. The reward is a perfect cookie. Will you share these with friends or keep them all for yourself? I am always curious.
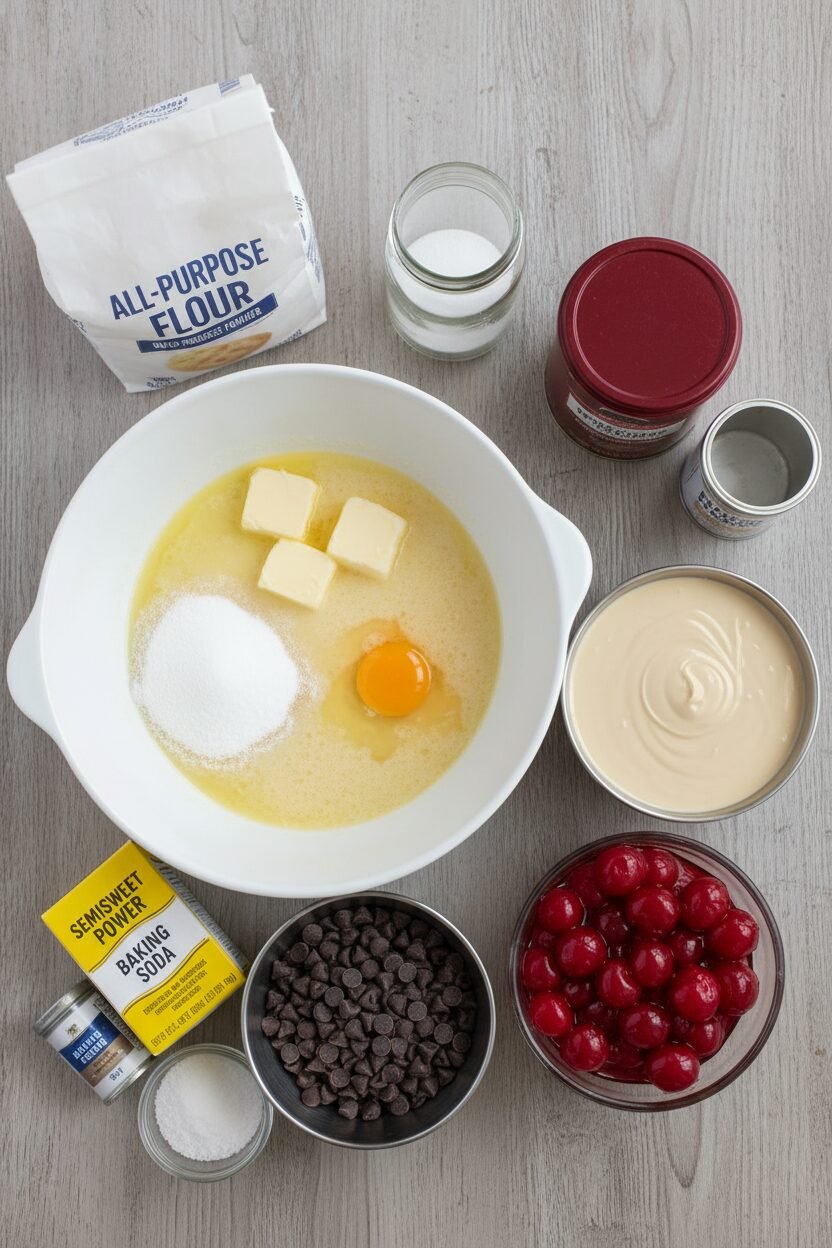
Ingredients:
| Ingredient | Amount | Notes |
|---|---|---|
| All-purpose flour | 1 ½ cups (7½ ounces/213 grams) | For the cookie dough |
| Dutch-processed cocoa powder | ½ cup (1½ ounces/43 grams) | For the cookie dough |
| Baking powder | ¼ teaspoon | For the cookie dough |
| Baking soda | ¼ teaspoon | For the cookie dough |
| Salt | ¼ teaspoon | For the cookie dough |
| Unsalted butter, softened | 8 tablespoons (1 stick) | For the cookie dough |
| Sugar | 1 cup (7 ounces/198 grams) | For the cookie dough |
| Large egg | 1 | For the cookie dough |
| Vanilla extract | 1 ½ teaspoons | For the cookie dough |
| Semisweet chocolate chips | 1 cup (6 ounces/170 grams) | For the topping |
| Sweetened condensed milk | ½ cup | For the topping |
| Maraschino cherries, drained and stemmed | 2 jars (12 ounces/340 grams total) | For the topping; reserve 2 tbsp juice |
Instructions
Step 1: First, make your cookie dough. Whisk the flour, cocoa, baking powder, baking soda, and salt in a bowl. Set it aside. Now, beat the soft butter and sugar together until fluffy. It should look pale and dreamy. Then, beat in the egg and vanilla. (A little tip: let your egg sit out to warm up first.) Finally, mix in your flour bowl on low speed. The dough will be soft and dark, like rich earth.
Step 2: Next, create the magical topping. Put the chocolate chips and sweetened condensed milk in a small pot. Warm it on low heat, stirring often. It will melt into a glossy, thick sauce. Take it off the heat. Stir in those two tablespoons of lovely cherry juice. This adds a secret pink flavor. Cover the pot to keep it warm and gooey for later.
Step 3: Time to shape your cookies! Heat your oven to 350 degrees. Roll the dough into little one-inch balls. Place them on your baking sheets, giving them room to breathe. Press your thumb gently into each ball to make a nest. Now, tuck one cherry into each nest. Doesn’t that look cheerful already?
Step 4: Spoon a teaspoon of the warm chocolate sauce over each cherry. Try to cover it like a chocolate blanket. Bake for 10 to 12 minutes. Switch the pans halfway for even baking. (Watch them closely—they are done when just set, not hard.) What kitchen smell makes you happiest? Share below! Let the cookies cool completely on a rack. The chocolate will set into a perfect, fudgy cap.
Creative Twists
These little drops love to play dress-up. You can make them your own so easily. Try a different filling for a fun surprise. I still laugh at the time I used the wrong jar.
- Use a dark chocolate chip for the topping. It makes a richer, grown-up taste.
- Swap the cherry for a raspberry or a strawberry half. Summer fruit is lovely here.
- Roll the dough balls in powdered sugar before baking. They’ll get crackly and pretty.
Which one would you try first? Comment below!
Serving & Pairing Ideas
These cookies are a celebration all by themselves. I love serving them on my old blue plate. It makes the chocolate look even darker. For a real treat, add a scoop of vanilla ice cream on the side. The cold creaminess is perfect with the fudgy cherry.
For drinks, a cup of hot mint tea is my favorite. It feels so cozy and clean. For a festive evening, a small glass of cherry port wine is just right. It echoes the fruit inside the cookie. Which would you choose tonight?
Keeping Your Cookie Drops Merry & Bright
These little drops are best enjoyed fresh. But I always make a double batch. The dough freezes beautifully for a month. Just roll the balls and freeze them on a tray first. Then pop them into a bag.
You can bake them straight from the freezer. Just add a minute or two to the bake time. I once forgot I had a bag in the freezer. Finding it in December felt like a gift from my past self! Storing food well means less stress later. It lets you share joy on a busy day.
Baked cookies keep well in a tin for four days. Layer them with parchment paper so they don’t stick. Have you ever tried storing cookie dough this way? Share below!
Little Fixes for Perfect Cookie Drops
First, your dough might feel too sticky. This happens if your kitchen is warm. Just chill the dough for 30 minutes. It will be much easier to roll.
Second, the chocolate topping can get too thick. Keep it warm over a pot of hot water. I remember when mine hardened before I could spoon it. A little warmth makes it smooth and easy to use.
Third, the cookies might spread too much. Make sure your butter is just softened, not melted. This matters for the cookie’s perfect shape. Getting these small things right builds your kitchen confidence. Which of these problems have you run into before?
Your Quick Questions, Answered
Q: Can I make these gluten-free? A: Yes! Use a good gluten-free flour blend. I like the ones that have xanthan gum already added.
Q: Can I make them ahead? A: Absolutely. You can freeze the unbaked dough balls. Or bake the cookies and store them in a tin.
Q: What if I don’t have Dutch-process cocoa? A: Regular unsweetened cocoa powder works fine here. The cookies will still be wonderfully chocolatey.
Q: Can I double the recipe? A: You sure can. It’s a great idea for gift-giving. Just mix in two separate batches for best results.
Q: Any fun extra tip? A: A tiny pinch of flaky salt on top of the chocolate is lovely. Fun fact: The cherry juice in the topping is my grandma’s secret trick for a little tang. Which tip will you try first?
From My Kitchen to Yours
I hope you love making these as much as I do. They always make my kitchen smell like a holiday. Baking is about sharing stories and sweetness. I would love to hear about your baking adventures.
Tell me all about it in the comments below. Have you tried this recipe? I read every note you leave. Happy cooking!
—Elowen Thorn.
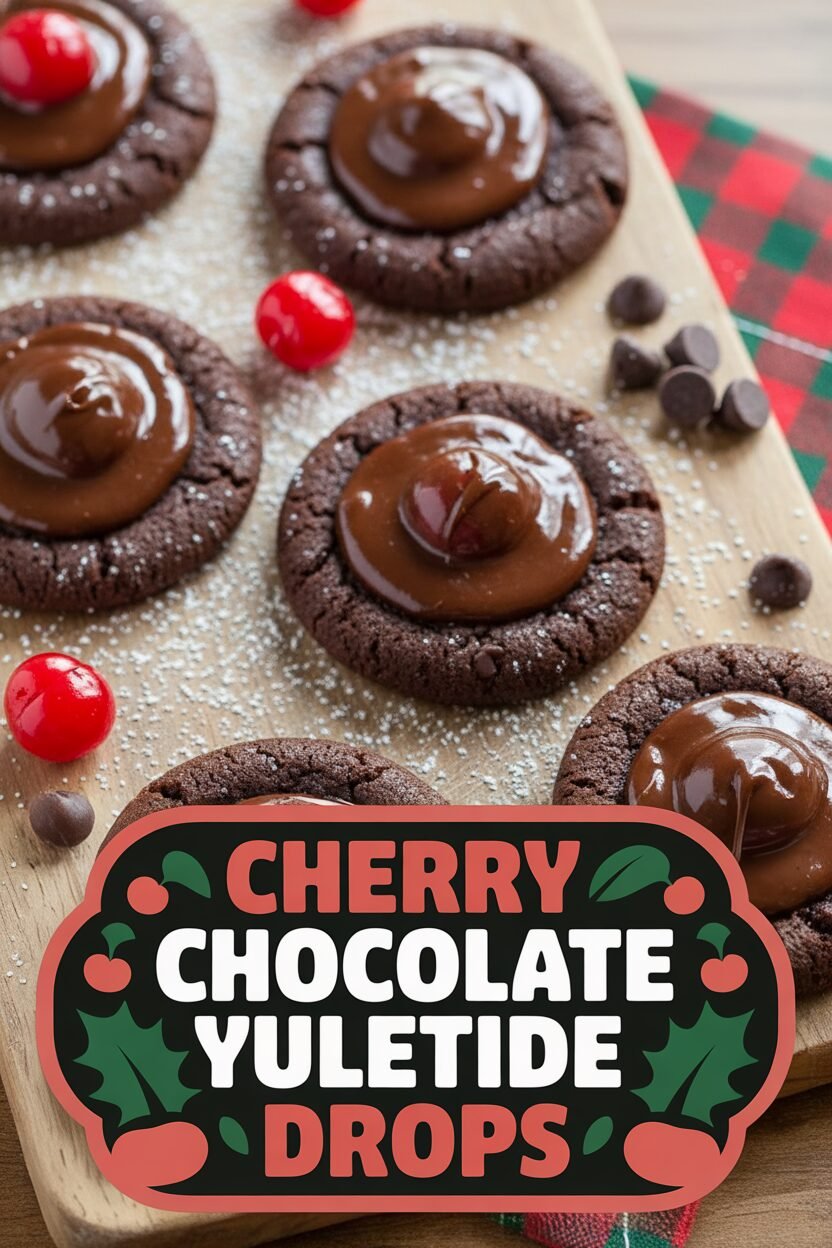

Cherry Chocolate Yuletide Drops
Description
Chocolate-Covered Cherry Cookies. A festive treat featuring a rich cocoa cookie base topped with a Maraschino cherry and a smooth chocolate glaze.
Ingredients
Cookies:
Chocolate-Cherry Topping:
Instructions
- For the cookies: Whisk flour, cocoa, baking powder, baking soda, and salt in bowl; set aside. With electric mixer on medium-high speed, beat butter and sugar until light and fluffy, about 2 minutes. Beat in egg and vanilla until incorporated. Reduce speed to low, add flour mixture, and mix until dough forms, about 1 minute.
- For the chocolate-cherry topping: Heat chocolate and milk in saucepan over low heat until chocolate is melted, about 5 minutes (mixture should have consistency of mayonnaise). Off heat, stir in reserved cherry juice. Cover and keep warm.
- To finish: Adjust oven racks to upper-middle and lower-middle positions and heat oven to 350 degrees. Roll dough into 1-inch balls and place 2 inches apart on 2 rimmed baking sheets. Using thumb, make indentation in center of each cookie. Place 1 cherry in center of each cookie, then top with 1 teaspoon warm chocolate mixture.
- Bake until cookies are just set, 10 to 12 minutes, switching and rotating sheets halfway through baking. Transfer cookies to wire rack and cool completely. Repeat with remaining dough. (Cookies can be stored in airtight container at room temperature for up to 4 days.)
Notes
- Ensure cherries are well-drained to prevent excess moisture from making the cookies soggy. The chocolate topping will set as the cookies cool.