

A Cookie That Tells a Story
My grandson calls these my “magic log” cookies. You bake them as one big piece. Then you slice them into perfect little treats. It feels like a kitchen trick every time.
I learned this recipe from my friend Ingrid. She is from Sweden. She brought them to our book club one snowy December. We ate the whole plate before we even picked a book! I still laugh at that. Do you have a friend who introduced you to a favorite food?
Why the Chill Time Matters
You must chill this dough. I know, waiting is hard. But it matters so much. It lets the flour drink up the butter and egg.
This makes the dough firm. Then you can shape it into neat logs. If you skip the chill, your logs will spread too much. Trust this old grandma. A little patience makes a prettier cookie.
The Joy of Shaping
Roll your dough into logs on the baking sheet. Flatten them just a bit with your hand. See the shape? It is simple and honest. I like that.
Now, brush them with the egg wash. This is the secret glue. It holds the sparkly sugar on top. Fun fact: That pretty pearl sugar is Swedish. It does not melt in the oven! Sprinkle it on like edible glitter. Do you like cookies that are crunchy or soft?
Baking and Slicing Warm
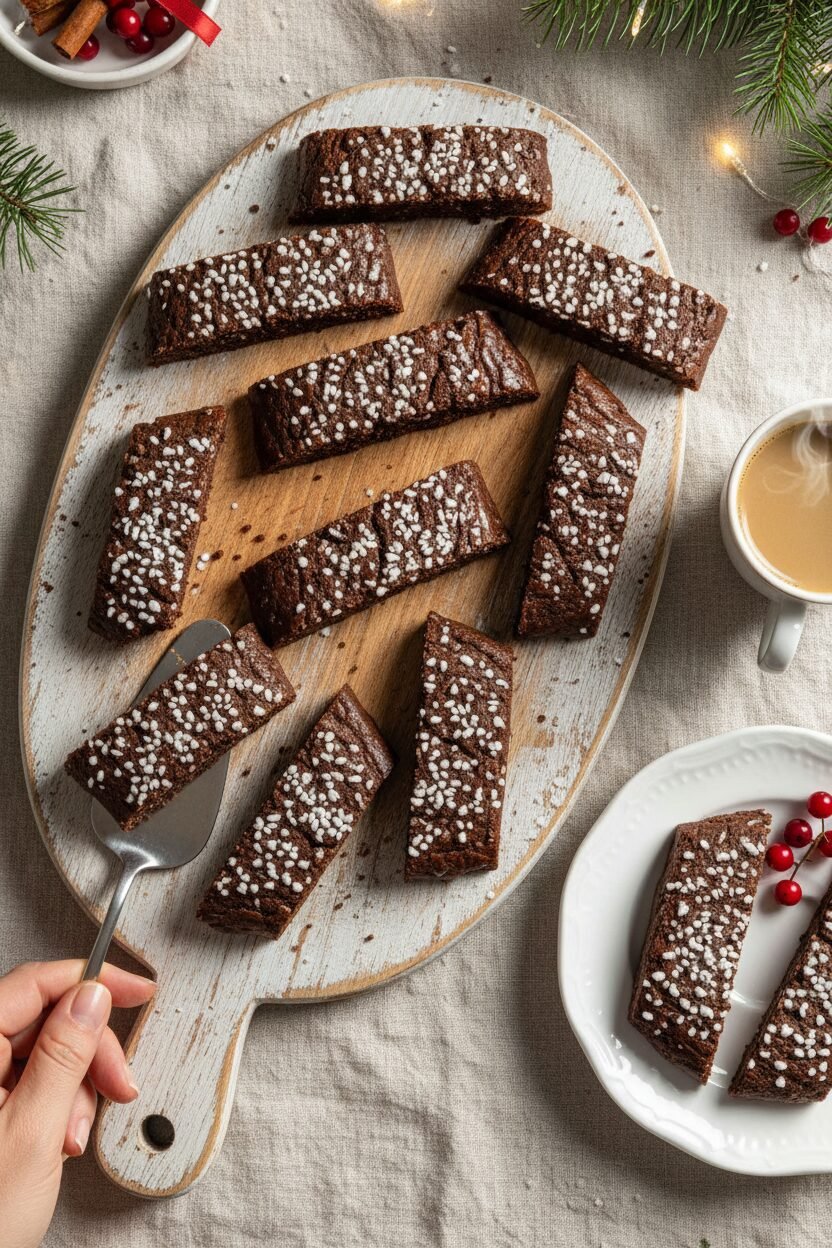
Your kitchen will smell amazing. Like deep chocolate and warm butter. Let the big cookie logs cool for just ten minutes. They are still warm and gentle.
This is the magic part. Slide the whole log onto a board. Use a sharp knife. Cut on a slight angle. You will get lovely, elegant slices. If you wait until they are cold, they might crumble. Slicing warm matters. It gives you clean edges and a perfect finish.
A Treat for Sharing
These cookies are not too sweet. The cocoa makes them rich. The sugar on top gives a little crunch. They are perfect with a glass of cold milk.
Making them feels like a gift. You create one beautiful thing. Then you slice it to share with many. That is a good lesson, I think. What is your favorite cookie to share during the holidays?
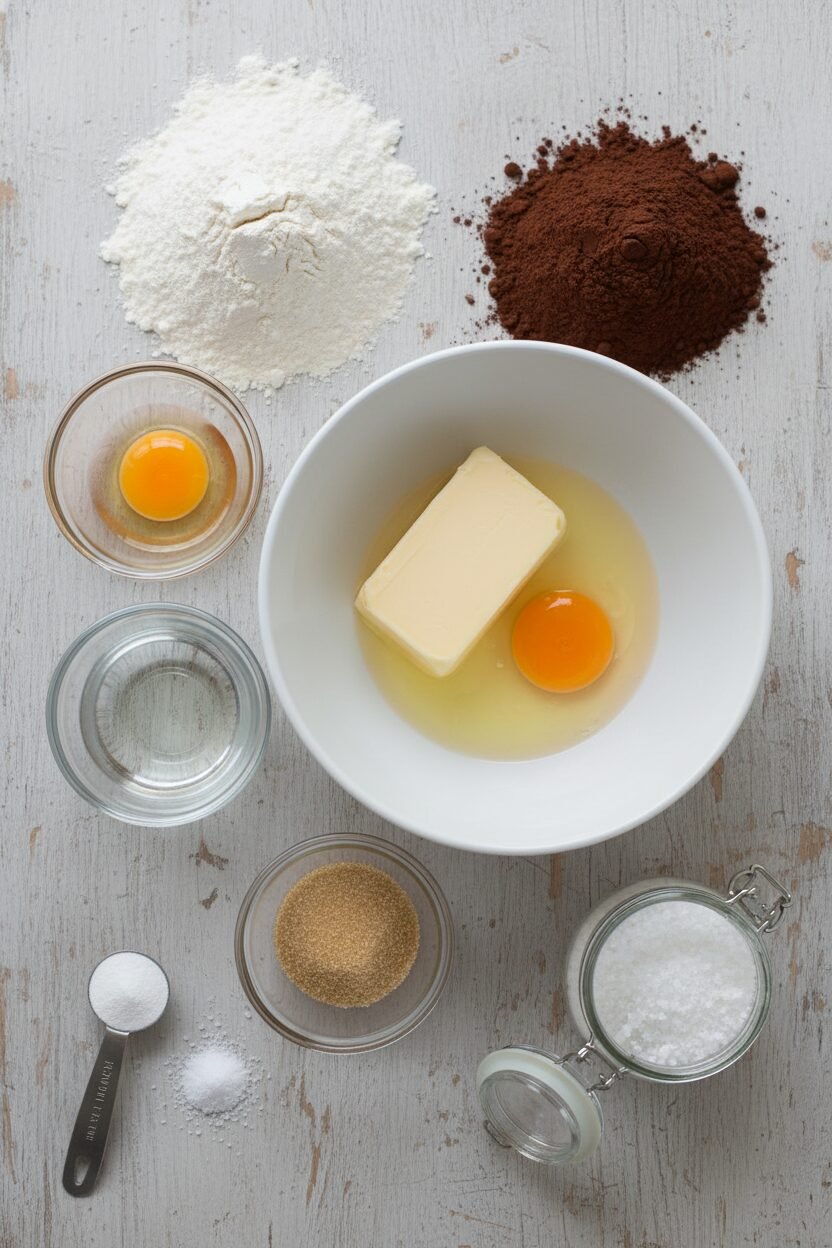
Ingredients:
| Ingredient | Amount | Notes |
|---|---|---|
| All-purpose flour | 2 cups (280 grams) | |
| Dutch-processed cocoa powder | ⅓ cup (30 grams) | |
| Baking powder | 1 teaspoon | |
| Fine sea salt | ¾ teaspoon | |
| Granulated sugar | 1¼ cups (250 grams) | |
| Unsalted butter | 2 sticks (8 ounces/225 grams) | Softened |
| Egg | 1 | |
| Vanilla sugar (or pure vanilla extract) | 1 tablespoon (or 2 teaspoons) | |
| Egg yolk + water | 1 yolk beaten with 1 tbsp water | For brushing |
| Swedish pearl sugar | For decorating |
My Holiday Chocolate Slices
Hello, my dear. Come sit at the table. I want to tell you about my favorite holiday cookie. We call them Chokladsnittar. That’s Swedish for chocolate slices. My friend Ingrid taught me this recipe years ago. I still laugh at that. My kitchen was covered in flour. The smell of cocoa and butter is pure happiness. Doesn’t that smell amazing? These cookies are not too sweet. They are crisp and rich. Perfect with a glass of cold milk. Let’s make some memories together.
Instructions
Step 1: First, get your oven ready. Move your racks to the middle spots. Heat the oven to 350 degrees. Line your biggest baking sheets with parchment paper. This feels like preparing a canvas. I always do this first. It makes everything else easier.
Step 2: Now, let’s mix the dry things. Whisk the flour, cocoa, baking powder, and salt. Get out all those little lumps. Cocoa powder can be sneaky. A good whisk makes the cookies smooth. This is the chocolatey foundation of our cookie.
Step 3: Time for the butter and sugar. Beat them until they look pale and fluffy. This takes a few minutes. Add the egg and vanilla sugar. Mix until it’s nice and smooth. (A little patience here makes a lighter cookie.) Can you guess why we cream the butter? Share below!
Step 4: Add your dry mix to the wet. Mix on low speed. Stop when you see a soft dough. No dry flour patches. Wrap the bowl and chill the dough. This is the hard part. Waiting for two hours feels long. But it makes the dough easy to shape.
Step 5: Divide the dough into four pieces. Roll each into a long log. Place two logs on each sheet. Flatten them gently with your hand. Brush with the egg yolk wash. Sprinkle lots of pearl sugar. It looks like little snow.
Step 6: Bake them for about 17 minutes. Switch the trays halfway. The logs will flatten and look dry. Let them rest for ten minutes. This is important. Then, slice them on a diagonal while warm. Let the slices cool completely. Then, the magic happens. You get to taste one.
Creative Twists
Orange Zest: Add the zest of one orange to the dough. It makes the chocolate taste brighter and festive.
Candy Cane Sprinkle: Use crushed candy canes instead of pearl sugar. It adds a minty crunch and pretty red color.
Almond Slivers: Press thin almond slices into the logs before baking. They toast up so nice and give a wonderful crunch.
Which one would you try first? Comment below!
Serving & Pairing Ideas
These cookies are wonderful on their own. For a special plate, add some fresh berries. The tartness is lovely with chocolate. A small bowl of whipped cream is nice for dipping. For drinks, a cup of strong coffee is perfect for grown-ups. For a cozy non-alcoholic treat, try warm spiced apple cider. The cinnamon and apple are so friendly with cocoa. Which would you choose tonight?
Keeping Your Cookie Logs Cozy
These cookie logs love a cool rest. Wrap them tightly in plastic wrap. They will keep in the fridge for two days. You can also freeze the dough logs for a month. Just thaw them in the fridge before baking.
I love batch cooking these. Shape all four logs at once. Freeze the ones you won’t bake today. This makes fresh cookies so easy later. It is a gift to your future, busier self.
I once baked a log straight from the freezer. It spread too thin in the oven. Now I always thaw it first. Patience makes a better cookie. Have you ever tried storing it this way? Share below!
Three Little Cookie Hiccups (And How to Fix Them)
First, dough too sticky? Your kitchen might be warm. Just pop it back in the fridge. Chilled dough is much easier to shape. This matters because neat logs make pretty slices.
Second, cookies spreading too much? Your butter was likely too soft. It should be cool to your touch. I remember when my cookies ran into each other. Now I check the butter first.
Third, slices crumbling when cut? You might have cut them too soon. Let the warm logs rest for ten minutes. This waiting time sets the structure. Which of these problems have you run into before?
Your Quick Questions, Answered
Q: Can I make these gluten-free? A: Yes. Use a good gluten-free flour blend. Add a teaspoon of xanthan gum too.
Q: How far ahead can I make the dough? A: You can make it up to one day ahead. Keep it covered in the fridge.
Q: What if I don’t have pearl sugar? A: Regular sugar works fine. So do chopped nuts or sprinkles.
Q: Can I make a half batch? A: Absolutely. Just halve all the ingredients. It is perfect for a smaller treat.
Q: Is the vanilla sugar important? A: It adds a lovely flavor. But vanilla extract is a great swap. Fun fact: In Sweden, vanilla sugar is a pantry staple. Which tip will you try first?
From My Kitchen to Yours
I hope you enjoy making these. The smell of chocolate baking is pure joy. It always reminds me of my own grandma. She taught me to share food and stories.
I would love to hear about your baking adventure. Tell me all about it in the comments. Have you tried this recipe? Your stories are my favorite thing to read.
Happy cooking!
—Elowen Thorn.
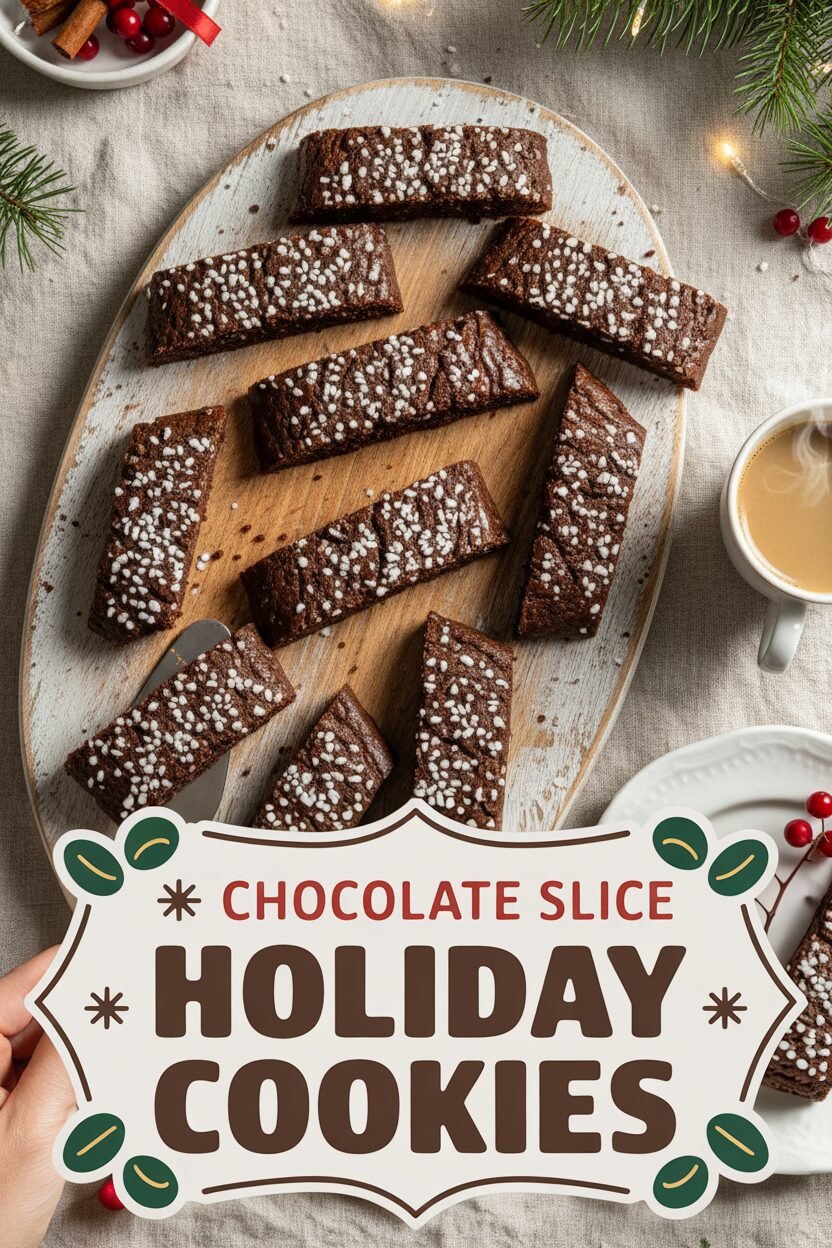

Chocolate Slice Holiday Cookies
Description
Classic Swedish Chocolate Slice Cookies (Chokladsnittar), perfect for the holidays with a rich cocoa flavor and crunchy pearl sugar topping.
Ingredients
Instructions
- Position oven racks in the upper-middle and lower-middle of the oven and preheat to 350 degrees. Line two large baking sheets with parchment paper.
- In medium bowl, whisk together 2 cups (280 grams) all-purpose flour, ⅓ cup (30 grams) Dutch-processed cocoa powder, 1 teaspoon baking powder, and ¾ teaspoon fine sea salt.
- In large bowl, using hand mixer, beat 1¼ cups (250 grams) granulated sugar and 2 sticks (8 ounces/225 grams) softened unsalted butter on medium speed until pale and fluffy, 2 to 3 minutes. Add 1 egg and beat until smooth. Beat in 1 tablespoon vanilla sugar. Add dry ingredients and mix on low speed until dough forms and no patches of dry flour remain. Cover bowl with plastic wrap and refrigerate for at least 2 hours or up to 1 day.
- Divide dough into 4 equal portions and shape each piece into 12-inch-long log. Place 2 logs lengthwise on each baking sheet spaced 4 inches apart and flatten slightly with your hand. Brush logs lightly with 1 egg yolk beaten with 1 tablespoon water and sprinkle liberally with Swedish pearl sugar.
- Bake until cookie logs are flattened and dry to the touch on top, 16 to18 minutes, switching racks and rotating baking sheets halfway through baking.
- Transfer baking sheets to wire racks and let cookies rest for 10 minutes. While still warm, slide cookie logs on parchment paper onto cutting board and cut at slight diagonal every 1¼ inches to make slices. Transfer slices directly to rack to cool completely. Serve.
Notes
- For best results, ensure butter is properly softened. If you can’t find Swedish pearl sugar, you can use coarse sanding sugar as a substitute, though the texture will be slightly different.