

My Winter Cocoa Clouds
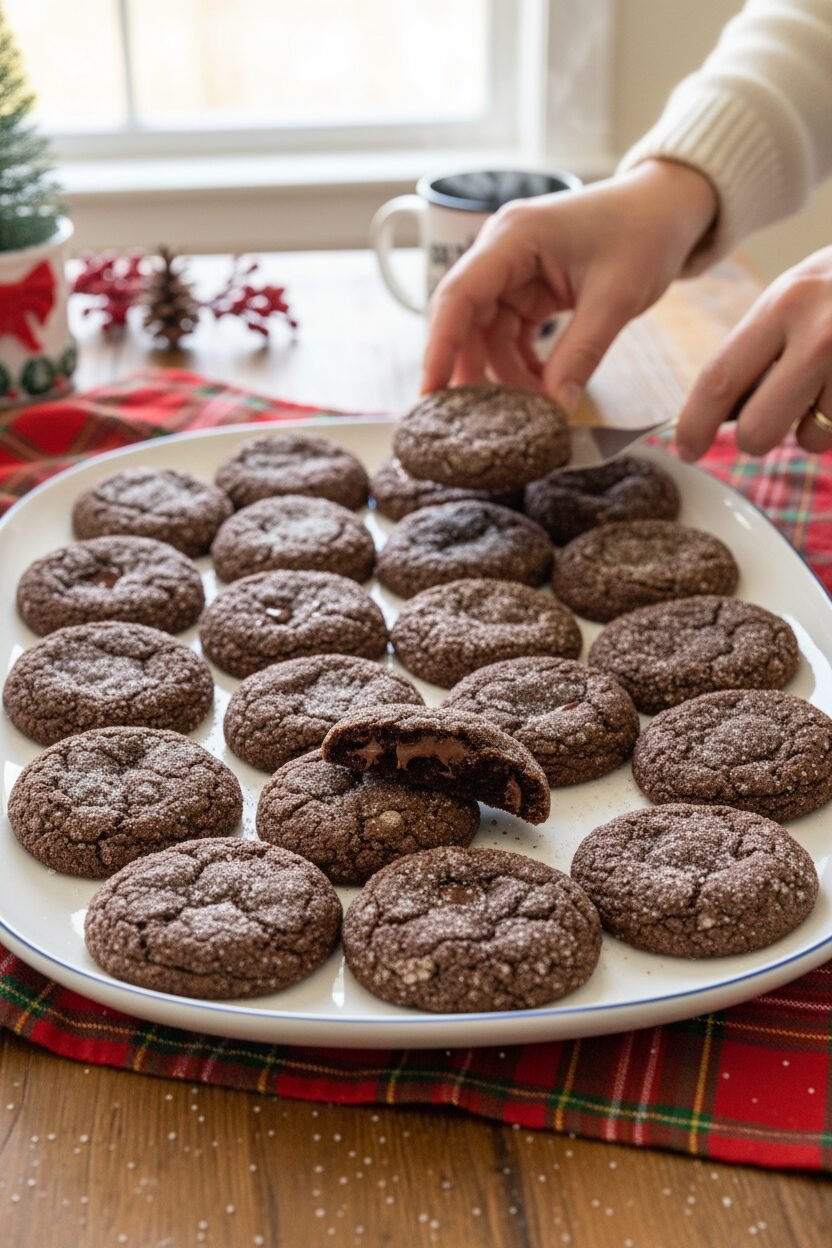
Let me tell you about my Chocolate Snowdrift cookies. They are like little edible snowballs. But made of deep, dark chocolate. I first made them for my grandson Leo. He said they looked like storm clouds you could eat. I still laugh at that.
They are chewy and rich. The top cracks like ice on a puddle. Inside, they stay wonderfully soft. Doesn’t that sound good? What is your favorite cookie to bake when it gets cold?
Why the Little Steps Matter
This recipe has a few special steps. Do not skip them. They are simple but important. First, you chill the dough for just 30 minutes. This helps the cookies keep their shape. But do not chill it longer. I learned that the hard way once.
Second, you roll the balls in sugar. This gives them a sparkly, crunchy coat. It is like putting on a winter jacket. This matters because texture is a big part of joy. A little crunch makes the soft inside even better.
A Fun Fact About the Chocolate
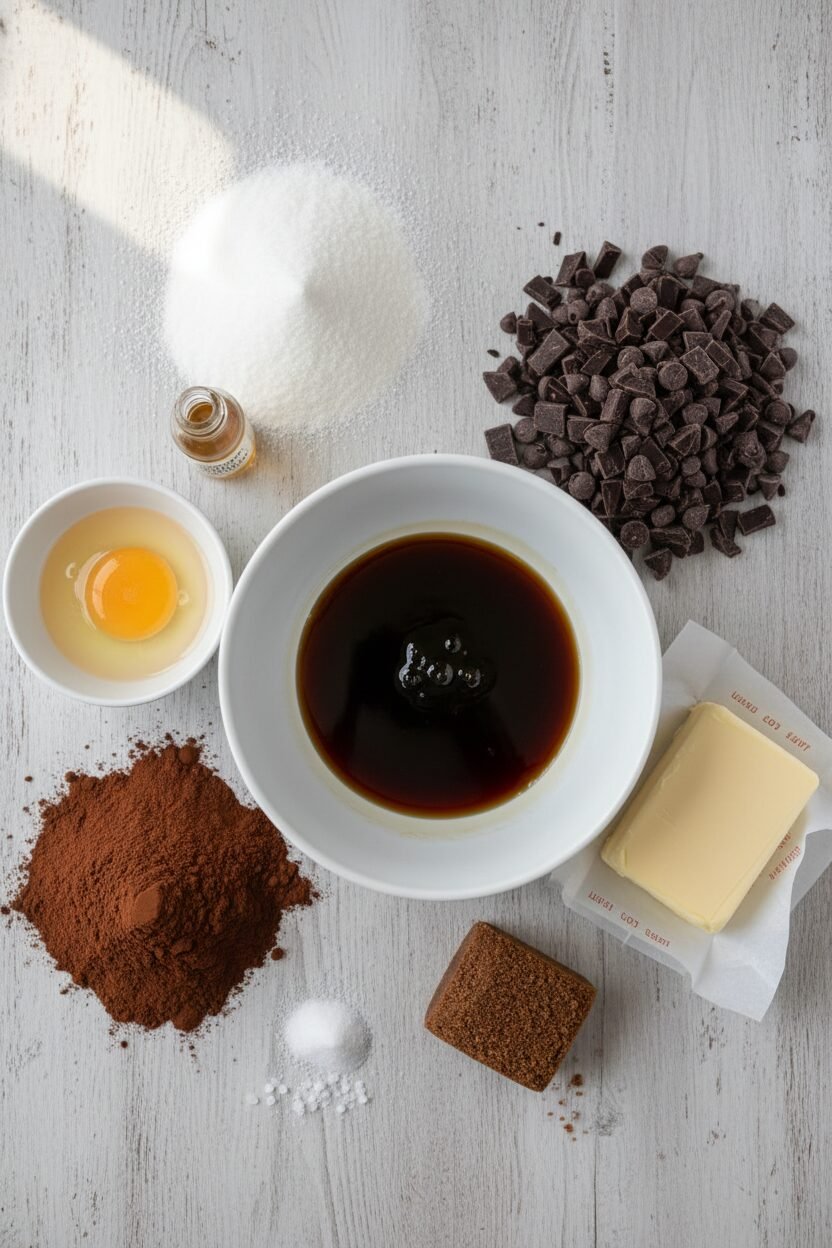
We use two kinds of chocolate here. Cocoa powder for the deep flavor. And chopped chocolate bits for melty pockets. Fun fact: Dutch-processed cocoa is treated to be less bitter. It makes the cookie taste smoother and richer.
Chopping the chocolate is my favorite part. You get big shards and tiny chips. Every bite is a little surprise. Do you like chunks or chips in your cookies more?
The Secret to Chewy Cookies
Here is the big lesson. Do not overbake them. They will look underdone when you take them out. The centers should look soft between the cracks. This matters most. It is the secret to that perfect, chewy middle.
Let them cool on the pan for five minutes. They will finish setting there. This patience is hard. The smell is amazing. But it makes all the difference. Trust your nose more than the clock.
Make It Your Own
This is a wonderful base recipe. You can add a pinch of cinnamon for warmth. Or use milk chocolate chips for a sweeter bite. My neighbor adds a tiny sprinkle of sea salt on top. It is divine.
Baking is about sharing. It is about making something with your hands to give to others. That is the real magic. What is one ingredient you love to add to chocolate cookies? I would love to hear your ideas.
Ingredients:
| Ingredient | Amount | Notes |
|---|---|---|
| Granulated sugar | ⅓ cup (66g) | Plus ½ cup separate for coating |
| All-purpose flour | 1 ½ cups (213g) | Unbleached |
| Dutch-processed cocoa powder | ¾ cup | |
| Baking soda | ½ teaspoon | |
| Table salt | ⅜ teaspoon | |
| Dark corn syrup | ½ cup | |
| Egg white | 1 large | |
| Vanilla extract | 1 teaspoon | |
| Unsalted butter | 12 tbsp (1 ½ sticks) | Softened to 70°F |
| Dark brown sugar | ⅓ cup (66g) | Packed |
| Bittersweet chocolate | 4 oz (113g) | Chopped into ½-inch pieces |
Instructions
Step 1: First, get your oven ready. Move the racks to the middle spots and heat to 375 degrees. Line two big baking sheets with parchment paper. Pour that ½ cup of sugar into a pie plate. Now, whisk the flour, cocoa, baking soda, and salt in a bowl. In a smaller bowl, whisk the corn syrup, egg white, and vanilla. It will look a bit shiny. Doesn’t that smell amazing already?
Step 2: Let’s use the mixer. Beat the soft butter and both sugars until fluffy. This takes about two minutes. Then add the corn syrup mixture and mix it in. Finally, add the flour mixture and the chopped chocolate. Mix just until you see no more dry flour. (A hard-learned tip: don’t over-mix here, or the cookies get tough!). Give the dough one last stir by hand. Pop it in the fridge for 30 minutes, no longer.
Step 3: Time to make the balls. Roll the dough into 16 equal balls. I still laugh at how my grandson always tries to make one giant one. Roll a few balls in the sugar dish until coated. Place them on your baking sheets, eight per sheet. Give them room to spread. What’s your favorite part of baking: mixing, shaping, or tasting? Share below!
Step 4: Bake those cookies. Switch the sheet positions halfway through. They need 10 to 11 minutes. They will look puffed and cracked. The centers will seem soft, even a bit raw in the cracks. That is perfect. Trust me, do not overbake them. We want them chewy, not crunchy.
Step 5: Let them rest on the sheet for five minutes. This is important. Then, move them to a cooling rack with a spatula. Let them cool all the way. The wait is the hardest part. But a warm cookie is a fragile cookie. I know, I’ve learned that the messy way!
Creative Twists
These cookies are wonderful as they are. But sometimes, a little change is fun. Here are three easy twists for your next batch. They make the kitchen smell even more like Christmas.
Peppermint Snowdrift: Add ½ teaspoon of peppermint extract with the vanilla.
Orange Chocolate Dream: Add the zest of one orange to the butter and sugar.
Double Chocolate Chip: Use milk chocolate chunks instead of bittersweet pieces.
Which one would you try first? Comment below!
Serving & Pairing Ideas
I love serving these on a big platter. They look like little chocolate mountains. For a special touch, dust them with a tiny bit of powdered sugar. It looks like fresh snow. A scoop of vanilla ice cream beside one is pure magic. It makes a simple dessert feel grand.
For drinks, a cold glass of milk is the classic choice. It always is. For the grown-ups, a small glass of cherry port wine is lovely. The cherry and chocolate sing together. Which would you choose tonight?
Keeping Your Snowdrifts Perfect
These cookies stay chewy for days in a sealed tin. Layer them with parchment paper. For longer storage, freeze the dough balls. Roll them in sugar first, then freeze on a tray. Once solid, pop them into a bag. You can bake them straight from the freezer, just add a minute or two. I once forgot a batch in the freezer for a month. They baked up just as lovely! Storing well means you can always share a sweet surprise. It turns baking from a chore into a gift for your future self.
Have you ever tried storing cookie dough this way? Share below!
Cookie Troubles? Let’s Fix That
First, if your cookies spread too much, your butter was too warm. Your dough must chill for the full 30 minutes. I remember rushing this step once. My cookies turned into one big chocolate puddle! Second, if they taste bitter, check your cocoa. Always use Dutch-process cocoa here. It gives a smoother, richer chocolate flavor. Third, if centers get hard, you over-baked them. Take them out when they look soft in the cracks. Getting these steps right builds your kitchen confidence. It also makes sure every bite is perfectly chewy and deep with chocolate.
Which of these problems have you run into before?
Your Quick Questions, Answered
Q: Can I make these gluten-free? A: Yes! Use a good 1-to-1 gluten-free flour blend. The results are wonderful.
Q: Can I make the dough ahead? A: Absolutely. Keep the shaped, sugared dough balls in the fridge for up to two days.
Q: No dark corn syrup? A: Light corn syrup or even honey will work in a pinch. The flavor will change slightly, but it’s still good.
Q: Can I double the recipe? A: You can, but mix it in two separate batches. This ensures everything gets mixed evenly.
Q: Any optional tips? A: A tiny pinch of cinnamon in the sugar coating is a lovely secret. *Fun fact: Dutch-process cocoa was invented in the 1800s to make cocoa smoother and less acidic!*
Which tip will you try first?
From My Kitchen to Yours
I hope these cookies bring a little snowy magic to your table. Baking is about sharing joy, one sweet bite at a time. I love hearing your stories and seeing your creations. Your kitchen adventures make my day brighter. So please, tell me all about it.
Have you tried this recipe? I’d love to hear how it went in the comments below.
Happy cooking! —Elowen Thorn.
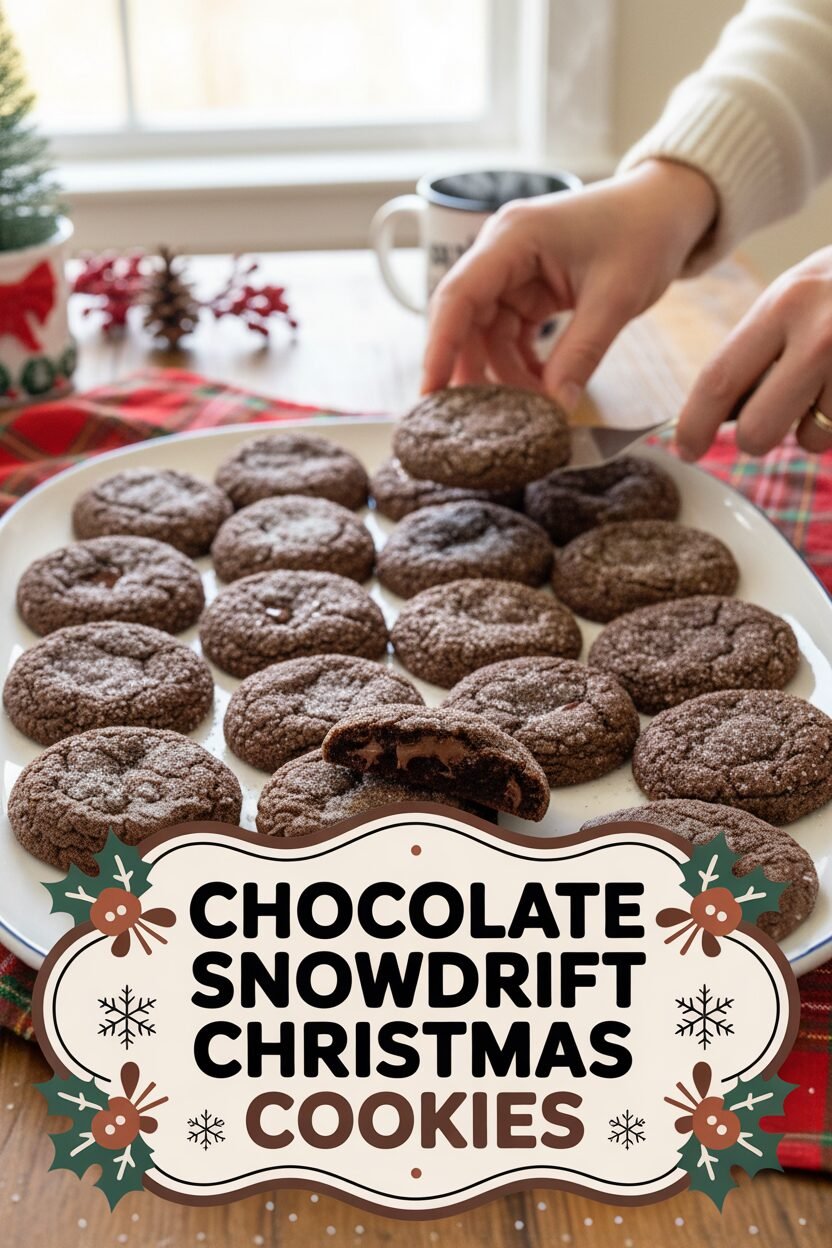

Chocolate Snowdrift Christmas Cookies
Description
Chewy Chocolate Cookies
Ingredients
Instructions
- Adjust oven racks to upper- and lower-middle positions and heat oven to 375 degrees. Line 2 large (18- by 12-inch) baking sheets with parchment paper. Place ½ cup granulated sugar in shallow baking dish or pie plate. Whisk flour, cocoa powder, baking soda, and salt together in medium bowl. Whisk corn syrup, egg white, and vanilla together in small bowl.
- In stand mixer fitted with paddle attachment, beat butter, brown sugar, and remaining 1/3 cup granulated sugar at medium-high speed until light and fluffy, about 2 minutes. Reduce speed to medium-low, add corn syrup mixture, and beat until fully incorporated, about 20 seconds, scraping bowl once with rubber spatula. With mixer running at low speed, add flour mixture and chopped chocolate; mix until just incorporated, about 30 seconds, scraping bowl once. Give dough final stir with rubber spatula to ensure that no pockets of flour remain at bottom. Chill dough 30 minutes to firm slightly (do not chill longer than 30 minutes).
- Divide dough into 16 equal portions; roll between hands into balls about 1½ inches in diameter. Working in batches, drop 8 dough balls into baking dish with sugar and toss to coat. Set dough balls on prepared baking sheet, spacing about 2 inches apart; repeat with second batch of dough balls.
- Bake, reversing position of the baking sheets halfway through baking (from top to bottom and front to back), until cookies are puffed and cracked and edges have begun to set but centers are still soft (cookies will look raw between cracks and seem underdone), 10 to 11 minutes. Do not overbake.
- Cool cookies on baking sheet 5 minutes, then use wide metal spatula to transfer cookies to wire rack; cool cookies to room temperature.
Notes
- Nutritional information is referenced in the text with a ‘View Nutritional Information’ link, but specific nutrition facts are not provided in the given text.