

The Magic of a Square
We start with a simple square of dough. Then we wrap it around a square of butter. It seems a funny thing to do. But this is the secret. All those flaky layers come from this little butter package.
When you roll and fold the dough, you make hundreds of thin layers. The butter melts in the hot oven. It pushes the layers apart. That is what makes it puff up so nice and crisp. Isn’t that clever?
A Little Kitchen Story
My first time making these, I was in a rush. My kitchen was too warm. The butter got soft. My pastries did not puff. They were flat little cookies. I still laugh at that.
It taught me a good lesson. Patience matters here. If the dough feels soft, just stop. Let it rest in the fridge. Cold butter makes the magic happen. Have you ever had a baking mishap turn into a good lesson?
Rolling in Sugar
Now for the fun part. You roll the dough right into a pile of sugar. The sugar sticks to it. It gets into all the folds. This gives every bite a sweet, crispy edge.
When you bake them, the sugar caramelizes. It turns golden and shiny. *Fun fact: The name “palmier” means “palm tree” in French. They say the shape looks like a palm leaf or an elephant’s ear!* Which one do you see more?
Why the Chill Time Matters
You will see lots of “refrigerate for 1 hour” in the recipe. This is not just busy work. It matters a lot. It keeps the butter firm. It lets the tired dough relax.
Think of it like a nap for your pastry. A well-rested dough is easier to roll. It also puffs up better in the oven. Good things come to those who wait. Do you prefer quick bakes or projects you can take your time with?
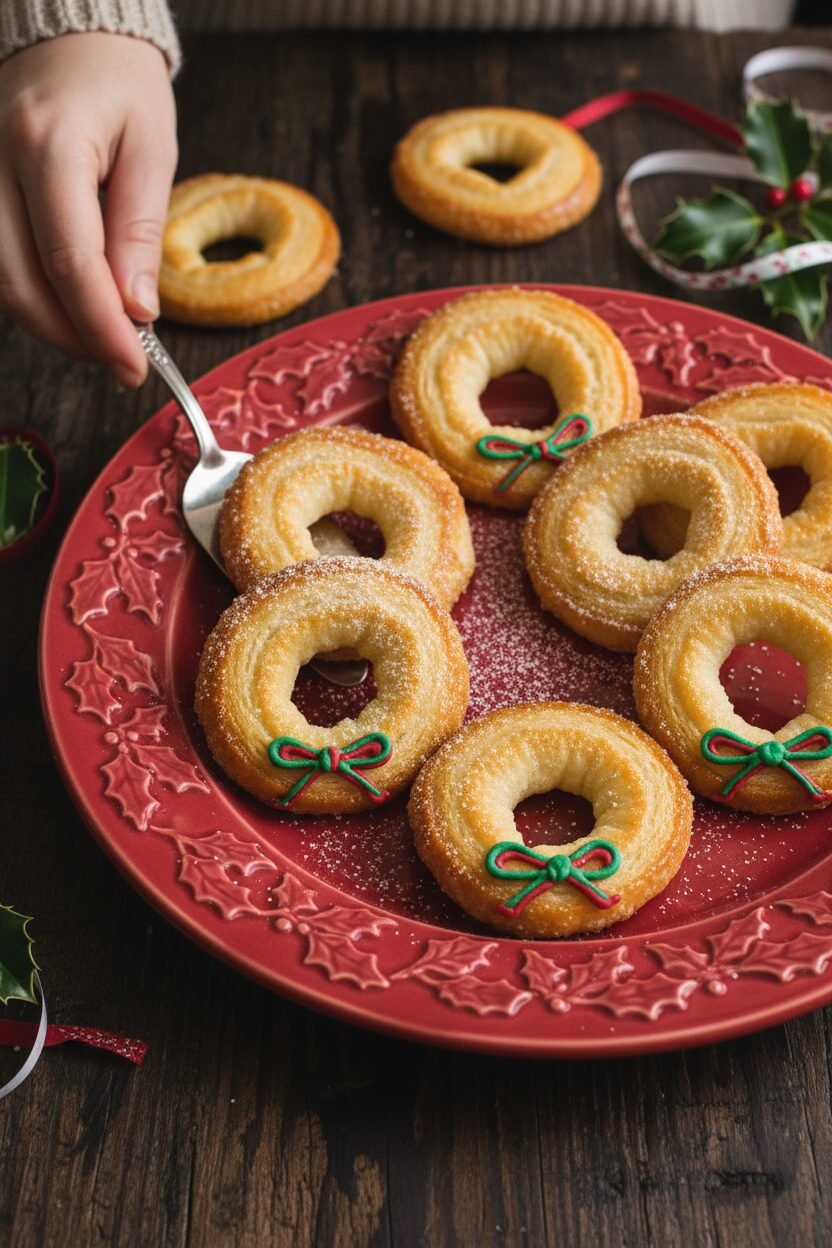
Shaping Your Wreaths
After the final roll in sugar, you roll the sides to the middle. This makes a double spiral. It looks like a little log. Then you slice it. Each slice is a perfect little wreath shape.
Lay them on the baking sheet. Give them space to grow. In the oven, they will unfold and bloom. They become golden and delicate. Doesn’t that smell amazing? It fills the whole house with a sweet, buttery joy.
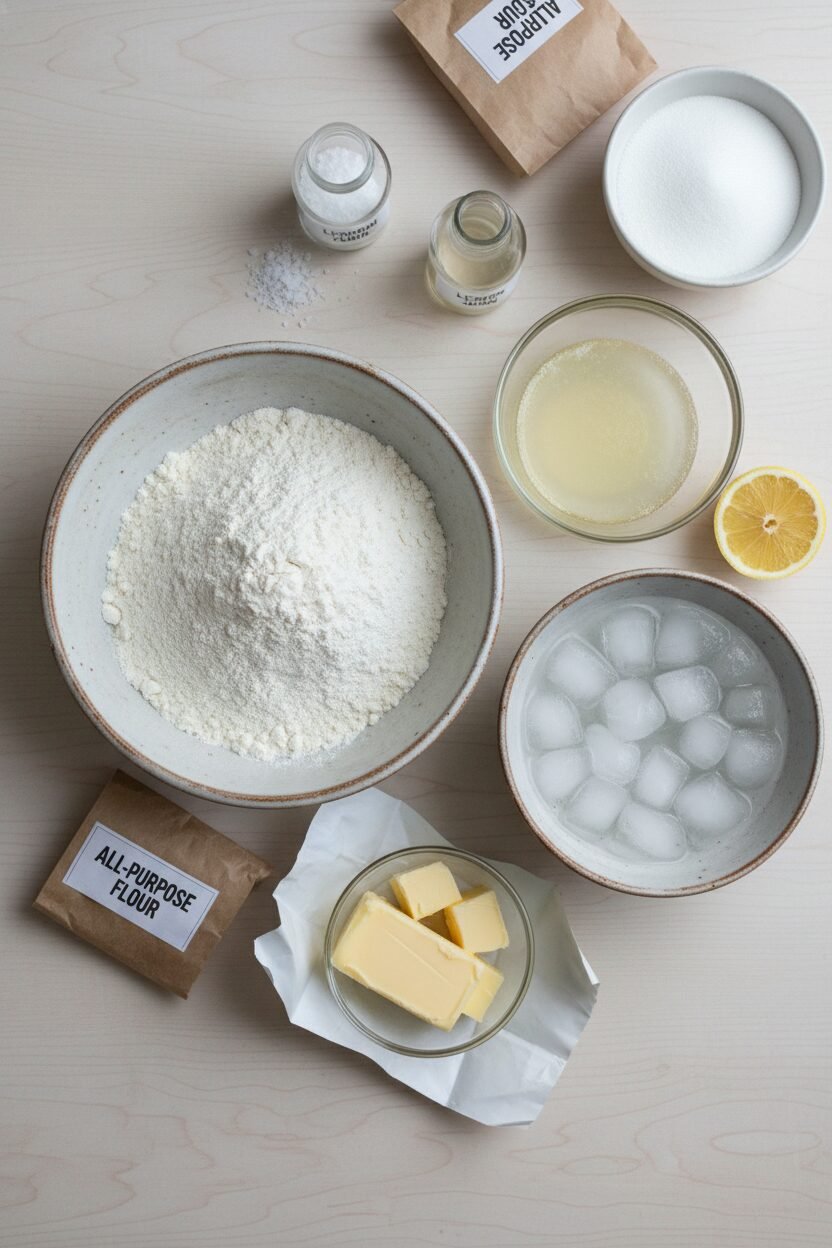
Ingredients:
| Ingredient | Amount | Notes |
|---|---|---|
| All-purpose flour | 3 cups (15 ounces/425 grams) | For the dough |
| Sugar | 1 ½ tablespoons | For the dough |
| Salt | 1 ½ teaspoons | For the dough |
| Lemon juice | 2 teaspoons | For the dough |
| Ice water | 1 cup | For the dough |
| Unsalted butter | 24 tablespoons (3 sticks) | Chilled, for the butter square |
| All-purpose flour | 2 tablespoons | For the butter square |
| Sugar | 1 cup (7 ounces/198 grams) | For the sugar coating |
My Christmas Kitchen Helper
Hello, my dear. Come sit at the table. I want to tell you about my Christmas palmier wreaths. They look fancy, but they are just friendly, sugared pastry. Making the dough is a little project. It feels like a secret kitchen magic trick. I still laugh at that. The first time I tried, my butter was too soft. What a mess! But we learn. Now, the smell of them baking is my favorite part. It smells like a sweet, buttery hug. Doesn’t that smell amazing?
Instructions
Step 1: Make your dough. Put the flour, sugar, and salt in the food processor. Give it a quick buzz. Now, add the lemon juice and most of the ice water while it runs. Add more water slowly until it forms a ball. Wrap this dough in plastic. Shape it into a neat square. Let it rest in the fridge for an hour. (Always use ice water. It keeps everything cool!)
Step 2: Make your butter square. Lay the butter sticks side by side on parchment. Sprinkle them with flour. Cover with more parchment. Now, gently pound it with your rolling pin. Be firm but kind. Roll it into a square. Wrap it up and chill it. This is the heart of your flaky layers. Why do we chill the butter? Share below!
Step 3: Roll your dough into a bigger square. Place the cold butter square on top, like a diamond. Fold the dough corners over the butter. Pinch the seams to seal it in. Now, gently tap and roll it into a larger square. Fold it into a neat package. This is called a “turn.” Wrap and chill it for two hours.
Step 4: Give the dough two more “turns.” Do the rolling and folding again. Chill it for two more hours. This makes all those wonderful, flaky layers. Patience is your friend here. If the dough feels warm, stop and chill it. (If the butter melts, you won’t get flaky layers. Trust me!)
Step 5: Time for sugar! Sprinkle sugar on your counter. Roll the dough out on top of it. Roll it into a big rectangle. Sprinkle more sugar as you go. Now, roll the two short sides toward the middle. They should meet. Wrap this log and freeze it for 20 minutes.
Step 6: Bake your wreaths. Heat your oven. Slice the log into cookies. Place them on a baking sheet. They will look like little hearts. Bake until golden and crisp. Flip them halfway. Let them cool on a rack. The sugar will caramelize and sparkle. You did it!
Creative Twists
Add a pinch of cinnamon to your sugar. It gives a warm, cozy flavor.
Brush the dough with egg wash before baking. This makes them shiny and extra festive.
Drizzle cooled palmiers with a little melted chocolate. Let it set before serving.
Which one would you try first? Comment below!
Serving & Pairing Ideas
Place them on a pretty plate in a circle. Tie a ribbon around the stack for a gift. They are perfect with a bowl of fresh berries. For a drink, a cup of hot cocoa is just right. Grown-ups might like a glass of sweet sherry with theirs. The flavors dance together so nicely. Which would you choose tonight?
Keeping Your Wreaths Crisp and Merry
Let’s talk about keeping these treats perfect. Store cooled palmiers in a tin at room temperature. They stay crisp for three days. You can also freeze the dough log for a month. Slice and bake straight from the freezer. I once baked a whole log for a surprise visit. Having that dough ready saved the day.
Batch cooking is a gift to your future self. Make the dough when you have time. Then, bake fresh cookies whenever you like. This matters because it spreads holiday joy without stress. You can enjoy the fun of baking over several days. Have you ever tried storing it this way? Share below!
Simple Fixes for Happy Baking
Sometimes our baking needs a little help. First, if your dough gets soft, just chill it. The butter must stay cold for flaky layers. I remember when my butter melted once. The cookies were flat but still tasty!
Second, if the sugar burns, your oven might be too hot. Use an oven thermometer to check. Third, if layers don’t puff, you may have rolled too hard. Be gentle when tapping the dough with the pin. This matters because gentle hands make the lightest pastry. Fixing small issues builds your kitchen confidence. Which of these problems have you run into before?
Your Quick Questions, Answered
Q: Can I make this gluten-free? A: Try a 1-to-1 gluten-free flour blend. The texture may be a bit more crumbly.
Q: How far ahead can I make the dough? A: You can make it two days before baking. Keep it wrapped in the fridge.
Q: What can I use instead of lemon juice? A: White vinegar works just fine. It helps make the dough tender.
Q: Can I make a half batch? A: Yes, simply cut all the ingredients in half. Use a smaller baking sheet.
Q: Any fun twists? A: Add a sprinkle of cinnamon to the sugar. Fun fact: These are called “elephant ears” too! Which tip will you try first?
Wishing You a Cozy Kitchen
I hope you love making these sweet, crispy wreaths. They always make my kitchen smell like Christmas. Share them with someone you love. It makes the treat even sweeter.
I would love to hear about your baking adventure. Tell me all about it. Have you tried this recipe? Leave a comment and let me know how it went. Happy cooking!
—Elowen Thorn.
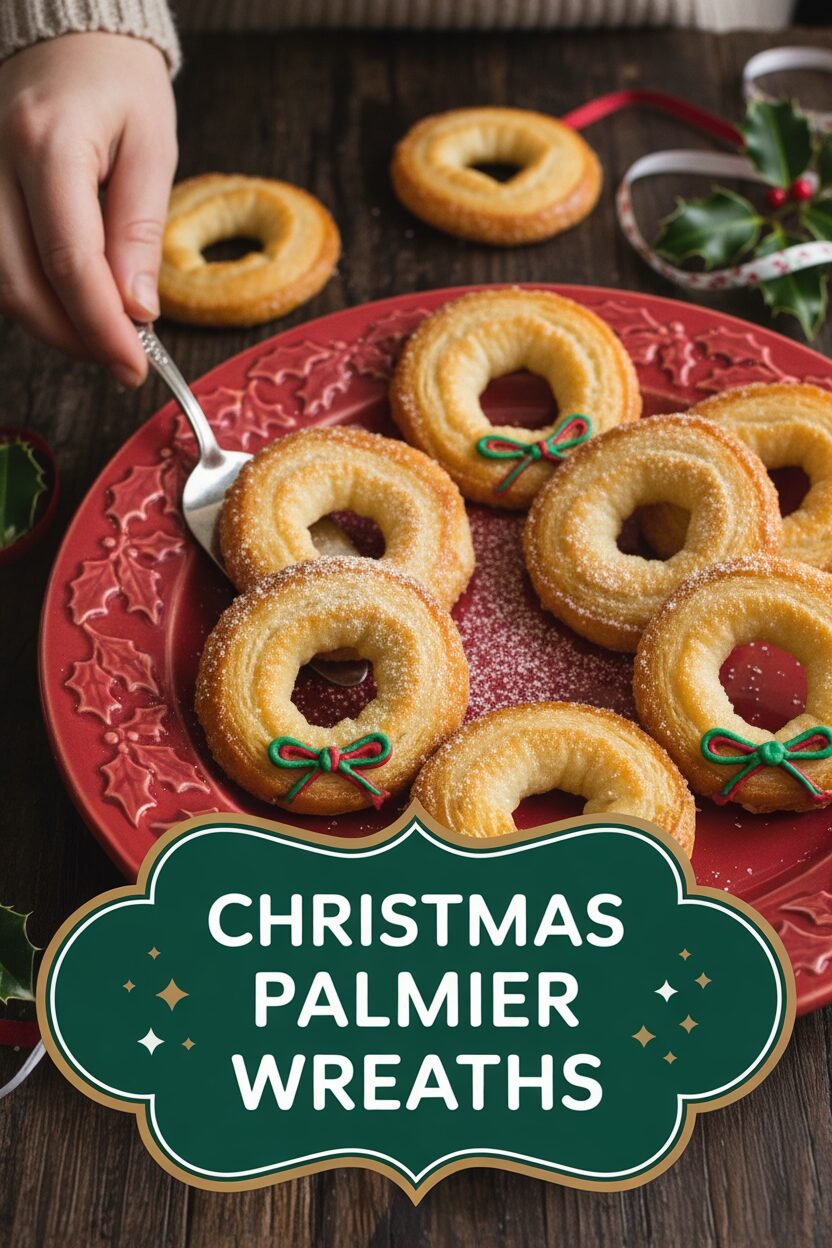

Christmas Palmier Wreaths
Description
Classic, buttery, and crisp palmier cookies, perfect for the holiday season.
Ingredients
For the dough:
For the butter square:
For the sugar coating:
Instructions
- For the dough: Process flour, sugar, and salt in food processor until combined, about 5 seconds. With processor running, add lemon juice, followed by ¾ cup ice water, in slow, steady stream. Add remaining ¼ cup water as needed, 1 tablespoon at a time, until dough comes together and no floury bits remain.
- Transfer dough to sheet of plastic wrap. Form dough into 6-inch square, wrap square tightly in plastic, and refrigerate for 1 hour.
- For the butter square: Lay butter sticks side by side on sheet of parchment paper. Sprinkle flour over butter and cover with second sheet of parchment. Using rolling pin, gently pound butter until softened and flour is fully incorporated, then roll into 8-inch square. Wrap butter square in plastic and refrigerate until chilled, about 1 hour.
- Roll chilled dough into 11-inch square on lightly floured counter. Place chilled butter square diagonally in center of dough. Fold corners of dough up over butter square so that corners meet in middle and pinch dough seams to seal.
- Using rolling pin, gently tap dough, starting from center and working outward, until square becomes larger and butter begins to soften. Gently roll dough into 14-inch square, dusting with extra flour as needed to prevent sticking. Fold dough into thirds like business letter, then fold rectangle into thirds to form square. Wrap dough in plastic and refrigerate for 2 hours.
- Repeat step 5 twice and let dough rest in refrigerator for 2 more hours. (Dough can be wrapped in plastic and refrigerated for up to 2 days or frozen for up to 1 month. Let dough thaw completely in refrigerator, about 12 hours, before using.)
- For the sugar coating: Sprinkle ½ cup sugar over counter and lay puff-pastry dough on top of sugar. Roll dough into 24 by 12-inch rectangle, about ¼ inch thick, dusting with remaining ½ cup sugar as needed to prevent sticking.
- Roll short sides of dough toward center, so they meet in middle. Wrap dough log in plastic, transfer to baking sheet, and freeze until firm, about 20 minutes.
- Adjust oven rack to middle position and heat oven to 375 degrees. Line second baking sheet with parchment paper.
- Slice half of dough log into ½-inch-thick cookies with long, thin-bladed slicing knife and space them 1 inch apart on prepared sheet; wrap remaining unsliced dough and keep frozen until ready to bake. Bake until palmiers begin to brown and firm up, 15 to 20 minutes.
- Flip palmiers, rotate sheet, and continue to bake until golden and crisp, 5 to 10 minutes longer. Immediately transfer palmiers to wire rack. Repeat with remaining dough. Let palmiers cool completely before serving. (Palmiers can be stored at room temperature for up to 3 days.)
Notes
- Before You Begin: If the dough or butter ever feels soft while you’re working with it, cover it with plastic wrap and refrigerate it for a few minutes. For the crispiest pastry, it’s crucial to prevent the butter from melting.