

The Magic of a Wet Dough
When you mix this dough, it will feel very sticky. It might even seem wrong. Do not worry. That wetness is its secret power.
It is what makes those wonderful holes inside the bread. I remember my first time. I almost added more flour. I am glad I did not. Trust the sticky dough. It knows what it is doing.
A Patient Rise
This bread asks for a long rest. You mix it and walk away for a whole day. This slow rise builds the flavor. It makes the bread taste special.
I use this time to plan my sandwiches. What will you do while you wait? This matters because good things take time. The waiting is part of the cooking.
Shaping with Confidence
Do not be shy with the flour now. Your hands will be your best tools. Lift the dough gently. Let it sag onto the pan.
Shaping it is like tucking in a blanket. You just fold the sides in. It does not need to be perfect. Fun fact: The word “ciabatta” means “slipper” in Italian. The shape is supposed to be a little flat and rustic, just like an old slipper. I still laugh at that.
The Final Test
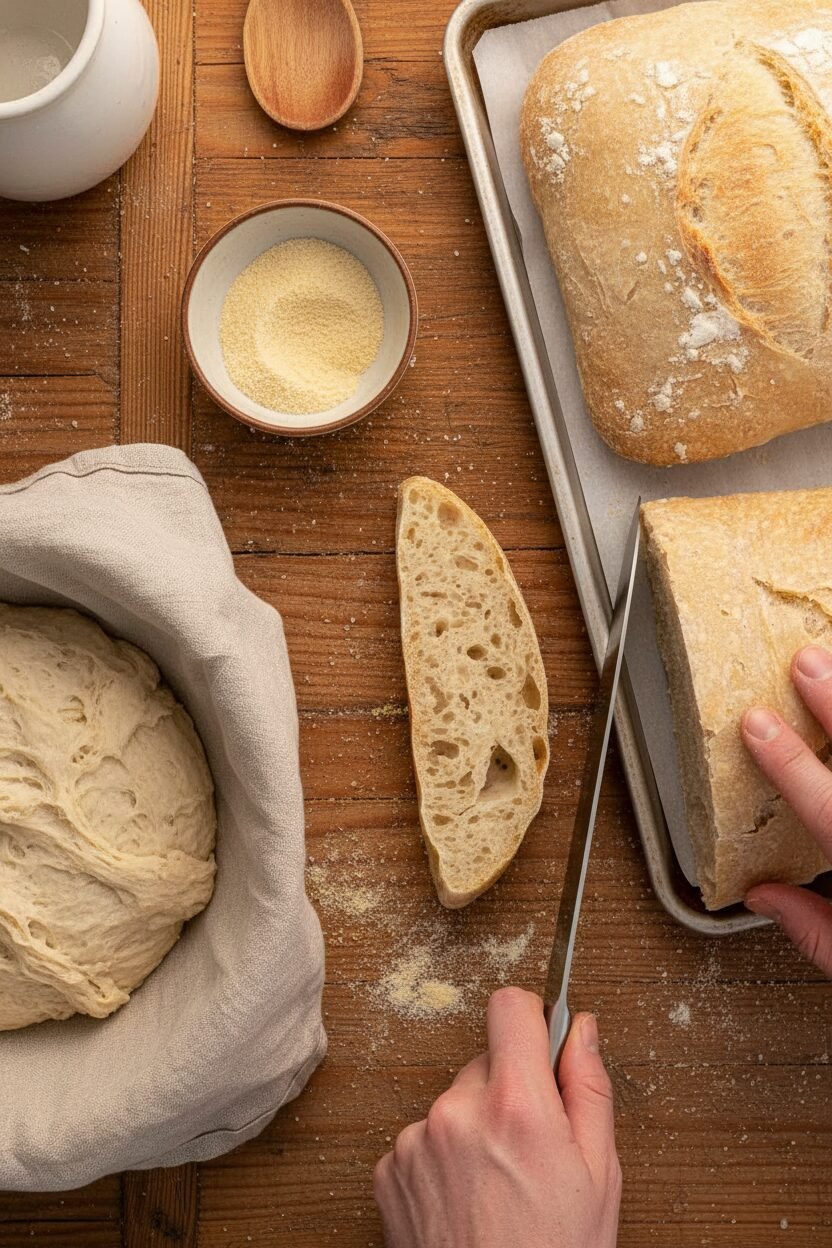
When your loaves are golden, tap them. Listen for a hollow sound. That sound is your reward. It tells you the bread is ready.
Doesn’t that smell amazing? Let it cool completely. I know it is hard to wait. But cutting it warm makes it gummy. This matters for the perfect sandwich slice.
Your Sandwich Adventure
This bread is a dream for sandwiches. The crust is crisp. The inside is soft and full of pockets. It holds everything without getting soggy.
What is your favorite sandwich filling? Tell me about it. My grandson loves roast beef with horseradish. I think a simple tomato and mayo is best. What do you think makes the perfect sandwich?
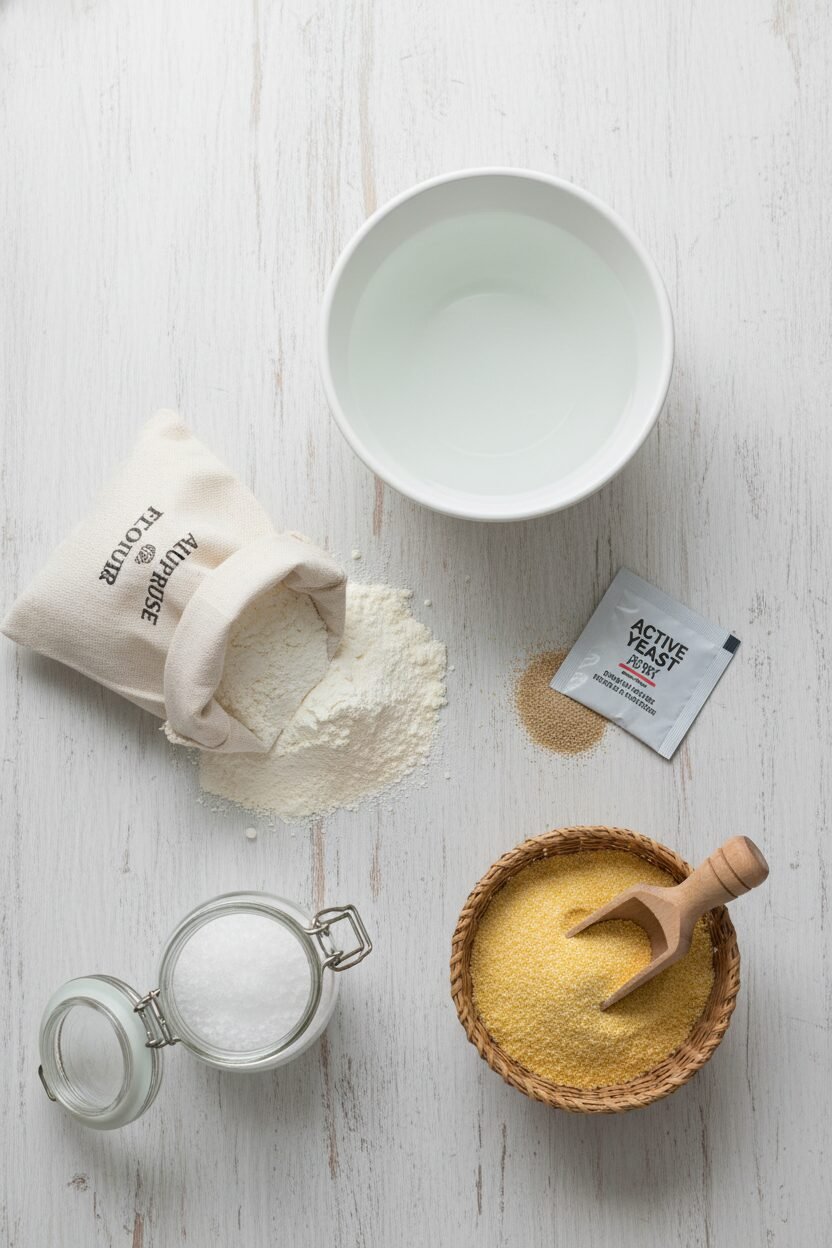
Ingredients:
| Ingredient | Amount | Notes |
|---|---|---|
| all-purpose flour | 4 cups | plus more for shaping |
| salt | 2 teaspoons | |
| active dry yeast | 1/4 teaspoon | |
| warm water | 2 cups | approximately 113°F |
| cornmeal | 2 tablespoons |
My Ciabatta Secret for Perfect Sandwiches
Hello, my dear. Come sit with me. Today we are making ciabatta bread. It is my favorite for sandwiches. The crust is crisp and the inside is soft and full of holes. It soaks up olive oil so nicely. I learned this from a baker in a little Italian village. He had flour up to his elbows. I still laugh at that.
This dough is very wet and sticky. Do not worry. That is how it should be. It gives the bread its wonderful texture. We let it sit for a very long time. This is the secret. It develops such a lovely flavor all by itself. It is like a little science project on your counter. Doesn’t that smell amazing when you uncover it?
Here is how we bring it all together.
Step 1: Put the flour, salt, yeast, and warm water in a big bowl. Mix it all up with a spoon. The dough will look shaggy and very sticky. This is perfectly normal. Just make sure no dry flour is left. (A hard-learned tip: Use a spatula you don’t mind getting doughy. It is much easier than a spoon.)
Step 2: Cover the bowl tightly with plastic wrap. Find a cozy spot for it on your counter. Let it rest there for a long time. I let mine sit for a whole day. You will see bubbles on the surface when it is ready. It is a patient bread, just like a good nap.
Step 3: Uncover the bowl. You will see a beautiful, bubbly dough. Use your spatula to fold the dough over itself. Do this a few times right in the bowl. This builds its strength. It is like tucking a blanket around it. What do you think the bubbles are for? Share below!
Step 4: Now, flour your countertop very well. Pour that wet dough right onto the flour. Use your hands to gently cut it into two pieces. Do not knead it. Just divide it. It will be messy and that is okay. My first time, I had dough on my nose. I still laugh at that.
Step 5: Sprinkle cornmeal on your baking sheets. Lift one piece of dough. Let the middle sag down onto the pan. Tuck the sides in to make a rectangle. Repeat with the second piece. Sprinkle them with a little more flour. Cover them loosely and let them rest for one more hour.
Step 6: Heat your oven nice and hot. Bake the loaves until they are golden brown. To test, tap the bottom of a loaf. It should sound hollow. Let them cool completely before you cut. I know, the wait is the hardest part.
Cook Time: 25 minutes
Total Time: 18-24 hours (mostly resting)
Yield: 2 loaves
Category: Bread, Baking
Three Tasty Twists on Classic Ciabatta
Once you master the basic loaf, you can have some fun. Try adding different flavors right into the dough. It makes every sandwich a new adventure. My grandson loves to help me with this part. He always picks the herby one.
Sun-Dried Tomato & Basil: Chop up a few tomatoes and fresh basil. Fold them into the dough at the very beginning. It turns the bread a pretty pink color. It tastes like summer.
Garlic & Rosemary: Add a spoonful of minced garlic and fresh rosemary. The smell in your kitchen will be incredible. This is wonderful with a big bowl of soup.
Olive & Thyme: Toss in a handful of chopped green olives and thyme. It gives the bread a lovely, salty bite. Perfect for a fancy picnic.
Which one would you try first? Comment below!
Serving Your Beautiful Homemade Bread
Oh, the things you can do with a fresh loaf of ciabatta. My favorite is a simple tomato sandwich. The bread is strong enough to hold everything. It will not get soggy. You can also tear off a piece to dip in olive oil. Add a little salt and pepper. It is a perfect snack.
For a real treat, make a panini. Layer on ham and cheese. Press it until the cheese melts. For a drink, a cold glass of milk is always good. Or a crisp Italian red wine for the grown-ups. Which would you choose tonight?
Keeping Your Ciabatta Perfectly Fresh
Fresh ciabatta is best eaten the day you bake it. To keep it longer, let it cool completely first. Then, store it in a paper bag at room temperature for a day.
For longer storage, freeze it! Wrap the whole loaf tightly in plastic wrap. Then, put it in a freezer bag. It will keep for about a month.
I once froze a loaf and forgot about it for weeks. My grandson found it and we had a wonderful surprise lunch. Batch cooking bread saves so much time for busy weeks.
To reheat, thaw frozen bread at room temperature. Then, warm it in a 350°F oven for ten minutes. This brings back that wonderful crisp crust.
Having homemade bread ready makes any meal feel special. It turns a simple soup into a feast. Have you ever tried storing it this way? Share below!
Simple Fixes for Common Ciabatta Troubles
Is your dough too sticky? Do not add more flour. A wet, sticky dough is correct for ciabatta. Just flour your hands well when you handle it.
I remember when I first made this. I was sure I had done it wrong. Trust the recipe. The wet dough creates those wonderful air pockets inside.
Is your crust not crispy enough? Your oven might not be hot enough. Use an oven thermometer to check. A hot oven gives you that perfect, crunchy crust.
Is your bread too dense? The dough might not have risen long enough. Find a warm spot in your kitchen. This helps the yeast do its magic.
Understanding these little things builds your confidence. It also makes your food taste so much better. Which of these problems have you run into before?
Your Ciabatta Questions, Answered
Q: Can I make this gluten-free?
A: Yes, use a good gluten-free bread flour blend. The texture will be a bit different but still tasty.
Q: Can I make the dough ahead?
A: The first long rise is already a make-ahead step. It rests for up to a full day.
Q: What if I don’t have cornmeal?
A: You can use a little more flour instead. It just helps prevent sticking.
Q: Can I make one big loaf?
A: Absolutely! Just bake it for a few minutes longer. Listen for that hollow sound.
Q: Any extra tips?
A: A pizza stone makes the bottom crust extra crispy. Fun fact: The word ‘ciabatta’ means ‘slipper’ in Italian! Which tip will you try first?
Sharing the Kitchen Table with You
I hope you love making this bread as much as I do. There is nothing like the smell of fresh bread filling your home. It is a simple joy.
I would be so delighted to see your creations. Please share your photos with our little community. It makes my heart so happy.
Have you tried this recipe? Tag us on Pinterest! I cannot wait to see your beautiful, golden loaves. Happy cooking!
—Elowen Thorn.
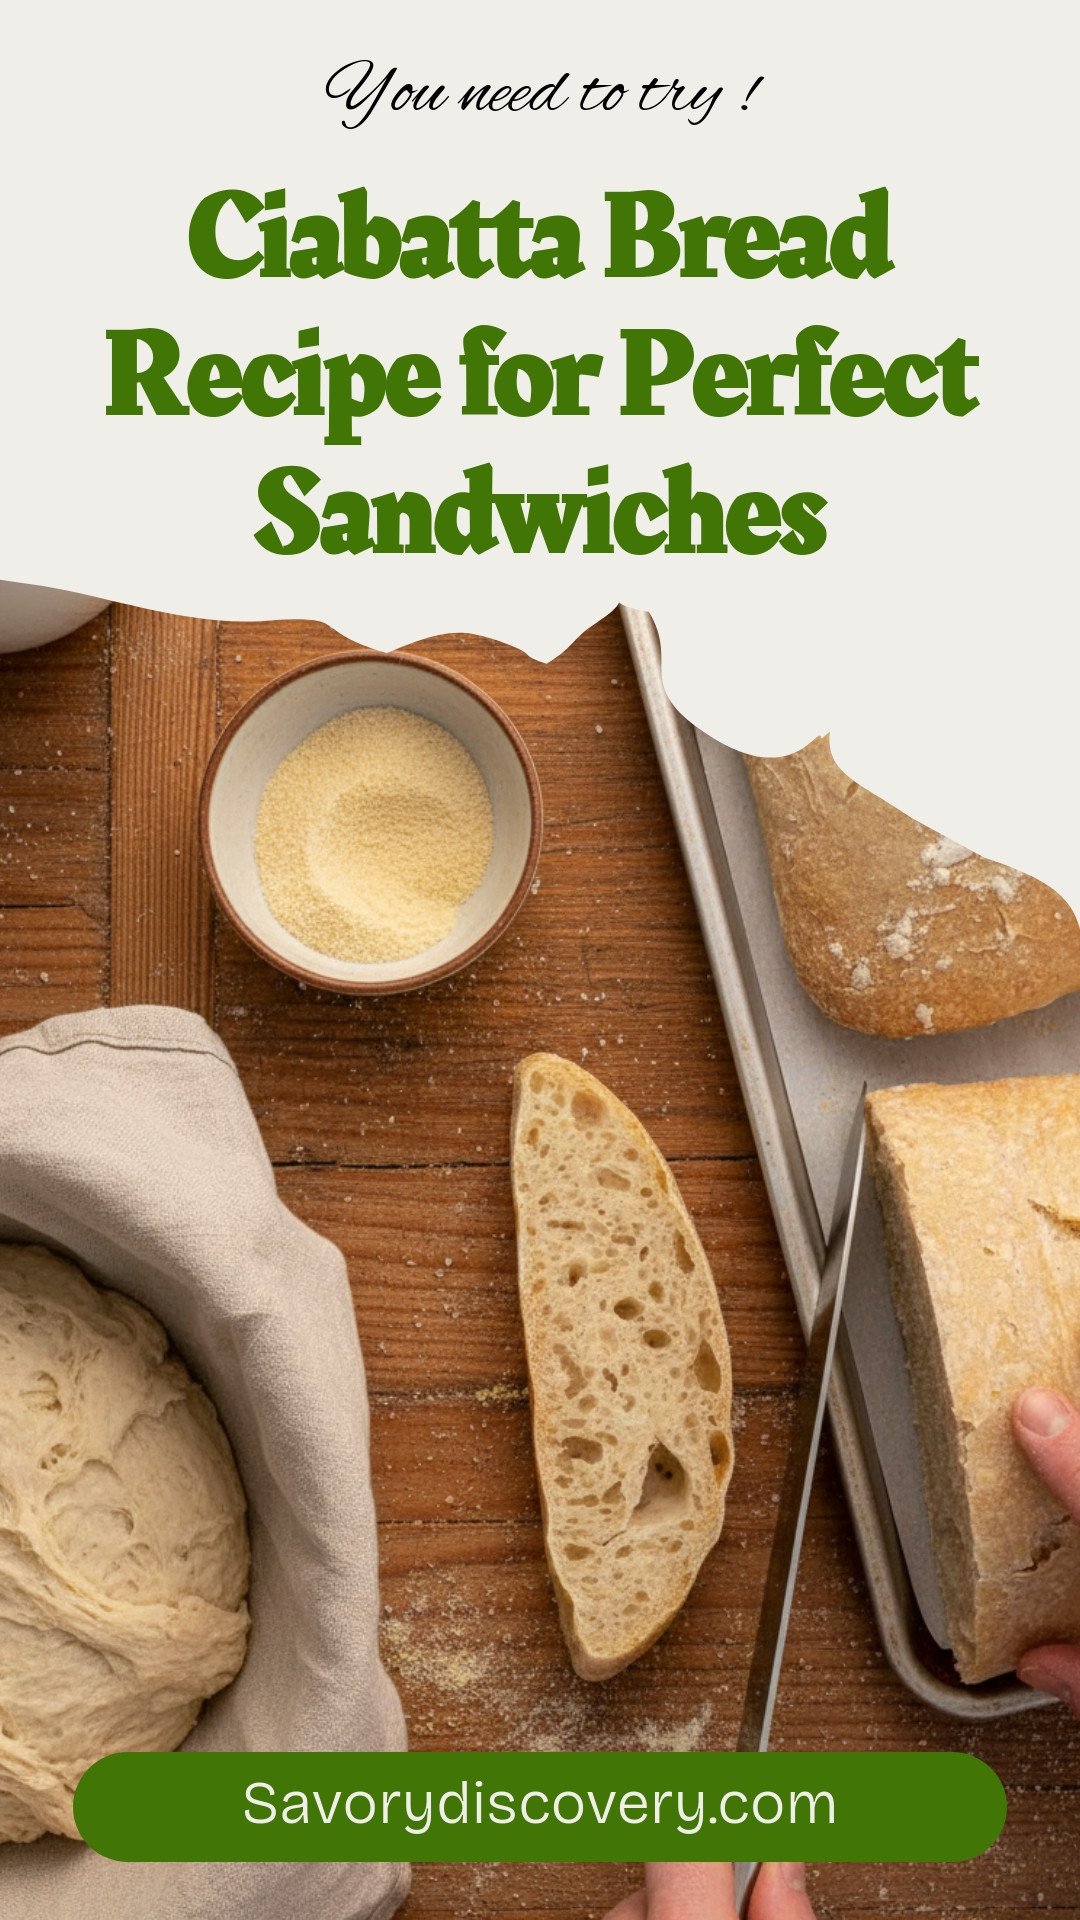

Ciabatta Bread Recipe for Perfect Sandwiches
Description
Ciabatta Bread is a flattened rustic Italian white bread with a crisp crust and a soft, springy crumb baked to a golden brown.
Ingredients
Instructions
- In a large bowl add flour, salt, yeast, and water. Mix together until all ingredients are incorporated. The dough will be wet.
- Cover with plastic wrap and set in a warm, dry area for 16-24 hours.
- When ready, use a spatula to fold the dough over a few times inside of the bowl.
- Liberally flour a work surface and pour out the dough onto the floured surface. Use your hands to divide the dough into two equal-sized pieces.
- Line two baking sheets with parchment paper and sprinkle both with cornmeal. Using a bench scraper and your hand, or just using both hands, lift one of the halves of dough over one of the lined baking sheets. Let the middle of the dough sag and touch the parchment and fold in each side. Then, shape the dough into a rectangle approximately 8×4-inches. Repeat with the other half of the dough onto the second prepared baking sheet.
- Sprinkle a little flour over the loaves and loosely cover them with plastic wrap. Let the dough rise again for about 1 hour.
- When ready, preheat the oven to 425°F.
- Bake the loaves for 22-25 minutes. The bread is done when tapping on the loaves results in a hollow sound. Let cool completely before cutting and serving.
Notes
- For best results, use a kitchen scale to measure the flour for accuracy. The long fermentation is key to developing the characteristic ciabatta flavor and open crumb.