

A Cake Fit for a Princess
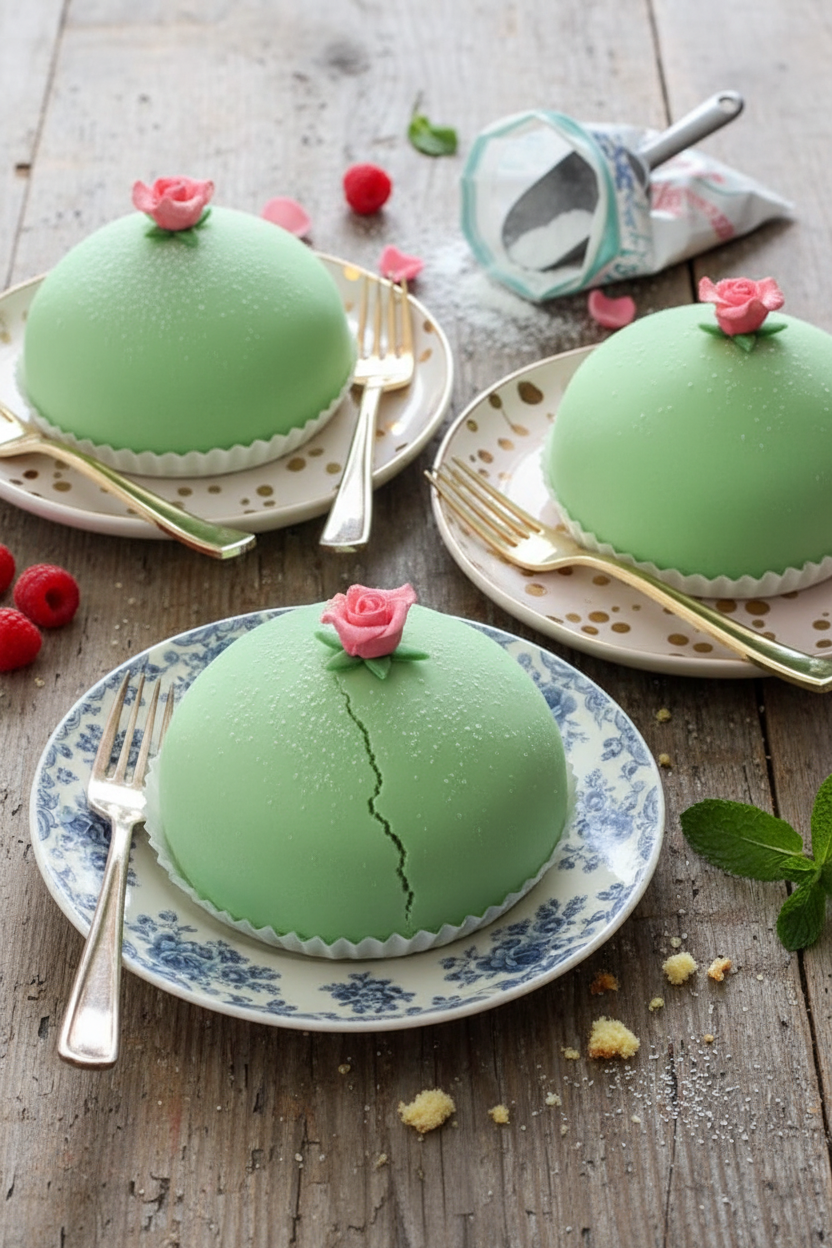
This cake is a Swedish treasure. It is called Prinsesstårta. That means “princess cake.” Three young princesses loved it long ago. Their cooking teacher made it for them. I think that is a sweet story. Doesn’t it make you smile?
It looks like a soft, green hill. It is covered in marzipan. Inside, it has layers of cake, jam, and cream. Each bite is a little dream. This matters because food can be a happy memory. It connects us to people and places.
The Heart of the Cake
Let’s talk about the sponge. It is light as a cloud. You beat eggs and sugar for a long time. This puts tiny bubbles in the mix. Those bubbles make the cake soft. I still laugh at that. My first sponge cake was flat as a pancake! I learned to be patient.
The vanilla custard is the real heart. You cook it slowly. You must stir and stir. It gets thick and lovely. Doesn’t that smell amazing? This matters because good things take care. Rushing never makes a smooth custard.
A Magic Trick with Cream
Now for a magic trick. We use gelatin in the whipped cream. This is called stabilizing. It helps the cream stay tall and fluffy. It won’t sag under the marzipan blanket. It’s a clever little secret.
*Fun fact*: The green marzipan top was not always the style. Early versions were often pink or yellow! What color would you make your princess cake? I’d love to hear your ideas.
Building a Sweet Dome
Assembly is the fun part. You layer cake, jam, and custard. Then you pile on all that cream. Shape it into a big, smooth dome. This shape is classic. It looks like a princess’s gown.
The last cake layer goes on top. Then a thin coat of buttercream seals it. This is like putting on primer paint. It helps the marzipan stick nicely. Have you ever worked with marzipan? It’s like sweet, edible play-dough.
Your Turn in the Kitchen
This cake has many steps. That is okay. You can make parts on different days. Make the sponge and custard one day. Assemble the next. It feels less busy that way.
The final touch is the marzipan cloak. You drape it over the dome. Gently smooth it down. It is so satisfying. What is your favorite cake to make with your family? Tell me about it. Baking together makes the best memories.
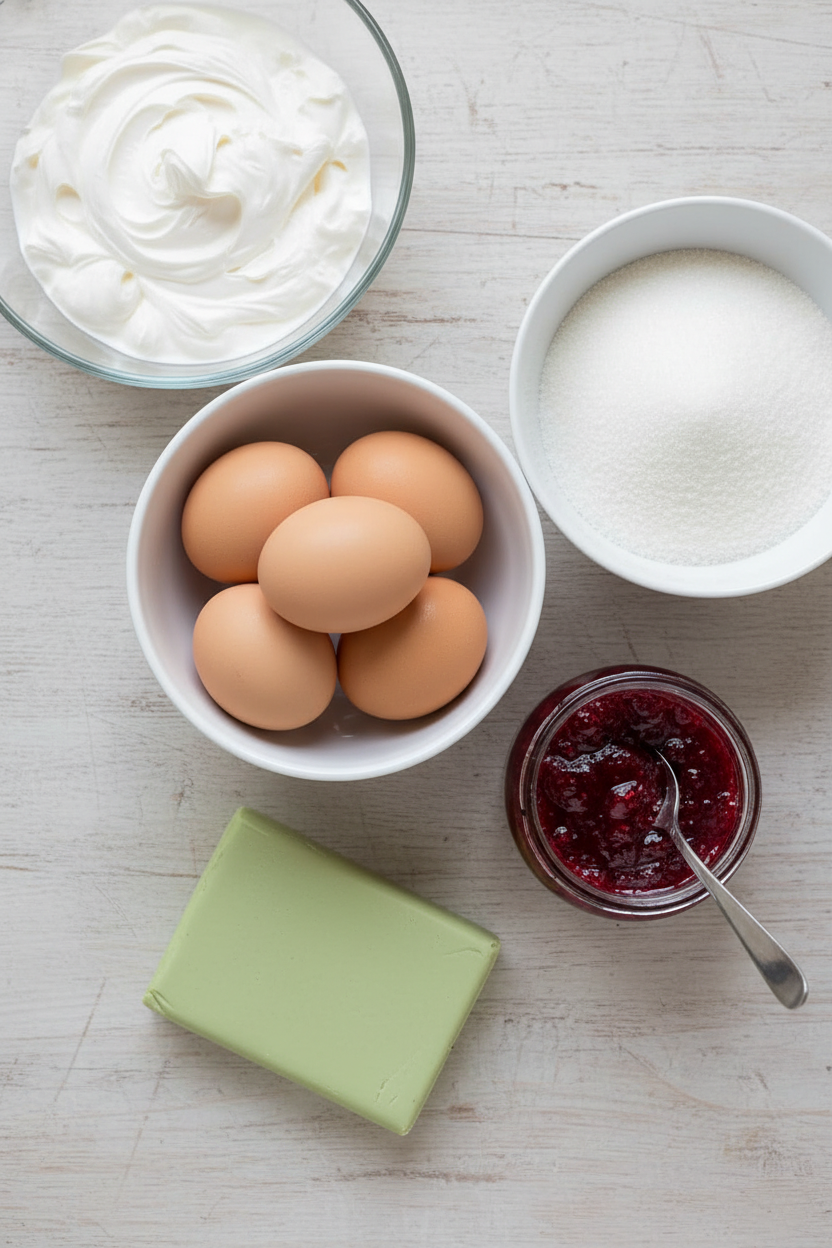
Ingredients:
| Ingredient | Amount | Notes |
|---|---|---|
| For the Sponge Cake: | ||
| Large eggs, room temperature | 4 | |
| Granulated sugar | 3/4 cup (150g) | |
| Vanilla extract | 1 teaspoon | |
| All-purpose flour | 1 cup (125g) | |
| Baking powder | 1 teaspoon | |
| Salt | 1/4 teaspoon | |
| For the Vanilla Custard: | ||
| Granulated sugar | 1/2 cup (100g) | |
| Cornstarch | 3 tablespoons | |
| Salt | Pinch | |
| Large egg yolks | 4 | |
| Whole milk | 1 1/2 cups (360ml) | |
| Unsalted butter | 2 tablespoons | |
| Vanilla extract | 1 teaspoon | |
| For the Stabilized Whipped Cream: | ||
| Unflavored powdered gelatin | 1 teaspoon | |
| Cold water | 2 tablespoons | For blooming gelatin |
| Heavy whipping cream, chilled | 2 cups (480ml) | |
| Powdered sugar | 1/4 cup (30g) | |
| For the American Buttercream: | ||
| Unsalted butter, softened | 1/2 cup (113g) | |
| Powdered sugar | 1 1/2 cups (188g) | |
| Heavy cream or milk | 1 tablespoon | |
| Vanilla extract | 1 teaspoon | |
| For Assembly and Decoration: | ||
| Raspberry jam | Approx. 1/3 cup | |
| Prepared marzipan | 1 pound (454g) | e.g., from Scott’s Cakes or Dr. Oetker |
| Green gel food coloring | As needed | Optional |
| Powdered sugar | For dusting | |
| Decorations (e.g., candy rose) | As desired | Optional |
Instructions
Step 1: First, make your sponge cake. Beat eggs and sugar until they’re fluffy and light. Gently fold in the flour. Bake it until the top springs back. Let it cool completely. I always tap the top to test it. (A pro tip: use room-temperature eggs for the fluffiest cake!)
Step 2: Now, cook the vanilla custard. Whisk everything in a saucepan. Cook it slowly, stirring all the time. It will get thick and lovely. Pour it into a bowl and cover it. Press plastic right on the surface so no skin forms. Doesn’t that smell amazing?
Step 3: Time for the magic whipped cream. Bloom gelatin in water, then melt it. Whip your cold cream and sugar. Drizzle in the liquid gelatin while beating. This keeps the cream dome standing tall. Why do we add gelatin? Share below! Refrigerate it until you’re ready.
Step 4: Let’s build our princess! Slice the sponge into three layers. Spread jam and custard between them. Now, pile all the whipped cream on top. Shape it into a beautiful, smooth dome. Gently press the last thin cake layer on top. I still laugh at how wobbly this feels!
Step 5: Finally, cover your cake with marzipan. Roll the green marzipan into a big, thin circle. Drape it over the chilled cake dome. Smooth it down and trim the edges. (Dust your rolling pin with powdered sugar to prevent sticking.) Add a little marzipan rose on top. You made a masterpiece!
Creative Twists
Pink Princess: Tint your marzipan a soft, rosy pink instead of green. Berry Surprise: Use lingonberry jam or fresh berries inside the layers. Chocolate Crown: Add a little cocoa to the sponge cake for a chocolatey base. Which one would you try first? Comment below!Serving & Pairing Ideas
Serve each slice with a cup of warm berry tea. It’s a perfect match. For a fancy touch, add fresh raspberries on the side. A dusting of powdered sugar makes it look like fresh snow. Which would you choose tonight?
Keeping Your Princess Cake Perfect
This cake is a special treat. You will want to save some for later. The fridge is your best friend here. Cover it well with a cake dome or wrap.
You can freeze slices too. Wrap each piece tightly in plastic. Then place them in a freezer bag. I once froze a slice for my grandson’s visit. He said it tasted just as sweet months later.
Batch cooking the sponge layers saves time. Bake them ahead and freeze. Thaw at room temperature when you are ready. This matters because it makes a big project feel small and doable.
To serve, let it sit out for twenty minutes. This softens the marzipan nicely. Have you ever tried storing it this way? Share below!
Three Little Cake Hiccups and How to Fix Them
First, a soggy cake layer. This happens if the custard is too warm. Make sure it is completely cold before assembling. I remember when my first cake layer sank. Now I always chill the custard overnight.
Second, whipped cream that wilts. The secret is that stabilized cream. The gelatin helps it hold its dome shape. This matters for both looks and taste. A firm cream makes every slice perfect.
Third, cracked marzipan. Roll it out evenly and be gentle. Drape it over the chilled cake dome slowly. Smooth it with your hands, do not pull. Fixing small issues builds your confidence in the kitchen. Which of these problems have you run into before?
Your Quick Questions, Answered
How to make a traditional Swedish princess cake?
Start with a light vanilla sponge cake. Slice it into three thin layers. Fill them with raspberry jam and rich vanilla custard. Top it with a big dome of stabilized whipped cream. Cover everything with a thin layer of green marzipan. The final touch is a dusting of powdered sugar on top. It is a project, but each step is simple.
What are the key components of a prinsesstårta?
The key parts are the sponge, custard, and cream. You need vanilla sponge cake layers. They hold vanilla custard and raspberry jam. A dome of stiff whipped cream sits on top. The whole cake is covered in marzipan, usually green. These layers create its special taste and famous look. Every bite has soft cake, creamy filling, and sweet marzipan.
Can I make a princess cake without marzipan?
Yes, you can skip the marzipan. It will not be a classic princess cake. But it will still taste wonderful. Try covering it with sweetened whipped cream instead. You could also use a fondant if you like. The marzipan seals in moisture and adds flavor. Without it, your cake is a delicious vanilla layer cake with a cream dome.
What is the difference between a princess cake and a regular layer cake?
A princess cake has a very specific shape and cover. It is always dome-shaped, not flat. It is covered in marzipan, not frosting. The inside has custard and jam, not just buttercream. *Fun fact: The green marzipan was originally meant to look like a laurel wreath!* A regular layer cake can be any flavor and is often frosted openly.
How do you get the perfect dome shape for a princess cake?
The dome comes from the whipped cream. Pile all the stabilized cream on the top layer. Use a spatula to shape it into a smooth hill. Then gently press the last thin cake layer on top. This helps form the curve. Chilling the cake next firms up the dome. This makes the marzipan easy to drape over the rounded shape.
Are there any common variations or modern twists on the classic recipe?
Many bakers now use different colors for the marzipan. Pink or yellow cakes are pretty. Some use different jam flavors, like strawberry or apricot. A chocolate sponge is another fun twist. You can even decorate with fresh berries. The classic version is always lovely. But your kitchen, your rules! Which tip will you try first?
From My Kitchen to Yours
I hope you feel ready to make this special cake. Do not worry if it is not perfect. The love you put in is the real ingredient.
I would love to hear about your baking adventure. Tell me how it went in my kitchen. Have you tried this recipe? Leave a comment below and share your story.
Happy cooking!
—Elena Rutherford
