

My First Baking Blunder
My first time making these rolls was a mess. I was so nervous. I forgot to turn the oven off for the rise. The kitchen got so hot. The dough rose too fast and then fell flat. I still laugh at that.
But you know what? We baked them anyway. They were a bit dense, but still tasty. This taught me a good lesson. Baking is about trying, not being perfect. That matters more than you think. What was your first kitchen mistake? I bet it turned out okay too.
The Magic of Warmth
This recipe asks for a warm oven. That warmth is like a cozy blanket for the dough. It helps the little yeast bubbles wake up and grow. Doesn’t that smell amazing when it starts to rise?
That waiting time is important. It lets flavor develop. It makes the rolls light and fluffy. Rushing this step makes tough rolls. Patience here makes all the difference. Fun fact: yeast is actually a tiny, living fungus! It eats the sugar and burps out gas. That gas is what makes bread rise.
Shaping with Love
Rolling the wedges into little crescents is my favorite part. You start at the wide end and roll to the point. It feels like tucking a child into bed. The pointed tip goes underneath to keep it snug.
This shape isn’t just pretty. It creates lovely, buttery layers. Every bite pulls apart in a soft spiral. Do you have a favorite shape to make with dough? I love hearing about family baking traditions.
The Golden Shine
That egg wash is the final magic trick. You brush it on twice. It seems like a small step. But it gives the rolls their beautiful, golden shine. It makes them look like they came from a fancy bakery.
This matters because we eat with our eyes first. A shiny, golden roll just tastes more special. It says someone took care. It turns simple ingredients into a celebration. Which do you like more: the smell of baking or the look of a finished treat?
More Than Just a Roll
These crescents are not just bread. They are a reason to gather. I make them for holiday mornings. We eat them while opening gifts. The smell fills the whole house with joy.
That’s the real secret ingredient. It’s the feeling you bake into them. Sharing food you made is a way of sharing love. This recipe is a way to make memories. I hope you make some wonderful ones with it.
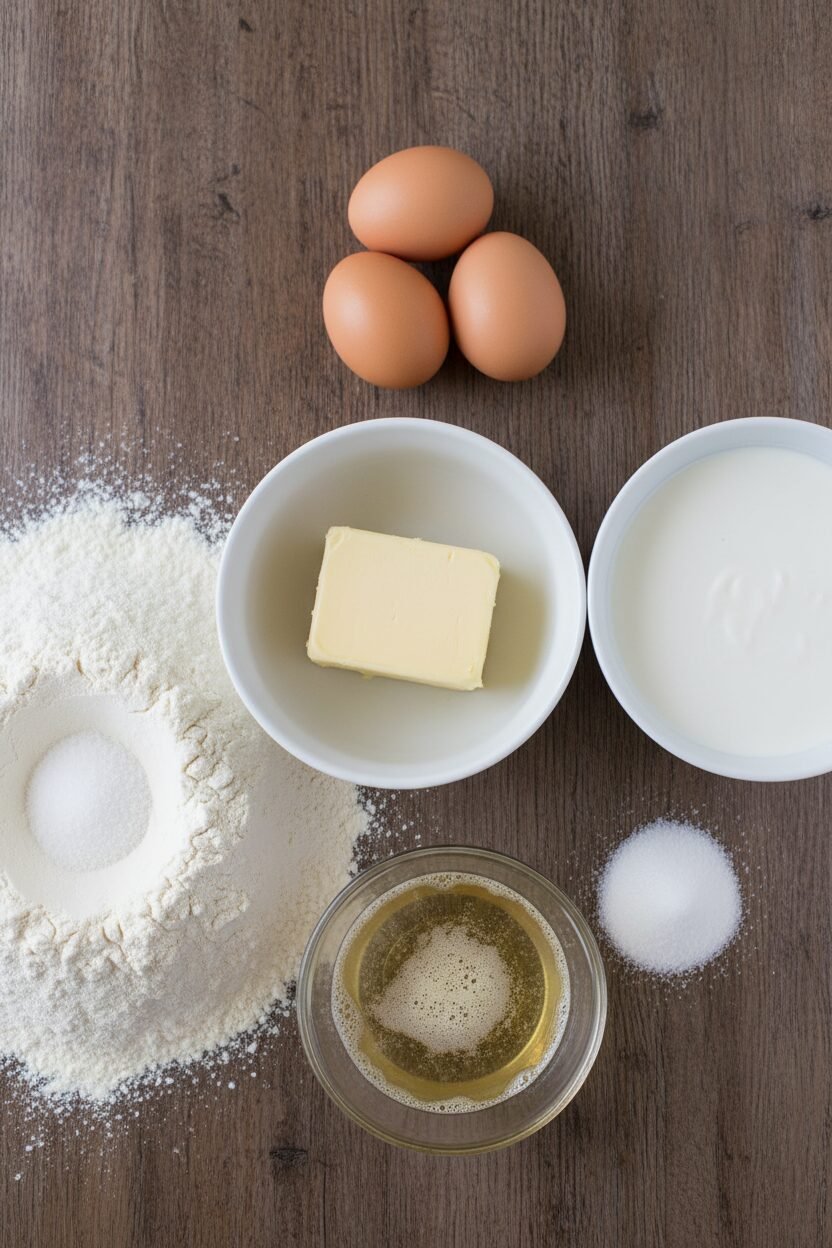
Ingredients:
| Ingredient | Amount | Notes |
|---|---|---|
| Unsalted butter | 7 tablespoons + 1 tablespoon | 7 tbsp melted and cooled; 1 tbsp softened |
| Half-and-half | ½ cup | Heated to 110°F |
| Instant or rapid-rise yeast | 1 tablespoon | |
| Sugar | ¼ cup (1¾ ounces / 50g) | |
| Large eggs | 2 | 1 whole, 1 separated (yolk in dough, white for glaze) |
| All-purpose flour | 2½ cups (12½ ounces / 354g) | |
| Salt | 1¼ teaspoons | |
| Water | 1 teaspoon | For egg wash glaze |
Instructions
Step 1: First, make a cozy spot for your dough to grow. Move your oven rack to the middle. Heat your oven to 200 degrees, then turn it off. Line a baking sheet with parchment paper. Grease a large bowl with a little butter or oil. This warm, turned-off oven will be our dough’s naptime spot. Doesn’t that sound nice?
Step 2: Let’s wake up the yeast. Whisk the melted butter, warm half-and-half, yeast, and 1 teaspoon of sugar in a big measuring cup. Whisk in 1 whole egg and 1 egg yolk. In your mixer bowl, mix the flour, the rest of the sugar, and 1 teaspoon of salt. With the mixer on low, pour in the wet ingredients. Mix until a dough forms, then let it knead for 6 minutes. (A sticky dough means you might need a touch more flour.) Turn it out, shape it into a smooth ball, and put it in the greased bowl. Cover it and let it nap in the warm oven for an hour.
Step 3: Your dough should be puffy now! Gently punch it down. Roll it on a floured surface into a 12-inch circle. Spread the softened butter all over it. Sprinkle on the last ¼ teaspoon of salt. Cut the circle into 12 wedges, like a pizza. Roll each wedge up, starting from the wide end. Place each roll on your baking sheet with the point tucked underneath. Cover them loosely and let them rise again in the warm oven for another hour. What do we call this second rise? Share below!
Step 4: Time to bake! Take the pan from the oven and remove the plastic. Heat your oven to 350 degrees. Whisk the leftover egg white with 1 teaspoon of water. Gently brush this wash over each roll. Bake for about 20 minutes until they are golden and beautiful. I still laugh at how fast they disappear. Let them cool for just 10 minutes before serving. Their warmth is the best part.
Creative Twists
These rolls are a perfect blank canvas. You can make them new every time. Just add a little sprinkle of joy before you roll them up. My grandkids love helping with this part. It makes the kitchen smell even more wonderful.
Cinnamon Sugar Swirl: Mix ¼ cup sugar with 1 tablespoon cinnamon. Sprinkle over the buttered dough.
Everything Bagel: Sprinkle with sesame seeds, poppy seeds, dried onion, and a pinch of salt.
Herb & Garlic: Mix 2 tablespoons soft butter with 1 minced garlic clove and 1 teaspoon dried herbs. Spread this instead of plain butter.
Which one would you try first? Comment below!
Serving & Pairing Ideas
These crescents are stars of the breakfast or dinner table. For a holiday brunch, serve them with whipped honey butter. Just whip soft butter with a drizzle of honey. For dinner, they are lovely next to a warm bowl of soup. Tear off little pieces to dip. It’s so comforting.
For drinks, a cold glass of apple cider is perfect. The sweet tang pairs so well. For the grown-ups, a small glass of sparkling Prosecco feels like a celebration. The bubbles cut through the rich, buttery bread. Doesn’t that sound like a lovely meal? Which would you choose tonight?
Keeping Your Crescent Roll Delights Fresh
Let’s talk about keeping your rolls lovely. Cool them completely first. Then store them in an airtight container. They will stay soft for two days on your counter.
For longer keeping, freeze them. Wrap each roll tightly in plastic wrap. Then pop them all into a freezer bag. They will be happy there for a month.
To reheat, warm frozen rolls in a 300-degree oven. Do this for about ten minutes. I once served week-old frozen rolls. My grandson said they tasted just-baked!
This matters because good food shouldn’t be wasted. A little planning means fresh treats anytime. Have you ever tried storing it this way? Share below!
Simple Fixes for Common Hiccups
Sometimes dough doesn’t rise. Your liquid might be too hot. It should feel warm on your wrist, not hot. A happy yeast makes fluffy rolls.
If your dough is sticky, add a little flour. Just a tablespoon at a time. I remember when my dough stuck to everything. A bit more flour saved the day.
Rolls not golden brown? Your oven might run cool. Use an oven thermometer to check. Brushing with egg wash twice helps, too.
Fixing small problems builds your cooking confidence. It also makes your food taste its very best. Which of these problems have you run into before?
Your Quick Questions, Answered
Q: Can I make these gluten-free? A: Yes. Use a good gluten-free flour blend. The texture will be a bit different but still tasty.
Q: Can I make them ahead? A: Absolutely. Shape the rolls and refrigerate them overnight. Bake them fresh in the morning.
Q: What if I don’t have half-and-half? A: Whole milk works just fine. The rolls will still be tender and rich.
Q: Can I double the recipe? A: You can. Just make the dough in two separate batches. It is easier to handle that way.
Q: Any optional tips? A: Add a sprinkle of cinnamon sugar before rolling. *Fun fact: my family calls this the “secret sparkle.”* Which tip will you try first?
From My Kitchen to Yours
I hope you enjoy making these rolls. The kitchen is my favorite place for making memories. I would love to hear about your baking adventures.
Please tell me all about it in the comments below. Have you tried this recipe? Sharing stories is the best part. Happy cooking!
—Elowen Thorn.


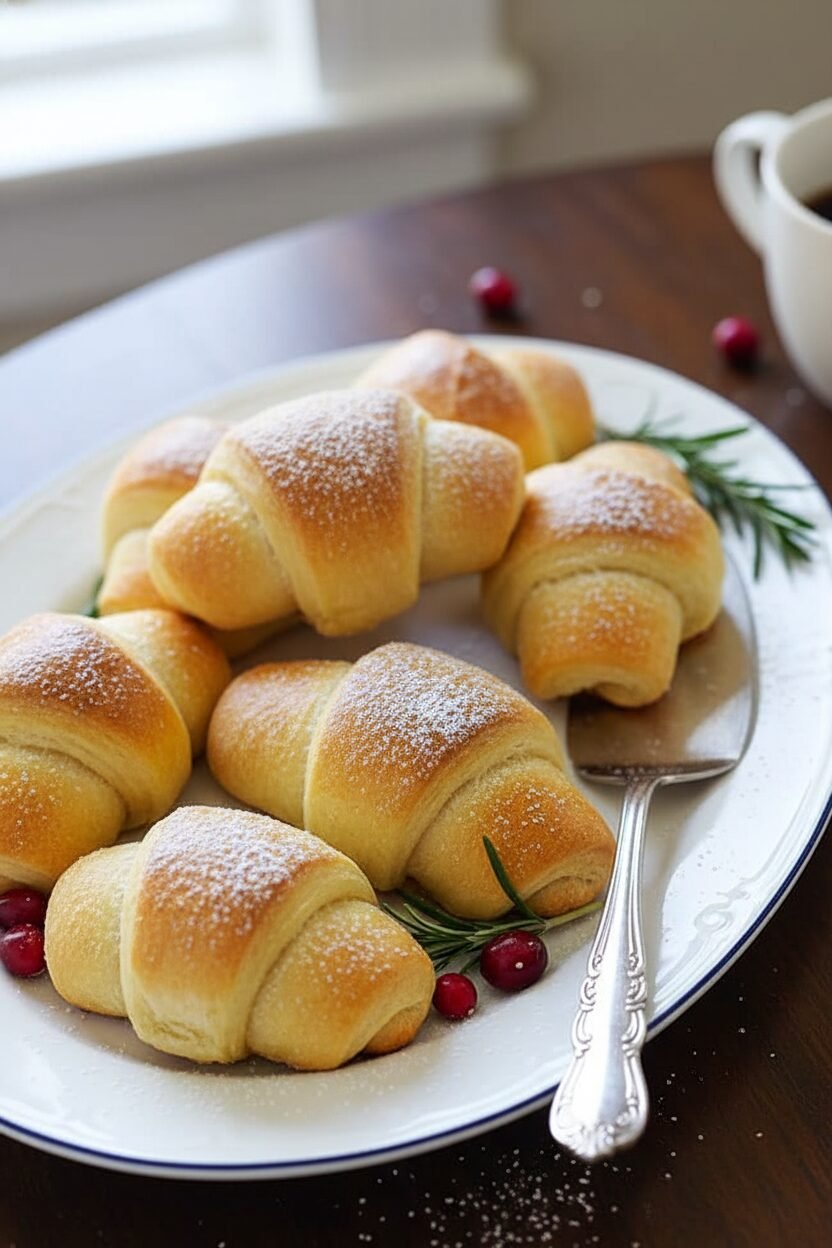
Easy Holiday Crescent Roll Delights
Description
Soft, buttery, and flaky homemade crescent rolls, perfect for any holiday table or special breakfast.
Ingredients
Instructions
- Adjust oven rack to middle position and heat oven to 200 degrees. When oven reaches 200 degrees, shut oven off. Line baking sheet with parchment paper. Grease large bowl.
- Whisk melted butter, half-and-half, yeast, and 1 teaspoon sugar in large liquid measuring cup until yeast dissolves, then whisk in 1 whole egg and 1 egg yolk. In bowl of standing mixer fitted with dough hook, mix flour, remaining sugar, and 1 teaspoon salt until combined. With mixer on low, add warm half-and-half mixture in steady stream and mix until dough comes together, about 1 minute. Increase speed to medium and mix until dough is smooth and comes away from sides of bowl, about 6 minutes. Turn dough out onto clean surface and knead to form smooth, round ball. Transfer dough to prepared bowl, cover with plastic, and place in warm oven. Let rise until doubled in size, about 1 hour.
- Turn dough out onto lightly floured surface and roll into 12-inch circle. Spread softened butter over dough, sprinkle with remaining salt, and, following photos 1 and 2 (see ‘How to Shape Crescent Rolls’ below), cut dough into 12 wedges, roll each wedge, and arrange (with pointed tip of dough underneath each roll) on prepared baking sheet. Cover loosely with plastic wrap and return to oven until doubled in size, about 1 hour. (At this point, rolls can be refrigerated for up to 24 hours.)
- Remove rolls from oven and discard plastic wrap; heat oven to 350 degrees. Whisk remaining egg white and water in small bowl. Brush each roll twice with egg white mixture and bake until golden brown, about 20 minutes, rotating baking sheet halfway through cooking. Cool rolls on baking sheet 10 minutes. Serve. (Once completely cool, rolls can be stored in airtight container at room temperature for 2 days.)
Notes
- For best results, ensure your half-and-half is heated to the correct temperature (110°F) to properly activate the yeast. The warm, turned-off oven provides the perfect draft-free environment for the dough to rise.