

My First Taste of Cookie Butter
My grandson brought a little jar home years ago. He said it was like peanut butter, but made from cookies. I was so curious. I took a tiny spoonful right from the jar. My eyes got wide. It was magic.
That sweet, spiced flavor made me smile. I knew I had to bake with it. These mini cheesecakes were my first try. Now they are a family favorite. Why does this matter? Finding a new flavor can bring so much joy to your kitchen.
Why We Make Mini Treats
Big desserts can be too much. A mini cheesecake is just right. It is your own perfect little cake. You do not have to share unless you want to. I like making them for parties.
Everyone can grab their own. No plates or forks needed. *Fun fact*: The word “cheesecake” is over 4,000 years old! The ancient Greeks ate it. Making mini versions just feels more fun and special to me.
The Secret to the Crust
Do not just crumble the cookies. You must press them down hard. Use the bottom of a small glass or your fingers. Press, press, press. This keeps your crust from falling apart later.
A good crust is the foundation. It is like the floor of your cheesecake house. Make it strong. What is your favorite part of a cheesecake? Is it the crust, the filling, or the topping? Tell me in the comments.
Patience is a Sweet Ingredient
The waiting is the hardest part. You must chill the cheesecakes overnight. I know, I know. You want to eat them now. But trust this grandma.
That long chill makes the filling set. It becomes firm and creamy. Why does this matter? Good things take time. The wait makes that first bite even better. Do you have a hard time waiting for desserts to be ready? I still do sometimes!
Your Turn to Create
The final decorations are the best. Drizzle the warm cookie butter. Pipe on the whipped cream. Add that last cookie piece. It is like putting a hat on a snowman. It just finishes it.
This is where you can be an artist. Make them pretty. What other toppings would you try? Crushed peanuts or a little chocolate drizzle? I would love to see your creations. Share a picture if you make them.
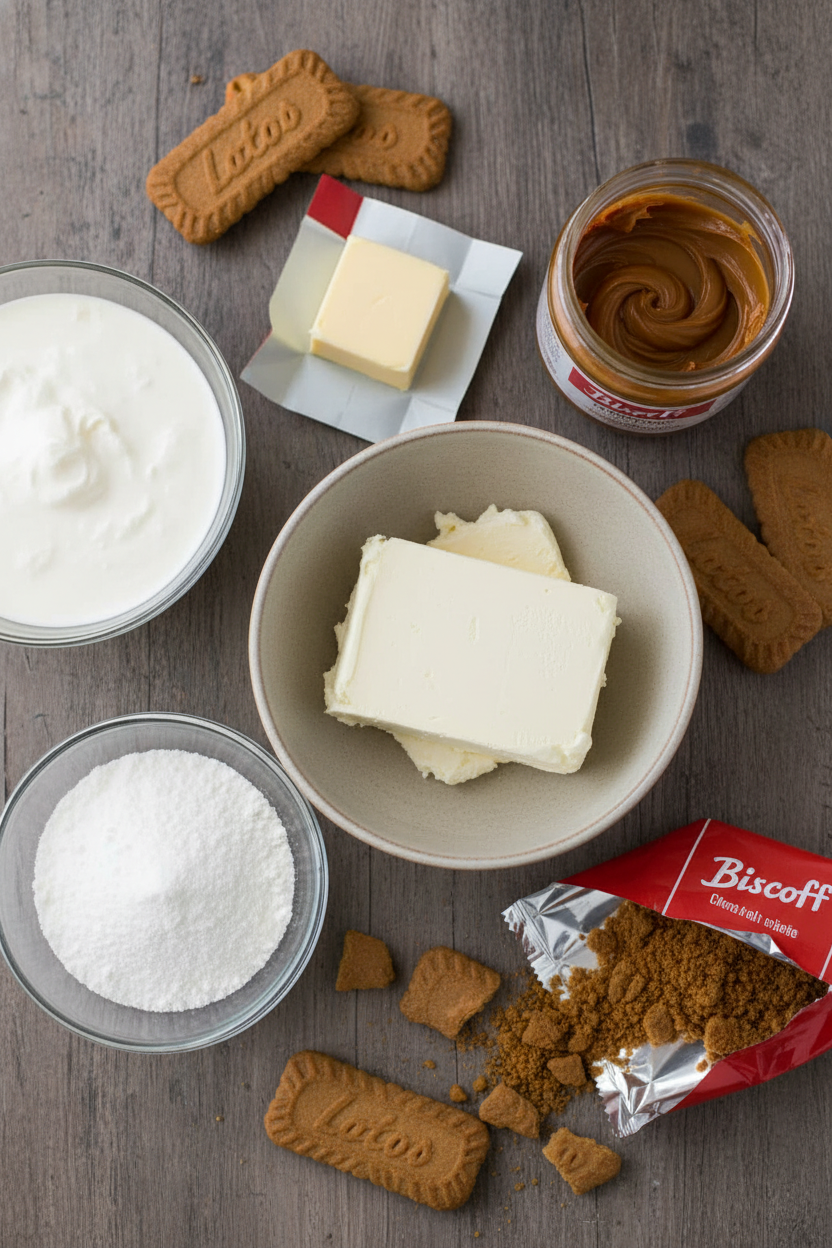
Ingredients:
| Ingredient | Amount | Notes |
|---|---|---|
| Biscoff cookie crumbs | 2 cups (200 g) | For the crust |
| Granulated sugar | 2 tbsp (24 g) | For the crust |
| Salted butter, melted | 6 tbsp (84 g) | For the crust |
| Cream cheese, room temperature | 16 oz (454 g) | For the filling |
| Powdered sugar | 1 ¾ cup (210 g) | For the filling |
| Biscoff spread (cookie butter) | 1 cup (237 g) | For the filling |
| Vanilla extract | 2 tsp | For the filling |
| Heavy cream | 1 cup (237 ml) | For the filling |
| Heavy cream | ¾ cup (177 ml) | For the whipped cream |
| Powdered sugar | 2 tbsp (16 g) | For the whipped cream |
| Vanilla extract | ½ tsp | For the whipped cream |
| Biscoff spread (cookie butter) | ¾ cup (177 g) | For drizzling |
| Biscoff cookie crumbs | 2 tbsp (30 g) | For garnish |
| Biscoff cookies | 12 cookies, halved | For garnish |
Instructions
Step 1: First, make your cookie crust. Mix the crumbs, sugar, and melted butter in a bowl. It will smell like caramel and spice. Press the crumbs firmly into your pan. (A firm press stops a crumbly crust!) Do you like a thick or thin crust? Share below!
Step 2: Now for the creamy filling. Beat the cream cheese until it’s super smooth. Add the powdered sugar, cookie butter, and vanilla. My kitchen smells amazing now. Finally, pour in the heavy cream and whip it all up.
Step 3: Pipe the fluffy filling onto your crusts. Pile it a little high. Then, the hard part is waiting. Let them chill overnight. I always peek once, I can’t help it. They need time to get perfectly firm and cool.
Creative Twists
Add a chocolate cookie base instead.
Mix mini chocolate chips right into the filling.
Top with a drizzle of melted chocolate, too.
Which one would you try first? Comment below!
Serving & Pairing Ideas
Serve these little treats on a fancy plate. A cup of cold milk is the perfect partner. For a fancy touch, add a few fresh raspberries on the side. Their tart taste is lovely with the sweet cookie butter. Which would you choose tonight?

Easy No-Bake Biscoff Cheesecakes I Swear By
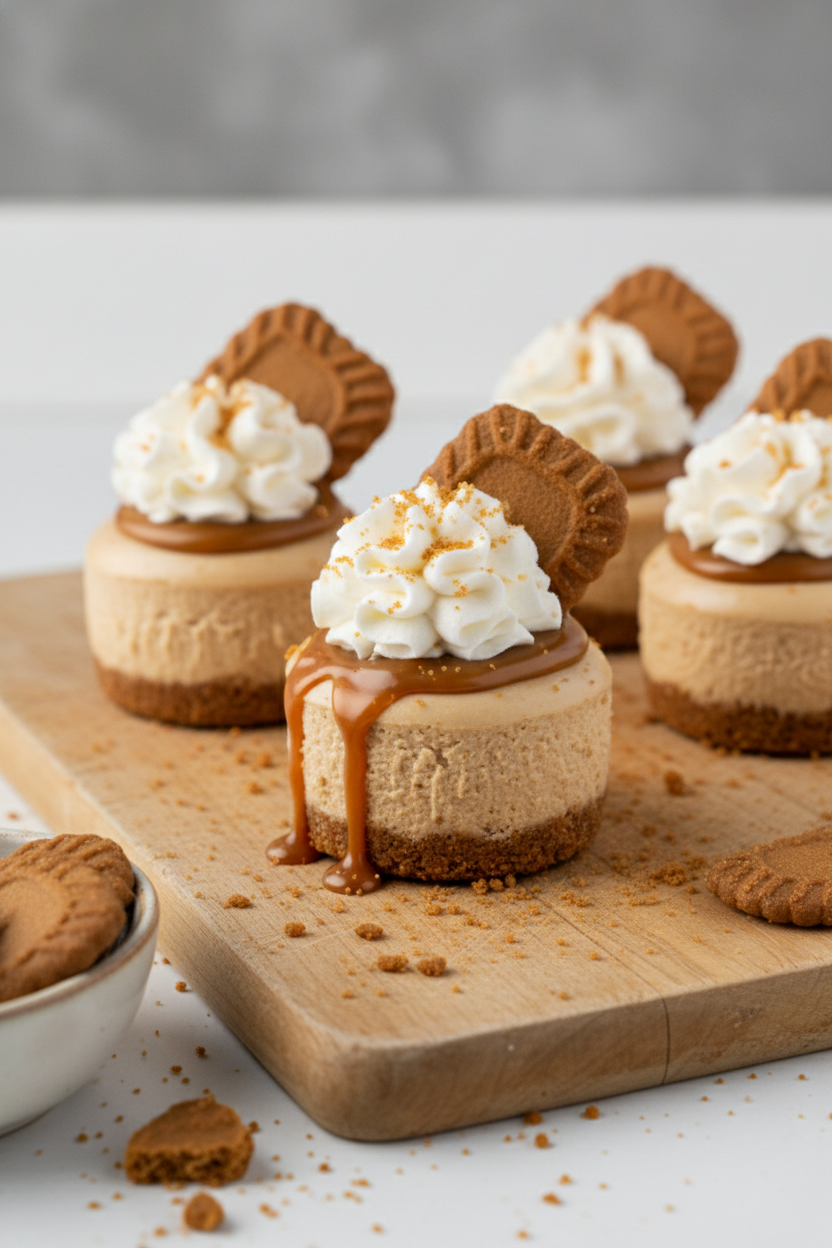
Description
Mini Biscoff Cheesecakes are an easy, no bake dessert for cookie butter lovers. Made with a Biscoff cookie crust, creamy Biscoff cheesecake filling, cookie butter drizzle, whipped cream, and more Biscoff cookies.
Ingredients
Instructions
- Make the Biscoff cookie crust: In a mixing bowl, stir together the Biscoff cookie crumbs, granulated sugar, and melted salted butter. Portion the crumbs into the mini cheesecake pan using a small cookie scoop (about 1 tablespoon). Firmly press the crumbs into the bottom of the pan to form the crust. Set aside.
- Make the Biscoff cheesecake filling: In a large bowl, use an electric hand mixer to cream the cream cheese, powdered sugar, Biscoff spread, and vanilla extract until smooth. Pour in the heavy cream and whip the cheesecake mixture on medium-high speed until the mixture thickens and becomes light and fluffy.
- Fill the cheesecakes: Fill a piping bag with the Biscoff cheesecake mixture and pipe it onto the Biscoff cookie crusts, slightly above the top of the pan. Chill the cheesecakes in the refrigerator for 12 hours or overnight.
- Make the whipped cream: After chilling, remove the cheesecakes from the pan. To make the whipped cream, in a bowl with an electric mixer, whip the heavy cream, powdered sugar and vanilla extract until medium-stiff peaks form. Fill a piping bag fitted with a Wilton 1M piping tip with the whipped cream.
- Assemble the cheesecakes: Heat the additional Biscoff spread in the microwave for about 30 seconds to melt slightly. To assemble the cheesecakes, pipe or spoon the melted Biscoff spread on the top of the cheesecakes. Pipe a small swirl of whipped cream on top. Sprinkle the cheesecakes with Biscoff cookie crumbs and top each cheesecake with half of a Biscoff cookie.
Notes
- Metric conversions are calculated automatically. I cannot guarantee the accuracy of this information.