

The Magic of Yeast
Let’s talk about yeast. It is a tiny, sleepy creature. You wake it up with warm water and honey. Then it starts to bubble and grow. I love watching it. It feels like a little science project on my counter.
This is the heart of bread. Without this foamy magic, our knots would be flat and tough. So be patient with those five minutes. Let the yeast do its happy dance. Doesn’t that smell amazing already?
My First Knot-Tying Mess
I remember my first time. I tried to make the knots too fancy. My dough looked like twisted little snails. I still laugh at that. My grandson said they were perfect. He ate them all anyway.
The lesson? It does not have to be perfect. Just roll your dough into a rope. Tie a simple knot, like you’re tying your shoe. Tuck the ends under. Every single one will taste wonderful. I promise.
Why the Butter Bath Matters
Do not skip the butter bath. That’s what I call step seven. You mix melted butter with all the garlic and herbs. Then you brush it on every knot. This does two big things.
First, it keeps the dough soft. Second, it gives that incredible flavor. Every bite is garlicky and rich. *Fun fact: The parmesan in the butter gets a little crispy in the oven. It is the best part.*
Sharing Warm Bread
There is something special about warm bread. It makes a kitchen feel like a home. The smell fills every room. People gather when they smell garlic knots baking. It just happens.
This matters more than the recipe. Sharing food is sharing love. A simple knot can start a big conversation. What is your favorite food to share with friends?
Your Turn in the Kitchen
Now it is your turn. Do not be afraid of the dough. If it sticks to your hands, use a little more flour. Have fun with it. What shape would you make if not a knot?
Tell me, what is the first thing you love to bake? For me, it will always be bread. There is magic in watching it rise. I hope you find that magic too. Send me a picture if you try these knots. I would love to see.
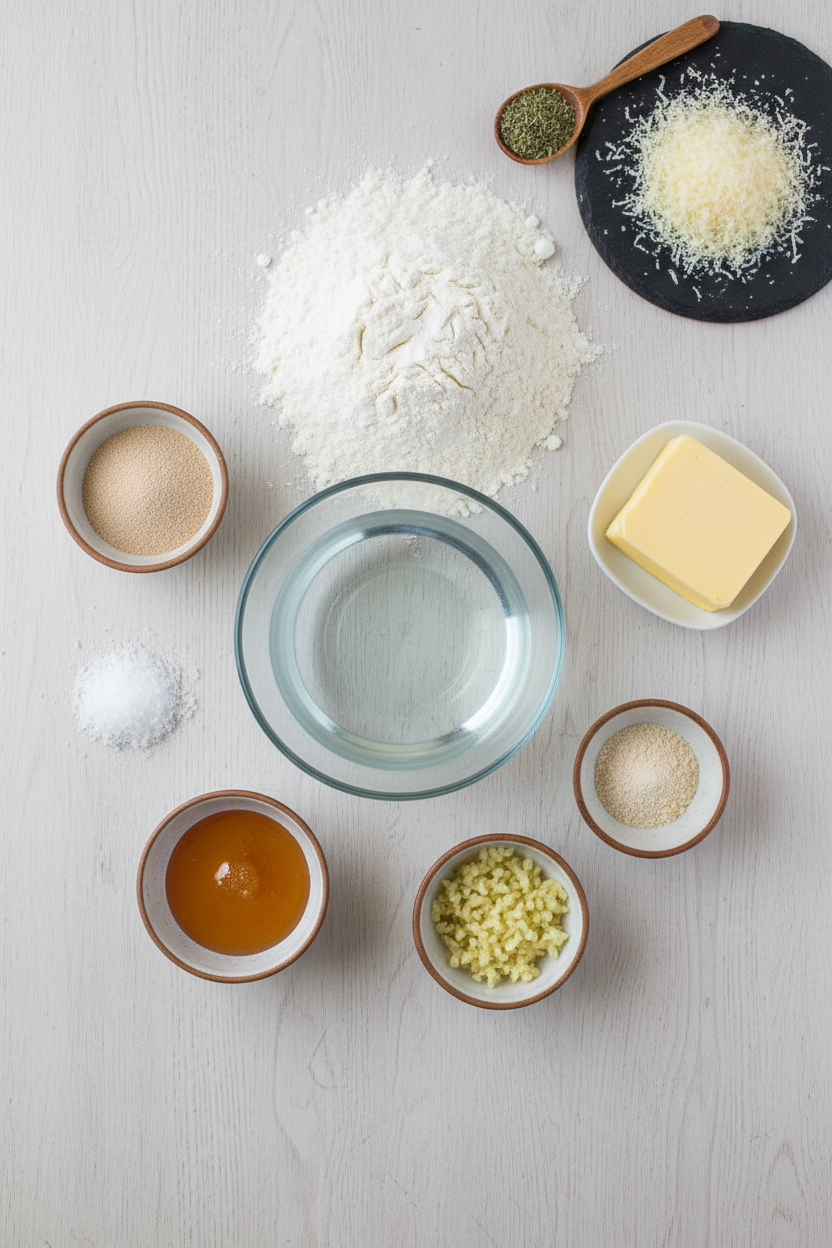
Ingredients:
| Ingredient | Amount | Notes |
|---|---|---|
| Very warm water | 1 ⅓ cups | |
| Active dry yeast | 1 tablespoon | |
| Honey | 2 tablespoons | |
| Flour | 3 ½ cups | |
| Salt | 1 teaspoon | |
| Butter, melted | 4 tablespoons | For dough and garlic butter |
| Garlic powder | 1 teaspoon | For garlic butter |
| Minced garlic | 1 teaspoon | For garlic butter |
| Italian seasoning or Herbs de Provence | 1 teaspoon | For garlic butter |
| Grated parmesan cheese | 2 tablespoons | For garlic butter |
Instructions
Step 1: First, wake up your yeast. Pour warm water into your mixer bowl. Add the yeast and honey. Give it a gentle stir. Let it sit for five minutes. It will get all foamy and happy. Doesn’t that smell amazing already?
Step 2: Now, add your flour and salt to the bowl. Mix it on low until it comes together. Then let the mixer knead it for a few minutes. The dough will become smooth and soft. (A little sticky is okay, it makes tender knots!)
Step 3: Shape the dough into a big ball. Cover it with a clean kitchen towel. Let it rest for ten minutes. I always use this time to clean up. It’s a nice little break.
Step 4: Time to make the knots! Cut your dough into small pieces. Roll each piece into a little rope. Then, just tie it in a simple knot. Place each one on your baking sheet. What’s your favorite shape to make with dough? Share below!
Step 5: Mix the melted butter with all the garlic and herbs. Brush this magic sauce all over your knots. Be generous! Bake them until they are golden brown. Let them cool just a bit before you eat. I still laugh at how fast these disappear.
Creative Twists
Add a sprinkle of everything bagel seasoning before baking. Mix a little pizza sauce into the butter for a cheesy, saucy dip. Make them sweet with cinnamon sugar instead of garlic butter. Which one would you try first? Comment below!Serving & Pairing Ideas
These knots are perfect with a big bowl of tomato soup. They also make a fun side for spaghetti night. For a party, serve them with a side of warm marinara sauce for dipping. Which would you choose tonight?
Keeping Your Garlic Knots Happy
Fresh garlic knots are a special treat. But they keep well too. Let them cool completely first. Then pop them in a sealed bag. They will stay soft on the counter for two days.
For longer storage, your freezer is a friend. I wrap each knot in plastic wrap. Then I tuck them all in a freezer bag. My first time, I just tossed them in loose. They got freezer burn and tasted sad.
To reheat, warm frozen knots in a 350-degree oven. This brings back their soft, warm magic. Batch cooking matters because it saves time. A busy day feels better with ready-made joy. Have you ever tried storing it this way? Share below!
Three Little Hiccups & How to Fix Them
Sometimes cooking has small troubles. Do not worry. Here are easy fixes. First, if your yeast does not foam, your water was wrong. It should be warm like bathwater, not hot. Hot water will hurt the yeast.
Second, dough can be sticky. Just add a little more flour to your hands. I remember my dough sticking to everything once. A bit more flour made it easy to handle. This matters because calm hands make better food.
Third, the knots can dry out while baking. Be sure to brush every bit with the garlic butter. This creates a tasty shield. It matters for flavor and a soft bite. Which of these problems have you run into before?
Your Quick Questions, Answered
How to make garlic knots from scratch?
Start by waking up your yeast with warm water and honey. Let it get foamy. Then mix in flour and salt to make a smooth dough. Let the dough rest, then shape it into little logs. Tie each log into a knot, brush with garlic butter, and bake. The smell will fill your kitchen with happiness.
What is the best dough for garlic knots?
The best dough is a simple yeast dough. This recipe uses flour, yeast, water, honey, and salt. This dough is soft and stretchy. It makes knots that are fluffy inside. A good dough is the most important part of a perfect garlic knot.
Can I use store-bought dough for garlic knots?
Yes, you absolutely can. A tube of pizza dough from the store works fine. Let it come to room temperature first. Then just cut, shape, and knot it. Brush with the garlic butter and bake. It is a wonderful shortcut for a busy night.
How do you keep garlic knots soft?
The garlic butter wash is the secret. Brush it on every knot before baking. This keeps the outside from getting hard. Also, do not over-bake them. Take them out when they are just golden. Store them in a sealed bag once they are cool.
What can I add to garlic knots besides garlic and Parmesan?
You can add so many things. Try a sprinkle of everything bagel seasoning. A little shredded mozzarella cheese is tasty too. For a bit of spice, add red pepper flakes to the butter. Fresh chopped parsley makes them pretty and fresh. Have fun and see what you like best.
How long do homemade garlic knots last?
They are best eaten the same day. But they will stay soft in a sealed bag for two days. You can also freeze them for up to three months. Wrap each knot well before freezing. Warm frozen knots in the oven to make them taste fresh again.
*Fun fact: The honey in this recipe feeds the yeast. This helps the dough rise and makes the knots tender.* Which tip will you try first?
From My Kitchen to Yours
I hope you love making these garlic knots. Sharing food is one of life’s sweetest joys. I would love to hear about your baking adventure.
Tell me all about it in the comments. Have you tried this recipe? Let me know how it turned out for you. Your stories make my day brighter.
Happy cooking!
—Danielle Monroe
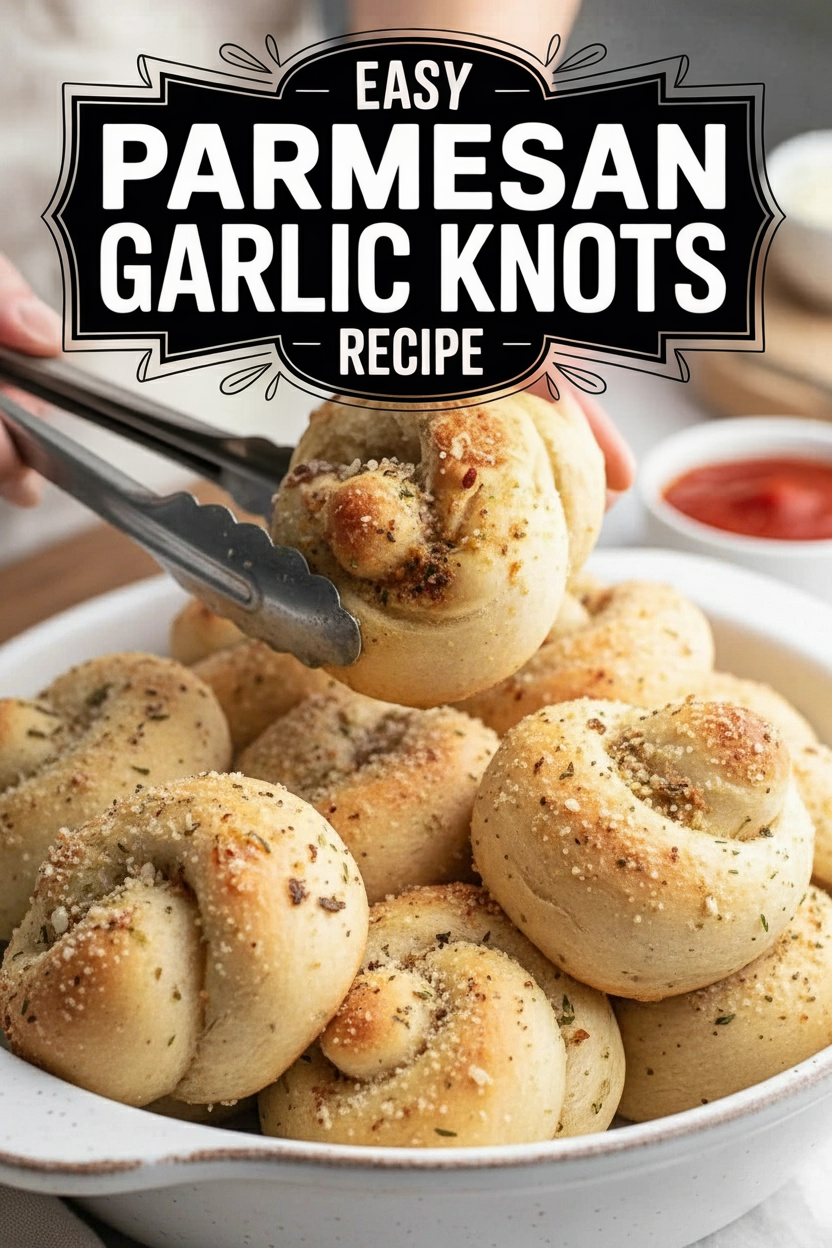

Easy Parmesan Garlic Knots Recipe
Description
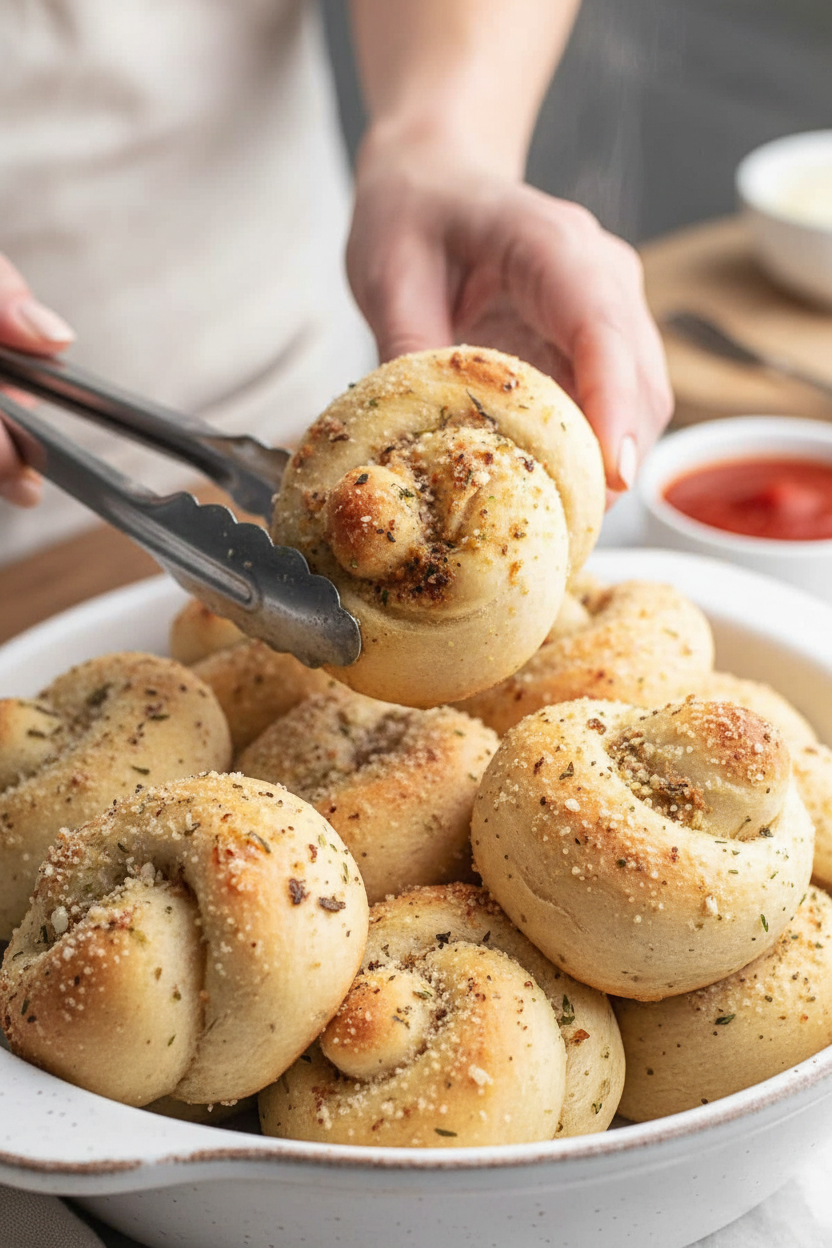
These soft, fluffy homemade garlic knots are brushed with a savory garlic-herb butter and sprinkled with Parmesan cheese for the perfect easy side or snack.
Ingredients
Instructions
- Preheat oven to 400 degrees and grease a baking sheet.
- Add warm water, yeast, and honey to the bowl of a stand mixer fitted with a dough hook attachment. Stir just until honey dissolves. Allow to rest for 5 minutes – yeast will rise and foam.
- Add flour and salt to the bowl and mix on low until mixture comes together. Switch to medium speed for 2-3 minutes until dough is smooth and elastic.
- With flour-dusted hands remove dough from the bowl and shape into a large ball. Cover with a towel and let rest for 10 minutes.
- Cut the dough in half, then cut in halves again so that you have four sections of dough.
- Take one section of the dough and cut it in half, then in halves again. Roll each piece into log, about 8 inches long. Tie the dough into a knot, then place on prepared baking sheet. Repeat with remaining dough.
- Stir together butter, garlic powder, garlic, Italian seasoning, and parmesan. Brush onto the knots being sure all the dough surface has been brushed with a bit of butter so it doesn’t dry out while baking.
- Bake for 8-12 minutes until golden. Allow to cool slightly before serving.
Notes
- For extra flavor, sprinkle additional Parmesan cheese on the knots right after they come out of the oven. The dough can also be made ahead and refrigerated overnight for slower rise and deeper flavor.