

The Story Behind the Snowball
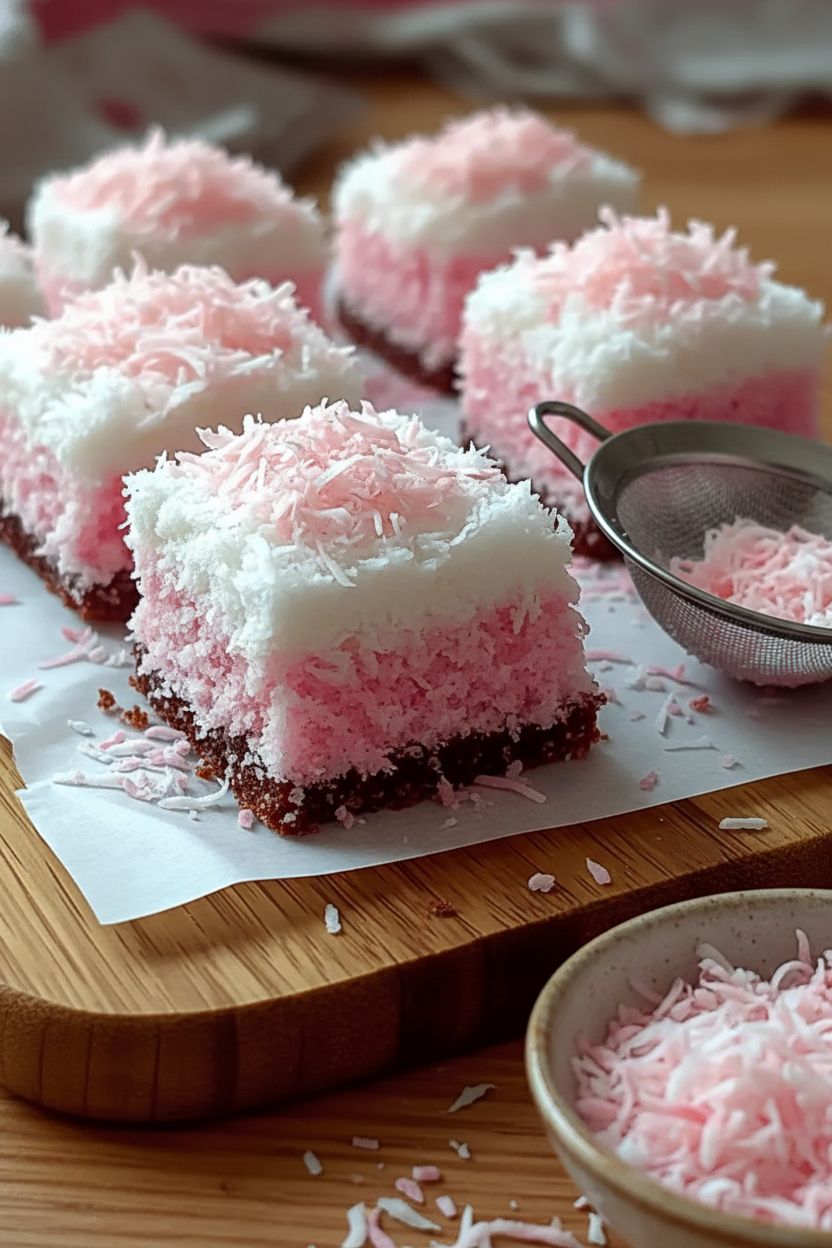
My granddaughter calls these my “pink snowball” bars. I still laugh at that. The name stuck. I first made them for a winter party. The sky was gray, but my kitchen was bright.
I wanted something cheerful. Chocolate is always good. But I thought, what about a pink cloud on top? That’s how the coconut fluff was born. It reminds me of sweet, soft snow.
Why the Chocolate Base Matters
That dark, moist cake is the secret. It holds everything together. Without it, the fluffy topping would be too much. The cake is like a cozy blanket for the coconut.
Using hot water in the batter is my trick. It makes the chocolate flavor really sing. It sounds odd, but it works. Doesn’t that smell amazing when it bakes?
Making the Pink Cloud
Whipping the cream is my favorite part. You watch it turn from liquid to fluffy clouds. Be patient. Soft peaks are what you want. They should gently curl over.
Then, you fold in the coconut. The pink color is just for fun. My granddaughter picks the shade every time. *Fun fact: The coconut makes the topping chewy and sweet, not just soft.* What’s your favorite color for a treat? A soft pink, or something bold?
A Little Lesson on Patience
You must let the chocolate base cool. I know, it’s hard to wait. But if you don’t, the pink topping will melt. It will become a puddle. And we don’t want that.
This matters in baking and in life. Good things often need a little waiting time. The chill in the fridge lets the flavors settle. It makes each bite perfect.
Slice, Share, and Smile
Use a sharp knife to cut them. Wipe it clean between cuts for neat squares. These bars are rich, so small pieces are best. They are perfect for sharing.
I love seeing people try their first bite. Their eyes get wide. Then they smile. Do you have a friend who needs a pink snowball surprise this week? Tell me, what treat always makes you smile?
Ingredients:
| Ingredient | Amount | Notes |
|---|---|---|
| All-purpose flour | 1 cup | For the chocolate base |
| Cocoa powder | 1/2 cup | For the chocolate base |
| Unsalted butter, softened | 1/2 cup | For the chocolate base |
| Granulated sugar | 1 cup | For the chocolate base |
| Eggs | 2 | For the chocolate base |
| Buttermilk | 1/2 cup | For the chocolate base |
| Hot water | 1 cup | For the chocolate base |
| Salt | 1/2 teaspoon | For the chocolate base |
| Heavy whipping cream | 1 cup | For the coconut topping |
| Powdered sugar | 1/2 cup | For the coconut topping |
| Vanilla extract | 1 teaspoon | For the coconut topping |
| Shredded coconut | 2 cups | For the coconut topping |
| Pink food coloring | Few drops | For the coconut topping |

Instructions
Step 1: First, heat your oven to 350°F. Grease your baking pan well. I still use my old metal pan for this. Doesn’t that smell amazing when it starts to warm?
Step 2: Whisk your flour and cocoa powder together. This makes your chocolate base nice and smooth. Set this bowl aside for a moment.
Step 3: Now, cream the soft butter and sugar. Mix until it looks fluffy and light. Add the eggs one by one. (Room temperature eggs mix in better!)
Step 4: Pour in the buttermilk and hot water. Mix it all gently. The batter will be quite thin, and that’s just right. Why do we use hot water? Share below!
Step 5: Pour your batter into the pan. Bake it for about 30 minutes. Let it cool completely. This patience is the hardest part, I think!
Step 6: Whip the heavy cream with powdered sugar. Fold in the coconut and pink coloring. Spread this fluffy pink cloud over the cooled base. Chill everything to set. Then, slice and enjoy your snowy, sweet bars!
Creative Twists
Rainbow Sprinkle Joy: Mix colorful sprinkles into the coconut topping.
Chocolate Drizzle Magic: Melt some chocolate and drizzle it over the pink top.
Berry Blast: Add crushed freeze-dried strawberries for a fruity pink flavor.
Which one would you try first? Comment below!
Serving & Pairing Ideas
Serve these bars on a pretty plate. A glass of cold milk is the perfect partner. For a fancy touch, add a fresh strawberry on the side. Which would you choose tonight?

Easy Pink Coconut Chocolate Cake Bars Recipe
Description
Easy and delightful pink coconut-topped chocolate cake bars, perfect for any occasion.
Ingredients
For the Chocolate Base:
For the Coconut Topping:
Instructions
- Preheat your oven to 350°F (175°C). Grease a 9×13-inch baking pan with butter or non-stick spray. You can also line the bottom with parchment paper.
- In a large mixing bowl, whisk together the all-purpose flour, cocoa powder, and salt until evenly combined. Set aside.
- In a separate bowl, use an electric mixer to cream together the unsalted butter and granulated sugar until light and fluffy, about 2–3 minutes. Beat in the eggs one at a time, mixing well after each addition.
- Add the buttermilk and hot water to the butter-sugar mixture. Mix on low speed until well incorporated.
- Gradually add the dry ingredient mixture to the wet ingredients, stirring gently with a spatula until just combined. Pour the batter into the prepared baking pan, spreading it evenly.
- Bake for 25–30 minutes, or until a toothpick inserted into the center comes out with a few moist crumbs. Remove from the oven and allow it to cool completely in the pan on a wire rack.
- In a clean bowl, add heavy whipping cream, powdered sugar, and vanilla extract. Using an electric mixer, whip until soft peaks form.
- Gently fold in the shredded coconut and a few drops of pink food coloring into the whipped cream. Mix until the desired pink hue is achieved.
- Once the chocolate base has completely cooled, spread the pink coconut mixture evenly over the top.
- Cover the assembled bars with plastic wrap and place them in the refrigerator for at least 30 minutes to firm up.
- Remove the bars from the refrigerator. Using a sharp knife, slice into squares or rectangles. Serve chilled or at room temperature.
Notes
- For a richer chocolate flavor, use dark cocoa powder. Ensure the chocolate base is completely cool before adding the coconut topping to prevent melting.