

My First Flourless Fumble
I tried gluten-free baking years ago. My first cookies were like little rocks. I still laugh at that. My grandson said they were good for hockey.
But we learn from mistakes. This recipe is my happy ending. It took many tries to get it right. Now, these cookies are soft and sweet. They melt in your mouth.
Why This Recipe Works
Let’s talk about the flour blend. Using the right one matters. It makes the dough hold together. This is the secret to good shapes.
The butter and sugar must be fluffy. Beat them for three full minutes. This adds air. It makes the cookie tender. Doesn’t that smell amazing when you mix it?
A Little Cookie Science
You see that tiny bit of xanthan gum? It is a helper. It does what gluten usually does. It gives the dough a stretch. This matters so your cookies don’t crumble.
Chilling the dough is not a suggestion. It is a must. A firm dough rolls out neatly. It keeps your cookie shapes sharp. *Fun fact: You can freeze the dough disks for a busy day. Future-you will be so thankful!*
Cutting and Baking with Love
Roll the dough between parchment paper. No extra flour needed. This keeps them from drying out. Peel the paper back slowly. Then press your cutter down firmly.
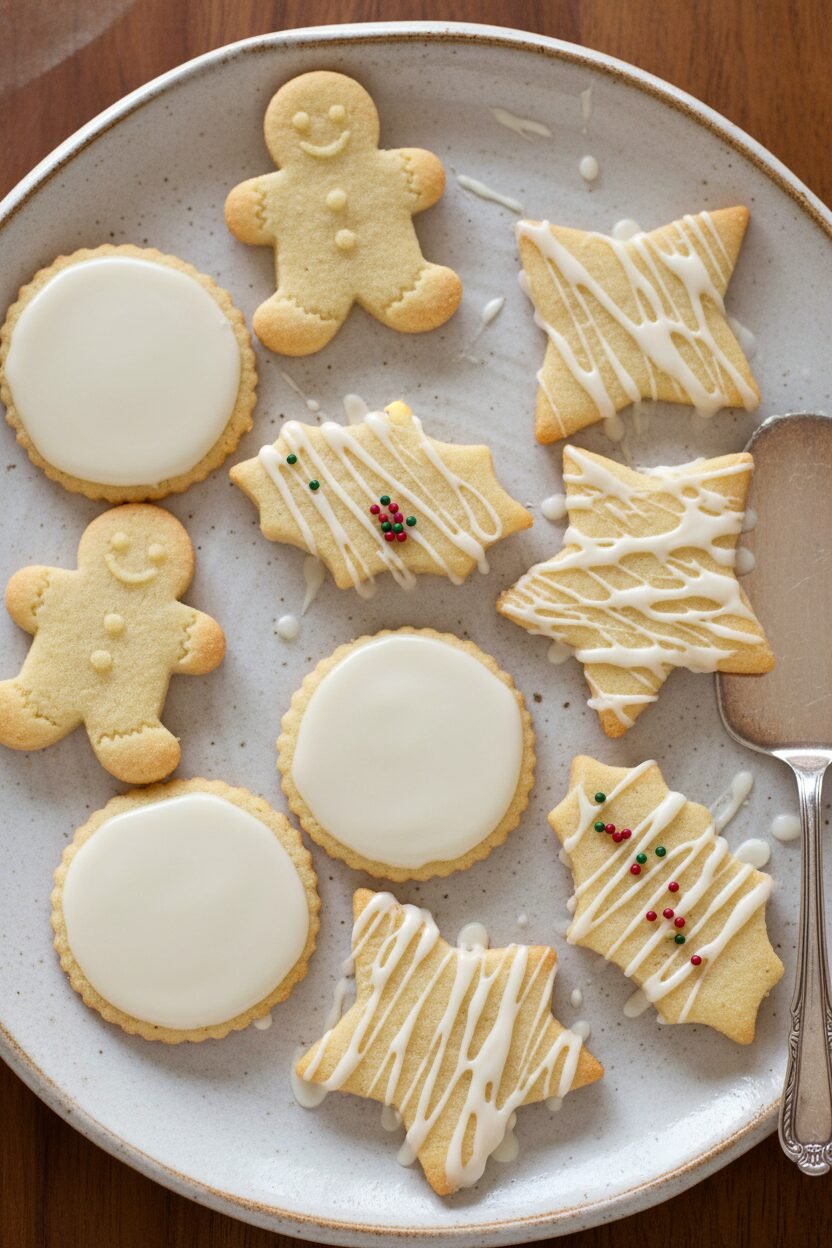
Space them out on the sheet. They need room to breathe. Bake until just firm. The edges will barely brown. This keeps them from getting hard. What’s your favorite cookie cutter shape? Mine is a little star.
The Magic of a Simple Glaze
The glaze is just cream cheese, milk, and sugar. Whisk until it’s smooth. It should drip slowly off your spoon. A little spread makes each cookie special.
Let the glaze dry for half an hour. This patience matters. It turns a simple cookie into a gift. Sharing food made with care feeds more than our bodies. It feeds our hearts.
Your Turn in the Kitchen
Now, you try. Don’t worry if it’s not perfect. My hockey-puck cookies taught me a lot. The main thing is to have fun. Who will you share these with first?
Tell me, what flavor would you add next time? A little lemon zest? Some cinnamon? I love hearing your ideas. Happy baking, my dear.
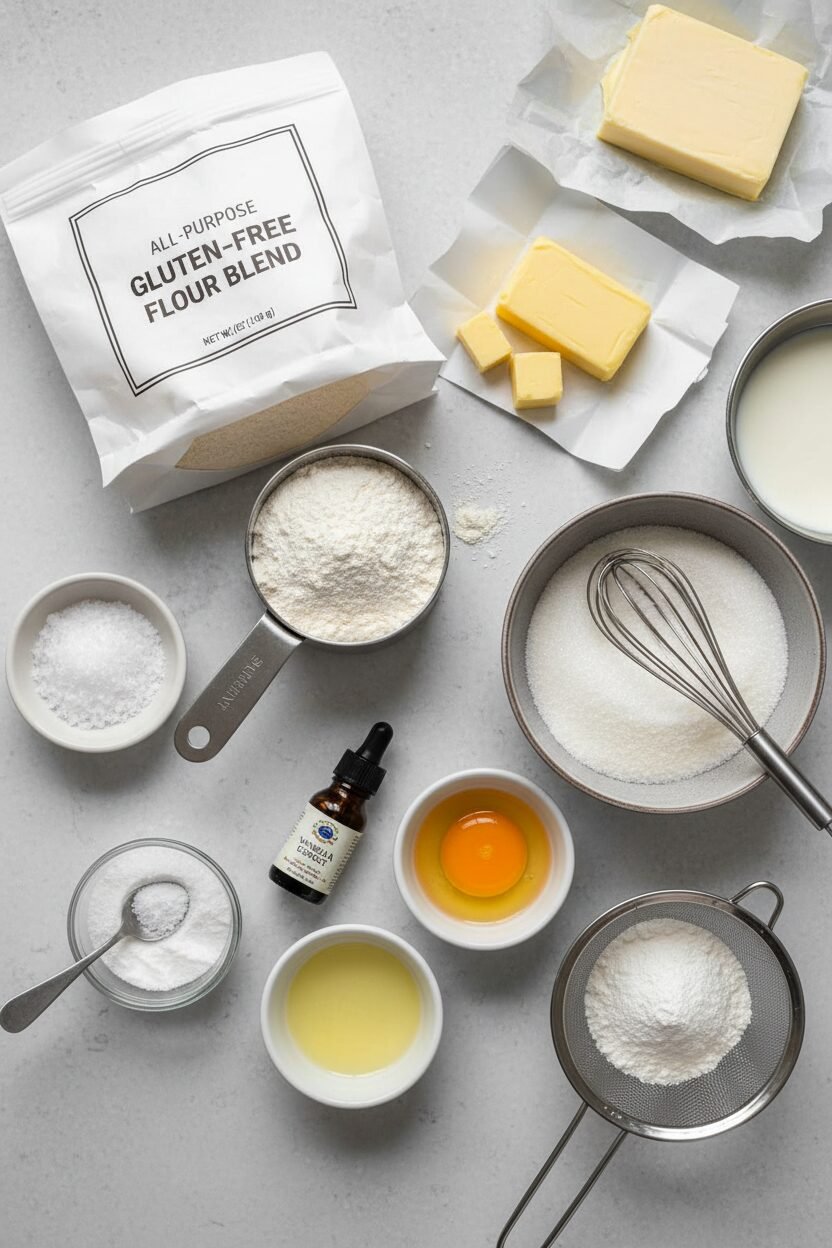
Ingredients:
| Ingredient | Amount | Notes |
|---|---|---|
| America’s Test Kitchen All-Purpose Gluten-Free Flour Blend | 12½ ounces (2¾ cups) | |
| Salt | ½ teaspoon | |
| Xanthan gum | ¼ teaspoon | |
| Unsalted butter | 16 tablespoons (2 sticks) | Cut into 16 pieces and softened |
| Superfine sugar | 7 ounces (1 cup) | |
| Large egg | 1 | Plus 1 large yolk |
| Vanilla extract | 2 teaspoons | |
| Cream cheese | 1 tablespoon | Room temperature |
| Milk | 2-3 tablespoons | |
| Confectioners’ sugar | 6 ounces (1½ cups) |
Instructions
Step 1: First, whisk your flour, salt, and xanthan gum in a bowl. Set it aside. Now, beat the soft butter and sugar in a mixer. Beat until it looks pale and fluffy. Add the egg, yolk, and vanilla. Mix it all in well. Tip: (Room temperature butter creams best!).
Step 2: Turn the mixer speed to low. Add your flour mixture. Mix until a soft dough forms. Divide this dough into four even pieces. Press each into a disk. Wrap them in plastic. Let them chill in the fridge for an hour. This makes rolling so much easier.
Step 3: Roll one dough disk between two parchment sheets. Roll it nice and thin. Peel and replace the top parchment. Flip it and do the same to the other side. Slide it onto a tray. Chill it again for 30 minutes. This prevents sticking! Do you prefer stars or snowflakes for your cutters? Share below!
Step 4: Heat your oven to 325 degrees. Line your baking sheets. Peel parchment from one side of your cold dough. Cut out your shapes. Place them on the sheets. Bake one sheet at a time. Bake until the edges just start to tan. Let them cool completely on a rack. (Rotating the sheet gives even color).
Step 5: For the glaze, whisk cream cheese and milk until smooth. Whisk in the powdered sugar. Add a touch more milk if needed. Spread a little glaze on each cool cookie. Let them dry for 30 minutes. I still laugh at my first messy glaze job. The taste is what counts!
Creative Twists
These cookies are a wonderful blank canvas. You can make them special in so many ways. A little change creates a whole new treat. My grandkids love helping with these ideas.
Add a teaspoon of orange zest to the dough for a sunny flavor.
Mix a pinch of cinnamon into the glaze for a warm spice.
Press a dried cranberry or a pecan half into the glaze before it sets.
Which one would you try first? Comment below!
Serving & Pairing Ideas
These cookies shine on a pretty plate. I like to stack them with doilies. Doesn’t that look festive? You could also crumble one over a bowl of vanilla ice cream. That is a happy accident I discovered once.
For drinks, a cup of hot cocoa is my favorite match. The sweet cookie and rich cocoa are perfect. For the grown-ups, a small glass of sherry is a nice, traditional sip. It feels very old-fashioned and cozy. Which would you choose tonight?
Keeping Your Cookies Happy
These cookies are best the day they are baked. But we all need to plan ahead sometimes. You can make the dough up to two days early. Just wrap the disks and keep them in the fridge.
You can also freeze the dough for two weeks. This is perfect for batch cooking. Make a big batch of dough when you have time. Then, you have cookie magic ready for a busy day.
I once forgot a batch in the freezer for a month. I was so sad. But you know what? They baked up just fine. Storing food well saves time and reduces waste. It means you always have a little joy ready to share. Have you ever tried storing cookie dough this way? Share below!
Three Little Cookie Hiccups (And How to Fix Them)
First, dough that is too soft is hard to roll. If it sticks, it is too warm. Just pop it back in the fridge for a bit. Chilled dough is much easier to handle.
Second, cookies can spread and lose their shape. This happens if the dough gets warm. I remember when my snowman cookies became snow blobs. Keeping everything cool fixes this. It gives you pretty, sharp-edged cookies.
Third, the glaze might be too thick or too thin. Add milk slowly to get it just right. It should drizzle off your spoon easily. Getting these steps right builds your confidence. It also makes your treats look as good as they taste. Which of these problems have you run into before?
Your Quick Questions, Answered
Q: Can I use a different gluten-free flour? A: I recommend this specific blend. Others may change the texture. This one works perfectly.
Q: Can I make them ahead? A: Yes! The baked cookies keep for two days. Store them in a tight container.
Q: What if I don’t have superfine sugar? A: Regular granulated sugar works. Just beat it with the butter a little longer.
Q: Can I double the recipe? A: You can. Just mix it in two separate batches. This ensures everything mixes evenly.
Q: Any fun decorating tips? A: Add a drop of food coloring to the glaze. You can also sprinkle on cinnamon right after glazing. *Fun fact: The first sugar cookies were made in the 1700s!* Which tip will you try first?
From My Kitchen to Yours
I hope you love making these festive cookies. The kitchen is my favorite place for making memories. I would love to hear about your baking adventures.
Tell me all about it in the comments below. Share a picture of your cookie creations if you can. Have you tried this recipe? Your stories always make my day brighter.
Happy cooking!
—Elowen Thorn.
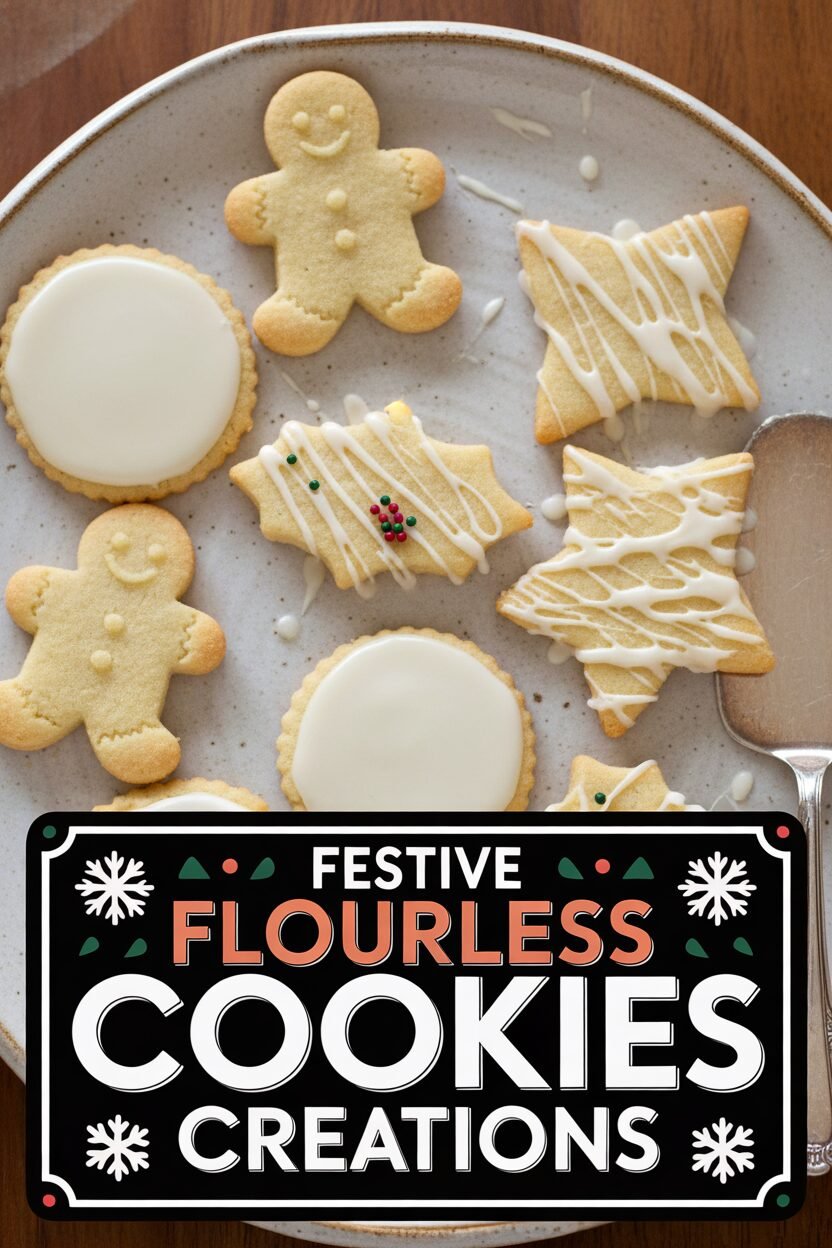

Festive Flourless Cookie Creations
Description
Gluten-Free Holiday Cookies
Ingredients
Instructions
- For the cookies: Whisk flour blend, salt, and xanthan gum together in bowl; set aside. Using stand mixer fitted with paddle, beat butter and sugar at medium-high speed until pale and fluffy, about 3 minutes. Add egg, yolk, and vanilla and beat until well combined. Reduce speed to low, add flour mixture, and mix until flour is incorporated and dough comes together, 2 to 4 minutes. Divide dough into 4 even pieces. Press each piece into 4-inch disk, wrap each disk in plastic wrap, and refrigerate until dough is firm, about 1 hour. (Dough can be refrigerated up to 2 days or frozen for up to 2 weeks; defrost frozen dough in refrigerator before using.)
- Working with 1 piece of dough at a time, roll 1/8 inch thick between 2 large sheets of parchment paper. Peel parchment from 1 side of dough and place back on dough. Flip dough over and repeat with second sheet of parchment. Slide dough, still between parchment, onto baking sheet and refrigerate until set, about 30 minutes.
- Adjust oven rack to middle position and heat oven to 325 degrees. Line 2 baking sheets with parchment paper. Working with 1 sheet of dough at a time, peel parchment from 1 side of dough and cut into desired shapes using cookie cutters; space cookies 1½ inches apart on prepared sheets. Bake cookies, 1 sheet at a time, until firm to touch and edges are just beginning to brown, 12 to 14 minutes, rotating sheet halfway through baking. (Dough scraps can be patted together, chilled, and rerolled once.) Let cookies cool on sheet for 5 minutes, then transfer to wire rack. Let cookies cool to room temperature before glazing.
- For the glaze: Whisk cream cheese and 2 tablespoons milk together in medium bowl until no lumps remain. Add sugar and whisk until smooth, adding remaining 1 tablespoon milk as needed until glaze is thin enough to spread easily. Using back of spoon, drizzle or spread scant teaspoon of glaze onto each cooled cookie. Allow glazed cookies to dry at least 30 minutes. (Cookies are best eaten on day they are baked, but they can be stored in airtight container for up to 2 days.)
Notes
- Cookies are best eaten on the day they are baked. Ensure dough is well chilled before rolling and cutting for clean edges.