

A Cookie for Busy Hands
Hello, my dear. Come sit. The kettle is on. I want to tell you about a clever cookie. It is for days when you want a treat but have no time. You make the dough once. Then you bake a few now and save the rest for later. Isn’t that smart?
My granddaughter taught me this. She is always rushing. One day she said, “Grandma, I need cookies that wait for me.” I laughed. But she was right. This matters because joy should be easy to find. A warm cookie on a cold day is a small hug. You deserve that hug, even on a busy Tuesday.
The Secret in the Sugar
Let’s talk about the recipe. It has a funny little secret. You put cream cheese right in the dough. I know! It sounds strange. But it makes the cookie soft inside. It stays tender for days.
You roll the dough balls in sugar before baking. This gives them a sweet, sparkly crust. *Fun fact: That sugar coating is called a “crinkle.”* It cracks as the cookie grows in the oven. I love to watch it happen. Doesn’t that smell amazing already?
My Toaster Oven Trick
You do not need a big oven for these. I use my toaster oven. It heats up so fast. It is perfect for baking just three or four cookies. That way, you always have a fresh, warm batch.
I still laugh at this. Once, I baked a batch just for me. My husband followed the smell into the kitchen. He looked so hopeful. I had to share, of course. Do you have a small oven you like to use? Tell me about your favorite thing to bake in it.
A Freezer Full of Smiles
Here is the best part. After you shape your cookies, you freeze most of them. Lay them on a tray until they are hard. Then pop them in a bag. They will wait for you in the freezer for a whole month.
This matters more than you think. Life gets cloudy sometimes. Having cookie dough ready is like storing sunshine. In ten minutes, you can have warmth. You can share it with a friend who needs a bright spot. What is your go-to happy food when you need a lift?
Shaping with Love
Do not worry about making them perfect. Use a spoon to scoop the dough. Roll it in your palms. Feel how soft it is. Then press it flat with a cup. Your hands make them special. No two will look the same, and that is good.
I think cooking is about the feeling, not just the eating. The simple act of making something is a gift. It is a quiet moment in a loud world. Do you find peace in the kitchen, too?
When to Bake Them
Bake them until the edges are just golden. Let them sit for five minutes. This wait is important. It lets them settle. Then eat one warm. The middle will be soft, the edges a little crisp.
You can bake the frozen ones straight from the freezer. No need to thaw. Just add a minute or two to the time. Now you have a cookie for any moment. A surprise guest. A hard homework problem. A little celebration for no reason at all.
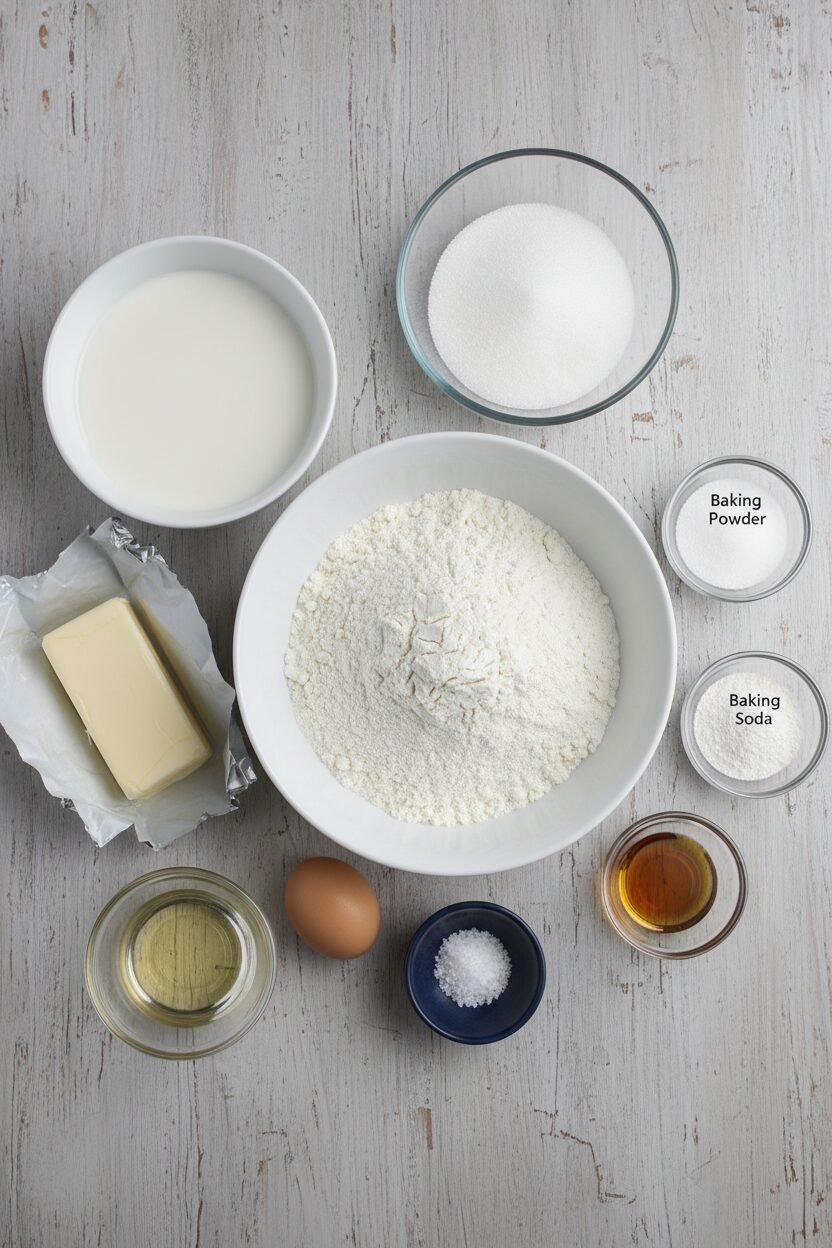
Ingredients:
| Ingredient | Amount | Notes |
|---|---|---|
| All-purpose flour | 2¼ cups (11¼ ounces/319 grams) | |
| Baking powder | 1 teaspoon | |
| Baking soda | ½ teaspoon | |
| Table salt | ½ teaspoon | |
| Sugar | 1½ cups (10½ ounces/298 grams) | For the dough |
| Sugar (for rolling) | ⅓ cup | |
| Cream cheese | 2 ounces (57 grams) | Room temperature, cut into 8 pieces |
| Unsalted butter | 6 tablespoons | Melted and still warm |
| Vegetable oil | ⅓ cup | |
| Egg | 1 large | |
| Whole milk | 1 tablespoon | |
| Vanilla extract | 2 teaspoons |
Instructions
Step 1: First, get your oven ready. Move the rack to the middle. Heat it to 350 degrees. Line your baking sheets with parchment paper. Then, whisk the flour, baking powder, baking soda, and salt together. I use my favorite blue bowl for this. Doesn’t that smell amazing already?
Step 2: Now, mix the wet ingredients. Put the sugar and cream cheese in a big bowl. Whisk in the warm, melted butter. Little cream cheese lumps are just fine. Whisk in the oil, egg, milk, and vanilla. It will look glossy and sweet. What’s your favorite vanilla smell memory? Share below!
Step 3: Time to bring it all together. Gently fold the flour mixture into your wet ingredients. A soft dough will form. Spread that extra sugar in a shallow dish. Roll dough into balls, then coat them in sugar. (A light roll gives a perfect, sparkly crust.) I still laugh at my grandson’s sugar-coated fingers.
Step 4: Place the balls on your sheets. Press them flat with a cup. Bake the small sheet first. Cookies are done when the edges just brown. Let them cool for five minutes. This patience is the hardest part for me!
Step 5: Here’s the make-ahead magic. Freeze the other sheet of dough balls. Once firm, pop them in a bag. They keep for a month. Bake frozen cookies whenever you want a treat. No thawing needed. What a happy surprise for future-you!
Creative Twists
These cookies are a wonderful blank canvas. You can make them your own with little additions. Try mixing in a handful of sprinkles for a birthday feel. A bit of lemon zest makes them taste like sunshine. Or, press a chocolate kiss into the center right after baking. Which one would you try first? Comment below!
Serving & Pairing Ideas
I love these cookies warm from the oven. They are perfect with a glass of cold milk. For a fancy touch, sandwich two with a little strawberry jam. A mug of hot cocoa with a cinnamon stick is my winter favorite. Grown-ups might enjoy them with a sweet dessert wine. Which would you choose tonight?
Your Cookie Time Machine
Let’s talk about making cookies ahead. It is a wonderful trick. You can have fresh cookies anytime. Mix the dough and roll the balls. Press them flat on a big baking sheet.
Pop that whole sheet into the freezer. Wait about one hour. The cookies will be firm. Then, put them all in a big freezer bag. They will keep for a whole month.
I remember my first freezer cookies. I was so busy one holiday. I baked a few and froze the rest. A friend dropped by unexpectedly. We baked some frozen ones in ten minutes. It felt like magic.
This matters because life gets busy. Warm cookies should be a joy, not a chore. Your future self will thank you. Have you ever tried storing cookies this way? Share below!
Three Little Cookie Hiccups (And How to Fix Them)
Sometimes cookies don’t behave. That’s okay. Here are three common issues. First, cookies spreading too much. Your butter might be too soft. Make sure your dough is cool before baking.
Second, cookies are too hard. You might have measured too much flour. Spoon the flour into your cup. Then level it off with a knife. I once made hockey pucks this way.
Third, cookies not browning. Your oven rack might be too high. Always bake in the middle of the oven. This gives even heat for golden edges.
Fixing small problems builds your confidence. It also makes your food taste better. You learn by doing. Which of these problems have you run into before?
Your Quick Questions, Answered
Q: Can I make these gluten-free? A: Yes. Use a good gluten-free flour blend. Look for one meant for cookies.
Q: How far ahead can I make the dough? A: You can freeze the shaped cookies for a month. Do not thaw them before baking.
Q: What if I don’t have cream cheese? A: Use 2 more tablespoons of soft butter. The texture will be a little different but still good.
Q: Can I make a half batch? A: Absolutely. Just halve all the ingredients. Use a smaller baking sheet.
Q: Any fun extra tips? A: Try rolling dough balls in colored sugar. *Fun fact: The cream cheese here is my secret. It keeps the cookies soft for days.* Which tip will you try first?
From My Kitchen to Yours
I hope you love these simple cookies. They are a little piece of cozy. Baking should be fun and forgiving. My kitchen door is always open for chat.
Tell me all about your baking adventures. I love hearing your stories. Have you tried this recipe? Let me know how it went in the comments. Happy cooking!
—Elowen Thorn.
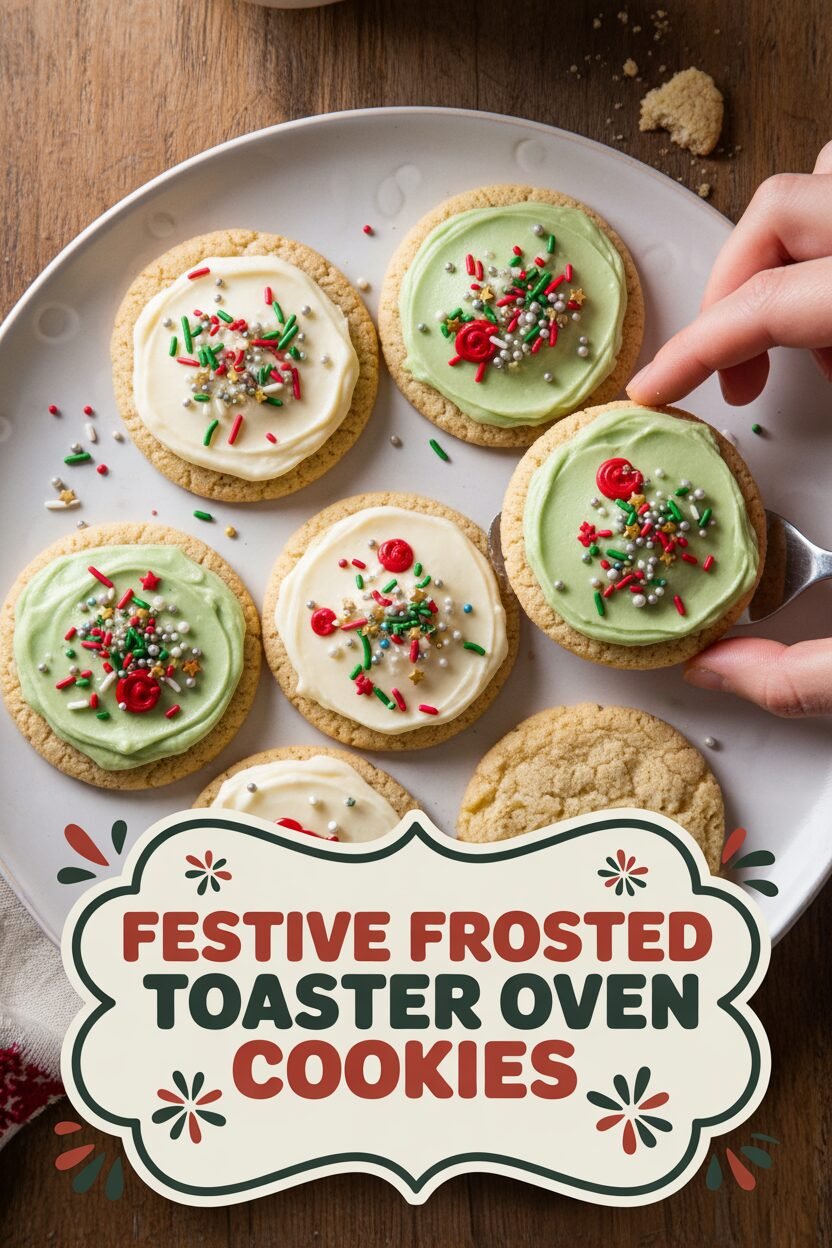

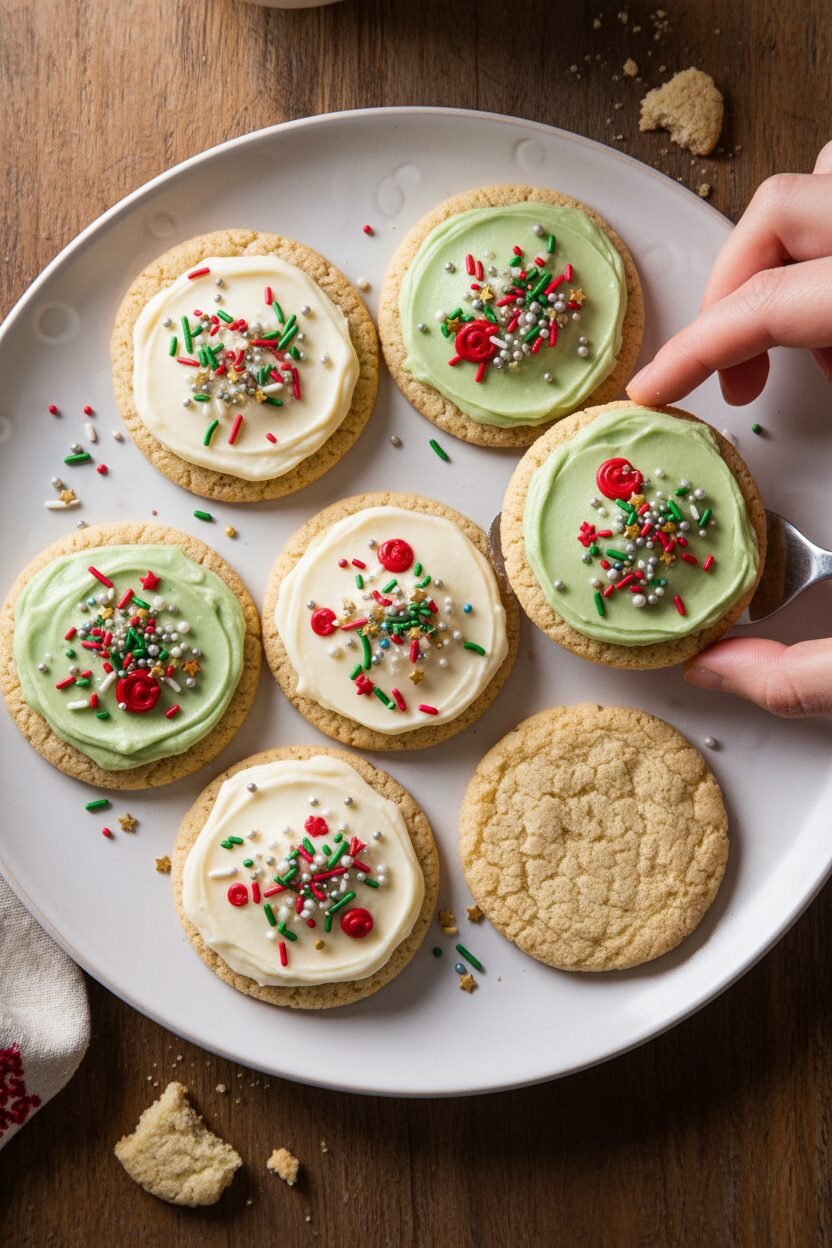
Festive Frosted Toaster Oven Cookies
Description
Toaster-Oven Make-Ahead Sugar Cookies. Enjoy these soft, chewy sugar cookies with a festive frosted look, perfectly sized for your toaster oven and perfect for making ahead.
Ingredients
Instructions
- Adjust oven rack to middle position and heat oven to 350 degrees. Line large and small rimmed baking sheets with parchment paper. Whisk flour, baking powder, baking soda, and salt together in bowl.
- Place 1½ cups sugar and cream cheese in large bowl. Whisk in warm melted butter (some lumps of cream cheese will remain). Whisk in oil until incorporated. Whisk in egg, milk, and vanilla until smooth. Using rubber spatula, fold in flour mixture until soft, homogeneous dough forms.
- Spread remaining ⅓ cup sugar in shallow dish. Working with 2 tablespoons dough at a time, roll into balls, then roll in sugar to coat. Space desired number of dough balls at least 1½ inches apart on prepared small sheet; space remaining dough balls evenly on prepared large sheet. Using bottom of greased dry measuring cup, press each ball until 2 inches in diameter.
- Bake small sheet of cookies until edges are set and beginning to brown, 10 to 15 minutes. Let cookies cool on sheet for 5 minutes, then transfer to wire rack. Serve warm or at room temperature.
- Freeze remaining large sheet of cookies until firm, about 1 hour. Transfer cookies to 1-gallon zipper-lock bag and freeze for up to 1 month. Bake frozen cookies as directed; do not thaw.
Notes
- The number of cookies you can bake at one time will depend on the size of your baking sheet.