

My First Snowdrop Cookie
I first made these cookies during a big snowstorm. The power was out. I had to get creative with what was in my pantry. Peanut butter to the rescue!
We ate them by candlelight. They were so soft and nutty. My grandson called them “snowdrop cookies” because they looked like little snowy hills. The name stuck. I still smile thinking about that night.
Why The Chill Time Matters
You must chill the dough. I know, waiting is hard. But it matters so much. Chilling makes the dough firm.
This stops the cookies from spreading too flat in the oven. You get a perfect, puffy cookie. It’s a small step with a big payoff. Have you ever skipped chilling cookie dough? What happened?
The Magic of Just a Few Things
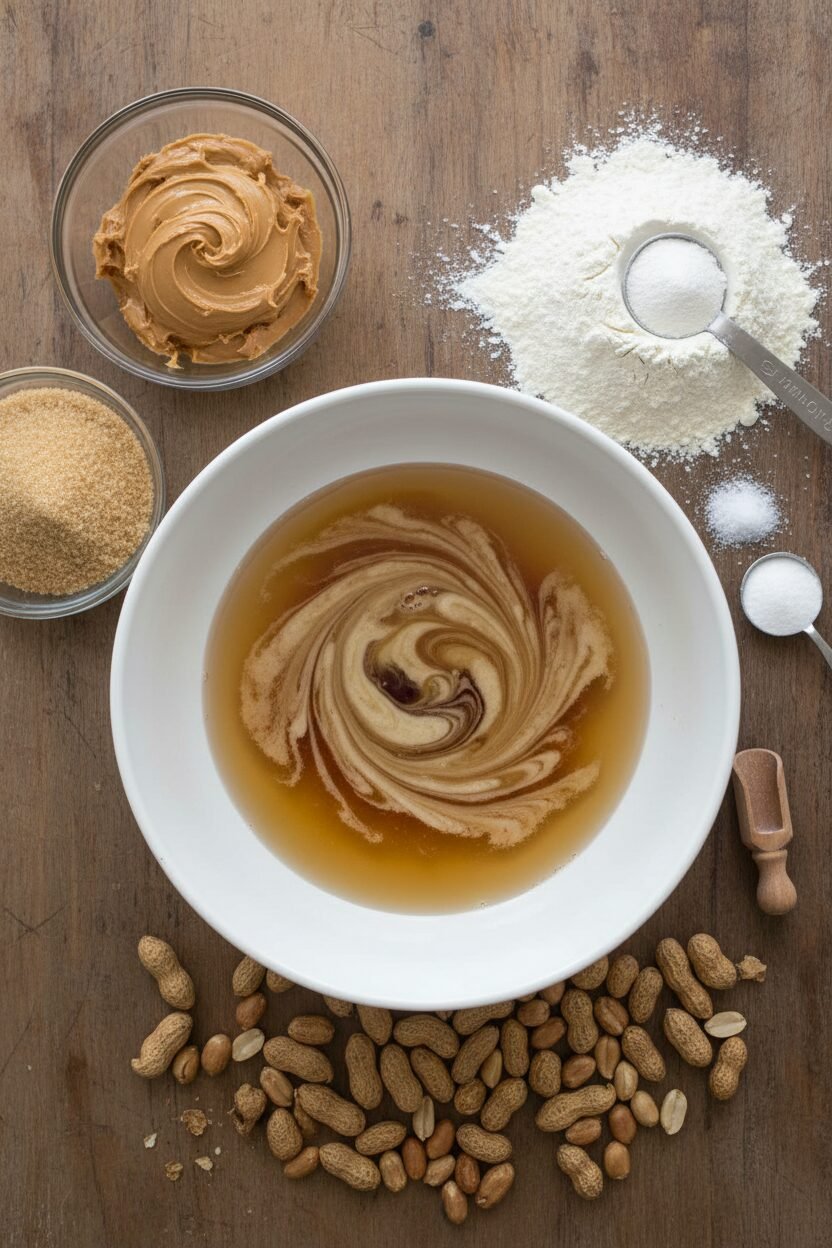
Look at that ingredient list. No eggs, no dairy. Just simple, good things. The peanut butter and corn syrup work together. They make the cookies chewy and rich all on their own.
*Fun fact:* Peanut butter is a great binder. It holds things together like eggs do. Isn’t that clever? This shows you don’t need complicated stuff to make joy. Simple is often best.
The Smell of Home
When these bake, my whole house smells like warm peanuts and sugar. Doesn’t that smell amazing? It feels like a hug. That smell is why I love baking.
It brings everyone into the kitchen. My dog always sits right by the oven. He knows what’s coming. What baking smell makes you feel happiest?
A Little Press, A Big Crunch
Use the bottom of a glass to press the dough balls. Grease it first so it doesn’t stick. Then, sprinkle on those chopped peanuts right away.
Give them a gentle press. This makes the peanuts stick. You get that wonderful salty crunch in every bite. It’s the best part. Do you like nuts in your cookies, or do you prefer them plain?
Let Them Rest, Just Like Us
Take them out when the centers are still soft. They look underdone. That’s good! Let them cool on the sheet for five minutes.
This final rest lets them finish setting up. It gives you that perfect soft center. Cookies, like people, sometimes need a quiet moment after hard work. It makes them better.
Ingredients:
| Ingredient | Amount | Notes |
|---|---|---|
| All-purpose flour | 1½ cups (7½ ounces/213 grams) | |
| Baking soda | 1 teaspoon | |
| Salt | ½ teaspoon | |
| Creamy peanut butter | 1¼ cups | |
| Organic light brown sugar | 1 cup packed (7 ounces/198 grams) | |
| Light corn syrup | ½ cup | |
| Coconut oil | ¼ cup | Melted and cooled |
| Water | 3 tablespoons | |
| Vanilla extract | 1 teaspoon | |
| Dry-roasted peanuts | ⅓ cup | Chopped fine, for topping |
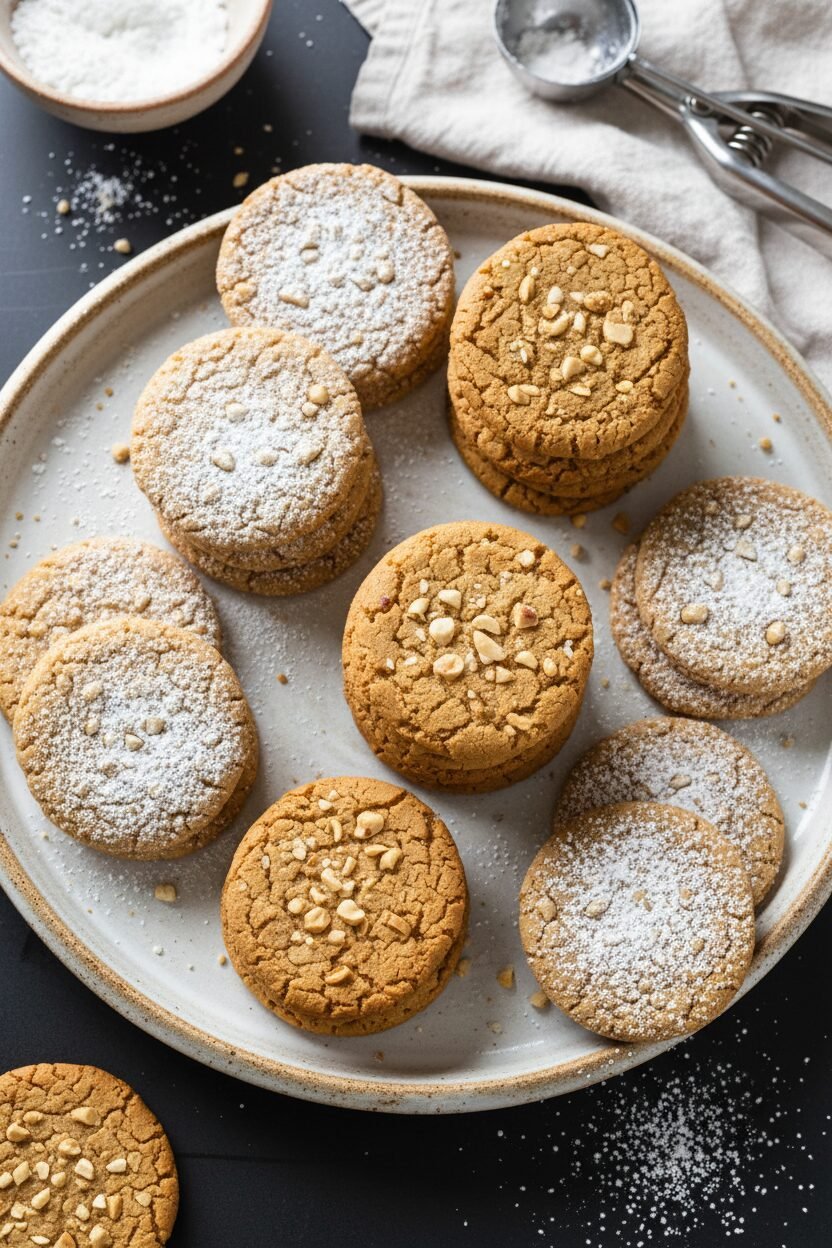
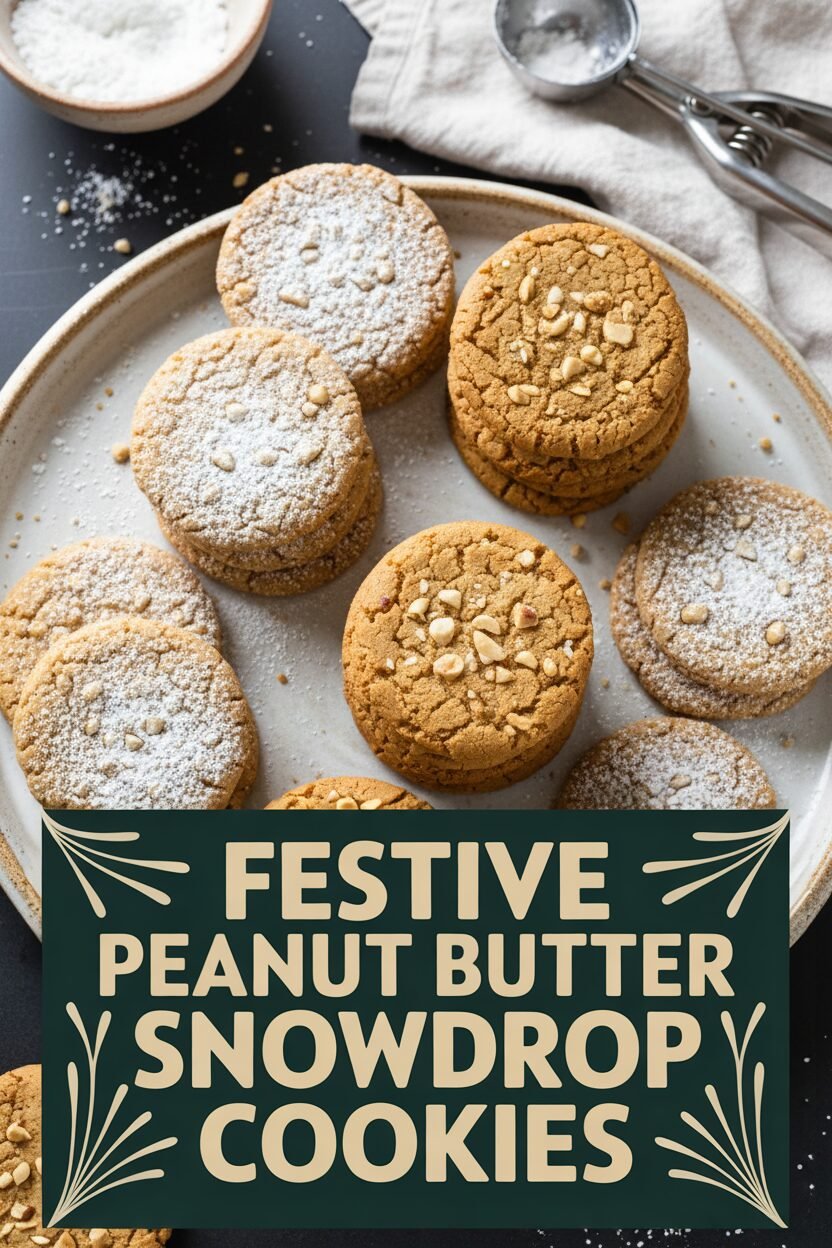
Festive Peanut Butter Snowdrop Cookies
Hello, my dear. Come sit at the counter. Let’s make some snowdrop cookies. They are soft, peanut buttery, and perfect for sharing. I love how the chopped peanuts look like little bits of ice. Doesn’t that smell amazing already? My grandson calls them his favorite winter treat. We make them every year together. I still laugh at his peanut butter mustache. Your kitchen will feel so warm and happy.
Instructions
Step 1: Grab a medium bowl. Whisk your flour, baking soda, and salt together. In a bigger bowl, mix the peanut butter and brown sugar. Add the corn syrup, melted coconut oil, water, and vanilla. Whisk it all until it’s nice and smooth. Now, stir the flour mixture into the peanut butter bowl. Just mix until you don’t see dry flour anymore. (A rubber spatula gets every last bit!)
Step 2: Cover the bowl with plastic wrap. It needs a long nap in the fridge. Let it chill for at least two hours. This makes the dough easier to handle. You can even leave it overnight if you like. I sometimes make the dough before bed. It feels like a gift to my morning self. What’s your favorite make-ahead baking trick? Share below!
Step 3: Heat your oven to 350 degrees. Line your baking sheets with parchment paper. Roll two tablespoons of dough into a ball. Place them two inches apart on the sheet. Use the bottom of a greased glass to press them flat. Sprinkle the tops with your chopped peanuts. Press them in gently so they stick.
Step 4: Bake one sheet at a time for 12 to 14 minutes. The edges will set, but the centers stay soft. Rotate the sheet halfway through for even baking. Let them cool on the sheet for five minutes. Then move them to a wire rack. They must cool completely. I know, the wait is the hardest part!
Creative Twists
Chocolate Drizzle: Melt some vegan chocolate chips. Drizzle it over your cooled cookies for a fancy look.
Jam Thumbprint: Press your thumb into the dough ball before baking. Fill the little well with raspberry jam.
Salty Sweet: Sprinkle a tiny bit of flaky sea salt on top with the peanuts. Which one would you try first? Comment below!
Serving & Pairing Ideas
These cookies are wonderful on a big plate. I like to stack them high on my grandmother’s cake stand. For a special treat, serve them with a scoop of vanilla oat milk ice cream. The mix of warm cookie and cold cream is magic. For a drink, a glass of creamy oat milk is just right. Grown-ups might enjoy a sweet sherry with their cookie. It’s a cozy combination. Which would you choose tonight?
Keeping Your Snowdrop Cookies Perfect
Let’s keep these cookies tasting fresh. They stay good on the counter for three days. Just put them in a tin with a tight lid.
You can freeze the dough or baked cookies too. Roll the dough into balls first. Then freeze them on a tray before bagging them up. I once forgot a batch in the freezer for a month. They baked up perfectly when my grandkids visited!
Batch cooking like this saves you time later. It means you always have a treat ready for friends. Have you ever tried storing it this way? Share below!
Cookie Troubles? Here Are Easy Fixes
Sometimes cookies spread too much. Your dough might be too warm. Just chill it longer. This gives you better control.
If your cookies are crumbly, you may have measured the flour wrong. Spoon it into the cup. Then level it off with a knife. I remember when my first batch fell apart. I learned this tip the hard way!
Peanuts not sticking? Press them in right after you flatten the dough. Fixing small issues builds your cooking confidence. It also makes your food taste just right. Which of these problems have you run into before?
Your Quick Questions, Answered
Q: Can I make these gluten-free? A: Yes! Use a good gluten-free flour blend. The one with xanthan gum works best.
Q: How far ahead can I make the dough? A: You can refrigerate it for a full day. This actually improves the flavor.
Q: What can I use instead of corn syrup? A: Maple syrup is a fine swap. Your cookies will be a bit less chewy.
Q: Can I double the recipe? A: Absolutely. Just mix in a very large bowl. Bake one sheet at a time still.
Q: Any fun twists? A: Try a chocolate chip in the center before baking. *Fun fact: The peanut was once called a “ground pea.”* Which tip will you try first?
From My Kitchen to Yours
I hope you love making these snowy treats. My kitchen always feels cozier with a batch in the oven. Share your stories with me.
Tell me about your baking adventures. I read every single comment. Have you tried this recipe? I would love to hear all about it.
Happy cooking! —Elowen Thorn.

Festive Peanut Butter Snowdrop Cookies
Description
Vegan Peanut Butter Cookies
Ingredients
Instructions
- Whisk flour, baking soda, and salt together in bowl. Whisk peanut butter, sugar, corn syrup, melted oil, water, and vanilla in large bowl until well combined and smooth. Using rubber spatula, stir flour mixture into peanut butter mixture until just combined.
- Cover bowl with plastic wrap and refrigerate until firm, at least 2 hours or up to 24 hours.
- Adjust oven rack to middle position and heat oven to 350 degrees. Line 2 rimmed baking sheets with parchment paper. Working with 2 tablespoons dough at a time, roll into balls and space 2 inches apart on prepared sheets. Using bottom of greased drinking glass, press dough to ½-inch thickness, sprinkle with chopped peanuts, and press lightly to adhere.
- Bake, 1 sheet at a time, until puffed and edges have begun to set but centers are still soft, 12 to 14 minutes, rotating sheet halfway through baking. Let cookies cool on sheet for 5 minutes, then transfer to wire rack. Let cookies cool completely before serving. (Cookies can be stored at room temperature for up to 3 days.)
Notes
- For a festive touch, you can press a chocolate candy or drizzle melted chocolate on top after baking.