

The Heart of a Biscuit
Hello, my dear. Come sit. Let’s talk about biscuits. A good biscuit is like a warm hug. It is flaky, soft, and just a little bit tangy. That tang comes from buttermilk. It makes the biscuit tender.
I learned this from my Gran. She would pat the dough with her strong hands. She never rushed. “The secret is in the folds,” she’d say. I still laugh at that. I thought she was making a pastry blanket. She was right, of course. Those folds make all the flaky layers.
Why Cold Matters
Here is a big secret. Everything must be cold. The butter. The buttermilk. Even the flour mix goes in the freezer. Why does this matter? Cold butter creates steam in the hot oven. That steam pushes the layers apart. That is how you get flaky clouds, not hard rocks.
Handling the dough is a gentle art. You press the butter into little nickel-sized pieces. It feels messy and fun. Fun fact: This method is called “laminating.” It’s how fancy croissants are made, too! Your hands will get a bit sticky. That is okay. It means you are doing it right.
A Little Kitchen Magic
Now for my favorite trick. We spray the counter with oil. Then we dust it with flour. This makes a non-stick surface that’s just perfect. It sounds odd, but it works like a charm. It lets you roll the dough without adding too much extra flour.
Too much flour makes biscuits tough. This little step keeps them light. Why does this matter? Because a good cook works with the dough, not against it. Does your family have a funny kitchen trick like this? I would love to hear it.
The Fold and the Pat
This is the part Gran loved. You roll the dough into a rectangle. Then you fold it like a letter. You do this twice. Each fold makes more layers. I think of it as giving the dough a little nap. It rests between folds.
Then you cut the biscuits. Press straight down with the cutter. Do not twist! Twisting seals the edges. Then they cannot rise high and proud. What is your favorite shape to cut? I always use a simple round glass.
Watching Them Rise
Into the hot oven they go. Do not open the door! Let them do their magic. Soon, a wonderful smell fills the kitchen. Doesn’t that smell amazing? It is the smell of butter and warmth and home.
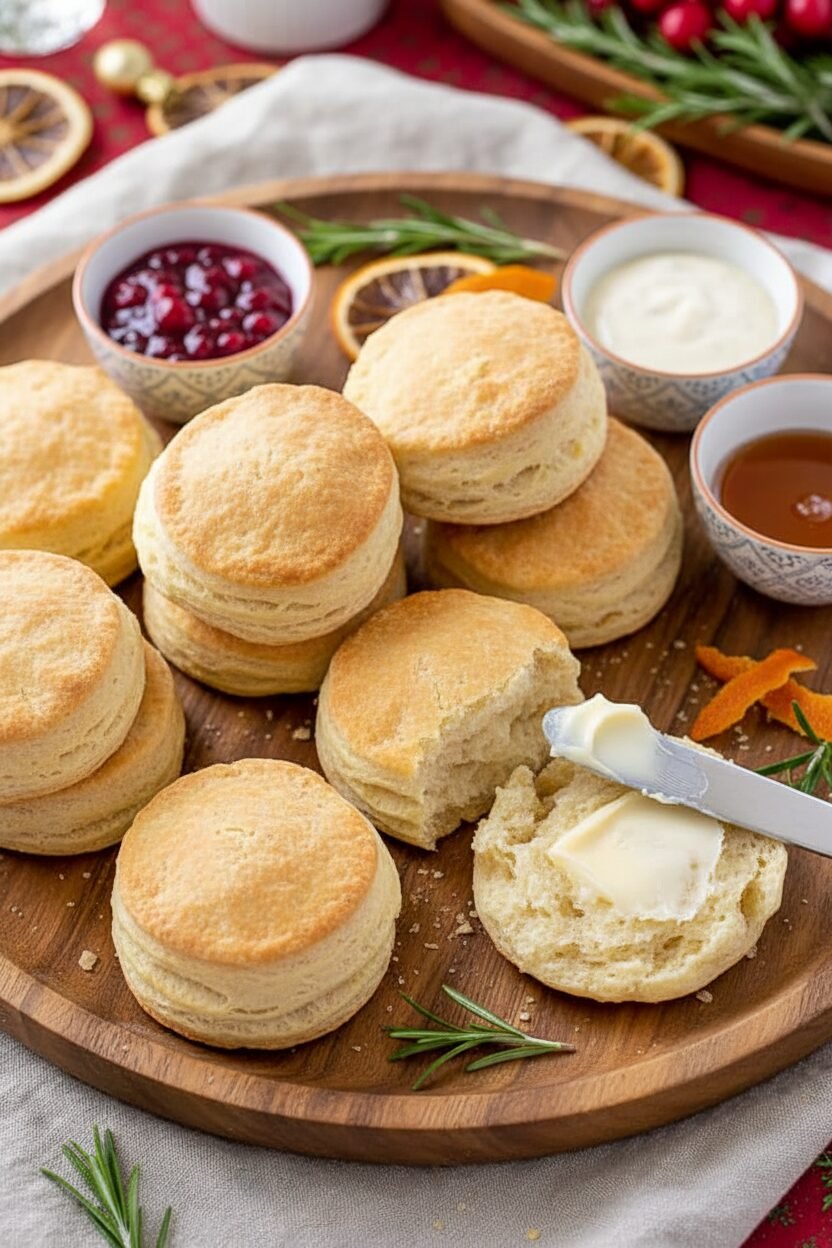
When they turn golden, they are done. Let them cool just a bit. Then pull one apart. You will see all those beautiful, flaky layers. That is your reward. Serve them warm with honey or jam. What is your favorite thing to put on a warm biscuit? Tell me, so I can try it too.
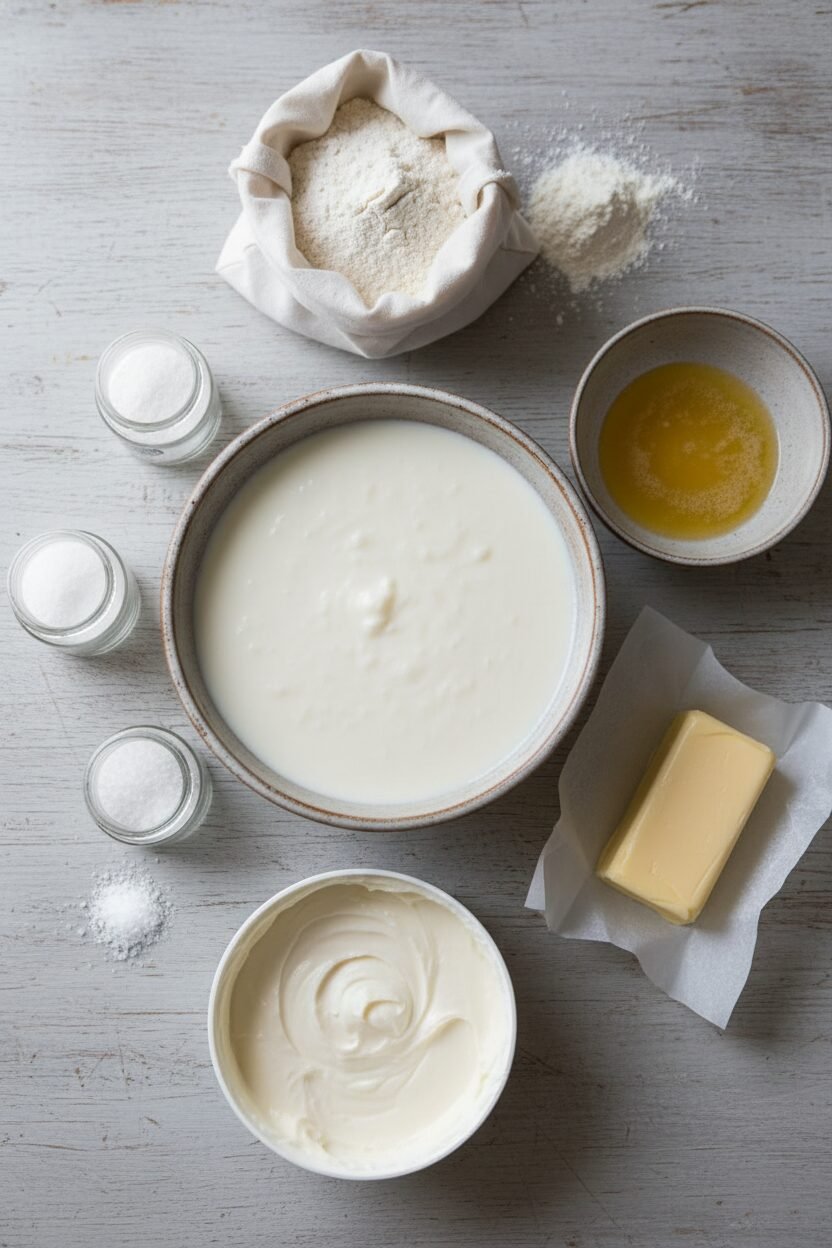
Ingredients:
| Ingredient | Amount | Notes |
|---|---|---|
| unbleached all-purpose flour | 2 ½ cups (12 ½ ounces/354 grams) | plus additional for work surface |
| baking powder | 1 tablespoon | |
| baking soda | ½ teaspoon | |
| table salt | 1 teaspoon | |
| vegetable shortening | 2 tablespoons | cut into ½-inch chunks |
| unsalted butter | 8 tablespoons (1 stick) | cold, lightly floured and cut into ⅛-inch slices |
| unsalted butter, melted | 2 tablespoons | for brushing tops |
| low-fat buttermilk | 1 ¼ cups | cold |
Flaky Festive Buttermilk Biscuits
Hello, my dear. Come sit a while. Let’s make some biscuits. This recipe is my favorite for special mornings. It reminds me of my own grandma’s kitchen. She always said cold butter makes the best flakes. I still laugh at that. She was always right.
The secret is in the folds. It makes lovely, buttery layers. Doesn’t that smell amazing? Working the dough with your hands is so nice. It feels like a little kitchen hug. Just remember, be gentle with it. Good food takes a little patience and a lot of heart.
Ingredients
- 2 ½ cups all-purpose flour
- 1 tablespoon baking powder
- ½ teaspoon baking soda
- 1 teaspoon salt
- ¼ cup vegetable shortening, chilled and cubed
- ½ cup (1 stick) unsalted butter, cold and sliced
- 1 cup cold buttermilk
- Extra flour for dusting
- Melted butter for brushing
Instructions
Step 1: Heat your oven to 450 degrees. Get out a big bowl. Whisk the flour, baking powder, baking soda, and salt together. This makes sure everything is friendly in there. My tip is to always measure your flour carefully. (Scooping it straight from the bag packs it too tight!)
Step 2: Add the shortening chunks. Use your fingertips to break them up. They should look like little peas. Now add the cold butter slices. Toss them in the flour. Press each slice flat between your fingers. This makes big, beautiful flakes. Pop the whole bowl in the freezer for 15 minutes. Cold is key!
Step 3: Spray your counter with a little oil. Wipe it around. Sprinkle on some extra flour. Now, pour the cold buttermilk into your flour bowl. Stir it fast with a fork until it becomes a shaggy ball. It will be sticky, and that’s okay. Dump it onto your floured counter. Gently pat it together with your hands.
Step 4: Pat the dough into a rough square. Roll it out into a big rectangle. Then fold it into thirds, like a letter. Give it a quarter turn and roll it out again. Fold it into thirds once more. This folding is what makes all the flaky layers. Can you guess why we fold it? Share below!
Step 5: Finally, roll the dough into a one-inch thick square. Use a floured cutter to stamp out rounds. Press straight down, don’t twist. Place them on a baking sheet. Gather the scraps, give them one more roll, and cut the last few. Brush the tops with melted butter. Bake until they are tall and golden. Let them cool just a bit. Then enjoy the warmth.
Creative Twists
Cheesy Herb: Add a handful of shredded cheddar and a teaspoon of dried rosemary to the dry flour.
Everything Spice: Before baking, brush with butter and sprinkle with everything bagel seasoning.
Sweet Berry: Gently press a few fresh raspberries into each biscuit top before they go in the oven.
Which one would you try first? Comment below!
Serving & Pairing Ideas
These biscuits are a perfect blank canvas. For breakfast, split them and slather with honey butter. For dinner, serve them next to a big bowl of stew. You can even make little sandwiches with leftover ham. So many possibilities! For a drink, I love a hot mug of spiced apple cider. For the grown-ups, a glass of chilled Riesling is a lovely match. It’s a little sweet, just like the afternoon. Which would you choose tonight?
Keeping Your Biscuits Happy
Fresh biscuits are a special treat. But what about leftovers? Let’s keep them tasting great. Cool biscuits completely first. Then store them in a sealed bag at room temperature for two days.
For longer storage, freeze them. Wrap each biscuit tightly in plastic wrap. Pop them all into a freezer bag. I once froze a whole batch for my grandson’s surprise visit. He was so thrilled!
To reheat, wrap a frozen biscuit in foil. Warm it in a 300-degree oven for 15 minutes. This brings back the warmth and softness. Batch cooking matters because it saves time for busy days. You always have a little joy ready to go. Have you ever tried storing it this way? Share below!
Biscuit Troubles and Easy Fixes
Even grandmas have biscuit troubles sometimes. Here are three common fixes. First, tough biscuits often come from overworking the dough. Handle it gently, just until it comes together.
Second, flat biscuits mean your baking powder might be old. Test it with hot water. It should bubble vigorously. I remember when mine didn’t bubble. My biscuits were like little pancakes!
Third, dry biscuits happen if you measure flour wrong. Spoon it into your cup. Then level it off with a knife. Getting this right builds your cooking confidence. It also makes your biscuits tender and full of flavor. Which of these problems have you run into before?
Your Quick Questions, Answered
Q: Can I make these gluten-free? A: Yes. Use a good gluten-free flour blend. Add one teaspoon of xanthan gum too.
Q: Can I make the dough ahead? A: You can mix the dry ingredients the night before. Keep the butter and buttermilk very cold until morning.
Q: What if I don’t have buttermilk? A: Mix one cup milk with one tablespoon lemon juice. Let it sit for five minutes. It works perfectly.
Q: Can I make a smaller batch? A: Absolutely. Just cut all the ingredients in half. Your baking time will be the same.
Q: Any optional tips? A: A fun fact: adding a teaspoon of sugar to the dough helps it brown beautifully. It’s a lovely little trick. Which tip will you try first?
From My Kitchen to Yours
I hope you enjoy making these flaky biscuits. The kitchen is my favorite place for sharing stories. I would love to hear about your baking adventures.
Tell me about your family’s favorite recipes. Did you add a new twist to these biscuits? Your stories make this all so special. Have you tried this recipe? Please tell me all about it in the comments below.
Happy cooking!
—Elowen Thorn.
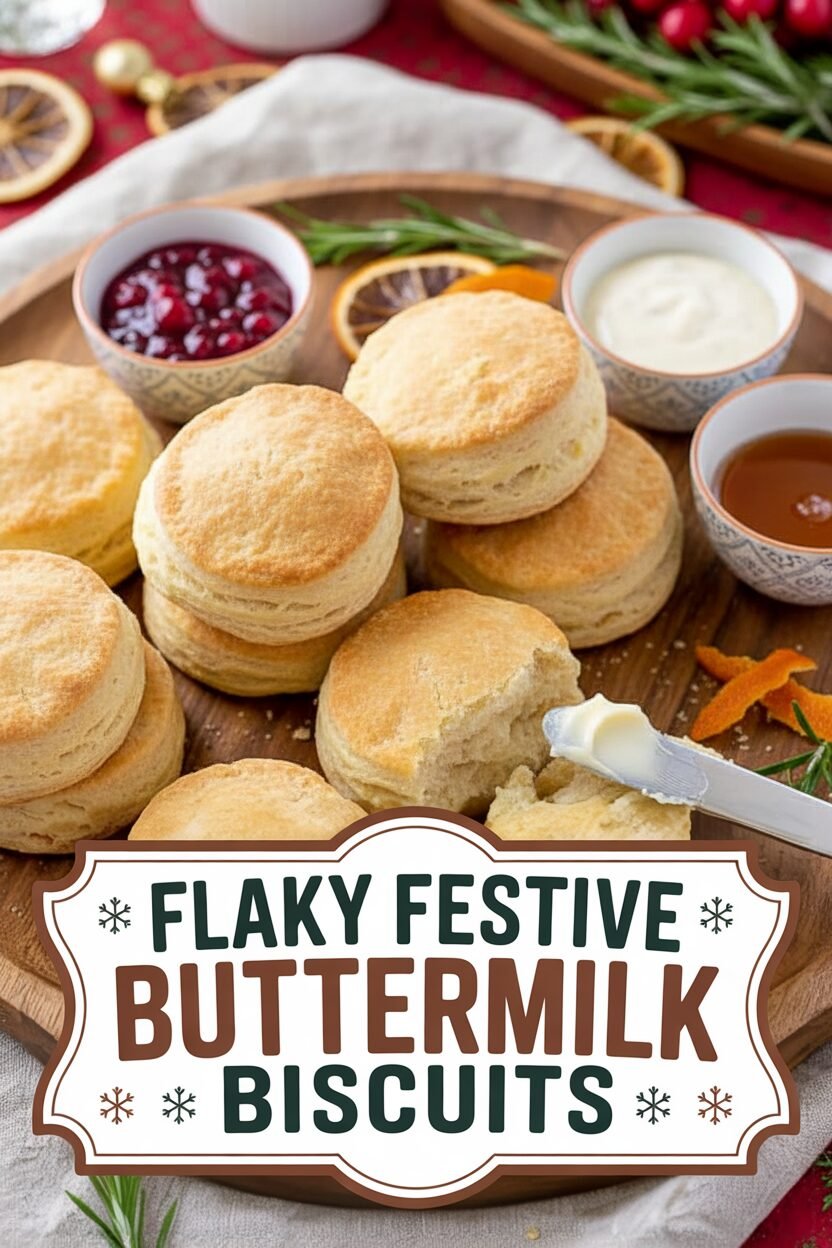

Flaky Festive Buttermilk Biscuits
Description
Flaky, buttery, and tender homemade biscuits perfect for any festive occasion or a comforting breakfast.
Ingredients
Instructions
- Adjust oven rack to lower-middle position; heat oven to 450 degrees. Whisk flour, baking powder, baking soda, and salt in large bowl.
- Add shortening to flour mixture; break up chunks with fingertips until only small, pea-sized pieces remain. Working in batches, drop butter slices into flour mixture and toss to coat; pick up each slice of butter and press between floured fingertips into flat, nickel-sized pieces. Repeat until all butter is incorporated; toss to combine. Freeze mixture (in bowl) until chilled, about 15 minutes.
- Spray 24-inch-square area of work surface with nonstick cooking spray; spread spray evenly across surface with kitchen towel or paper towel. Sprinkle 1/3 cup of extra flour across sprayed area; gently spread flour across work surface with palm to form thin, even coating. Add all but 2 tablespoons of buttermilk to flour mixture; stir briskly with fork until ball forms and no dry bits of flour are visible, adding remaining buttermilk as needed (dough will be sticky and shaggy but should clear sides of bowl). With rubber spatula, transfer dough onto center of prepared work surface, dust surface lightly with flour, and, with floured hands, bring dough together into cohesive ball.
- Pat dough into approximate 10-inch square; roll into 18 by 14-inch rectangle about 1/4 inch thick, dusting dough and rolling pin with flour as needed. Using bench scraper or thin metal spatula, fold dough into thirds, brushing any excess flour from surface; lift short end of dough and fold in thirds again to form approximate 6 by 4-inch rectangle. Rotate dough 90 degrees, dusting work surface underneath with flour; roll and fold dough again, dusting with flour as needed.
- Roll dough into 10-inch square about 1/2 inch thick; flip dough and cut nine 3-inch rounds with floured biscuit cutter, dipping cutter back into flour after each cut. Carefully invert and transfer rounds to ungreased baking sheet, spaced 1 inch apart. Gather dough scraps into ball; roll and fold once or twice until scraps form smooth dough. Roll dough into 1/2-inch-thick round; cut three more 3-inch rounds and transfer to baking sheet. Discard excess dough.
- Brush biscuit tops with melted butter. Bake, without opening oven door, until tops are golden brown and crisp, 15 to 17 minutes. Let cool on baking sheet 5 to 10 minutes before serving.
Notes
- For the flakiest layers, handle the dough as little as possible and keep all ingredients very cold. Using a sharp biscuit cutter and not twisting it when cutting helps the biscuits rise straight and tall.