

A Cookie That Tells a Story
Hello, my dear. Come sit. Let’s talk about cookies. Not just any cookie. This one is light as a cloud. It is called a ladyfinger. I love its old-fashioned name. It makes me think of fancy tea parties long ago.
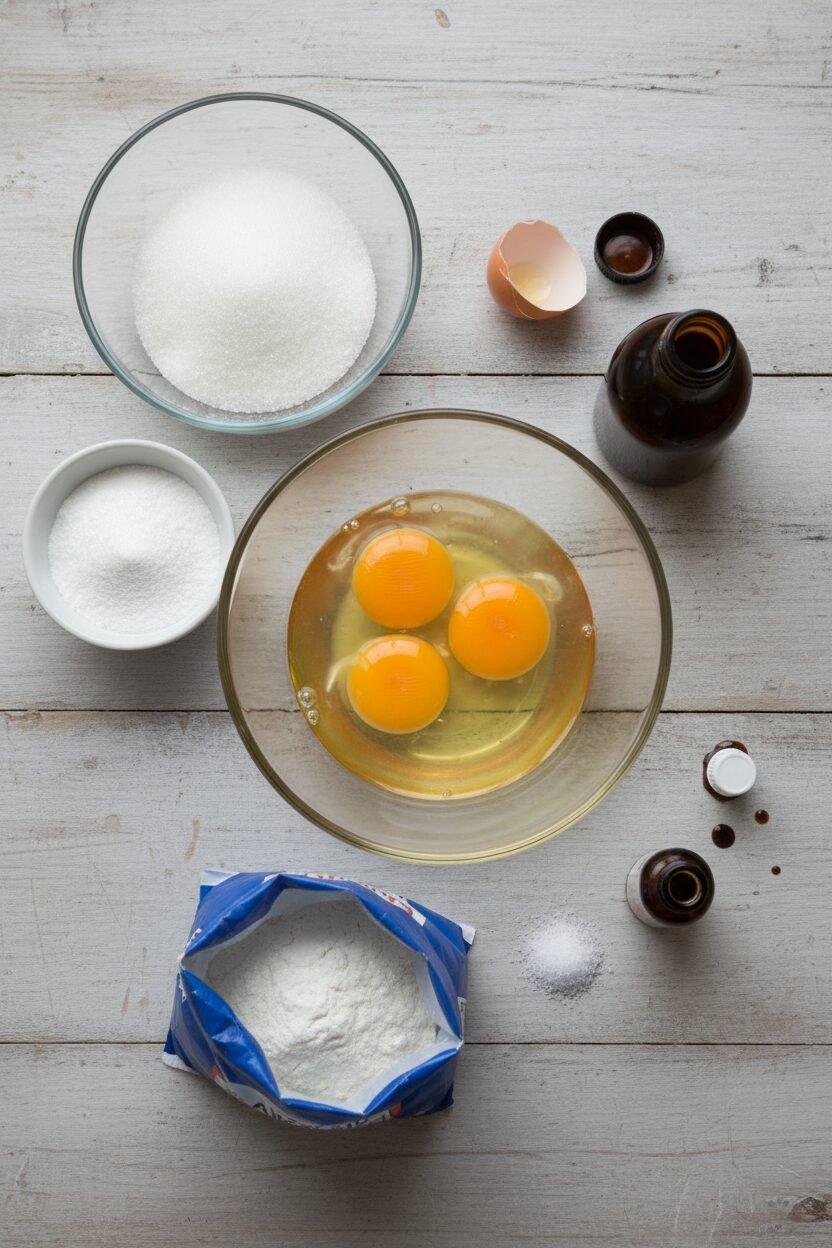
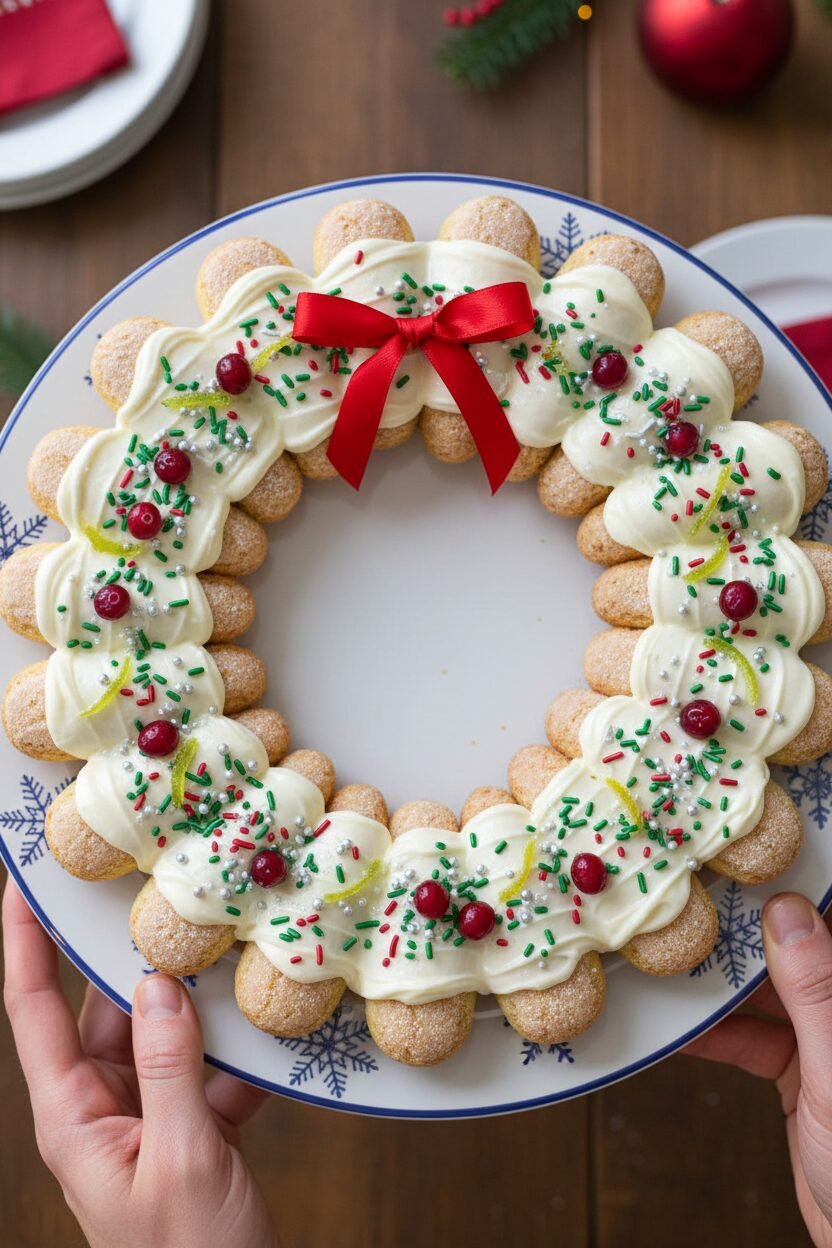
We are making a wreath of them today. A frosted holiday wreath. It looks fancy but is simple at heart. Just eggs, sugar, and flour. The magic is in the whipping and folding. I will show you. What is your favorite old-fashioned treat? I would love to know.
The Magic of Whipped Eggs
This recipe needs two bowls. One for egg whites, one for egg yolks. You whip the whites first. You beat them until they are fluffy and hold a peak. This gives the cookie its airy lift. It matters because it makes the cookie delicate, not dense.
Then you beat the yolks with sugar. They turn a beautiful pale yellow. Doesn’t that smell amazing? That rich, sweet smell is the soul of the cookie. Fun fact: The yolks give the ladyfinger its lovely golden color and a bit of richness. Now, you fold them together. Gently, gently. Like you are tucking a baby into bed.
Piping and Patience
Now for the fun part. You pipe the batter into little strips. If you don’t have a piping bag, a plastic bag with a corner cut off works fine. I still laugh at that. My first time, my strips looked like little plump worms. They baked up just fine, though!
You dust them with powdered sugar. Then into the oven they go. The smell that fills your kitchen is pure joy. It is the smell of patience and care. Do you like piping cookies, or is using a spoon easier for you? There is no wrong answer here.
Why Simple Things Matter
These cookies have no butter. No chocolate chips. They are simple. That is their beauty. In a busy world, simple things can be the most special. They remind us of quiet moments. They let the true flavors shine.
Making them teaches you about texture. Airy texture. It matters because cooking is not just taste. It is how food feels in your mouth. A light, melting feel can make you smile. It is a small lesson in creating joy.
Making Your Wreath
Once your ladyfingers are cool, you can build your wreath. Lay them in a circle on a plate. Let them touch at the ends. Then, drizzle with a simple powdered sugar glaze. Add sprinkles or red candies for holly berries.
It becomes a centerpiece. A gift from your hands. Who will you share your cookie wreath with this year? I always make one for my neighbor. Her smile is my favorite part. Sharing is the final, most important ingredient.
Ingredients:
| Ingredient | Amount | Notes |
|---|---|---|
| Granulated sugar | ½ cup (3 ½ ounces/99 grams) | Divided in step 2 |
| Confectioners’ sugar | ¼ cup (1 ounce/28 grams) | Divided in step 2 |
| Large eggs | 4, separated | Whites and yolks used separately |
| Salt | ⅛ teaspoon | |
| Vanilla | 1 teaspoon | |
| All-purpose flour | ¾ cup (3 ¾ ounces/106 grams) | Sifted over batter |
Instructions
Step 1: Heat your oven to 350 degrees. Line two baking sheets with parchment paper. Give them a light spray with oil. This little spray helps so much. It keeps our ladyfingers from sticking. I learned that the hard way once. (A light spray is better than a heavy pour!)
Step 2: Mix a quarter cup of white sugar with two tablespoons of powdered sugar. Now, whip the egg whites and a tiny salt pinch. Start on high until they get foamy. Then add your sugar mix slowly. Whip until the whites are shiny and hold a peak. What does a “stiff peak” look like? Share below! Gently scoop them into a big bowl.
Step 3: Now, beat the egg yolks, vanilla, and the rest of the white sugar. Beat for a good five minutes. It will turn a lovely pale yellow. Pour this over your egg whites. Sift the flour over the top. Fold it all together gently, like you’re tucking in a blanket.
Step 4: Put the batter in a pastry bag. Pipe it into little strips, about three inches long. Give them space on the sheet. Sift a little more powdered sugar over the top. This gives them a sweet, crisp coat. Doesn’t that smell amazing already?
Step 5: Bake for about 20 minutes. Switch the pans halfway through. You want golden edges. Let them cool on the sheet for five minutes. Then move them to a rack. Let them cool all the way before you frost them. Patience makes the best cookies, my dears.
Creative Twists
These little cookies are a perfect blank canvas. You can dress them up for any holiday. I love seeing what fun ideas folks come up with. My grandkids always have the best suggestions. Here are a few of our favorites to try.
- Add a drop of peppermint or almond extract to the batter for a festive flavor.
- Dip just one end of each cooled ladyfinger in melted chocolate.
- Before baking, sprinkle the strips with very finely chopped pistachios.
Which one would you try first? Comment below!
Serving & Pairing Ideas
Arrange your ladyfingers in a circle on a platter. It looks just like a wreath. Fill the center with fresh red berries. You could also serve them with a dollop of lemon curd. It’s a lovely, tangy surprise. For a drink, a warm cup of spiced apple cider is perfect. For the grown-ups, a small glass of sweet sherry pairs nicely. Which would you choose tonight?
Keeping Your Wreath Fresh
These ladyfingers are best eaten the day they are made. Their magic is in that light, airy texture. You can store them in a tin at room temperature for two days. Just place parchment between the layers.
I do not recommend freezing them after baking. They lose their lovely delicate crunch. I learned this the hard way with my first batch years ago. They came out of the freezer sadly soft.
You can freeze the piped batter on the sheet before baking. Then just pop the frozen shapes into the oven. This lets you bake a few fresh cookies anytime. Batch cooking the batter saves time during busy weeks.
Having ready-to-bake treats matters. It brings a little homemade joy without the last-minute rush. Have you ever tried storing it this way? Share below!
Simple Fixes for Common Hiccups
First, if your egg whites won’t get stiff, check your bowl. Any tiny bit of grease or yolk will stop them. I remember once using a damp towel to wipe my bowl. It had soap residue and my whites just would not peak.
Second, your cookies might spread too much. This means your batter was folded too vigorously. Gentle folding keeps the air inside. That air is what gives the cookies their lift.
Third, they might not be golden after baking. Your oven rack position is key. Switching the trays halfway through ensures even color. This simple step makes every cookie look perfect.
Getting these steps right builds your confidence. It also guarantees a light, sweet bite every single time. Which of these problems have you run into before?
Your Quick Questions, Answered
Q: Can I make these gluten-free?
A: Yes. Use a good gluten-free flour blend. The results will be slightly more delicate.
Q: Can I make them ahead?
A: You can pipe and freeze the batter shapes. Bake them straight from the freezer when needed.
Q: What if I don’t have a piping bag?
A: A plastic bag with a corner snipped off works just fine. I’ve used this trick for decades.
Q: Can I double the recipe?
A: I do not recommend it. The batter is fussy. Make two separate batches for the best results.
Q: Any optional tips?
A: A fun fact: The name “ladyfinger” comes from its shape. It is meant to look like a delicate finger. For holiday sparkle, dust them with green sugar before baking. Which tip will you try first?
From My Kitchen to Yours
I hope you enjoy making these little wreaths. Baking them always makes my kitchen smell like happy memories. It is a simple recipe that feels special.
I would love to hear about your baking adventure. Tell me how it went for you and your family. Have you tried this recipe? Please share your story in the comments below.
Happy cooking!
—Elowen Thorn.
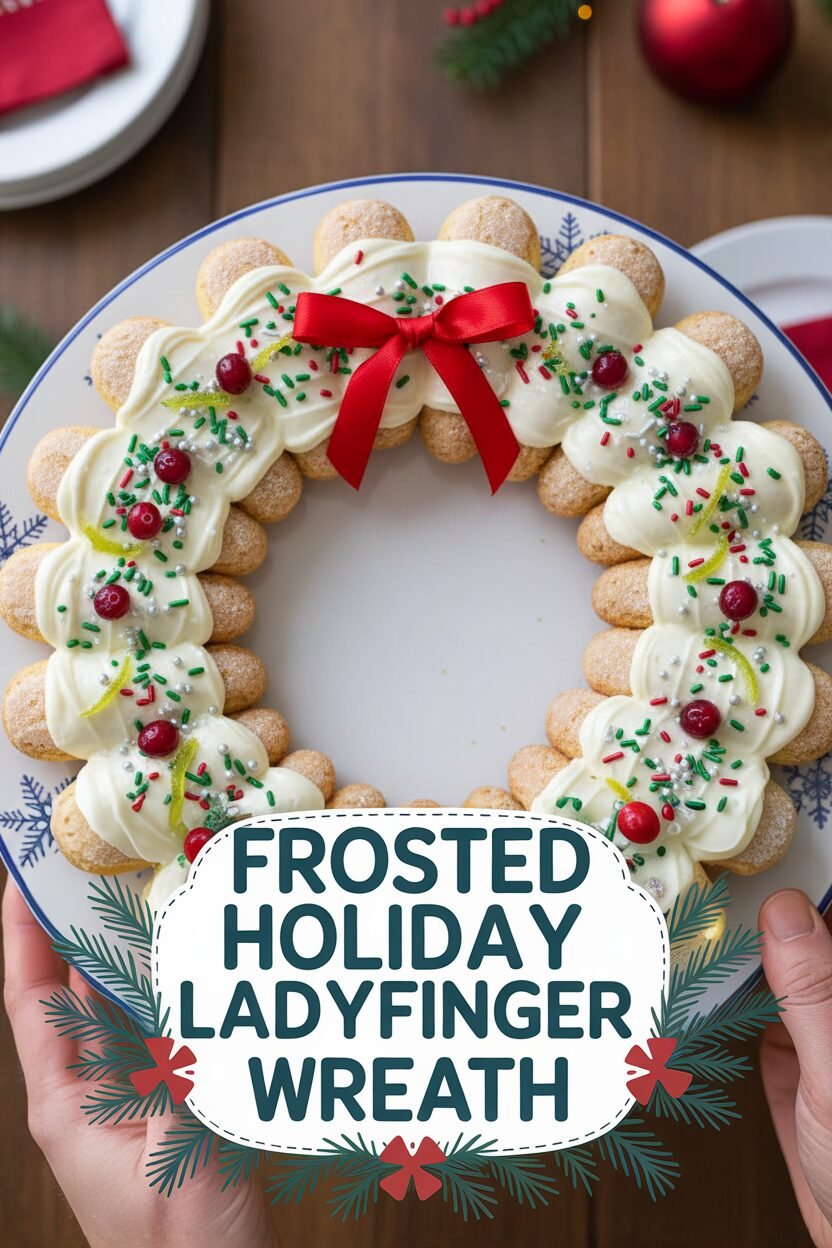

Frosted Holiday Ladyfinger Wreath
Description
Classic, delicate ladyfinger cookies, perfect for layering in desserts or enjoying on their own.
Ingredients
Instructions
- Adjust oven racks to upper-middle and lower-middle positions and heat oven to 350 degrees. Line 2 baking sheets with parchment paper and spray with vegetable oil spray.
- Whisk ¼ cup granulated sugar and 2 tablespoons confectioners’ sugar together in small bowl. Using stand mixer fitted with whisk attachment, whip egg whites and salt on high speed until very soft peaks form (peaks should slowly lose their shape when whisk is removed), 30 to 45 seconds. Reduce speed to medium and gradually add sugar mixture. Increase speed to high and whip until glossy, stiff peaks form, about 30 seconds. Gently transfer whites to large bowl.
- Fit stand mixer with paddle and beat egg yolks, vanilla, and remaining ¼ cup granulated sugar until thick and pale yellow, about 5 minutes. Pour yolk mixture on top of whites in bowl, then sift flour over top. Using rubber spatula, gently fold until combined.
- Fill pastry bag fitted with ½-inch plain tip halfway with batter. Pipe batter into 3-inch by 1-inch strips, spacing them 1 inch apart on prepared sheets. Sift remaining 2 tablespoons confectioners’ sugar over strips. Bake until edges are golden, 20 to 24 minutes, switching and rotating sheets halfway through baking. Let cookies cool on sheets for 5 minutes, then transfer to wire rack. Let cookies cool completely before serving.
Notes
- Nutritional information is referenced in the text with ‘View Nutritional Information’ but the specific values are not provided in the given text. Calories are estimated per cookie.