

The Magic of Roasted Garlic
Let me tell you about roasted garlic. It is a kitchen miracle. Raw garlic is sharp and spicy. But roasted garlic is sweet and soft. It spreads like butter. It makes your whole kitchen smell like a cozy holiday.
I love roasting two whole heads. The cloves get sticky and golden. You just squeeze them out. It feels like magic. Fun fact: Roasting garlic makes it taste sweet because the heat turns its natural sugars to caramel. Isn’t that amazing?
A Little Story and a Big Tip
I first made this for my grandson. He said he didn’t like garlic. I didn’t argue. I just gave him a warm pita with this hummus. He ate the whole bowl. He had no idea. I still laugh at that.
This matters because food can surprise us. A strong flavor can become gentle and friendly. It teaches us to try things. You might find a new favorite. What food did you think you hated but now love?
Making Your Garlic Glow
Start with the two whole garlic heads. Wrap them in foil. Let them roast slow and low. That smell is your signal. It means good things are coming. Be patient. Let the garlic cool before you squeeze.
Now, the crispy garlic chips. Use the sliced raw cloves. Cook them slow in olive oil. They turn golden and crunchy. This gives your hummus two kinds of garlic. One is sweet, one is crispy. It makes every bite interesting.
The Heart of the Hummus
Here is the secret. Always mix your tahini and lemon juice separately first. Tahini can be stubborn. It needs to be stirred well. This step makes everything smooth and creamy. No lumps allowed.
Blend the chickpeas with your sweet roasted garlic. Add a tiny pinch of cayenne. It is not for heat, but for a little glow in your chest. This matters. Food should make you feel warm inside, not just full.
Let It Rest and Share It
Your hummus is done. But wait. Cover the bowl. Let it sit for thirty minutes. The flavors need to hug each other. They get to know each other. It always tastes better after a rest.
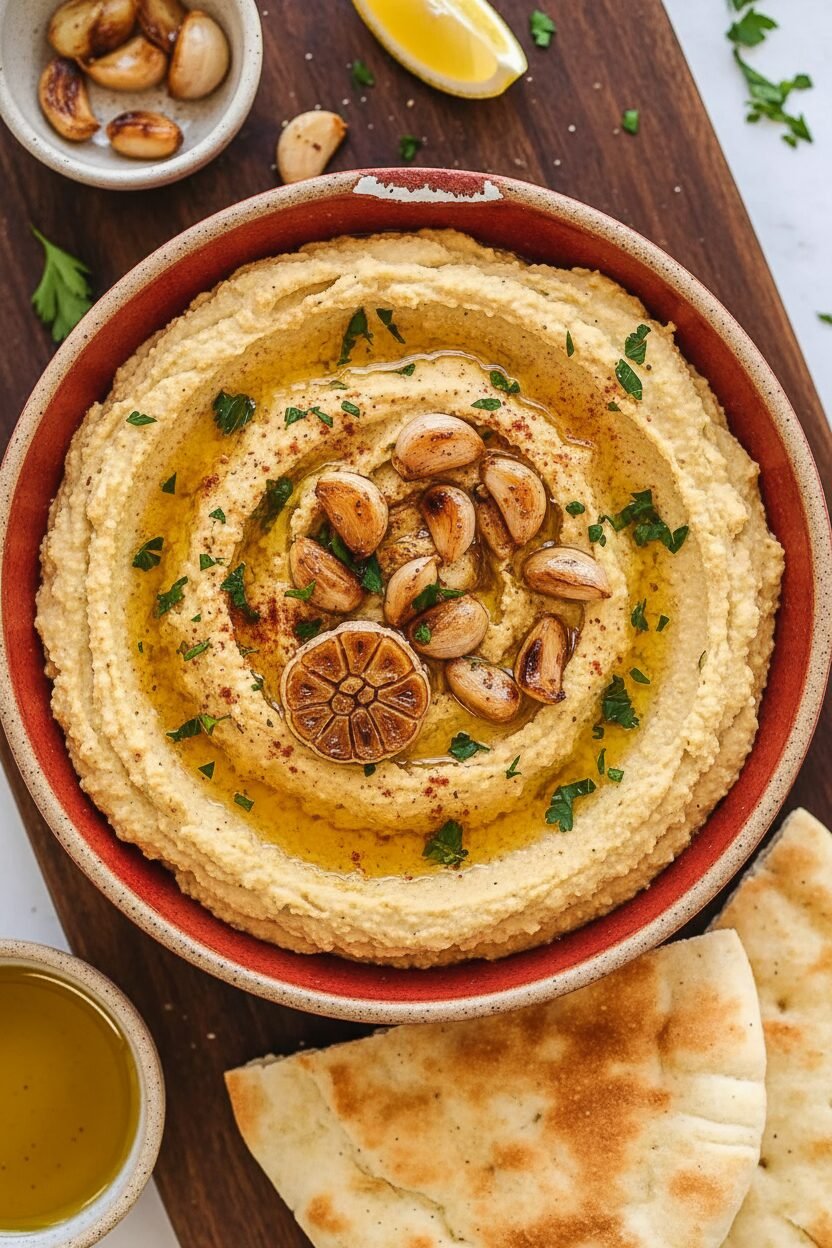
Garnish with your crispy chips and fresh parsley. It looks so pretty. I love to serve it with bright red pepper strips. What is your favorite thing to dip? Tell me, do you reach for chips, bread, or veggies first?
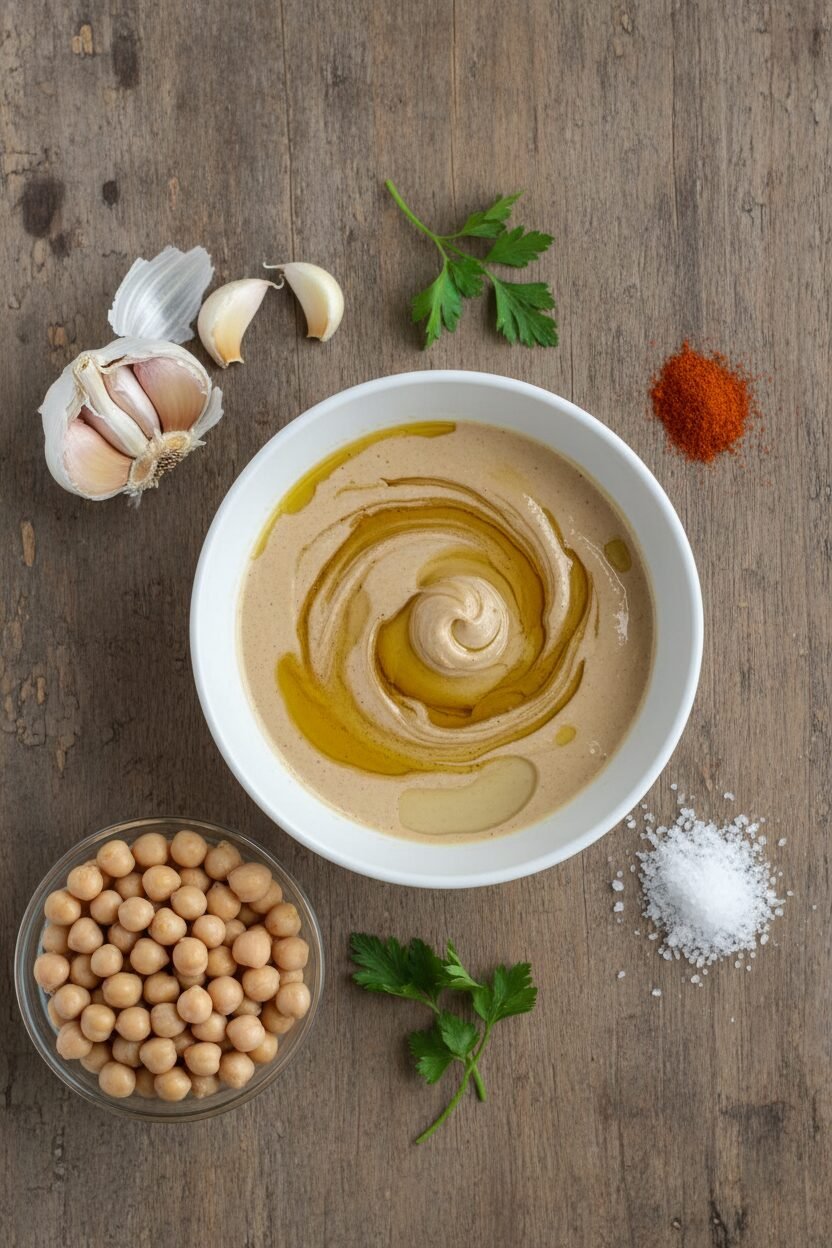
Ingredients:
| Ingredient | Amount | Notes |
|---|---|---|
| Whole heads of garlic | 2 | Unpeeled, for roasting |
| Olive oil | 2 tablespoons + more for drizzling | Divided use |
| Garlic cloves, thinly sliced | 2 cloves | For crispy garlic chips |
| Fresh lemon juice | 3 tablespoons | From 1 to 2 lemons |
| Water | 1/4 cup | |
| Tahini | 6 tablespoons | Well-stirred |
| Canned chickpeas | 1 (14-ounce) can | Drained and rinsed |
| Garlic clove, minced | 1 clove (approx. 1/2 tsp) | Raw |
| Salt | 1/2 teaspoon | |
| Cayenne pepper | 1 pinch | |
| Fresh parsley, minced | 1 tablespoon | For garnish |
Instructions
Step 1: First, let’s roast the garlic. Heat your oven to 350°F. Cut the tops off two whole garlic heads. Wrap them in foil. Roast for one hour. It will smell amazing and get very soft. Let it cool for a bit. (A hard-learned tip: let it cool completely before squeezing. It saves your fingers!)
Step 2: Now, make crispy garlic chips. Heat olive oil in a small pan. Add your thinly sliced garlic. Cook it slow until golden. This takes patience. Remove the chips to a paper towel. Save that yummy garlic oil for later.
Step 3: Squeeze the roasted garlic from its skin. It should pop right out. You’ll get about a quarter cup. Isn’t that a beautiful, soft paste? This is the magic that makes the hummus sweet.
Step 4: Get your liquids ready. Mix lemon juice and water in one bowl. In another, whisk tahini with the garlic oil you saved. This makes everything so creamy. I still laugh at the time I forgot the tahini!
Step 5: Time for the food processor. Add chickpeas, all the garlic, salt, and a pinch of cayenne. Blend it into a rough paste. Scrape the sides down. What do you think the cayenne adds? A little heat or just color? Share below!
Step 6: Keep the processor running. Slowly pour in the lemon-water. Let it get really smooth. This step is important for the texture. It should look light and fluffy already.
Step 7: Last, add your tahini-oil blend. Pour it in slowly while blending. Let it run for a full two minutes. This makes it dreamy. Taste it. You can add a tiny more salt if you like.
Step 8: Almost done! Scoop the hummus into a bowl. Top it with your crispy garlic chips and fresh parsley. Let it sit for 30 minutes. The flavors become best friends while they wait.
Creative Twists
This recipe is like a favorite sweater. You can dress it up for any party. Try one of these fun changes. They make it feel new again.
Sun-Dried Tomato Swirl: Blend a few tomatoes into a paste. Swirl it on top.
Everything Bagel Topping: Skip the parsley. Use those tasty seeds instead.
Roasted Red Pepper: Add one chopped pepper with the chickpeas. It’s so pretty and sweet.
Which one would you try first? Comment below!
Serving & Pairing Ideas
This hummus loves company. I serve it with warm pita triangles. Colorful carrot sticks and cucumber rounds are perfect too. For a party, drizzle more oil on top. It makes it shine. A bowl of olives on the side is always nice.
For drinks, a crisp white wine pairs beautifully. My grandson loves fizzy lemonade with a rosemary sprig. It feels very fancy. We sit and dip and talk for hours. Which would you choose tonight?
Keeping Your Garlic Glow Hummus Happy
This hummus loves your fridge. It will stay fresh for about five days. Just cover the bowl tightly with plastic wrap.
You can freeze it for one month, too. I use a small container. Thaw it overnight in the fridge before serving.
I once made a triple batch for a big family party. It was so nice to have it ready. Batch cooking saves time for fun.
Letting it rest makes the flavors cozy together. This matters for a truly delicious bite. Have you ever tried storing it this way? Share below!
Simple Fixes for Smooth Hummus
Is your hummus too thick? Just add a little water. Add one teaspoon at a time until it’s creamy.
Does it taste a bit flat? It probably needs more salt. I remember when mine tasted dull. A pinch more salt fixed it.
Is the tahini hard to stir? Let the jar sit in warm water. This softens it right up for easy mixing.
Getting the texture right builds your kitchen confidence. Balancing flavors makes every spoonful sing. Which of these problems have you run into before?
Your Quick Questions, Answered
Q: Is this gluten-free? A: Yes, it is! Just serve it with gluten-free crackers or veggies.
Q: Can I make it ahead? A: Absolutely. Making it a day early lets the flavors get even better.
Q: I don’t have fresh parsley. A: That’s okay. A sprinkle of paprika looks pretty and tastes nice.
Q: Can I double the recipe? A: You sure can. Just use a bigger food processor bowl.
Q: Is the raw garlic necessary? A: It gives a nice little zing. But you can skip it if you want a milder taste. Which tip will you try first?
Fun fact: Roasting garlic makes it sweet and soft. It loses that sharp, spicy bite!
From My Kitchen to Yours
I hope you love making this Garlic Glow Hummus. It always makes my kitchen smell wonderful. I think of my grandkids when I make it.
They love dipping carrots and pita chips. Sharing food is sharing love. Now I want to hear from you.
Have you tried this recipe? Tell me all about it in the comments. I read every single one.
Happy cooking!
—Elowen Thorn.
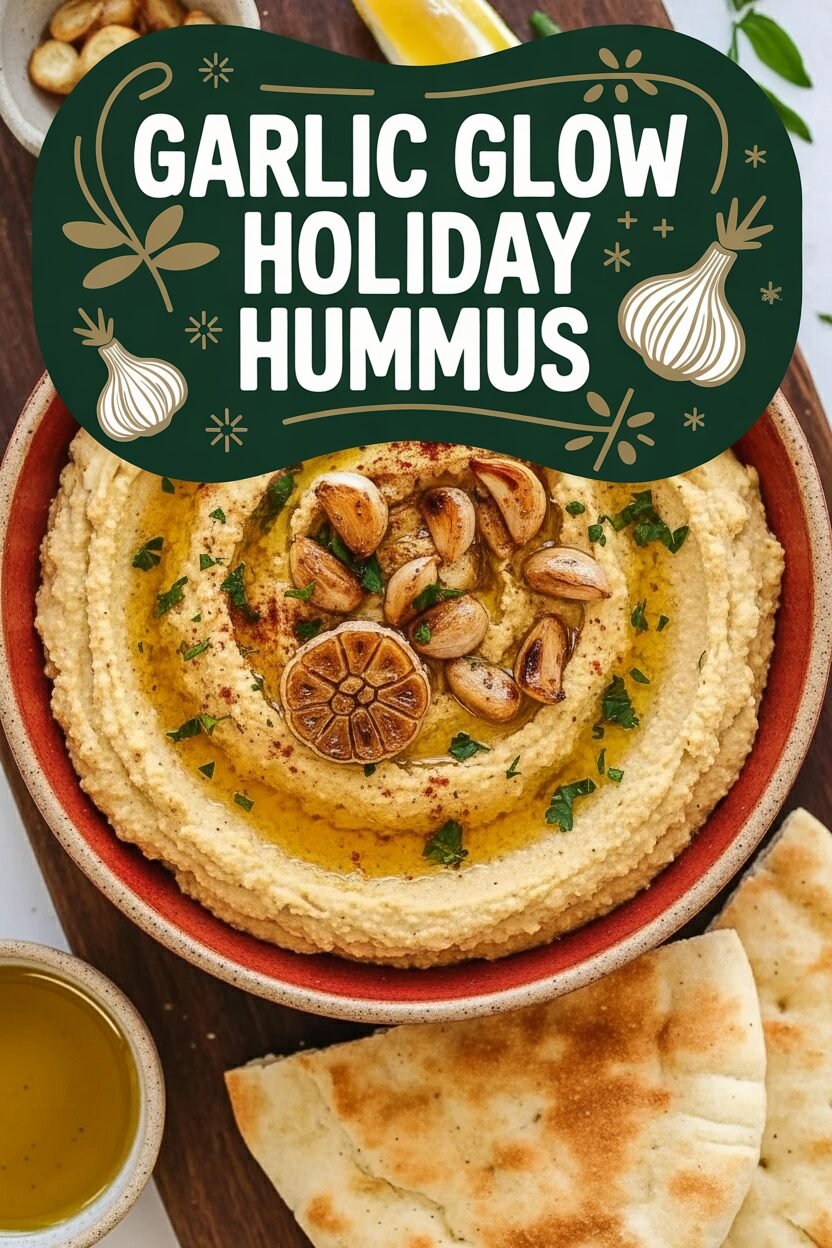

Garlic Glow Holiday Hummus
Description
This rich and creamy Roasted Garlic Hummus is elevated with crispy garlic chips and a hint of cayenne. Perfect for holiday gatherings or any time you crave a flavorful dip.
Ingredients
Instructions
- Preheat the oven to 350°F (175°C). Carefully remove the outer papery skins from the two heads of garlic, ensuring the cloves remain intact. Trim approximately the top quarter of each garlic head to expose the cloves. Wrap the garlic tightly in aluminum foil and place it on a baking sheet. Roast in the preheated oven for approximately 1 hour, or until the garlic becomes tender and caramelized. Allow the garlic to cool for about 10 minutes before handling.
- Prepare the crispy garlic chips. While the garlic is roasting, heat 2 tablespoons of olive oil in a small skillet over medium-low heat. Add the thinly sliced garlic cloves and cook gently, stirring occasionally, until they become golden and crisp, approximately 12 to 15 minutes. Carefully transfer the garlic chips to a paper towel-lined plate using a slotted spoon. Reserve the garlic-infused oil for later use.
- Extract the roasted garlic. Once the roasted garlic has cooled, gently squeeze the softened cloves from their skins into a small bowl. You should have approximately 1/4 cup of roasted garlic.
- Prepare the lemon-water and tahini mixtures. In a small bowl, combine the fresh lemon juice and 1/4 cup of water. In a separate bowl, whisk together the tahini and the reserved garlic-infused olive oil until smooth.
- Process the chickpeas and garlic. In the bowl of a food processor, combine the drained chickpeas, roasted garlic cloves, minced raw garlic, salt, and cayenne pepper. Process the mixture for approximately 15 seconds, until it forms a coarse paste. Scrape down the sides of the bowl to ensure an even blend.
- Incorporate the liquid ingredients. With the processor running, slowly drizzle the lemon juice and water mixture through the feed tube in a steady stream. Pause to scrape down the sides of the bowl as needed. Continue processing for 1 minute to allow the ingredients to emulsify.
- Add the tahini-oil blend. With the machine running, gradually pour the tahini and olive oil mixture into the processor. Blend for an additional 1 to 2 minutes, or until the hummus achieves a smooth and creamy consistency. Scrape down the sides of the bowl as needed to ensure thorough blending.
- Garnish and rest. Transfer the hummus to a serving bowl. Sprinkle the prepared crispy garlic chips and minced fresh parsley over the top. Cover the bowl with plastic wrap and allow the hummus to rest at room temperature for at least 30 minutes to allow the flavors to meld.
- Serve. Prior to serving, drizzle the surface of the hummus with a light additional coating of olive oil. Serve with pita bread, fresh vegetables, or your choice of accompaniments.
Notes
- For a smoother hummus, you can peel the chickpeas after rinsing. The hummus can be stored in an airtight container in the refrigerator for up to 5 days.