

The Magic of a Good Crust
Let’s start with the base. It is like a warm hug for the jam. You mix butter and sugars until fluffy. I still laugh at that. It looks like sweet, yellow clouds.
Then you add the flour and oats. This makes a crumbly dough. Press most of it into the pan. This matters because a firm crust holds everything together. It makes a perfect foundation for your treat.
My Raspberry Jam Story
Now, the heart of the bar: the jam. I use my own homemade raspberry jam. One summer, I picked too many berries. My kitchen became a jam factory for a week!
Stir a little lemon juice into your jam. This is a tiny step with a big job. The lemon makes the raspberry flavor sing. It cuts the sweetness just right. Do you have a favorite jam memory? I would love to hear it.
Why We Layer With Love
Spread that ruby-red jam over the crust. Doesn’t that smell amazing? Then, sprinkle the rest of the oat mixture on top. Gently press it down.
This gentle press is important. It helps the topping stick to the jam. This matters because it creates little pockets of flavor. Every bite gets crust, jam, and topping. It is much nicer than a jam surprise only in the middle.
The Golden Wait
Into the oven they go. The hardest part is waiting. You will know they are done when the top is golden. Look for little bubbles at the edges of the jam.
Then, you must let them cool completely. I know it is tempting to cut them warm. But if you wait, they will cut cleanly. This patience gives you those perfect squares. Do you find it hard to wait for treats to cool?
A Little Berry Secret
Raspberries are full of tiny seeds. That is why some folks use seedless jam. I like the seeds. They add a nice little crunch. *Fun fact*: Each raspberry is made of many tiny fruits! They are called drupelets.
These bars are simple joy. They are for sharing after school. Or for a sweet talk with a friend. The oats make them feel a bit wholesome. The jam makes them a celebration. Would you try these with another jam, like blackberry? You can find more berry ideas, like these cream cheese swirled muffins or a fancy pistachio layer cake.
Instructions
Step 1: First, let’s get cozy. Preheat your oven nice and warm. Line your pan with parchment paper. This makes lifting the bars out so simple later. (A little overhang is your best friend here.) Doesn’t that smell amazing already?
Step 2: Now, cream the butter and sugars together. Beat until it’s light and fluffy. It reminds me of cloud-watching on a summer day. Stir in the vanilla. Its sweet scent always makes me smile. What’s your favorite baking smell? Share below!
Step 3: Whisk your flour, baking powder, and salt in another bowl. Add it to your butter mixture. It will look crumbly and perfect. Gently stir in the hearty oats. I still laugh at the time I used instant oats by mistake!
Step 4: Press most of the crumbs into the pan for the crust. Use your fingers or a cup. Then, mix the jam with a little fresh lemon juice. Spreading that ruby red jam is my favorite part. It’s like painting a sweet raspberry jam canvas.
Step 5: Sprinkle the rest of the crumbly oat mix on top. Press gently so it sticks. Bake until golden and bubbly. The hardest part is waiting for them to cool completely! (Cutting warm bars makes a gooey mess, trust me.) Then, enjoy your decadent raspberry delight.
Creative Twists
Lemon Zest Sparkle: Add lemon zest to the crust. It makes the raspberry flavor sing.
Chocolate Drizzle Dream: Melt some chocolate and drizzle it on top after baking. So pretty!
Almond Crunch: Swap half the oats for chopped almonds. You get a lovely, nutty crunch.
Which one would you try first? Comment below!
Serving & Pairing Ideas
Serve these bars with a cold glass of milk. It’s a classic for a reason. For a fancy touch, add a dollop of whipped cream. A scoop of vanilla ice cream turns it into a warm raspberry layer cake sundae. They also pair wonderfully with a cup of herbal tea. Which would you choose tonight?
Keeping Your Raspberry Bars Fresh and Tasty
Let’s talk about storing these sweet treats. First, cool the bars completely. Then, place them in a single layer in a container. Use parchment paper between layers if you stack them. They will keep on the counter for two days.
For longer storage, the freezer is your friend. Wrap each bar tightly in plastic wrap. Then, pop them all into a freezer bag. They will keep for up to three months. Thaw at room temperature when you want one.
I remember my first batch. I didn’t let them cool. The jam was still warm and gooey. It made such a mess when I tried to wrap them! Patience is a key ingredient in baking, I learned. Batch cooking these bars saves so much time later. It means you always have a little joy ready to share.
Have you ever tried storing it this way? Share below! For another great make-ahead treat, try these easy raspberry cheesecake bites.
Simple Fixes for Common Baking Hiccups
We all face little problems in the kitchen. Here are three common ones. First, a crumbly dough that won’t press down. If your mix is too dry, add a teaspoon of cold water. Mix it in gently with your fingers.
Second, jam that leaks and burns. Make sure your bottom crust is pressed down firmly. Create a good seal at the edges of the pan. I once had raspberry rivers in my oven! It matters because a good seal gives you neat, perfect bars.
Third, bars that fall apart when cutting. You must let them cool all the way. I know it’s hard to wait. This matters for both texture and presentation. You want beautiful squares, not crumbles. *Fun fact: Letting them cool helps the jam filling set, like my no-bake cheesecake bites need time to firm up.
Which of these problems have you run into before? Getting past these hurdles builds your confidence. Soon, baking feels easy and fun.
Your Quick Questions, Answered
What are the ingredients for Grandma’s raspberry oatmeal bars?
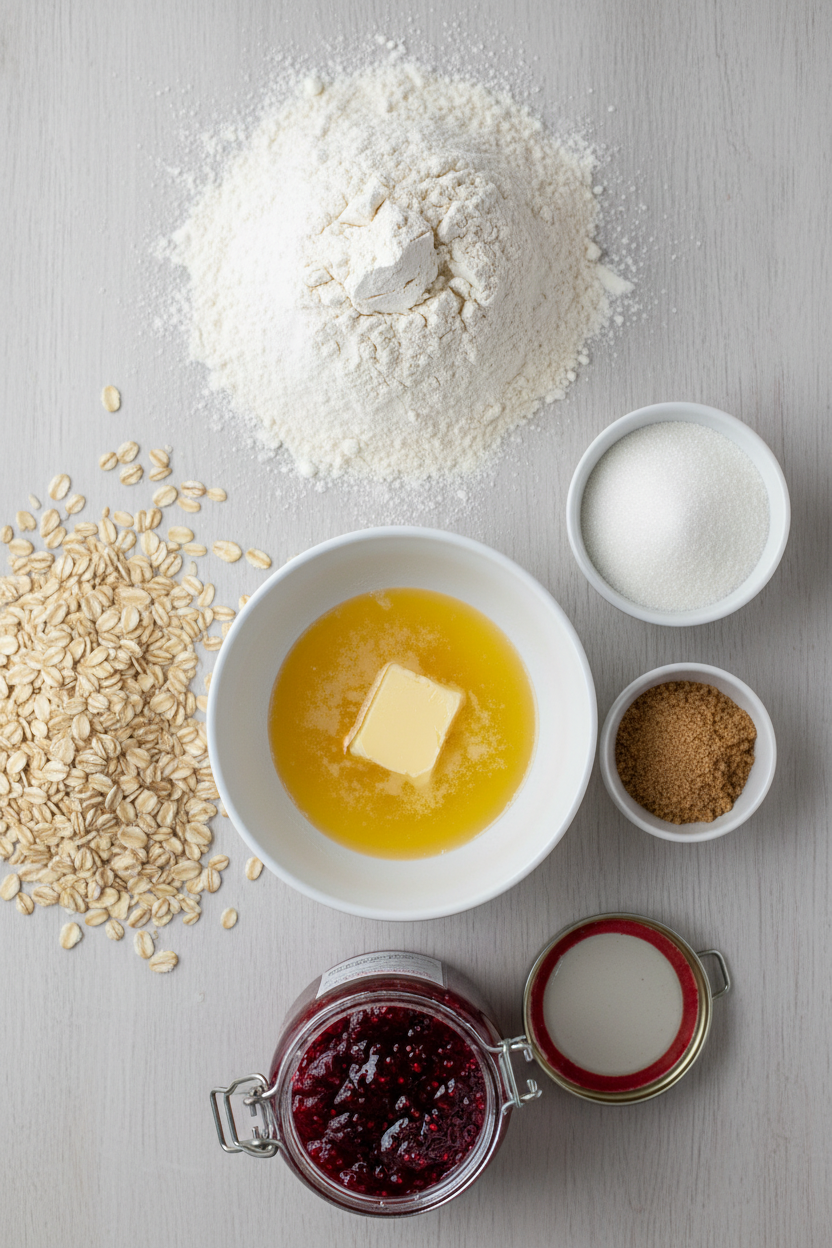
You need simple pantry items. For the crust and topping, gather butter, white and brown sugar, flour, baking powder, salt, oats, and vanilla. For the sweet filling, you just need raspberry jam and a little fresh lemon juice. That lemon juice is a secret star. It brightens the jam’s flavor so much. It keeps the bars from being too sweet.
How do you make oatmeal raspberry crumble bars?
You make a buttery oat crumble mixture first. Press most of it into a pan for the crust. Then, spread your jam mixed with lemon juice over it. Sprinkle the rest of the crumble on top and bake. The key is not over-mixing the dough. You want a crumbly texture for the perfect topping, just like on a beautiful layer cake.
Can I use frozen raspberries for oatmeal bars?
This recipe uses jam, not fresh berries. So frozen raspberries aren’t needed here. But you could use them to make your own jam! Cook them down with some sugar first. For a simpler berry fix, frozen berries work wonderfully in muffins. Try them in these cream cheese swirled raspberry muffins instead.
What is the secret to perfect oatmeal cookie bars?
The secret is in the texture of your dough. Do not mix it until it is smooth. You want a clumpy, crumbly mixture. This gives you that delightful crisp and tender bite. Also, make sure your butter is properly softened. It should be cool but leave a dent when you press it.
How do you get raspberry oatmeal bars to set properly?
Patience is the answer. You must let the bars cool completely in the pan. The jam filling is very hot and liquid when it comes out of the oven. As it cools, it thickens and sets. Rushing this step will give you a messy, though still tasty, result. Let them have a good long rest.
Can I substitute jam for fresh raspberries in oatmeal bars?
This recipe already uses jam! Fresh raspberries alone would be too wet. They would make the bars soggy. The jam is concentrated and thick, which is what you need. If you only have fresh berries, cook them into a quick jam first. Or, use another thick, fruity spread you love.
Which tip will you try first?
From My Kitchen to Yours
I hope you enjoy making these raspberry bars. Baking should fill your home with warmth and sweet smells. It is about sharing love, one treat at a time. I love hearing your stories and seeing your creations.
Tell me all about your baking adventure in the comments. Have you tried this recipe? Did you make it with a friend or a grandchild? I read every note you leave. Thank you for letting me share my kitchen with you.
Happy cooking!
—Elowen Thorn

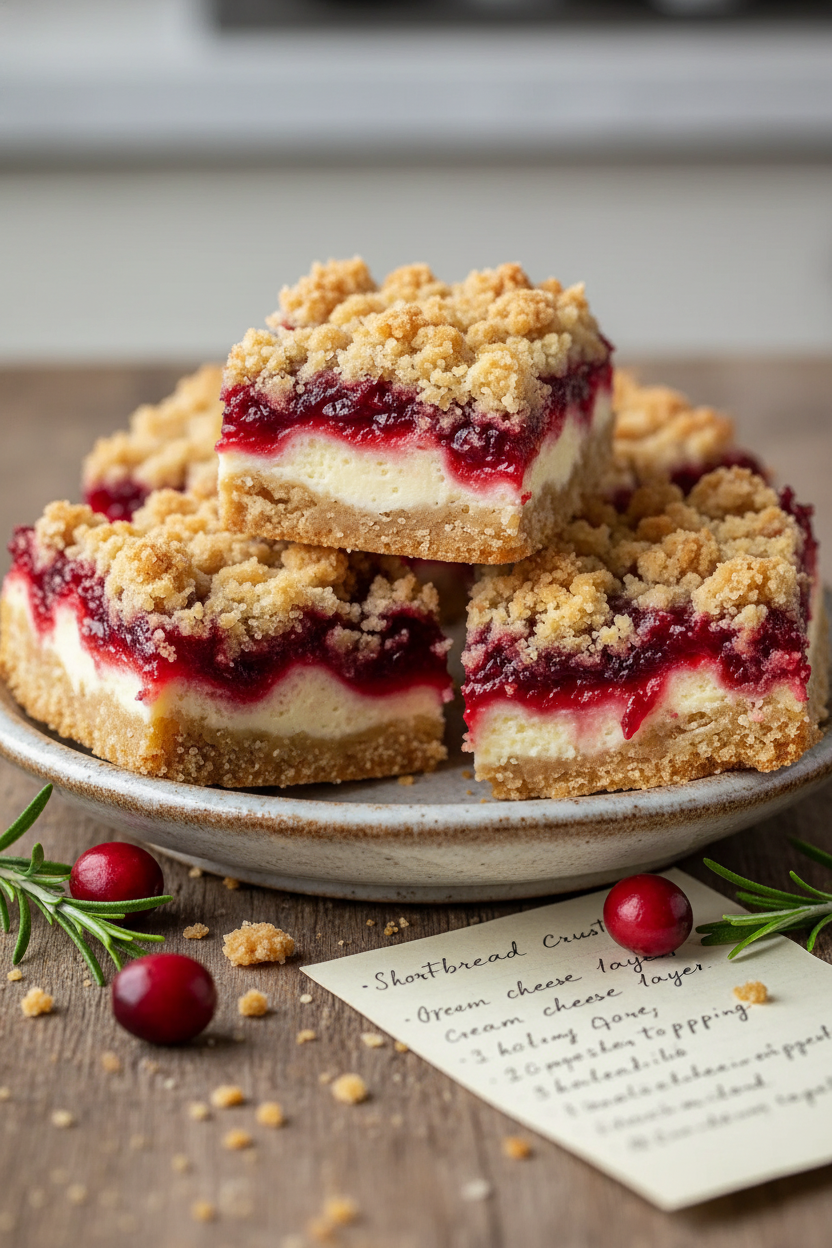
Grandmas Classic Raspberry Oatmeal Bar Recipe
Description
A timeless, buttery oatmeal crust and crumble topping with a sweet-tart raspberry jam filling. Perfect for dessert, snacks, or a lunchbox treat.
Ingredients
For the Crust and Topping:
For the Filling:
Instructions
- Preheat your oven to 350°F. Line a 9×13 inch baking pan with parchment paper, leaving an overhang on two sides for easy removal.
- In a large mixing bowl, blend 1 cup of softened unsalted butter with 1 cup of granulated sugar and 1/2 cup of packed brown sugar. Beat until light and fluffy, about 2 to 3 minutes. Stir in 1 teaspoon of vanilla extract.
- In a separate bowl, whisk together 2 1/2 cups of all-purpose flour, 1/2 teaspoon of baking powder, and 1/4 teaspoon of salt.
- Add the dry ingredients to the butter-sugar mixture and mix until crumbly. Gently stir in 1 1/2 cups of old-fashioned rolled oats until just incorporated.
- Press about two-thirds of the crumbly oat mixture evenly into the bottom of your prepared pan to form the crust.
- In a small bowl, stir together 1 1/2 cups of raspberry jam and 1 tablespoon of fresh lemon juice. Spread this mixture evenly over the crust.
- Sprinkle the remaining oat mixture evenly over the raspberry layer. Gently press down so the topping clings to the jam.
- Bake for 30 to 35 minutes, until the top is golden and the jam bubbles at the edges. Remove from the oven and let the bars cool completely in the pan before lifting out and cutting into squares.
Notes
- For clean cuts, chill the cooled bars in the pan for 30 minutes before slicing. You can substitute raspberry jam with any other favorite jam or preserves.