I remember the summers when my mama would put up her own jam. The whole house would steam up and smell like blackberries or peaches.
She would say, “Sugar and fruit is love you can spread on toast.” I still believe that. And that is the heart of this little bar cookie.
What is your favorite jam flavor from when you were a kid?
The Trick Is in the Cornstarch
Now you look at this shortbread recipe and wonder about that cornstarch. It is not there to be fancy. It keeps the dough from getting too tough on you.
My grandma always said a heavy hand makes for heavy cookies. She would mix the butter by hand until her fingers ached. I use a mixer now, but I think of her every time.
That soft crumble is what makes you want another bite. I never had a single complaint about these bars from my bunch.
Pressing Dough Is a Little Like Patience
You press most of the dough into the pan and save some for the top. It feels like you are making a sandy blanket for the jam to sleep on.
If you press it too hard, the bottom gets solid like a cracker. You want it tender, not tough. A light press with your fingers does the job nicely.
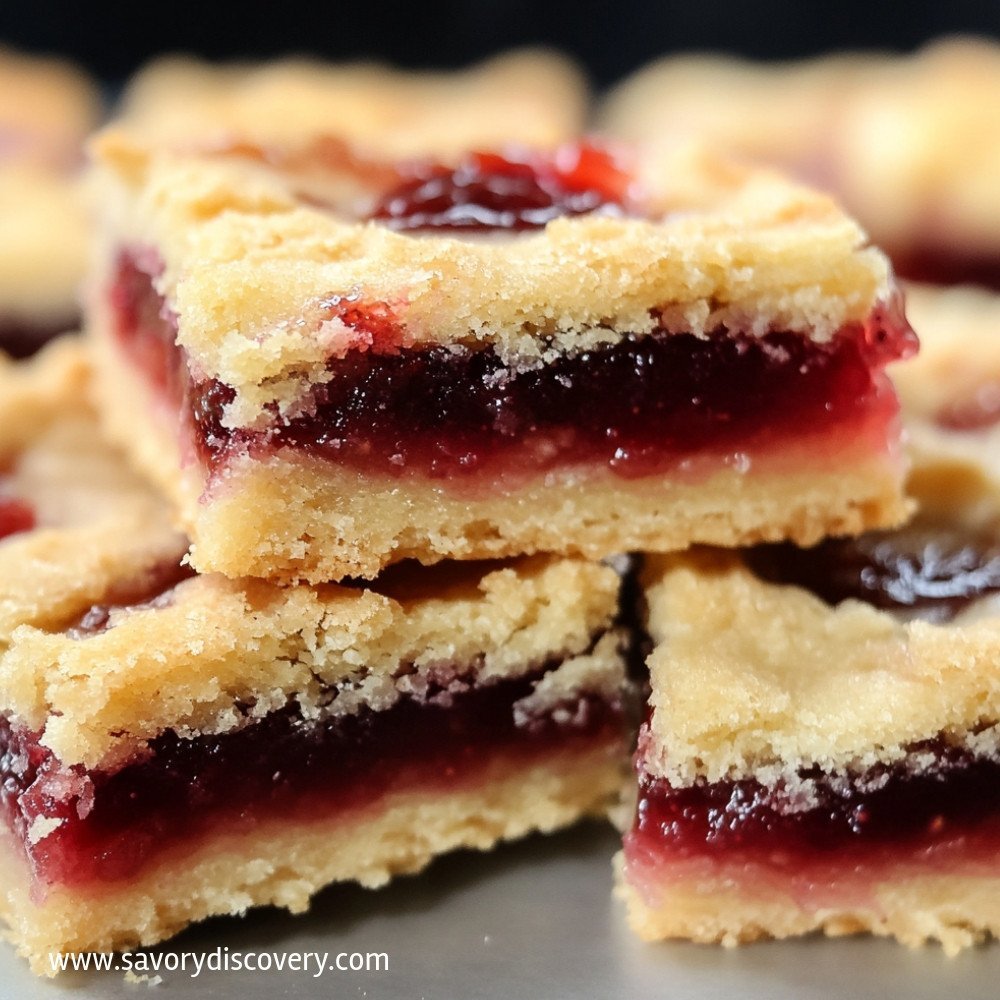
That crumbled top layer bakes up all golden and uneven. That is where the magic hides. It is not supposed to look perfect. Real food never does.
The Jam You Pick Matters More Than You Think
You can use any jam you have in the fridge door. Strawberry, apricot, raspberry. I have even used a good fig preserves when I was feeling adventurous.
Here is a little fun fact I just remembered. Jam with seeds in it gives the bars a nice little pop. My kids loved finding a raspberry seed in every bite.
And that is why this matters. A simple swap changes the whole memory of the cookie. You get to decide what story it tells.
Cooling Is Not Optional, It Is Kindness
I know you want to cut into them the second they come out of the oven. I have done it myself and ended up with a crumbly mess.
Hot shortbread does not hold together. It needs to rest and set up. That is the hardest part of making these bars, waiting.
But that wait makes the bars slice clean and you get nice little squares. I dust mine with powdered sugar right before serving. It makes them look like a present.
Have you ever ruined a batch of cookies by cutting too soon? I sure have, and I still laugh about it.
A Bar for the Porch and the Potluck
These jam bars travel well. You can stack them in a tin and take them to a church supper or a neighbor’s porch. They do not get sad in a car.
I brought a batch to my Sunday school class once and they were gone in ten minutes. A lady asked for the recipe, and I wrote it on a napkin.
That felt good. Passing along something from my kitchen to hers.
Simple Is the Whole Point
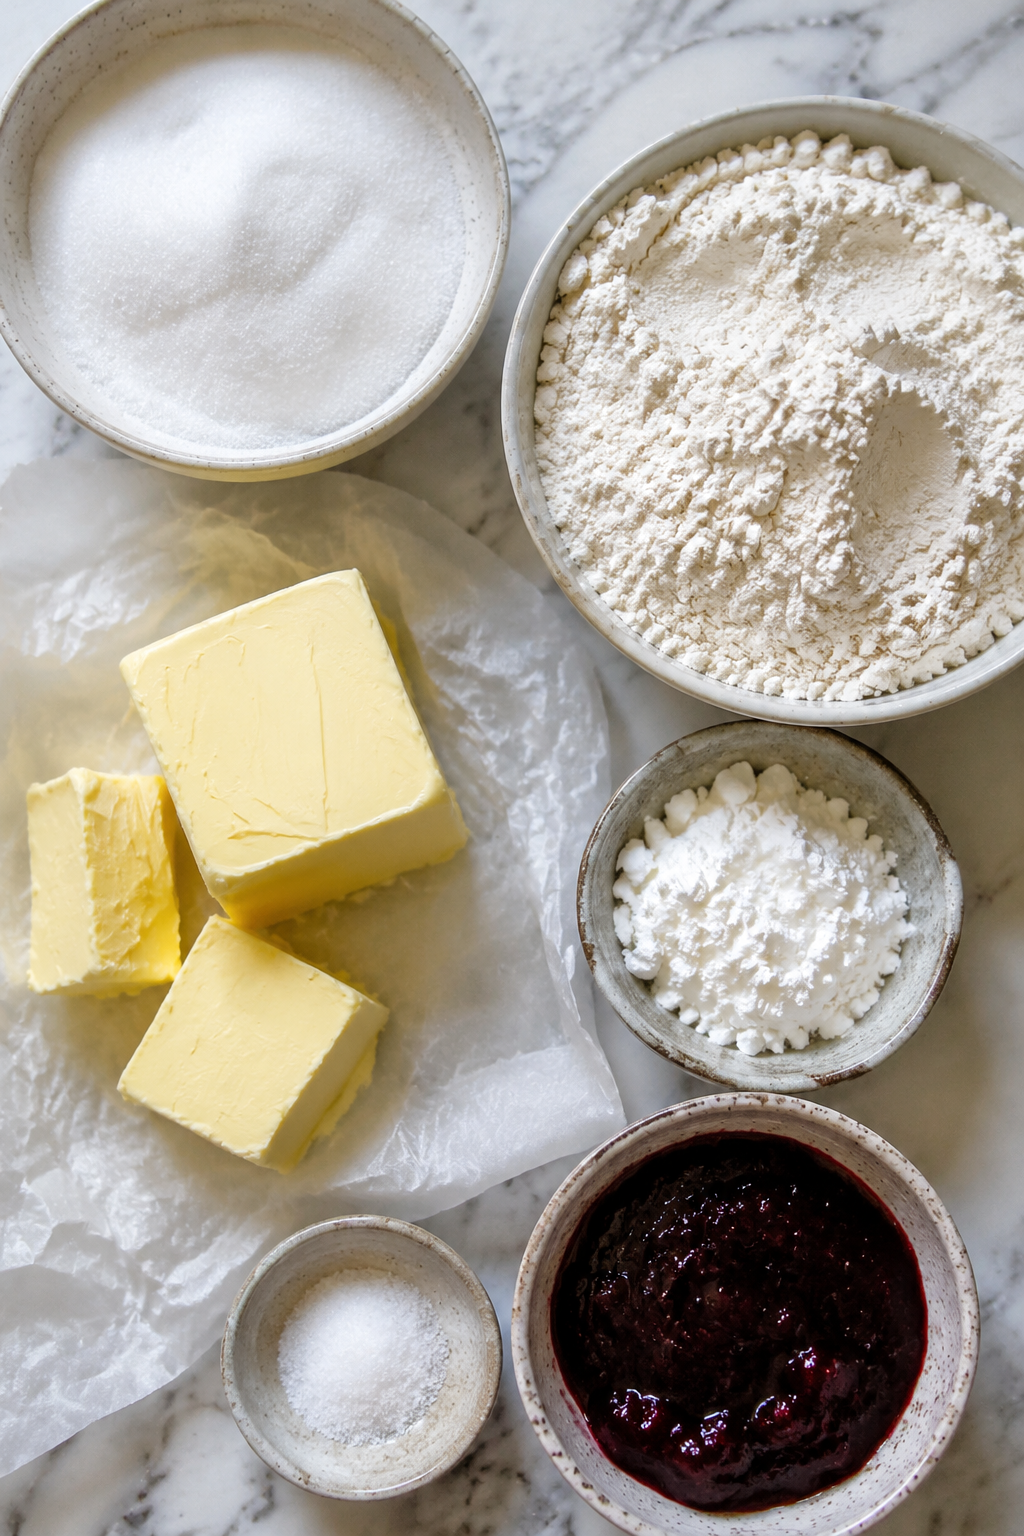
You do not need fancy tools or expensive ingredients for these. Butter, flour, sugar, and jam. That is it.
And that is the lesson I keep learning. The best things in life are usually the simplest. A warm bar and a glass of cold milk is about as good as it gets.
I would love to know what kind of jam you will use first. I am betting on strawberry.
Jam Shortbread Bars
Jam Shortbread Bars
These bars are the ones I bring when I need to show up with something good. My grandmother called them “company cookies” because they look fancy but take no real fuss. The secret is a shortbread crust that melts in your mouth. I still make them the same way she taught me. You can find my favorite baking tools here.
The dough works like a crumbly sand you press into the pan. You use most of it for the bottom crust, then crumble the rest on top. It bakes up golden and buttery. My kids never complained about this one. I learned this trick from my neighbor Betty.
Ingredients
1 cup unsalted butter, softened. ½ cup granulated sugar. 2 cups all-purpose flour. ¼ cup cornstarch. ¼ tsp salt. And 1 cup jam of choice. Use raspberry, apricot, or strawberry for the best flavor. I use this same baking method for my savory dishes too.
Make sure your butter is really soft, almost like mayonnaise. Cold butter will make the dough tough to press. Cornstarch is what gives that tender shortbread feel. Don’t skip it even if you’re in a hurry.
Instructions
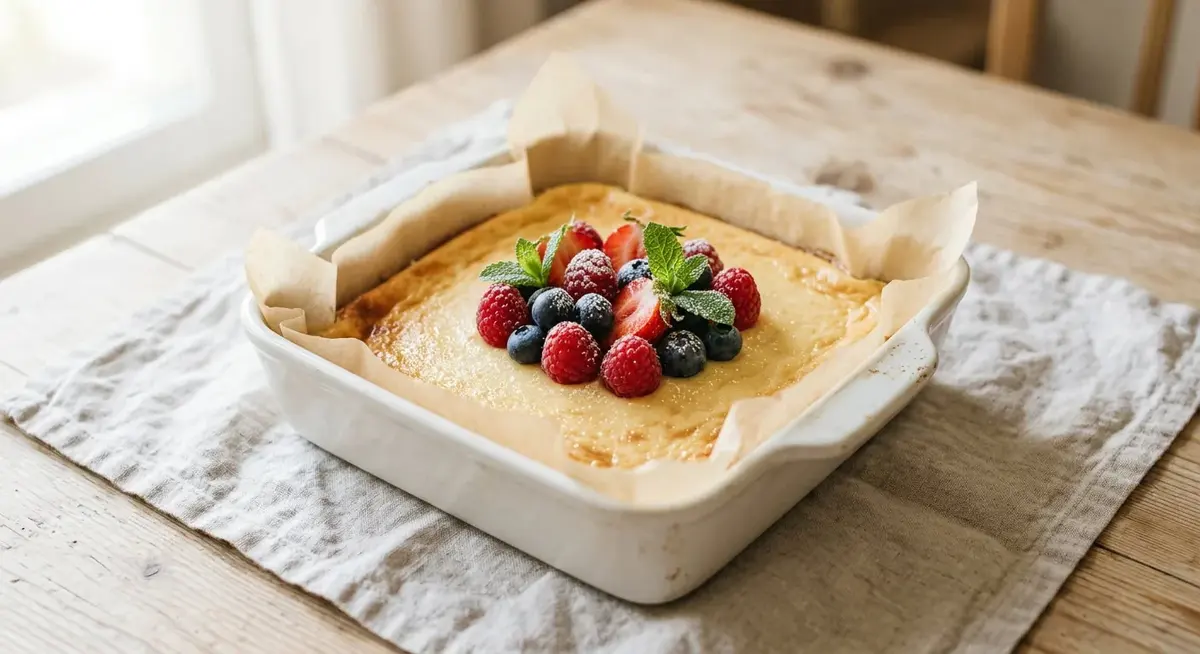
Step 1: Preheat your oven to 350°F. Grease a 9×9 inch pan or line it with parchment paper. I always use parchment so the bars lift out clean. (Pro tip: Let the parchment hang over two sides for easy handles.)
Step 2: Beat the butter and sugar together until smooth and creamy. Add the flour, cornstarch, and salt. Stir until a crumbly dough forms. It should look like wet sand when you’re done. What’s your go-to jam flavor for baking? Share below!
Step 3: Press two-thirds of the dough evenly into the bottom of the pan. Use your fingers or a flat-bottomed glass to get it smooth. Make sure the corners are filled in well.
Step 4: Spread the jam evenly over the pressed dough. Don’t go all the way to the edges or it will bubble over. Leave about a quarter-inch border around the sides.
Step 6: Bake for 25 to 30 minutes until the top is golden brown. Let it cool completely in the pan before slicing. Warm bars will fall apart on you every time. Trust me on this one.
Creative Twists
Swap the jam for lemon curd. It turns into a bright, tangy bar that cuts the butter richness. Add a handful of chopped nuts. Pecans or almonds mixed into the crumble topping give a nice crunch. Drizzle with melted white chocolate. Do this after baking and cooling for a pretty finish. Which one would you try first? Comment below!
Serving & Pairing Ideas
Serve these bars with a dusting of powdered sugar and a cup of hot black tea. They also go great alongside a scoop of vanilla ice cream for a simple dessert. For a brunch spread, set them out with fresh berries and whipped cream. Which would you choose tonight?This recipe always reminds me of summer picnics.
Jam Shortbread Bars
These Bars Remind Me of Summer Afternoons
My grandmother kept a jar of raspberry jam in her fridge at all times. She used it for toast, for thumbprint cookies, and for these simple shortbread bars. I still make them the same way she taught me. No mixer, just a bowl and a strong wooden spoon. My kids never complained about this one. Check out more simple recipes here.
The dough comes together fast. Butter and sugar first, then flour and salt. You press most of it into the pan, spread the jam, then crumble the rest on top. It bakes up golden and smells like something good. I love how the jam gets all bubbly and sticky around the edges. Learn more about where these recipes come from.
You can swap the jam for whatever you have in the cupboard. Apricot is my second favorite. Strawberry runs a little runny but tastes just fine. Dust them with powdered sugar before you serve them. They look pretty that way. Browse more comforting dishes here.
How to Store and Batch Cook These Bars
These bars keep well on the counter for about a week. Just pop them in an airtight container. I once left them on the counter uncovered by accident. They got a little hard on top, but we ate them anyway.
You can freeze them too. Wrap each bar in wax paper, then stack them in a freezer bag. They thaw in about twenty minutes on the counter. I make a double batch sometimes and freeze half for busy weeks. Have you ever tried storing it this way? Share below!
For reheating, just pop one in the microwave for ten seconds. That softens the jam back up. Or eat them cold. I actually like them cold with my afternoon coffee. Try another easy make-ahead dish here.
Common Problems and Simple Fixes
First problem: the dough is too crumbly to press into the pan. This happens if you didn’t soften the butter enough. Just let it sit out longer next time. You can also add a tablespoon of cold water and mix it in. That saved me once when I was in a hurry.
Second problem: the jam bubbles over the top crust. Your jam layer might be too thick. Spread it thinner next time, about a quarter inch. This matters because burnt jam tastes bitter and ruins the sweetness.
Third problem: the bars crumble when you cut them. Let them cool all the way down. I mean completely cool. I remember cutting into a warm pan once and ended up with jammy crumbs on my plate. Still tasted good, but not pretty. Cooling them fully builds your confidence in getting clean slices. Which of these problems have you run into before?Find more helpful baking tips here.
Your Quick Questions, Answered
Can I use salted butter instead of unsalted? Yes, just leave out the extra salt in the recipe. The bars will taste a tiny bit saltier, but that pairs nicely with sweet jam. I have done this many times when I was out of unsalted butter. It works just fine.
What is the best jam to use for these bars? Raspberry and apricot are my favorites because they hold their shape in the oven. Strawberry jam works too, but it can get a little runny. Pick a jam that is on the thicker side to avoid soggy spots.
Can I make these bars gluten-free? You can swap the all-purpose flour for a gluten-free all-purpose blend. Add one teaspoon of xanthan gum if your blend doesn’t include it. The texture will be a little more tender, but still delicious. My friend Sarah makes them this way for her daughter. Which tip will you try first?Get more gluten-free ideas here.
Fun fact: Shortbread was originally a Scottish cookie made with leftover bread dough and butter. It became a sweet treat only in the 1700s. I love knowing that something so simple has such an old history. Discover more recipes with a story here.
One Last Thing Before You Go
I hope these bars bring a little sweetness to your kitchen. They are the kind of thing you can make on a Tuesday and still feel like you did something special. No fuss, no fancy tools. Just butter, jam, and a little patience while they cool. Have you tried this recipe? I would love to hear how yours turned out. Drop a comment below and tell me what jam you used.
Elowen Thorn I cook, photograph and re-test every recipe in an ordinary home kitchen before it goes up, so what you make matches what you see. Savory Discovery is where simple weeknight cooking, seasonal ideas and the odd bit of kitchen craft sit side by side — written plainly, and worth cooking twice.