

A Midnight Craving
I once woke up wanting chocolate. It was very late. The house was quiet and dark. I tiptoed to the kitchen. I made these bars with what I had. I still laugh at that.
That is how they got their name. They are perfect for a sudden sweet tooth. You do not even need to turn on the oven. What is your favorite late-night snack? Mine will always be chocolate.
Your Trusty Foil Sling
First, we line the pan with foil. This makes a sling. It sounds fancy, but it is simple. It lets you lift the whole dessert out later. No struggling to get the first piece out!
Spray the foil lightly. This little step matters. It keeps everything from sticking. It means you get perfect little squares, not crumbly messes. Good food is about these small kindnesses to yourself.
The Heart of the Matter
Crush the cookies into fine crumbs. I use a bag and a rolling pin. It is a good way to let out a little steam! Then, melt chocolate and butter together. Go slow. Fifty percent power is your friend.
Stir in the sweet, thick milk and vanilla. Doesn’t that smell amazing? The salt goes in now too. Fun fact: a pinch of salt makes chocolate taste even more chocolatey. Mix it all with the crumbs. You will get a thick, happy mud.
Patience Makes Perfect
Press your chocolate mud into the pan. Use your hands. It is okay to get a little messy. Now, walk away. Let it chill in the cold for an hour. This waiting matters.
It lets the flavors become friends. Then, make the simple chocolate topping. Spread it on smooth. Back into the cold it goes. Are you a patient baker, or do you peek in the fridge?
The Grand Finale
Use the foil sling to lift your creation out. See? Easy! Cut it into small squares. Wipe your knife between cuts. This gives you clean edges. They look so pretty on a plate.
These bars are rich. A small piece is just right. They keep for a week in the fridge. But they never last that long at my house. What is the first dessert you learned to make? Share your story with me.
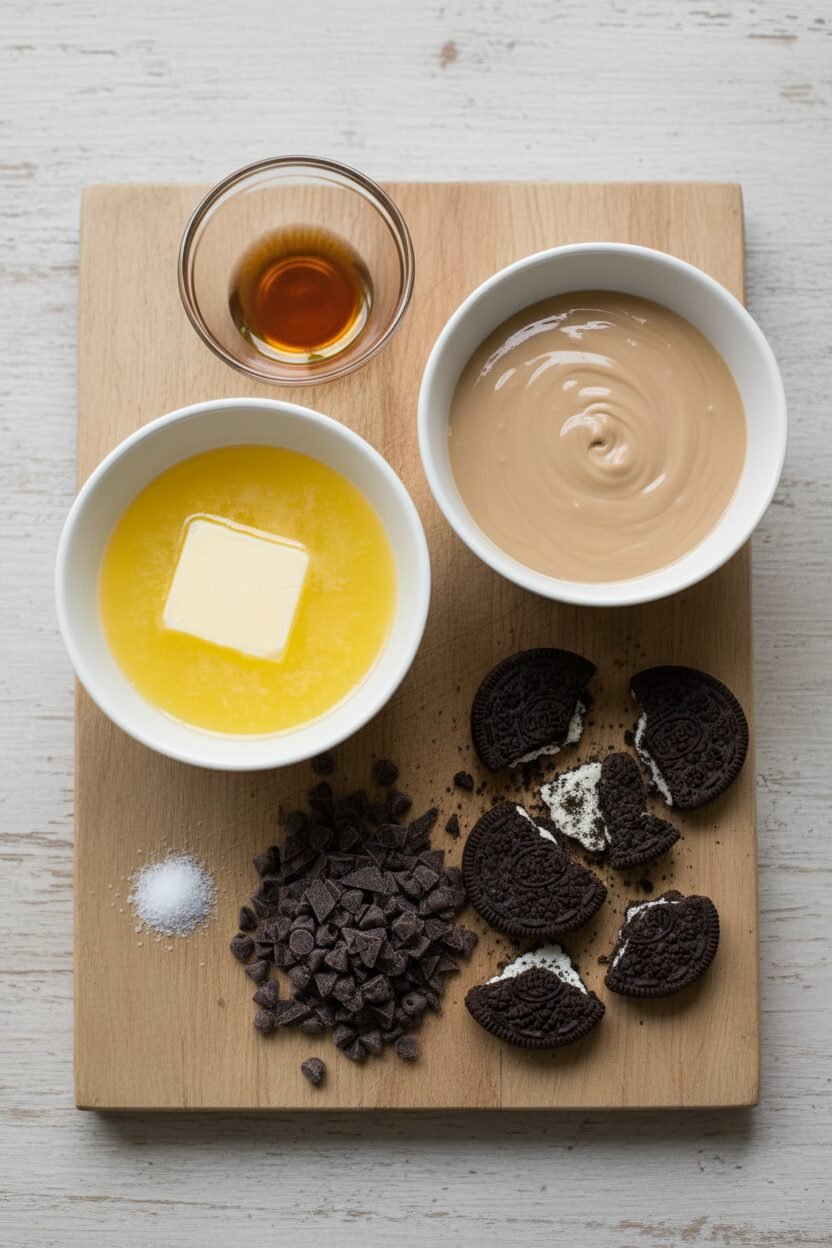
Ingredients:
| Ingredient | Amount | Notes |
|---|---|---|
| Oreo cookies | 36 cookies, broken | |
| Bittersweet chocolate chips | 2 cups (12 ounces), divided | |
| Unsalted butter | 8 tablespoons, divided | Cut into 1-tablespoon pieces |
| Sweetened condensed milk | 1 (14-ounce) can | |
| Vanilla extract | 2 teaspoons | |
| Table salt | ¼ teaspoon |
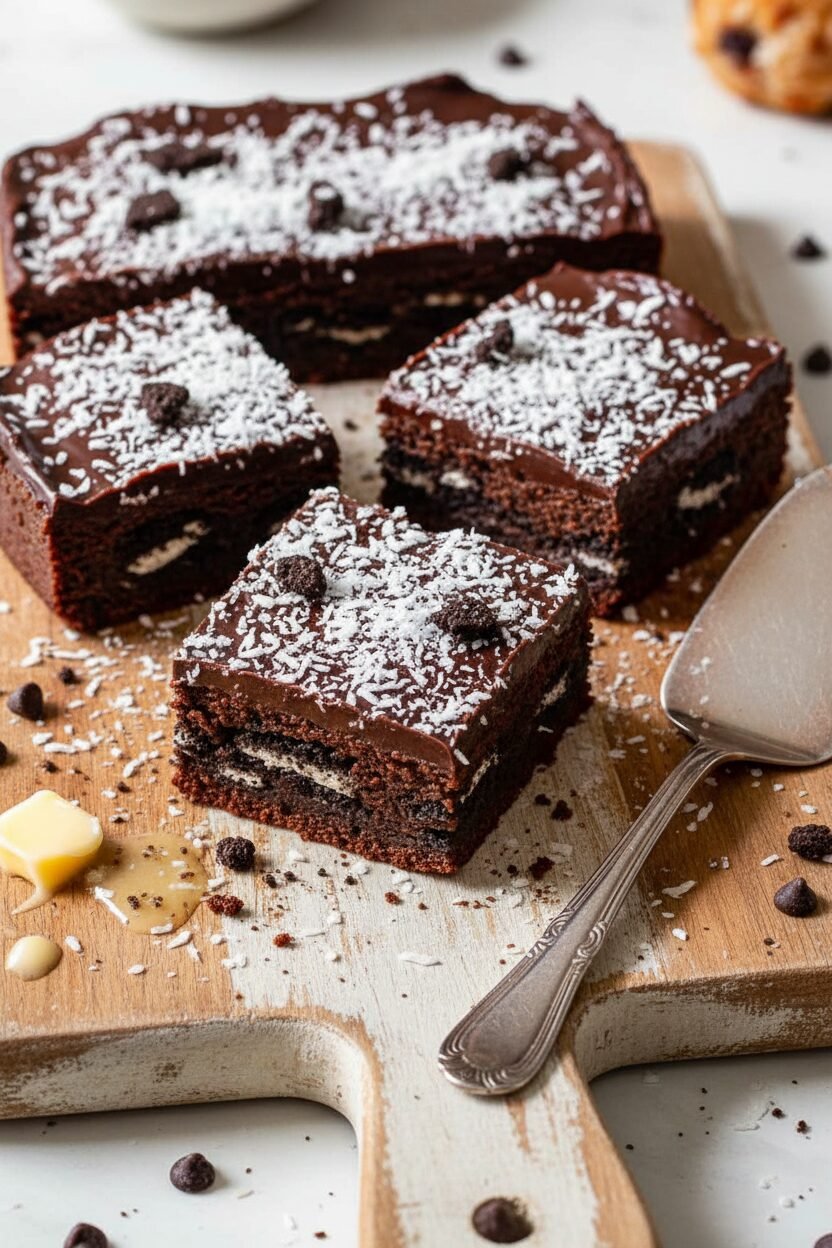
Midnight Chocolate Snowdrift Bars
Hello, my dear. Come sit. Let’s make something magical. These bars are like a chocolate snowdrift, deep and dark. I first made them for my grandson after a snowy sledding day. His smile was worth a million bucks. The best part? No oven needed. Just a bowl, a spoon, and a little patience. Doesn’t that smell amazing? The rich chocolate and sweet vanilla will fill your kitchen. I still laugh at that first time. I got more on my fingers than in the bowl! It’s a happy, messy kind of recipe.
Instructions
Step 1: First, line your pan. Fold two foil strips to be eight inches wide. Criss-cross them in the pan. Let the extra foil hang over the edges. Press the foil neatly into the corners. Give it a quick spray with oil. This foil sling is our magic trick. It lets us lift the whole batch out later. (A little spray keeps everything from sticking, trust me.)
Step 2: Now, the cookie base. Put your Oreo pieces in the food processor. Buzz them until they look like dark sand. This takes about half a minute. Scrape the sides down once. Pour these fine crumbs into a big mixing bowl. Can you guess what other cookie would make a fun base? Share below!
Step 3: Time for the fudgy heart. Melt one and a half cups of chips with four tablespoons of butter. Use half power on your microwave. Stir it now and then. Pour this glorious chocolate into the crumbs. Add the whole can of condensed milk, vanilla, and salt. Stir until it’s one thick, happy lump. Press this firmly into your pan. I use my clean hands for this. Chill it for an hour until firm.
Step 4: The snowy chocolate top is next. Melt the last half cup of chips and butter. Again, use half power and stir. It will become smooth and shiny. Pour this over your chilled base. Spread it gently with a spatula. Back into the fridge it goes. In thirty minutes, the top will be set. (Waiting is the hardest part, I know.)
Step 5: The grand finish! Use the foil handles to lift your slab out. Place it on a cutting board. Peel the foil away. Use a big knife to cut one-inch squares. Wipe the knife clean between cuts for pretty edges. Serve them cool. They keep for a week in the fridge, if they last that long!
Creative Twists
Peppermint Snowfall: Add a drop of peppermint extract to the topping. Crush candy canes on top.
Salted Caramel Swirl: Drizzle thick caramel sauce before the top sets. Sprinkle with sea salt.
Cookie Crumble Top: Save a few cookie crumbs. Sprinkle them over the wet chocolate topping.
Which one would you try first? Comment below!
Serving & Pairing Ideas
Place a square on a little white plate. It looks so elegant. A few raspberries on the side add a nice tart bite. For a party, stack them high on a cake stand. For drinks, a cold glass of milk is perfect. For the grown-ups, a small glass of cherry port wine is lovely. The cherry and chocolate sing together. Which would you choose tonight?
Keeping Your Snowdrift Bars Perfect
These bars love the cold. Keep them in the fridge for up to a week. I stack them in a container with parchment paper between layers. This stops them from sticking together.
You can also freeze them for a month. Wrap the whole block tightly in foil first. I once forgot a batch in my freezer for weeks. They were still delicious when I found them!
Batch cooking saves time for busy days. Make a double batch and freeze half. You will always have a sweet treat ready for surprise guests. This matters because it makes life a little sweeter and easier.
Have you ever tried storing treats in the freezer? Share your story below!
Simple Fixes for Common Hiccups
Is your base too crumbly? You did not press it firmly enough. Use your clean hands to pack it down hard. A solid base supports the fudgy top layer.
Is the chocolate seizing or looking grainy? Your microwave power was too high. Always melt chocolate slowly at 50 percent power. I remember rushing this once and making a gritty mess.
Is the top layer hard to spread? Warm your offset spatula under hot water. Dry it, then glide it over the chocolate. This gives you a beautiful, smooth finish every time.
Fixing small problems builds your kitchen confidence. It also makes your food taste and look its very best. Which of these problems have you run into before?
Your Quick Questions, Answered
Q: Can I make these gluten-free?
A: Yes! Use gluten-free chocolate sandwich cookies. Check all your labels to be safe.
Q: Can I make them ahead?
A: Absolutely. They need to set in the fridge anyway. Make them a full day before you need them.
Q: What if I don’t have bittersweet chips?
A: Use semi-sweet chips. The bars will be a tad sweeter, but just as good.
Q: Can I double the recipe?
A: You can. Use a 9×13 inch pan. The setting time will be about the same.
Q: Any optional tips?
A: A tiny sprinkle of sea salt on top is lovely. Fun fact: Salt makes chocolate taste even more chocolatey! Which tip will you try first?
From My Kitchen to Yours
I hope you love making these fudgy squares. They are a little bite of midnight magic. Cooking is about sharing joy and creating memories.
I would love to hear about your baking adventures. Tell me all about it in the comments below. Have you tried this recipe yet? Your stories are my favorite thing to read.
Happy cooking!
—Elowen Thorn.
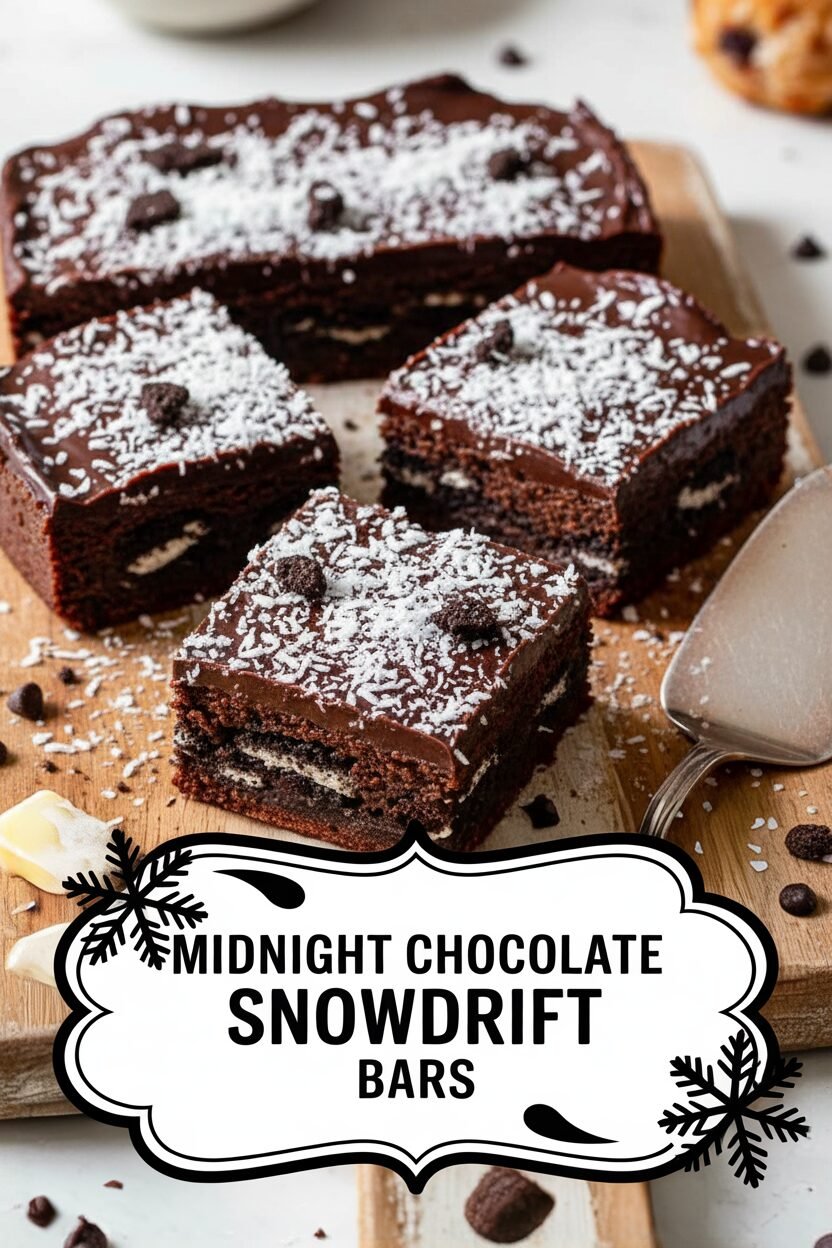

Midnight Chocolate Snowdrift Bars
Description
Rich, no-bake chocolate squares with an Oreo cookie crust and a fudgy chocolate topping.
Ingredients
Instructions
- Make foil sling for 8-inch square baking pan by folding 2 long sheets of aluminum foil so each is 8 inches wide. Lay sheets of foil in pan perpendicular to each other, with extra foil hanging over edges of pan. Push foil into corners and up sides of pan, smoothing foil flush to pan. Spray foil with vegetable oil spray.
- Process cookies in food processor until finely ground, about 30 seconds, scraping down sides of bowl as needed. Transfer cookie crumbs to large bowl.
- Microwave 1½ cups chocolate chips and 4 tablespoons butter in bowl at 50 percent power until melted, about 2 minutes, stirring occasionally. Transfer melted chocolate mixture to bowl with cookie crumbs and stir in condensed milk, vanilla, and salt until evenly combined (mixture will be very thick). Transfer to prepared pan. Using rubber spatula or your hands, press into even layer. Refrigerate until firm, at least 1 hour.
- Microwave remaining ½ cup chocolate chips and remaining 4 tablespoons butter in clean bowl at 50 percent power until chocolate is melted and mixture is smooth, 1 to 2 minutes, stirring occasionally. Spread chocolate mixture evenly over set cookie base with offset spatula. Refrigerate until chocolate is set, about 30 minutes.
- Using foil overhang, lift squares out of pan and transfer to cutting board; discard foil. Using chef’s knife, cut into 1-inch squares (wipe knife clean with dish towel between slices). Serve chilled or at room temperature. (Fudgy chocolate squares can be refrigerated for up to 1 week.)
Notes
- For clean cuts, use a hot, dry knife. You can substitute semi-sweet chocolate chips for the bittersweet if you prefer a sweeter bar.