

The Crust That Holds It All
That first crunch is so important. It’s the handshake of the dessert. I use simple cookie crumbs and melted butter. Press it into the pan like you’re tucking it into bed. This makes a cozy nest for our creamy filling.
My grandson once used salty crackers by mistake. We still laugh at that. The sweet and salty was actually quite nice. It reminds me that simple swaps can lead to fun new ideas. What’s your favorite cookie for a crust? Graham crackers or something else?
The Heart of the Matter
The filling is where the magic happens. Soft cream cheese, a bit of sour cream, and sugar. The lemon zest is my secret. It makes everything taste brighter. Doesn’t that smell amazing when you mix it?
Beat it just until it’s smooth. Over-mixing lets too much air in. This can cause cracks. Patience here gives you that perfect, velvety texture. It’s like the difference between a relaxed sigh and a hurried one. This matters because good food is about feeling, not just following rules.
A Slow and Gentle Bake
We bake it low and slow. A cooler oven is kinder to cheesecake. It cooks evenly without getting fussy. Let it cool in the turned-off oven for an hour. This keeps it from getting a shock from the cold air.
Then comes the hard part. You must chill it for hours. I know, the waiting is tough. But trust me. This waiting time lets the flavors get to know each other. It turns good into great. It’s a lesson in delayed joy, which makes the first bite even sweeter.
The Jewelry on Top
The strawberry topping is like the final hug. You cook some berries down into a shiny syrup. Then you add fresh halves at the end. They stay plump and pretty. *Fun fact*: Strawberries aren’t true berries! Botanists say they are “aggregate fruits.”
I love how the red syrup seeps into the creamy white filling. It’s a beautiful sight. This topping is so versatile. You could use it on a simple marble cake too. Do you like your topping thick and jammy, or thin and drippy?
Serving With Love
Finally, we slice and serve. Use a clean, hot knife for perfect slices. It glides right through. I always put extra topping in a little bowl on the side. Some folks just can’t get enough.
Sharing this cake is the best part. It’s made for birthdays, or just a Tuesday that needs cheering. Leftovers keep for a few days, if they last. It pairs wonderfully with a cup of tea or a glass of cold milk. Have you ever turned cheesecake into another treat, like playful cheesecake nachos? I’d love to hear your creative serving ideas.

Instructions
Step 1: First, get your oven cozy at 320°F. Grease your pan and line the bottom. This little paper circle is a lifesaver. It makes sure nothing sticks. I learned that the hard way with my first marble cake!
Step 2: Mix cookie crumbs with melted butter. Press it firmly into the pan. Go a little up the sides. (Use a cup to press it flat and even.) Doesn’t that smell amazing already? It’s like a buttery hug for the filling.
Step 3: Beat the cream cheese until it’s super smooth. Add the flour, vanilla, sour cream, sugar, and lemon zest. Then add eggs, one at a time. Just mix until it’s combined. Over-mixing makes it puff then fall. Why add eggs one by one? Share below!
Step 4: Pour filling onto the crust. Bake for about an hour. The center should jiggle just a little. Let it cool in the oven for an hour. This slow cool prevents cracks. Then chill it for four hours. Patience is the secret ingredient!
Step 5: Make the glossy strawberry topping. Simmer diced berries, lemon juice, sugar, and vanilla. Mix cornstarch with water and stir it in. Add the halved strawberries last. Let it cool and thicken. It should ooze slowly, like a perfect cheesecake taco topping.
Step 6: Carefully remove the chilled cheesecake from the pan. Slide it onto a plate. Spread the beautiful red topping all over. Arrange the halved strawberries face-down. Chill for two more hours. I still laugh at how I used to rush this part!
Step 7: Time to slice and serve! Use a warm, clean knife for perfect slices. Leftovers keep for a few days. If you have extra topping, try it on cheesecake nachos. Which family member will get the first piece?
Creative Twists
Cookie Swap: Use chocolate cookie crumbs for the crust. It’s a fun surprise underneath.
Berry Mix-Up: Swap half the strawberries for raspberries. The topping gets a lovely pink-purple color.
Mini Marvels: Bake in a muffin tin for personal cheesecakes. Kids love having their own. Which one would you try first? Comment below!
Serving & Pairing Ideas
Serve each slice with a dollop of whipped cream. A few fresh mint leaves make it look fancy. For a real treat, pair it with a scoop of vanilla bean ice cream. The warm topping melts the ice cream just right. It reminds me of my winter cream cake. Which would you choose tonight?
Keeping Your Cheesecake Happy
Let’s talk about storing this lovely dessert. First, always keep it in the fridge. Cover it well with plastic wrap. This keeps it fresh and creamy. I remember my first cheesecake. I left it out too long. It became a sad, soft mess. Now I never make that mistake!
You can freeze slices, too. Wrap each piece tightly in plastic. Then place them in a freezer bag. They will keep for a month. Thaw them overnight in your fridge. This is perfect for a sweet surprise any day. Batch cooking matters. It means a homemade treat is always ready for you.
To reheat, don’t use the microwave. It makes the texture gummy. Let a slice sit on the counter for 15 minutes instead. It will be perfect. Have you ever tried storing it this way? Share below!
Cheesecake Troubles? Easy Fixes Here
First, a cracked top. This happens if you bake it too hot or fast. The fix is simple. Bake low and slow, like our recipe says. I once rushed a cheesecake for a party. It cracked right down the middle. I covered it with extra strawberry topping and no one knew!
Second, a soggy crust. Press your crumbs firmly into the pan. Use a cup to really press them down. This creates a strong barrier. It keeps the filling from seeping in. Third, a lumpy filling. Your cream cheese must be very soft. Take it out of the fridge hours before. This matters for confidence. Smooth batter means a beautiful, professional result.
Which of these problems have you run into before? Fixing them matters for flavor. A perfect crust and smooth filling make every bite heavenly. *Fun fact: The slow cooling step prevents cracks by letting the cheesecake settle gently.
Your Quick Questions, Answered
What is the secret to a smooth and creamy cheesecake filling?
Start with very soft cream cheese. Beat it alone until it is completely smooth. Then add your sugar and other ingredients. Mix just until everything is combined. Do not overbeat after adding the eggs. Overbeating adds too much air. This can cause the cheesecake to puff up and then crack. Gentle mixing is the true secret to that dreamy, creamy texture we all love.
How do you prevent cracks in a classic cheesecake?
Bake it gently at a lower temperature. Do not open the oven door during baking. The sudden cold air can make it crack. After baking, let it cool slowly in the turned-off oven with the door slightly open. This gradual temperature change is key. It lets the cheesecake set without stress. A water bath can also help, but slow cooling is most important.
What is the glossy topping on strawberry cheesecake made of?
It is a simple strawberry glaze. You cook diced strawberries with sugar and lemon juice. This creates a syrupy juice. A little cornstarch mixed with water is then stirred in. The cornstarch thickens the syrup into a shiny, glossy topping. It coats the fresh strawberry halves beautifully. This method gives you a topping that is both pretty and packed with real fruit flavor.
Can you use frozen strawberries for the topping?
Yes, you absolutely can. Frozen berries work well for the cooked part of the topping. There is no need to thaw them first. Just add the frozen diced strawberries directly to your saucepan. They will release more liquid as they cook. You may need to simmer them a few minutes longer. Then, use fresh or thawed berry halves for the final addition for the best look and texture.
What is the best crust for a strawberry cheesecake?
A simple cookie crumb crust is classic and best. Graham crackers give a lovely honey flavor. Digestive biscuits or vanilla wafers are also great choices. The buttery, slightly sweet crunch perfectly complements the creamy filling. It is much easier than a pastry crust. For a fun twist, you could try a crust from cheesecake nachos. Press the crumbs in firmly for a solid base.
How long should cheesecake cool before adding topping?
Your cheesecake needs to be completely cold and set. Follow the recipe: cool in the oven for one hour after baking. Then chill it in the refrigerator for at least four hours. Overnight is even better. A cold, firm cheesecake can support the weight of the topping. If you add topping to a warm cake, it will sink in and make the top soggy. Patience gives you perfect layers.
Which tip will you try first?
From My Kitchen to Yours
I hope you love making this strawberry cheesecake. It is a recipe full of happy memories for me. Sharing food is one of life’s greatest joys. I would love to hear about your baking adventure. Did you make it for a special day? Or just for a sweet Tuesday treat? Tell me all about it in the comments below. Have you tried this recipe?
If you enjoyed this, you might also love my strawberry marble cake. It’s another family favorite. Thank you for spending time in my kitchen today. Happy cooking!
—Elowen Thorn.

My Favorite Strawberry Cheesecake with Glossy Topping
Description
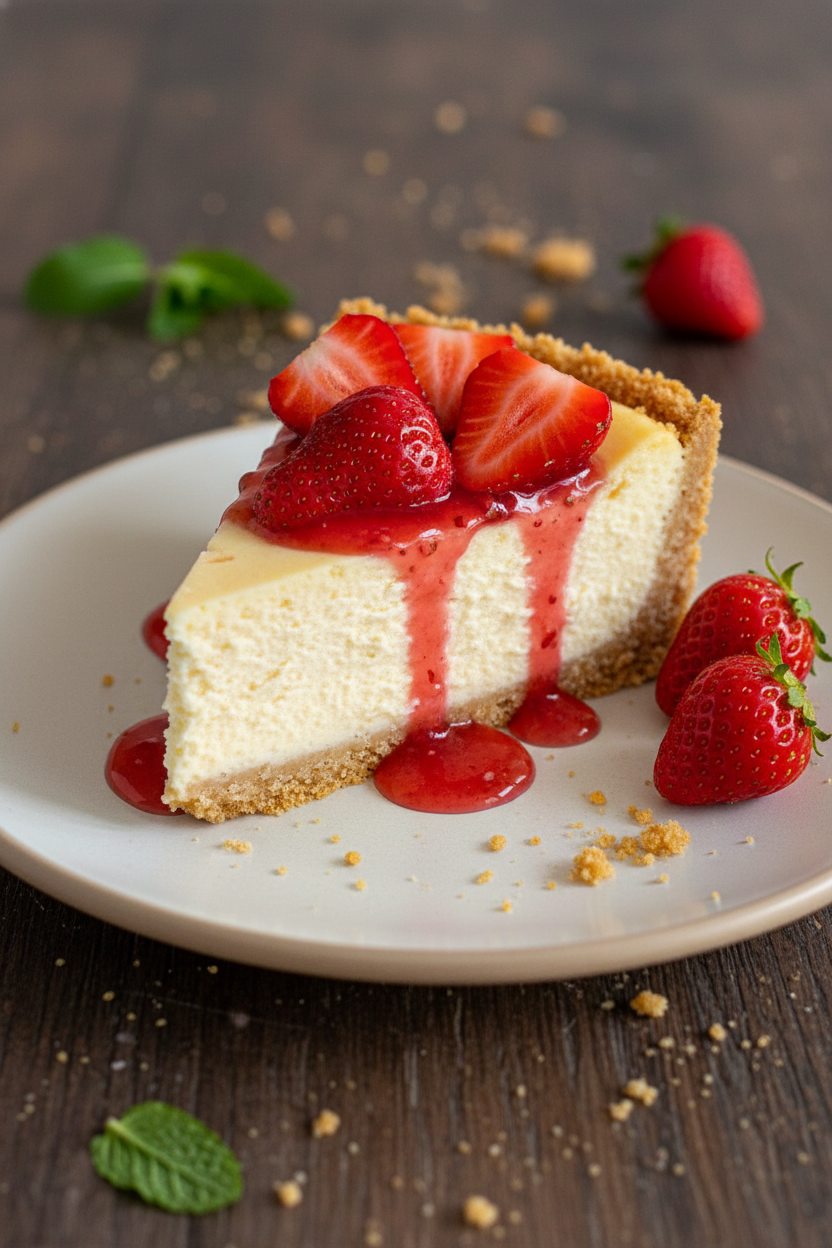
A creamy, dreamy cheesecake with a buttery cookie crust, topped with a glossy, fresh strawberry topping.
Ingredients
For the Cookie Crumb Crust:
For the Cheesecake Filling:
For the Strawberry Topping:
Instructions
- Preheat oven to 320°F. Grease an 8-inch springform pan and line bottom with a parchment round. Grease the sides.
- For the crust, mix together the cookie crumbs and melted butter until well combined. Press evenly into the bottom and up the sides of the prepared pan.
- Make the filling: Beat the cream cheese until smooth. Beat in the flour, then the vanilla, sour cream, sugar and lemon zest until just combined. Beat in the eggs one at a time until just incorporated.
- Pour the filling into the crust and spread evenly. Bake for 55-60 minutes until the center is nearly set. Cool in the oven for 1 hour, then chill for 4 hours.
- Make the strawberry topping: In a saucepan, simmer the diced strawberries, lemon juice, sugar and vanilla for 10 mins until syrupy. Create a slurry by mixing the cornstarch and water, then stir into the saucepan. Add the halved strawberries and cook 1 min more.
- Allow the strawberry topping to cool and thicken slightly. It should slowly ooze when you drizzle it with a spoon. Adjust thickness if needed by adding a touch more water or cornstarch slurry.
- Remove the cheesecake from the pan and slide onto a serving plate. Spread the strawberry topping evenly over the top, arranging the halved strawberries face-down. Chill for 2 more hours.
- Slice the cheesecake and serve with extra strawberry topping alongside. Leftovers keep refrigerated for 2-3 days.
Notes
- Ensure all ingredients, especially cream cheese and eggs, are at room temperature for a smooth, lump-free filling. Do not overmix after adding the eggs.