

My First Croissant Adventure
I tried making croissants years ago. It was a funny mess. My butter layer melted right into the dough. I still laugh at that. But the smell in my kitchen was wonderful. It taught me that good things take patience.
That’s why this matters. The slow chilling and folding makes all those flaky layers. It’s like building a delicious, buttery book. Your kitchen will smell like a Parisian bakery. Doesn’t that sound amazing? Have you ever had a baking project go a little funny? I’d love to hear your story.
The Magic of the Butter Layer
That butter block is the secret. You beat soft butter with a bit of flour. Then you chill it firm. This is the heart of your flaky pastry. When the cold butter hits the hot oven, it steams. That steam pushes the layers apart.
*Fun fact*: This process is called “laminating.” It just means creating layers. Each fold is called a “turn.” You do three turns here. It’s a simple rhythm: fold, chill, repeat. This patience is what makes a croissant special, not just a flaky biscuit.
Rolling with Chocolate
After all that chilling, you get to the fun part. You roll the dough out and cut little rectangles. Stretch each one gently. Place your chocolate baton at the end. Then roll it up snug, like a tiny blanket. Seeing them all lined up is so satisfying.
That’s why this matters. You made this. From flour and butter to these little promises. They need one last rest, or “proof,” before baking. This lets them get puffy. Do you prefer milk, dark, or semi-sweet chocolate in your pastries?
The Bake & The Reward
Brush them with a simple egg wash. This gives them that gorgeous golden shine. Into the hot oven they go. Watch through the window. They will puff and turn a beautiful brown. Doesn’t that smell amazing? It is pure happiness.
Let them cool just a bit. The chocolate inside will be warm and soft. A dusting of sugar looks pretty. That first bite is your prize. The crunch, the layers, the melted chocolate. It’s a perfect treat with a cup of tea, much like enjoying a blueberry scone.
Your Turn in the Kitchen
Don’t be scared by the steps. Just take it one chill at a time. You can even do the folds over two days. The fridge does most of the work. Think of it as a fun science project you can eat.
Once you master the dough, you can fill it with anything. Try jam or almond paste. You could even make a savory ham and cheese version. What filling would you try first? Share your ideas with me.
Instructions
Step 1: Mix your dough ingredients in a bowl. Use cold milk to keep everything chilly. Knead it until it feels soft and a bit sticky. Cover the bowl and let it rest in the fridge. This makes the dough easier to handle later.
Step 2: Now, make your butter layer. Beat the soft butter and flour together. Shape it into a neat rectangle on some parchment paper. Chilling this is a very important step for flaky layers. (A hard-learned tip: Your butter should be cool but still bendable, not rock hard.)
Step 3: Roll your dough out on a floured surface. Place your butter rectangle right in the center. Fold the dough over it like a precious letter. Seal all the edges tightly so the butter stays put. This is the magic start to all those flaky layers!
Step 4: Roll the dough out long, then fold it into thirds. This is called a “turn.” Do this three times, chilling between each one. Patience here makes the best flaky croissants. After the last fold, let it rest in the fridge for hours, or even overnight. I still laugh at how I rushed this once!
Step 5: Finally, roll the dough and cut it into triangles. Place a chocolate baton at the wide end. Roll it up gently, tucking the chocolate inside. Let them proof until they look a little puffy. Why do we chill the dough again before baking? Share below!
Step 6: Brush them with a simple egg wash. This gives them that beautiful, shiny golden color. Bake until they are puffed and gorgeous. Doesn’t that smell amazing? Let them cool just a bit on a rack. A dusting of sugar makes them extra special, just like my favorite beignet recipe.
Creative Twists
Swap chocolate for a spoonful of almond cream.
Add a pinch of cinnamon to the dough for a warm spice.
Use the dough to make savory ham and cheese croissants instead. Which one would you try first? Comment below!
Serving & Pairing Ideas
Serve your warm croissant with fresh berries on the side. A cold glass of milk is the perfect partner. For a real weekend treat, try it with a brunch casserole. Which would you choose tonight?

Keeping Your Croissants Happy
Fresh croissants are a special treat. But what about leftovers? Let them cool completely first. Then, store them in an airtight container at room temperature for two days. For longer storage, the freezer is your friend. Wrap each one tightly in plastic wrap, then foil. They will keep for a month. A fun fact: I once forgot a batch in the freezer for six weeks. They baked up perfectly!
To reheat, place frozen croissants on a baking sheet. Warm them in a 300°F oven for about 10 minutes. This brings back their flaky magic. You can also make the dough ahead and freeze it before baking. This is called batch cooking. It saves so much time on a busy morning. Have you ever tried storing it this way? Share below!
Why does this matter? Good storage saves your hard work. It also means a warm, buttery breakfast is always minutes away. Planning ahead takes the stress out of baking. For another great make-ahead pastry, try these strawberry cinnamon rolls. Your future self will thank you!
Little Fixes for Big Flavor
Even grandmas run into kitchen troubles. Here are three common ones. First, dough that is too sticky. Just add a little more flour, one spoon at a time. I remember when my dough stuck to everything. A calm dusting of flour fixed it. Second, butter that pokes through the dough. This happens if the butter gets too warm. Just patch it with a little flour and chill the dough.
Third, croissants that don’t rise much. This is often because your kitchen is too cold. Let them proof in a warm, draft-free spot. Which of these problems have you run into before? Solving these issues builds your cooking confidence. You learn to feel what the dough needs. It also makes sure every layer bakes up light and flaky.
Getting it right makes the flavor incredible. Each bite will be airy and rich. For a simpler, flaky project, my buttermilk biscuits are a joy. Remember, practice makes progress, not perfection!
Your Quick Questions, Answered
What is the secret to perfect lamination in croissant dough?
The secret is keeping everything cold. Your butter layer must be firm but pliable. Roll and fold the dough gently. Always chill it between folds. This creates hundreds of thin layers. When they hit the oven, the butter steams and pushes the layers apart. That is how you get that wonderful, flaky pull. Patience and a cold kitchen are your best tools.
How long does it take to make croissants from scratch?
Plan for most of a day, but not all active work. The mixing and folding takes a few hours. The long chill is key, often overnight. The next morning, you shape, proof, and bake. So from start to finish, it is about 12 to 18 hours. Most of that time, the dough is just resting quietly in your fridge. It is a project of love.
Can I use a stand mixer to make croissant dough?
Yes, a stand mixer is very helpful. Use the dough hook to mix the flour, yeast, and milk. Knead just until a soft dough forms. This saves your arms from hard work. Remember, you should never knead the butter into the dough. The butter layer is added separately by hand. For mixing other doughs, like for blueberry scones, a mixer is great too.
What is the best chocolate to use for chocolate croissants?
Use a good-quality chocolate bar made for baking. Look for semi-sweet or dark chocolate. Chop it into thick batons. A chocolate with a high cocoa content will hold its shape. It will melt into a lovely pool inside. Avoid chocolate chips. They have additives to keep their shape, so they do not melt as nicely. The right chocolate makes all the difference in each bite.
Can I freeze croissant dough before baking?
You absolutely can. It is a wonderful trick. After the final fold, wrap the dough block tightly. Freeze it for up to a month. The day before baking, thaw it in the fridge. Then, roll, shape, and proof as usual. This lets you bake fresh croissants any time you like. It feels like having a treasure in your freezer, ready for a special day.
Why did my croissants turn out dense instead of flaky?
Dense croissants often mean the butter melted into the dough. This happens if the kitchen was too warm. Or if you did not chill the dough enough between folds. The butter must stay in distinct, cold layers. Also, do not skip the final proofing time. The dough needs to puff up before baking. Which tip will you try first to get lighter layers?
From My Kitchen to Yours
I hope you feel ready to bake these chocolatey wonders. Remember, the first try is just for fun. Do not worry if they are not perfect. Each batch teaches you something new. I would love to hear about your baking adventure. Have you tried this recipe? Tell me all about it in the comments below. Share a picture if you can!
For another delicious breakfast idea, these ham and egg croissant casseroles are a crowd-pleaser. Thank you for spending time in my kitchen today. I am so glad you are here. Now, go make something wonderful.
Happy cooking!
—Elowen Thorn

My Flaky Chocolate Croissants with Laminated Dough
Description
Homemade flaky chocolate croissants made from scratch with a laminated dough for the ultimate buttery, layered pastry.
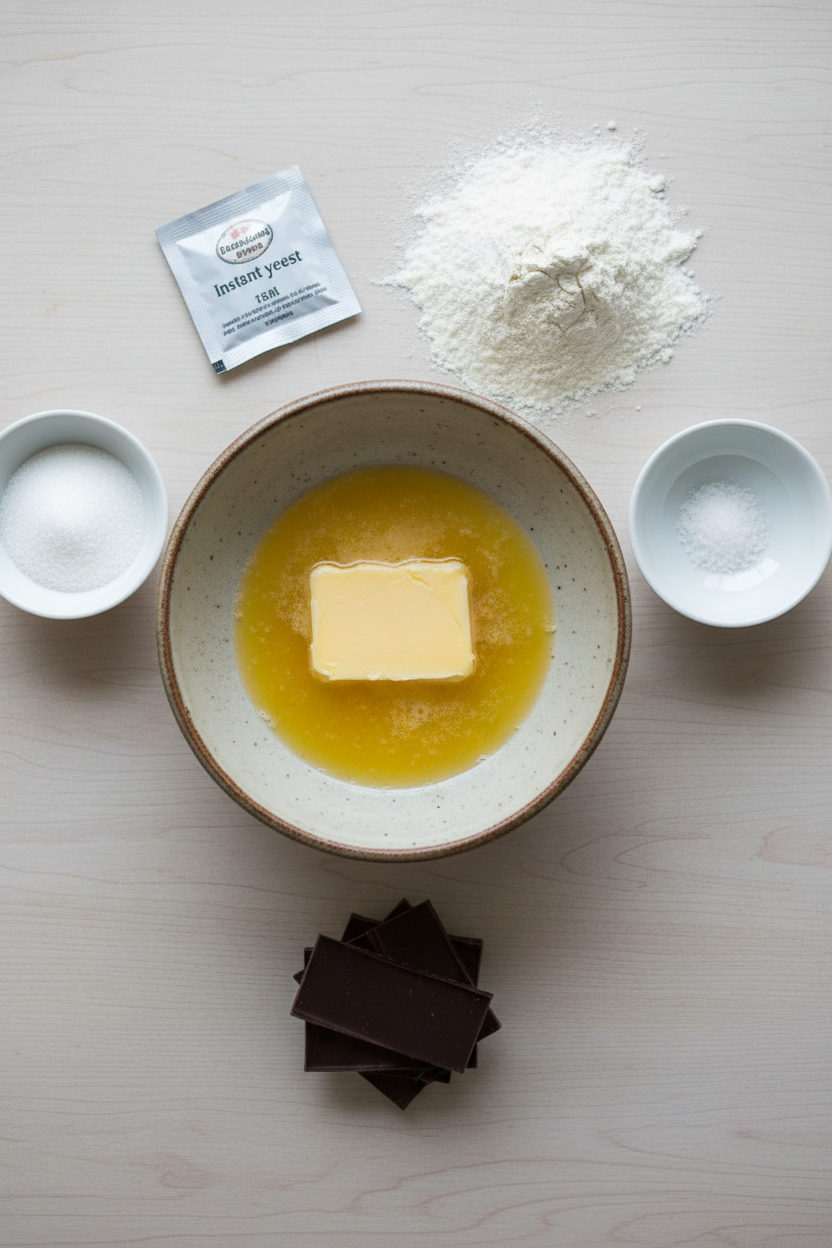
Ingredients
Instructions
- In a stand mixer bowl, combine flour, sugar, salt, and yeast. Slowly add cold milk and knead with a dough hook for 5 minutes until soft but slightly tacky. Cover and refrigerate for 30 minutes.
- For the butter layer, beat softened butter and flour until smooth. Shape into a 7×10-inch rectangle and refrigerate for 30 minutes.
- Roll out the dough into a 14×10-inch rectangle. Place the chilled butter layer in the center and fold the dough over it to encase the butter. Seal edges tightly.
- Roll the dough into a 10×20-inch rectangle and fold lengthwise into thirds. Cover and refrigerate for 30 minutes. Repeat this folding and chilling process two more times for a total of three “turns.”
- After the final fold, refrigerate the dough for 4 hours or overnight.
- Roll out the chilled dough into an 8×20-inch rectangle. Cut into sixteen 2×5-inch rectangles. Gently stretch each piece to 8 inches long, add a chocolate baton at one end, and roll tightly, seam-side down.
- Arrange croissants on lined baking sheets. Cover loosely and proof at room temperature for 1 hour, then refrigerate for another hour.
- Preheat the oven to 400°F (204°C). Whisk together egg and milk for the egg wash and brush over the croissants.
- Bake croissants for 20 minutes, rotating pans halfway through. Let cool slightly on a wire rack and dust with confectioners’ sugar before serving, if desired.
Notes
- Ensure all ingredients, especially the milk and butter, are cold to achieve proper lamination. The long chilling times are crucial for flaky layers.