

My First Puff Panic
I remember my first cream puffs. The dough looked like a sticky mess. I was sure I had ruined it. But I kept stirring, just like my own grandma taught me. The magic happened in the oven. Those little blobs puffed up into golden clouds. I still laugh at that surprise.
Why does this matter? Because cooking teaches us to trust the process. Even when things look wrong, they can turn out right. Have you ever had a kitchen surprise that turned out great? I would love to hear your story over at my favorite recipe site.
The Magic of the “Panade”
That first cooked dough is special. It has a fancy French name, “panade.” But we can just call it magic paste. You boil butter, water, and sugar. Then you stir in the flour all at once. It forms a smooth ball in the pan. This step is the secret to the puff.
*Fun fact*: The steam from the wet dough is what makes them puff up so high! Letting the steam out after baking keeps them crisp. It’s a simple trick with a big result. This method is the heart of many lovely pastries, like a delicate almond puff delight.
Be Brave with the Eggs
Now, adding the eggs looks tricky. You add them one by one. The dough will seem slippery and want to separate. Just keep beating. Your arm might get a little tired. Doesn’t that smell amazing with the vanilla? Soon, it becomes a shiny, smooth batter.
Why this matters? It shows how simple ingredients change. They come together to make something new and wonderful. This same brave mixing is used in pastries like a sunny lemon cream cheese braid. Do you like sweet or savory puff pastries more?
The Simple Joy of Filling
The filling is the happy ending. Just whisk cream, pudding mix, and milk. It thickens up so nice and fluffy. Slice your cooled puffs open. They are hollow inside, just waiting. Fill them generously. That first bite of cream and crisp pastry is pure joy.
You can fill them with so many things. A creamy lemon filling is another favorite of mine. Or go savory with an asparagus and cheese tart. What filling would you dream up?
A Treat to Share
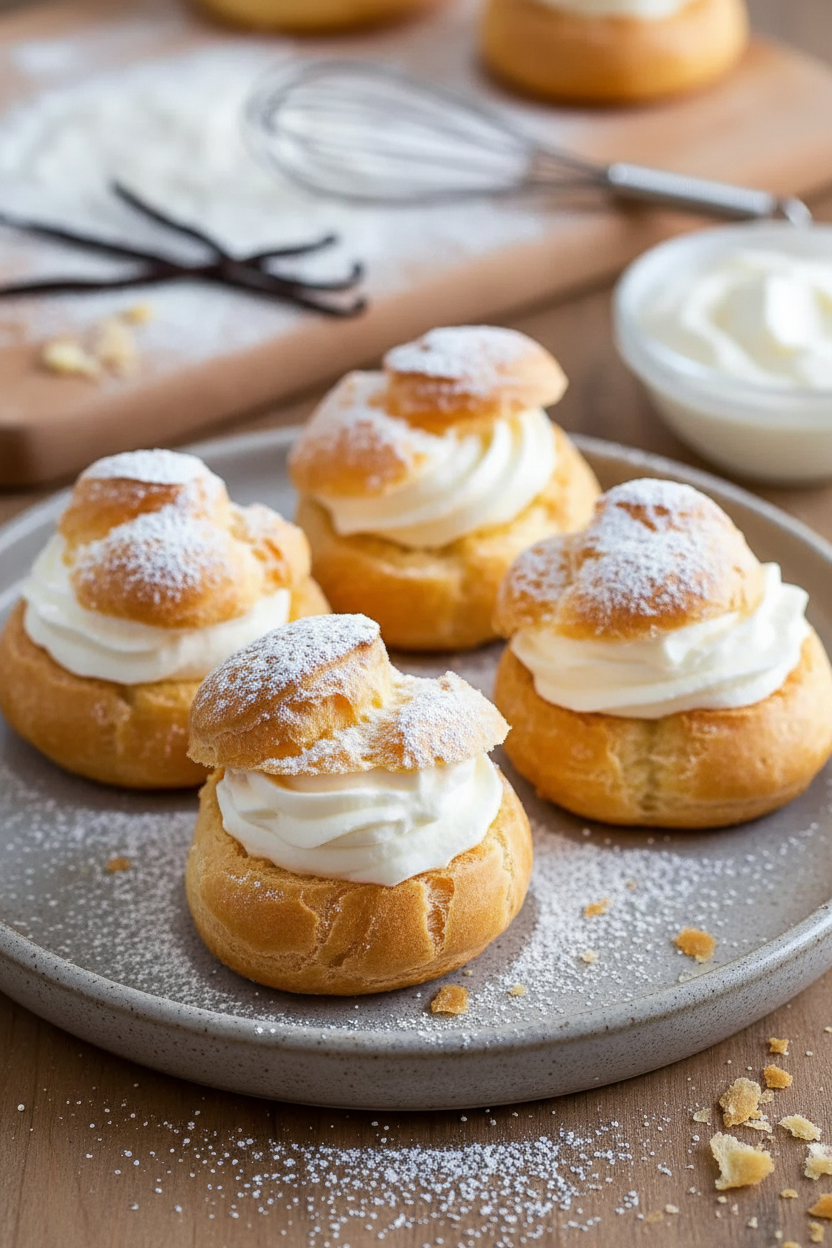
Cream puffs feel fancy. But they are really just simple, good things put together. They are meant for sharing. Dust them with powdered sugar like a little snow. It makes them look so special. Place them on a big plate and watch them disappear.
Why this matters? Food made with patience is a gift of love. It connects us, from my grandma’s kitchen to yours. These little puffs are cousins to grand layered cakes, like the famous Russian Napoleon. Both start with patience and a good puff.
Instructions
Step 1: First, let’s make the dough. Put butter, water, and sugar in a pan. Bring it all to a rolling boil. The smell is so buttery and good. Now, take it off the heat right away. Swiftly stir in the flour until it forms a ball. (A hard-learned tip: stir fast so no lumps form!) Let this warm dough rest for ten minutes. It needs a little nap. This part is like magic.
Step 2: Next, beat in the eggs, one by one. This takes some muscle. The dough will look slippery at first. Keep stirring until it’s smooth and shiny. I still laugh at the messy splashes. Your arm might get tired, but it’s worth it. The dough is ready when it slowly falls from the spoon. What kitchen tool is your best helper for mixing? Share below!
Step 3: Time to shape our puffs. Use two spoons or a bag to drop dough on a tray. I like making little mounds. They will grow so much in the oven. Bake them hot at first to puff up. Then lower the heat to turn them golden and crisp. Watching them rise is the best part.
Step 4: When they’re golden, take them out. Poke a small slit in each one right away. This lets the steam out so they stay crisp. Let them cool completely on a rack. Doesn’t that smell amazing? Now, make the filling. Whisk the cream, pudding mix, and milk until thick. This creamy filling is dreamy.
Step 5: Finally, slice each cool puff in half. Fill them generously with the vanilla cream. Be brave with the filling. Put the tops back on like little hats. Give them a snowy dusting of powdered sugar. A little sweetness on top makes them perfect. Share them quickly, because they disappear fast!
Creative Twists
Chocolate Drizzle: Melt some chocolate and drizzle it over the sugar dust.
Berry Surprise: Tuck a few fresh raspberries inside with the cream.
Lemon Zest: Add a little lemon zest to the filling for a sunny zip.
Which one would you try first? Comment below!
Serving & Pairing Ideas
Serve these puffs on a big platter for a party. They are lovely with a cup of tea or cold milk. For a fancy touch, add a few berries on the side. The red looks so pretty next to the white cream. Which would you choose tonight?
Keeping Your Cream Puffs Perfect
Let’s talk about storing these lovely treats. Unfilled puffs keep best. Once cool, pop them in an airtight container. They will stay crisp for a day on the counter. For longer storage, freeze them right on the baking sheet first. Then bag them up. They can live in your freezer for a month!
I remember my first batch of cream puffs. I left them in a bowl. They turned soft by morning. I was so disappointed! Now I always make a slit to let steam out. This simple trick keeps them crisp. For a fun sweet treat later, try these Easy Cream Cheese Raspberry Puff Pastries.
Batch cooking the shells saves so much time. You can bake a big tray on a quiet afternoon. Then you have them ready for any occasion. This matters because it makes fancy treats feel easy. You can whip up filling anytime. Have you ever tried storing them this way? Share below!
Common Cream Puff Hiccups & Fixes
First, flat puffs. This happens if you open the oven door too early. The hot air inside escapes. I once peeked because they smelled so good. My puffs sank! Keep that door closed for the first 20 minutes. Your patience will be rewarded with perfect, puffy domes.
Second, soggy bottoms. Always move your baked puffs to a wire rack. Letting them sit on the hot tray traps steam. This makes the bottom soft. Third, runny filling. Your cream must be very cold to whip up thick. Chill your bowl and beaters first. This matters for both texture and flavor. A stable filling tastes richer and holds its shape beautifully.
Fixing these small issues builds your confidence. You learn how each step works. Soon, cream puffs will feel simple. For another delicate pastry project, this Flaky Sweet Almond Pastry is lovely. Which of these problems have you run into before?
Your Quick Questions, Answered
What is the secret to making cream puffs that don’t collapse?
The secret is baking them fully. Do not underbake. They should be a deep golden brown. Make a small slit in each puff right after baking. This lets the steam inside escape. If steam stays trapped, it will make the shells soggy and they can collapse as they cool. Let them cool completely on a wire rack.
How do you make a stable vanilla pastry cream from scratch?
For a stable cream, cook it on the stove. Use milk, egg yolks, sugar, and cornstarch. Cook until it boils for one minute. This thickens it properly. Stir in butter and vanilla after. Then press plastic wrap right on the surface. Chill it completely before using. This stops a skin from forming and makes it firm.
Can I make the choux pastry dough ahead of time?
Yes, you can make the dough ahead. Prepare it up to the point before adding eggs. Let this paste cool. Then cover it tightly and refrigerate. You can keep it for one day. When ready to bake, let it warm up a bit. Then beat in the eggs. The dough will be perfect for piping.
What is the best way to pipe cream puffs for even baking?
Use a piping bag with a large round tip. Hold the bag straight up and down. Pipe mounds about 1.5 inches wide. Leave two inches between each mound. They need space to puff up. Dip your finger in water and gently press down any pointy tips. This helps them bake into nice round shapes. For a beautiful braided shape, see this Sunshine Lemon Cream Cheese Braid.
How do you store cream puffs to keep them crisp?
Store unfilled shells in an airtight container at room temperature. They stay crisp for one day. For longer storage, freeze them. First freeze the shells solid on a tray. Then transfer to a freezer bag. They can be frozen for a month. Thaw at room temperature when needed. Fill them only right before you plan to serve.
Can I freeze filled cream puffs for later?
I do not recommend freezing filled cream puffs. The filling contains dairy. It will become icy and the texture changes. The pastry shell will also get very soggy when it thaws. It is best to freeze the empty shells and the filling separately. Assemble your treats just before you are ready to enjoy them. Which tip will you try first?
From My Kitchen to Yours
I hope you feel ready to make these delightful puffs. Baking is about sharing joy. Every little golden puff is a small victory. *Fun fact: The word “choux” means cabbage in French. They named the pastry after its round, cabbage-like shape!* For more layered pastry inspiration, the classic Russian Napoleon is a masterpiece.
I love hearing your stories. Tell me all about your baking adventures. Have you tried this recipe? Let me know how it turned out for you. I read every comment with a cup of tea in hand. Happy cooking!
—Elowen Thorn.

My Foolproof Cream Puff Recipe with Vanilla Filling
Description
Master the art of classic pastry with this foolproof recipe for light, airy cream puffs filled with a luscious vanilla cream.
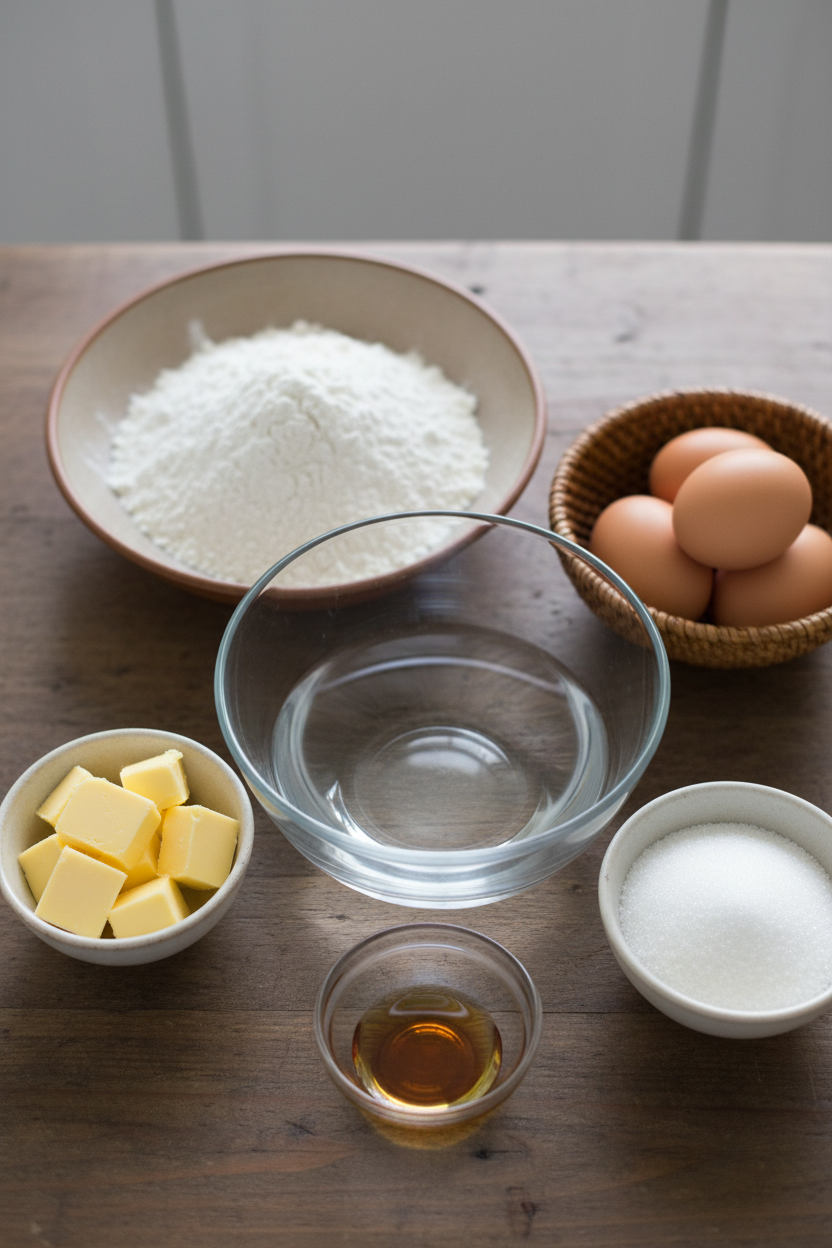
Ingredients
Instructions
- Start by heating a saucepan and bringing 8 tablespoons of butter, 1 cup of water and 1 teaspoon of granulated sugar, to a boil. Next add in 1 teaspoon of vanilla extract. Reduce the heat.
- Swiftly stir in 1 cup of all purpose flour until the mixture forms a ball. Take it off the heat. Let it cool slightly.
- Now beat in 4 eggs one at a time into the dough until they are fully incorporated. The dough should have a smooth texture.
- Using either a piping bag or two spoons drop portions of the dough onto a baking tray lined with parchment paper.
- Place the tray in an oven that has been preheated to 400°F (200°C) and bake for 15 minutes. Then reduce the temperature to 350°F (175°C). Continue baking for 15 minutes until the Cream Puffs turn golden brown.
- Out of the oven create slits on the sides of each Cream Puff to release any steam and prevent them from getting soggy.
- While allowing time for the Cream Puffs to cool down you can prepare the filling. In a bowl whisk together 1 pint of heavy cream, 1 package of instant vanilla pudding mix and ⅓ cup of milk until you notice that it thickens up nicely.
- After the Cream Puffs have cooled carefully slice each one in half. Then generously fill the halves with the creamy filling. To add a touch of sweetness dust the tops with confectioners sugar.
Notes
- For best results, ensure the dough is cool enough before adding eggs to prevent them from cooking. Do not open the oven door during the first 15 minutes of baking. Fill puffs just before serving to maintain crispness.