

The Best Kind of Mess
I have always loved a messy kitchen counter. It means something good is happening. Making these treats is a wonderful, sticky mess. You stir that warm peanut butter and marshmallow mix. Then you fold in the crisp cereal. It’s a happy sound. Doesn’t that smell amazing? I still laugh at the time my grandson tried to sneak a spoonful. He got marshmallow on his nose!
This recipe matters because it’s about sharing joy. A simple pan of bars can turn a regular day into a little party. It’s not about being perfect. It’s about the fun of making it together. What was your favorite treat to make with your family? I’d love to hear your story.
Butter, Peanut Butter, and Magic
Let’s talk about the start. You melt butter and peanut butter together. This is the heart of the flavor. It gets all smooth and cozy. Then you add the mini marshmallows. Watch them puff up and melt into a gooey cloud. *Fun fact*: Marshmallows were once a medicine! Now they are for sweet, sticky magic.
Stir in the Rice Krispies fast. You want every piece to get a hug of that sweet mix. Press it gently into your pan. Don’t push too hard. We want them chewy, not hard. This step matters because gentle hands make the best texture. It’s a good lesson for life, too.
The Swirl That Wins Hearts
Now for the fancy part. It’s so easy. Melt more peanut butter. Melt chocolate chips. You just drizzle them over the base. Then take a toothpick and swirl. You make your own beautiful pattern. It’s like being an artist. If you love chocolate and peanut butter, you must try these peanut butter crispy bars too.
The swirl isn’t just pretty. It gives you a taste of both worlds in every bite. Some bites have more chocolate. Some have more peanut butter. It’s a lovely surprise. Do you prefer your treats more chocolatey or more nutty? Tell me your pick!
Waiting is the Hard Part
You must let the pan sit. This is the test of patience. Let it set at room temperature. Or pop it in the fridge if you’re in a hurry. I like to use the time to wash a few dishes. Or just enjoy the sweet smell in the kitchen. For another fun flavor that needs to set, my Samoa rice krispie treats are worth the wait.
This waiting matters. It lets everything come together. The topping gets firm. The base settles. Then you get a perfect, neat square. Use a sharp knife to cut. Wipe it clean between cuts for pretty bars. It’s so satisfying to see them all lined up.
More Sweet Adventures
Oh, the things you can do with a simple cereal treat! Once you know the basic method, you can go anywhere. Love fruit? Try these sunny strawberry crunch treats. In the fall, pumpkin rice krispie treats are so cozy.
That’s the real magic of cooking. You start with one simple idea. Then you make it your own. What flavor would you invent? A lemon bar? A cookie dough version? Dream big, my dears. Your kitchen is your playground.
Instructions
Step 1: First, get your pan ready. Lightly grease a 9×13-inch dish. I like to use a bit of butter on a paper towel. This keeps everything from sticking later. It makes cleanup so much easier, trust me. (A little tip: lining it with parchment paper lets you lift the whole block out!)
Step 2: Now, let’s make the gooey base. Melt the butter and peanut butter together in a big pot. Stir it until it’s smooth and smells like heaven. Then, add the whole bag of mini marshmallows. Keep stirring until they melt into a glossy, wonderful glue. Doesn’t that smell amazing?
Step 3: Time for the cereal! Take the pot off the heat. Quickly pour in all six cups of Rice Krispies. Fold it all together until every piece is coated. Then, dump it into your prepared pan. Press it down gently with wax paper. Do you press yours down hard or soft? Share below!
Step 4: Let’s create the swirly top. Melt the extra peanut butter and the chocolate chips separately. I use the microwave in 30-second bursts. Then, pour the peanut butter over the base and spread it. Drizzle the chocolate on top. Swirl it with a toothpick to make pretty patterns. I still laugh at my first messy swirl!
Step 5: Finally, patience is key. Let the pan sit out for an hour or two to set. If you’re in a hurry, the fridge helps. Once it’s firm, cut it into squares with a sharp knife. For the cleanest cuts, wipe your knife clean between slices. Then, just try to eat only one!
Creative Twists
Use crunchy peanut butter for a fun, nutty texture.
Swap the chocolate for butterscotch chips for a caramel vibe.
Press mini chocolate chips into the top before it sets. Which one would you try first? Comment below!
Serving & Pairing Ideas
These treats are perfect all on their own. For a party, cut them into tiny squares. Serve them on a big platter. A cold glass of milk is the best partner, always. You could also try them with a scoop of vanilla ice cream. It’s like a decadent sundae without a bowl! For a fun twist, crumble one over a bowl of banana pudding. Which would you choose tonight?
Keeping Your Treats Tasty
Let’s talk about storing these sweet bars. They keep best in a cool, dry place. Use an airtight container at room temperature for three days. For longer storage, the freezer is your friend. Wrap bars tightly and freeze for up to a month. Thaw them on the counter for an hour before eating.
I remember my first batch of a similar treat, peanut butter crispy bars. I left them out uncovered. They turned stale so fast! Now I always use a lid. Batch cooking matters because it saves you time later. A ready-made treat brings a quick smile on a busy day.
To reheat, a few seconds in the microwave softens them up. Be careful, just five to ten seconds is enough. This makes them wonderfully gooey again. Have you ever tried storing it this way? Share below!
Simple Fixes for Common Hiccups
First, is your mixture too stiff to stir? Your heat might be too high. I once rushed and burned the marshmallows. Always use medium heat and stir often. This matters because gentle heat melts everything smoothly. It keeps your gooey muddy buddy treats soft and chewy.
Second, are the bars too hard? You might be pressing them too firmly into the pan. A gentle press is all you need. This matters for a light, airy texture. No one wants a dense brick!
Third, is your chocolate swirl blending too much? Let the toppings cool for a minute before swirling. A quick zigzag with a toothpick makes a lovely pattern. For more fun ideas, try the chocolate swirl in these homemade Samoa treats. Which of these problems have you run into before?
Your Quick Questions, Answered
What is the best type of peanut butter to use for no-bake bars?
Use regular creamy peanut butter from the jar. The kind that is already mixed and not oily. This type binds the bars together perfectly. It helps everything set nicely without being messy. Natural peanut butter can sometimes make bars too soft or oily.
Can I use natural peanut butter in Rice Krispie treats?
You can, but it might not set as well. Natural peanut butter often separates. This can make your treats greasy and soft. For the best result, stick with the regular creamy kind. It gives you that classic, firm texture we all love.
How do you make a chocolate swirl pattern in bars?
First, spread the melted peanut butter topping smoothly. Then, drizzle lines of melted chocolate over it. Use a toothpick to drag through the two. Make zigzags or loops for a pretty marbled look. *Fun fact: This same technique works for pumpkin rice krispie treats with a cream cheese swirl!*
Can I add other ingredients like pretzels or sea salt to this recipe?
Absolutely! A sprinkle of sea salt on top is wonderful. It balances the sweetness. You could also stir in crushed pretzels with the cereal. They add a nice salty crunch. Get creative, just like with these strawberry crunch treats.
How do you store peanut butter chocolate Rice Krispie treats to keep them fresh?
Store them in a single layer in an airtight container. Keep them at room temperature for a few days. For longer freshness, you can freeze them. Wrap each bar tightly before freezing. This locks in the flavor and perfect texture.
Are these bars gluten-free and can they be made vegan?
Rice Krispies cereal contains malt flavoring from barley, so it is not gluten-free. Use a certified gluten-free crispy rice cereal instead. For vegan bars, use dairy-free butter and vegan marshmallows. Also, check your chocolate chips to ensure they are vegan. Which tip will you try first?
From My Kitchen to Yours
I hope you have as much fun making these as I do. The kitchen is for creating sweet memories. I love hearing about your baking adventures. It reminds me of trying new twists, like banana pudding treats for the first time.
Please tell me all about it in the comments. Your stories make my day. Have you tried this recipe? Let me know how it turned out for you. I am always here to chat about food and fun.
Happy cooking!
—Elowen Thorn

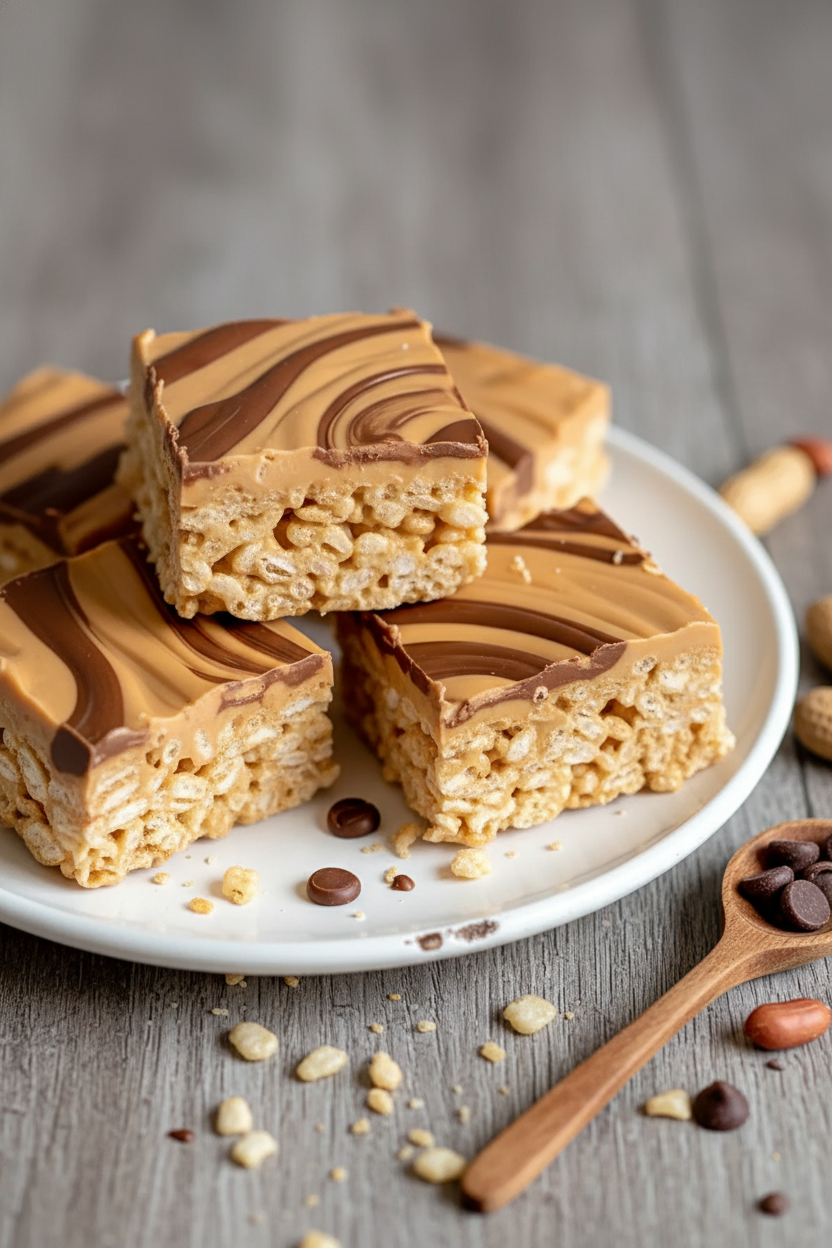
My Gooey Peanut Butter Chocolate Swirl Krispie Bars
Description
These irresistible bars combine a classic crispy rice cereal base with a decadent swirl of melted peanut butter and chocolate.
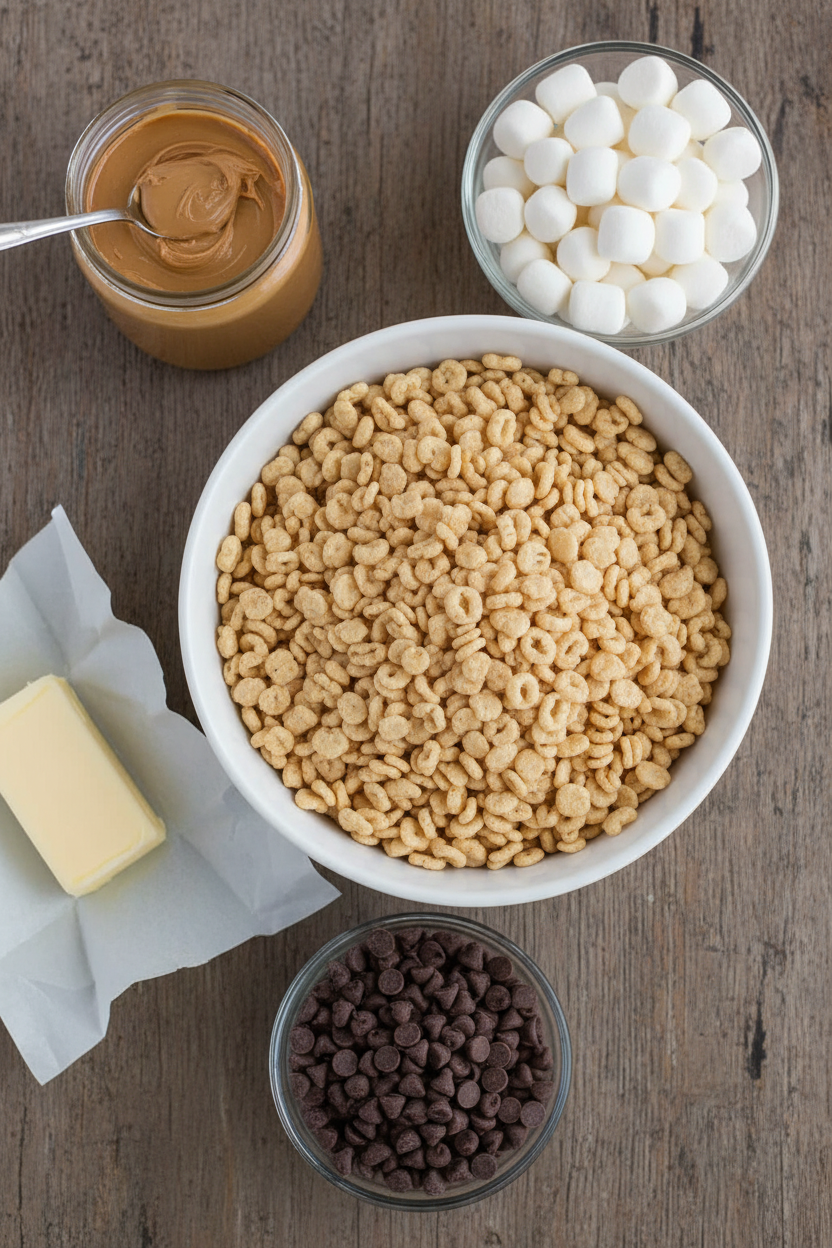
Ingredients
FOR THE BASE:
FOR THE TOPPING:
Instructions
- PREP THE PAN: Lightly grease a 9×13-inch baking dish or line it with parchment paper for easier removal. Set aside while you prepare the mixture.
- MAKE THE BASE: In a large saucepan over medium heat, melt the butter and peanut butter together, stirring frequently until smooth and fully combined. Add the mini marshmallows and stir until they melt completely and the mixture is cohesive and glossy.
- ADD THE CEREAL: Remove the pan from heat and immediately stir in the Rice Krispies cereal. Fold quickly and thoroughly to coat all the cereal before the mixture cools and sets. Transfer to the prepared pan and press it down gently using a spatula or wax paper to create an even layer without compacting too firmly.
- MELT THE TOPPING: In a microwave-safe bowl, heat the remaining 1 cup of peanut butter in 30-second intervals, stirring in between, until smooth and pourable. In a separate bowl, melt the chocolate chips the same way, stirring until fully melted and silky.
- ADD THE SWIRL: Pour the melted peanut butter over the base and spread it evenly to cover the surface. Drizzle the melted chocolate over the top in lines or dollops, then use a toothpick or butter knife to swirl the two together in a marbled pattern.
- LET SET: Allow the bars to set at room temperature for 1 to 2 hours, or refrigerate for about 45 minutes if you need them to set more quickly. The topping should be firm before slicing.
- SLICE AND SERVE: Once set, use a sharp knife to cut the bars into squares. For cleaner cuts, wipe the knife blade between slices. Serve immediately or store in an airtight container.
Notes
- For easier slicing, chill the bars thoroughly. You can use crunchy peanut butter for added texture, or substitute dark chocolate chips for a richer flavor.